Introduzione
This manual provides essential instructions for the safe operation, setup, and maintenance of your Protocol Director HD Foldable Drone. Please read this manual thoroughly before operating the drone to ensure proper function and to prevent damage or injury.
The Protocol Director HD is a foldable drone equipped with a live streaming HD camera, designed for capturing aerial video and photos. It features an intuitive 2.4 GHz remote control, an altitude sensor for stable flight, and a free downloadable app for enhanced camera control and flight path drawing.
Precauzioni di sicurezza
- Utilizzare sempre il drone in aree aperte e libere, lontano da persone, animali e ostacoli.
- Non operare in prossimità di aeroporti, spazi aerei riservati o strutture sensibili.
- Mantenere una distanza di sicurezza da linee elettriche, alberi e specchi d'acqua.
- Prima di ogni volo, assicurarsi che tutte le eliche siano saldamente fissate e non danneggiate.
- Non volare in caso di vento forte o condizioni meteorologiche avverse.
- Tenere dita e capelli lontani dalle eliche in rotazione.
- Adult supervision is recommended for users under 18 years of age. Recommended age for operation is 14 years and up.
- Only use original Protocol replacement parts and accessories.
- Non tentare di modificare il drone o i suoi componenti.
- Spegnere il drone e il telecomando quando non vengono utilizzati.
Contenuto della confezione
Verificare che tutti gli articoli siano presenti nel pacco:
- Protocol Director HD Foldable Drone with Camera
- Remote Control with Phone Mount
- Cavo di ricarica USB
- 2 x Drone Batteries
- Borsa da viaggio
- Manuale di istruzioni (questo documento)
- Spare Parts: Blades, Screwdriver

Image: The Protocol Director HD Foldable Drone, showcasing its compact design with propellers extended and camera visible at the front.
Impostare
1. Ricarica della batteria del drone
- Insert one of the drone batteries into the USB charging cable.
- Connect the USB charging cable to a USB power source (e.g., computer USB port, USB wall adapter).
- La spia di carica sul cavo USB si accenderà durante la carica e si spegnerà quando la carica sarà completamente completa.
- La ricarica richiede in genere circa 60-90 minuti. Non sovraccaricare.
2. Installazione delle batterie del telecomando
- Aprire il vano batterie sul retro del telecomando.
- Inserire 4 batterie AA (non incluse), assicurandosi della corretta polarità (+/-).
- Chiudere bene il vano batterie.

Image: The drone's remote control with a smartphone securely mounted, displaying a live feed from the drone's camera.
3. Apertura del drone
- Gently unfold each of the four rotor arms until they click into place.
- Prima del volo, assicurarsi che tutte le braccia siano completamente estese e bloccate.
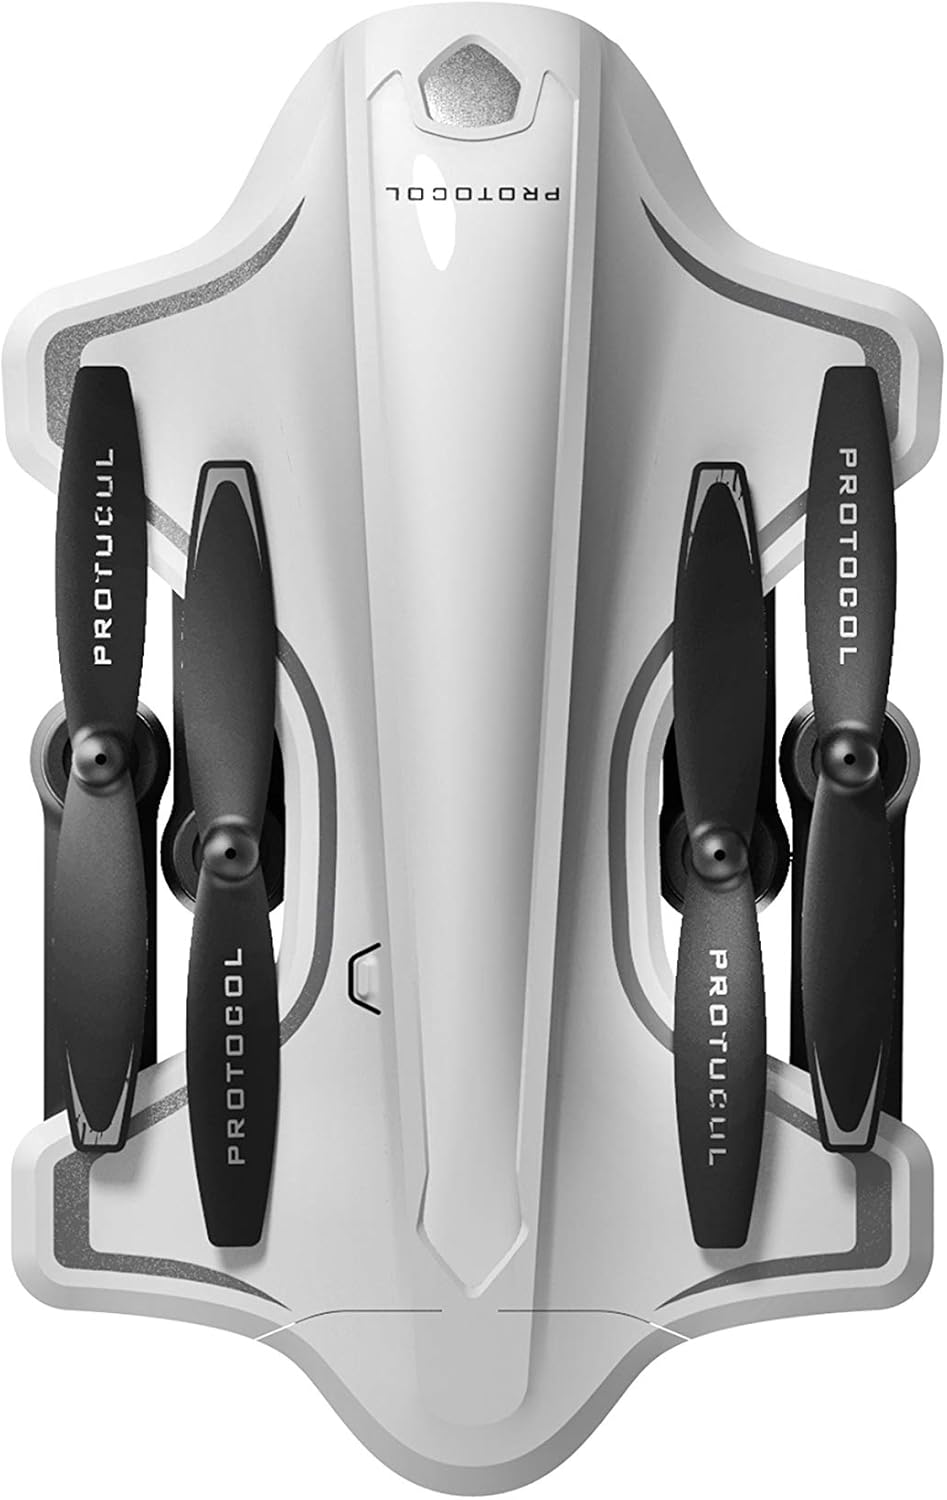
Image: The Protocol Director HD Foldable Drone in its compact, folded configuration, ready for transport.
4. Installazione della batteria del drone
- Individuare il vano batteria sul drone.
- Insert the fully charged drone battery, ensuring it is securely seated.
- Chiudere il coperchio del vano batterie.
5. Downloading the App (Optional for Camera Features)
- Cercare the "Protocol Director HD" app in your smartphone's app store (iOS or Android).
- Download and install the free application.
- Mount your smartphone onto the remote control's phone mount.
Istruzioni per l'uso
1. Accensione e accoppiamento
- Posiziona il drone su una superficie piana e livellata.
- Accendi il drone premendo il pulsante di accensione. Le luci del drone lampeggeranno.
- Accendi il telecomando.
- Spingere il joystick sinistro (acceleratore) completamente verso l'alto, poi completamente verso il basso. Le luci del drone diventeranno fisse, indicando l'avvenuto accoppiamento.
2. Calibrazione del giroscopio
Dopo l'associazione, si consiglia di calibrare il giroscopio per un volo stabile:
- With the drone on a flat surface, push both joysticks down and to the right simultaneously for a few seconds.
- The drone's lights will flash rapidly and then become solid, indicating calibration is complete.
3. Comandi di volo di base
The Protocol Director HD features auto launch, hover, and land functions due to its altitude sensor.
- Avvio automatico: Press the dedicated auto launch button on the remote. The drone will ascend to a stable hovering altitude.
- Acceleratore (joystick sinistro):
- Push up: Increase altitude
- Push down: Decrease altitude
- Push left/right: Rotate drone left/right (yaw)
- Controllo direzionale (joystick destro):
- Push up: Vola in avanti
- Push down: Fly backward
- Push left: Fly left (strafe)
- Push right: Fly right (strafe)
- Auto Land: Press the dedicated auto land button. The drone will slowly descend and land.
- Selezione della velocità: Use the speed button on the remote to cycle through three selectable speeds (low, medium, high).
4. Camera and App Features
Connect your smartphone to the drone's Wi-Fi network (usually named "Protocol_Drone_XXXXXX") to access live streaming and advanced camera functions via the app.
- Streaming in diretta: View the drone's camera feed in real-time on your smartphone.
- Registrazione video: Initiate and stop video recording (480p resolution) through the app.
- Cattura foto: Take still images through the app.
- Multiple Camera Angles: The app supports three different camera angles (Aerial, POV, Selfie) for varied content creation.
- Registrazione audio: The app allows for audio recording alongside video.
- Draw Your Own Flight Path: Utilize the app's feature to draw a flight path on your screen, and the drone will follow it.
- VR Capability: The app is VR capable; VR goggles are sold separately.
Manutenzione
- Ispezione dell'elica: Regularly check propellers for cracks, bends, or damage. Replace any damaged propellers using the provided spare parts and screwdriver.
- Pulizia: Use a soft, dry cloth to clean the drone and remote control. Avoid using liquids or harsh chemicals.
- Cura della batteria:
- Non sovraccaricare le batterie.
- Conservare le batterie in un luogo fresco e asciutto.
- Remove batteries from the drone and remote control during long periods of non-use.
- Magazzinaggio: Fold the drone arms for compact storage in the provided travel bag when not in use. Store in a cool, dry environment.
Risoluzione dei problemi
| Problema | Possibile causa | Soluzione |
|---|---|---|
| Il drone non si accende. | Batteria non carica o installata in modo errato. | Assicurarsi che la batteria sia completamente carica e inserita correttamente. |
| Il telecomando non si accende. | Le batterie AA sono scariche o non sono installate correttamente. | Replace AA batteries, checking polarity. |
| Il drone e il telecomando non si accoppiano. | Sequenza di associazione non eseguita correttamente. | Ensure drone is on, then remote. Push left joystick up then down completely. |
| Il drone va alla deriva durante il volo. | Gyroscope needs calibration; uneven surface at launch. | Land the drone, place on a flat surface, and recalibrate the gyroscope (both joysticks down and right). |
| One propeller does not spin. | Propeller damaged or motor issue. | Check for obstructions. Replace damaged propeller. If issue persists, contact support. |
| Nessun feed video in diretta sullo smartphone. | Not connected to drone's Wi-Fi; app not open. | Ensure smartphone is connected to the drone's Wi-Fi network and the app is running. |
Specifiche
| Marca | Protocollo |
| Nome del modello | Director HD |
| Numero di modello | 6182-7RCHA |
| Dimensioni (piegato) | Circa 4.75 pollici (lunghezza) |
| Dimensioni (esteso) | Approximately 9 inches (length, including blades) |
| Peso | 0.94 chilogrammi (940 g) |
| Risoluzione della fotocamera | 480p (acquisizione video) |
| Connettività | Wi-Fi (for app control and live streaming), 2.4 GHz (for remote control) |
| Stabilizzazione | 6-axis motion-sensitive auto stabilizers, Altitude sensor |
| Modalità di velocità | Three selectable speeds |
| Batteria drone | Ricaricabili (2 inclusi) |
| Batteria del telecomando | 4 batterie AA (non incluse) |
| Materiale | Plastic (Crash-resistant) |
| Età consigliata | 14 anni e oltre |
Garanzia e supporto
For warranty information, technical support, or to purchase replacement parts, please visit the official Protocol websito o contattare il servizio clienti. Conservare la ricevuta d'acquisto come prova d'acquisto.
Websito: www.protocolny.com (Exampil collegamento (il collegamento effettivo può variare)
Contatto: Refer to the Protocol website for contact details, including phone numbers or email support.


