Introduzione
This manual provides detailed instructions for the safe installation, operation, and maintenance of your Progress Lighting Tobin Collection 1-Light Etched White Glass Modern Bath Vanity Light. Please read all instructions carefully before beginning installation and retain this manual for future reference.
The Tobin vanity light features a modern design with tubular arms and an etched white glass shade, finished in Brushed Nickel. It is designed to provide functional and aesthetic lighting for your bathroom space.
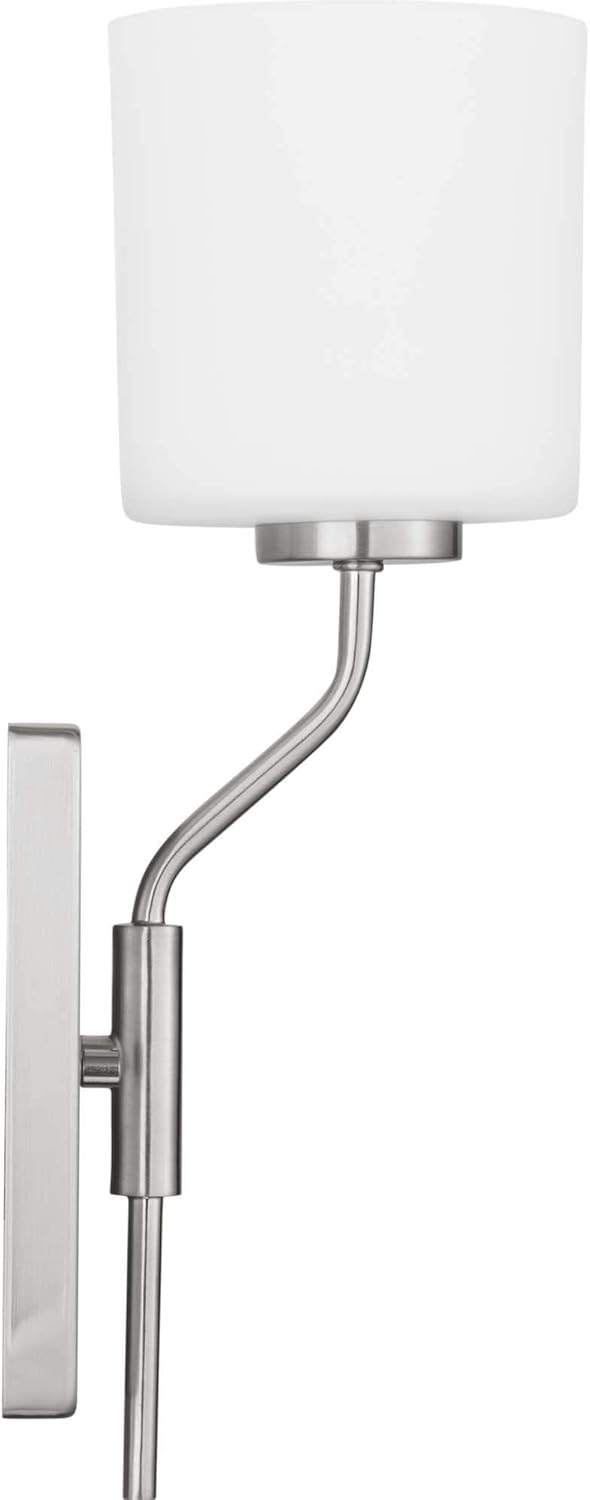
Figure 1: Progress Lighting Tobin 1-Light Vanity Light.
Informazioni sulla sicurezza
- AVVERTIMENTO: Rischio di scossa elettrica. Scollegare l'alimentazione dalla scatola dei fusibili o dall'interruttore automatico prima dell'installazione o della manutenzione.
- Tutti i collegamenti elettrici devono essere conformi alle normative locali, alle ordinanze o al Codice Elettrico Nazionale (NEC). Se non si ha familiarità con i collegamenti elettrici, contattare un elettricista qualificato.
- Questo apparecchio è destinato esclusivamente all'uso in ambienti interni.
- Utilizzare solo il tipo di lampadina e wattage specified for this fixture. Exceeding the recommended wattagpotrebbe causare surriscaldamento e danni.
- Maneggiare con cura i componenti in vetro per evitare rotture.
- Assicurarsi che l'apparecchio sia montato saldamente su un elemento strutturale dell'edificio.
- This product is UL Listed, ensuring it meets specific safety standards.
Contenuto della confezione
Carefully unpack your new fixture and lay out all parts on a clear area. Ensure all components listed below are present before discarding packaging materials.
- Fixture Body (with tubular arm and backplate)
- Paralume in vetro bianco acidato
- Mounting Hardware (crossbar, mounting screws, wire nuts)
- Foglio di installazione
Specifiche
| Marca | Illuminazione di progresso |
| Nome del modello | Tobin |
| Numero di parte | P300222-009 |
| Colore | Brushed Nickel (Fixture), Etched White (Shade) |
| Materiale | Alloy Steel (Fixture), Glass (Shade) |
| Stile | Moderno |
| Modulo lampada | Vanità |
| Tipologia di camera | Bagno |
| Uso interno/esterno | Al chiuso |
| Fonte di alimentazione | AC |
| Tipo di installazione | Montaggio in superficie |
| Caratteristica speciale | Dimmerabile |
| Tipo di sorgente luminosa | Incandescente (compatibile con LED) |
| Numero di sorgenti luminose | 1 |
| Voltage | 120 Volt |
| Cosatage | 100 watt (max) |
| Base della lampadina | E26 Medio |
| Luminosità | 250 lumens (typical for included bulb, may vary with bulb choice) |
| Peso dell'articolo | 3.02 libbre |
| Assemblaggio richiesto | SÌ |
| Specifica Met | Elencato UL |

Figura 2: Dimensioni del prodotto.
Configurazione e installazione
Prima di iniziare: Ensure power is turned off at the circuit breaker. Read all instructions thoroughly.
- Preparare la superficie di montaggio: Ensure the electrical box is securely installed and capable of supporting the fixture's weight.
- Fissare la piastra di montaggio: Secure the mounting crossbar to the electrical box using the provided screws.
- Connessioni dei cavi: Connect the fixture's wires to the corresponding house wires (black to black, white to white, ground to ground) using the provided wire nuts. Ensure all connections are secure.
- Montare l'apparecchio: Carefully align the fixture's backplate with the mounting screws on the crossbar. Secure the fixture in place with the decorative nuts or screws.
- Installa il paralume in vetro: Place the etched white glass shade over the socket and secure it according to the specific design (e.g., with a threaded ring or set screws).
- Installa la lampadina: Insert one E26 medium base bulb (max 100W incandescent or equivalent LED) into the socket.
This fixture can be mounted with the light facing upwards or downwards, depending on your preference and desired lighting effect.

Figure 3: Mounting Options (Up or Down).
Videoguida all'installazione
Video 1: Bath and Vanity Sizing and Placement Guidelines. This video provides general guidance on sizing and placement for bathroom vanity lights, which can be helpful during installation.
Istruzioni per l'uso
Once installed, restore power at the circuit breaker. The fixture is operated via a standard wall switch (not included). If connected to a compatible dimmer switch, the light output can be adjusted. Ensure the bulb used is dimmable if you intend to use a dimmer switch.
Manutenzione
- Pulizia: Always turn off power before cleaning. Wipe the fixture with a soft, dry cloth. Do not use abrasive cleaners or solvents as they may damage the finish.
- Paralume in vetro: The etched white glass shade can be removed for cleaning. Wash with mild soap and water, rinse thoroughly, and dry completely before reattaching.
- Sostituzione della lampadina: Ensure power is off and the bulb has cooled before attempting to replace it. Use an E26 medium base bulb, not exceeding 100 watts.
Risoluzione dei problemi
| Problema | Possibile causa | Soluzione |
|---|---|---|
| La luce non si accende. |
|
|
| Sfarfallio di luce. |
|
|
| Il paralume in vetro è allentato. |
|
|
Garanzia e supporto
Questo prodotto Progress Lighting è coperto da una Garanzia limitata di 1 annoQuesta garanzia assicura la tua completa soddisfazione per il tuo acquisto e include un servizio clienti post-vendita professionale.
Per reclami in garanzia o assistenza tecnica, fare riferimento alle informazioni di contatto fornite sulla ricevuta di acquisto o visitare il sito ufficiale Progress Lighting websito.


