1. Introduzione
The MARATHON 100 Hour Direct Entry Digital Tabletop Timer is designed to assist with precise time management for various tasks. Featuring a large, easy-to-read LCD display and a direct entry keypad, this timer offers both countdown and count-up functionalities, a clock mode, and memory presets for repetitive events. Its robust design includes a magnetic back and an integrated kickstand for versatile placement.
2. Prodotto finitoview
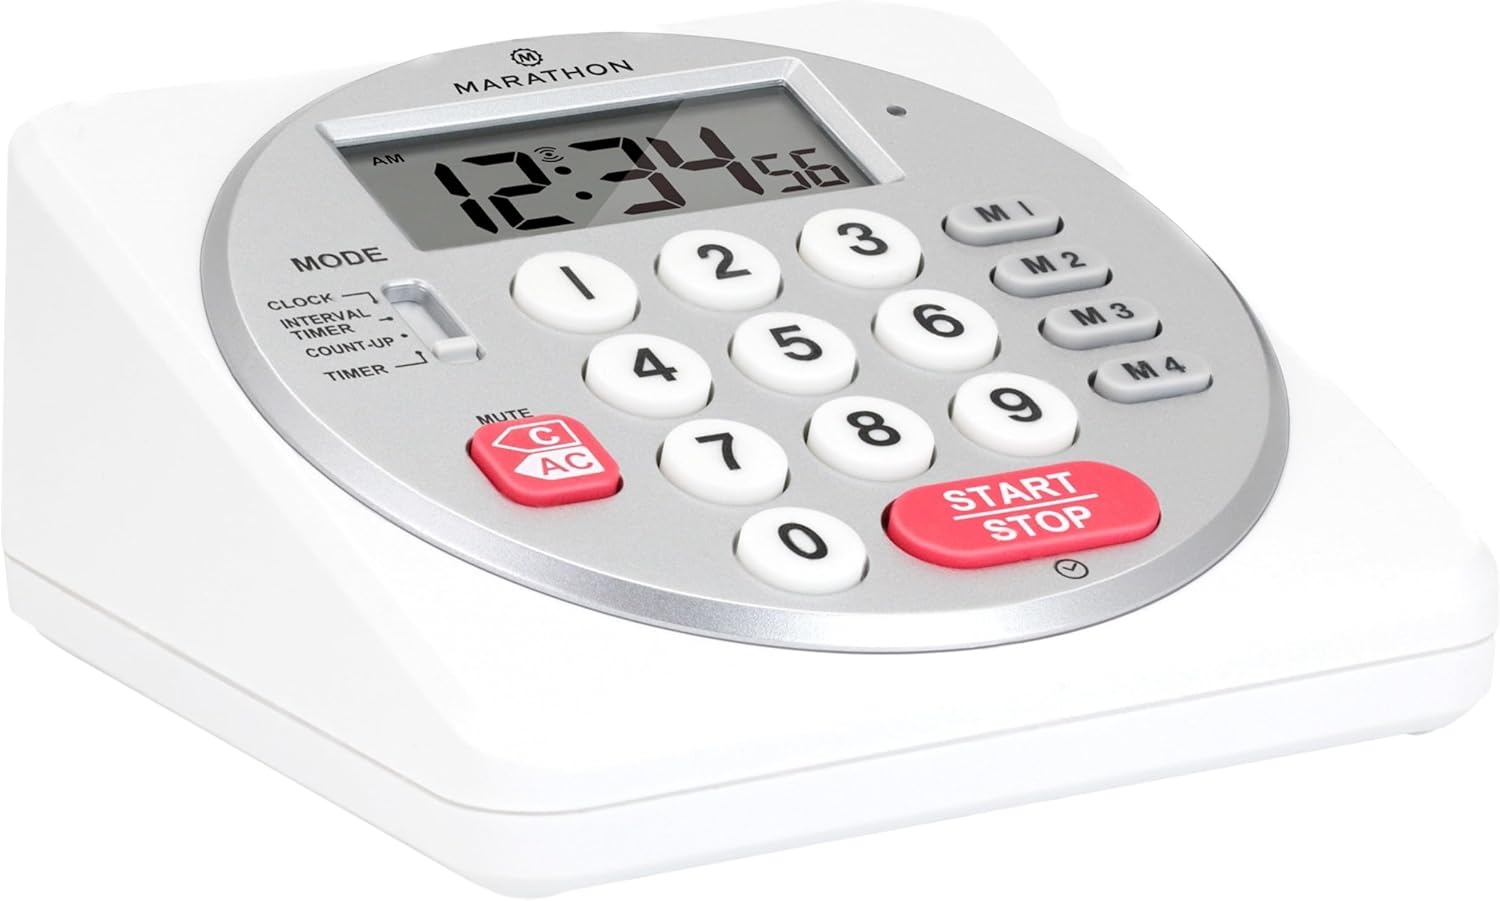
Figura 1: Fronte view of the Marathon Digital Timer.
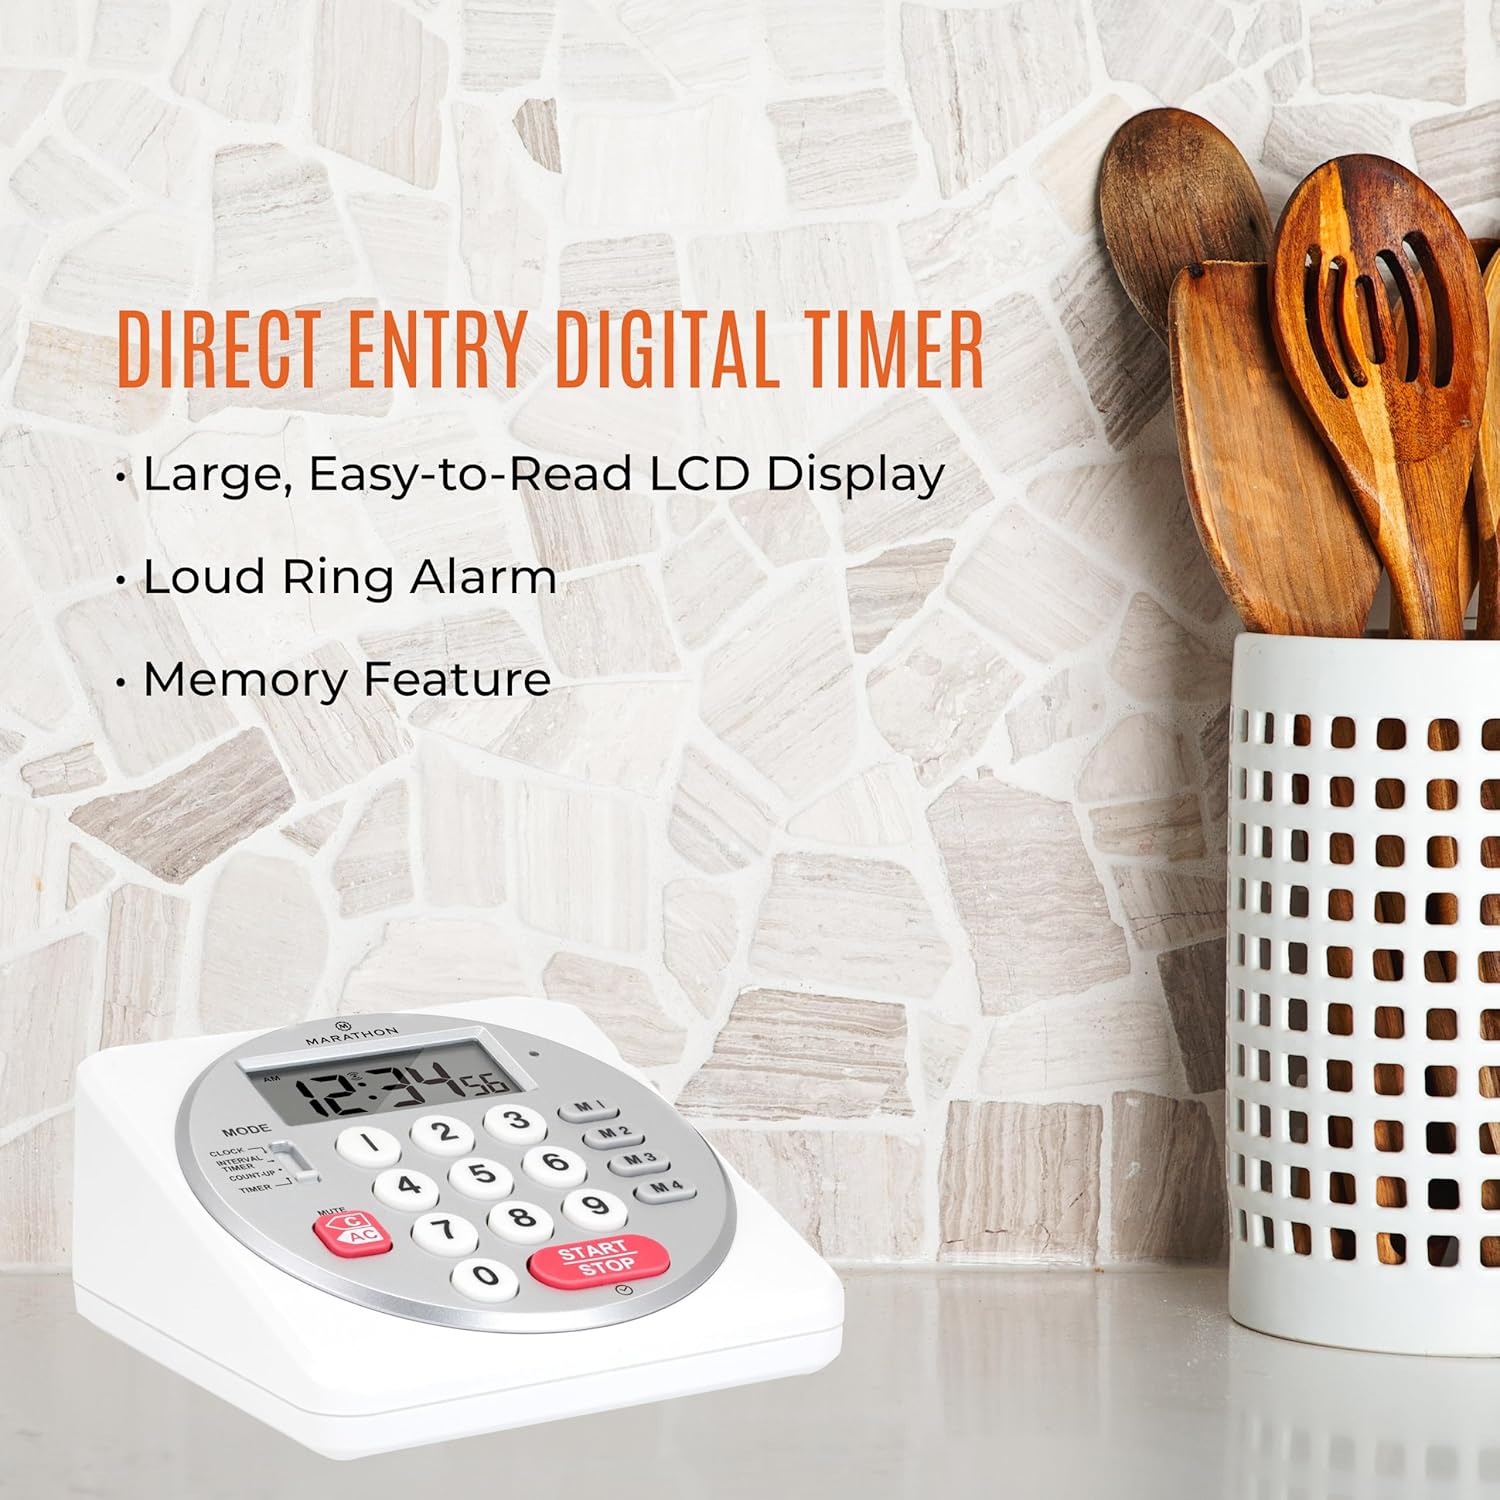
Figure 2: Timer on a kitchen counter, highlighting large display and loud alarm.

Figure 3: Timer showcasing dual function, included batteries, and versatile memory.
Caratteristiche principali:
- Direct Entry Keypad: For quick and precise time setting.
- Ampio display LCD: Easy-to-read numbers for clear visibility.
- Dual Function Alarm: Supports both countdown and count-up timing up to 99 hours, 59 minutes, and 59 seconds.
- Loud Ring Alarm: Audible across a room.
- Indicatore LED: Flashing light for silent alarm or hearing impairment assistance.
- Clock Feature: Displays time in 12-hour or 24-hour format when not in timer mode.
- Funzione di memoria integrata: Stores up to four consecutive times for interval timing and four memory presets for repetitive events.
- Posizionamento versatile: Integrated kickstand for tabletop use and magnetic back for attachment to metal surfaces.
- Batterie incluse: Viene fornito con 2 batterie AA.
3. Impostazione
3.1. Installazione della batteria
- Individuare il coperchio del vano batterie sul retro del timer.
- Far scorrere il coperchio per aprirlo.
- Insert two (2) AA batteries, ensuring correct polarity (+/-) as indicated inside the compartment. The timer comes with batteries included.
- Riposizionare saldamente il coperchio del vano batteria.

Figura 4: Indietro view with battery compartment and kickstand.
4. Istruzioni per l'uso
4.1. Selezione della modalità
Utilizzare il MODALITÀ switch located on the side of the timer to select between different functions:
- OROLOGIO: Visualizza l'ora corrente.
- INTERVAL TIMER: For setting multiple consecutive timers.
- COUNT-UP: Functions as a stopwatch.
- TIMER: For setting a single countdown timer.

Figure 5: MODE switch for function selection.
4.2. Impostazione dell'orologio
- Fai scorrere il MODALITÀ passare a OROLOGIO.
- Premere e tenere premuto il tasto IMPOSTATO finché le cifre dell'ora non iniziano a lampeggiare.
- Use the number keypad (0-9) to enter the desired time (HH:MM).
- Premere IMPOSTATO di nuovo per confermare e uscire dalla modalità di impostazione dell'orologio.
- Per passare dal formato 12 ore a quello 24 ore, premere il tasto 12/24H button (if available, or refer to specific model instructions).
4.3. Setting a Countdown Timer (TIMER Mode)
- Fai scorrere il MODALITÀ passare a TIMER.
- Use the number keypad (0-9) to directly enter the desired countdown time (HH:MM:SS). The timer supports up to 99 hours, 59 minutes, 59 seconds.
- Premere il tasto AVVIO/ARRESTO pulsante per avviare il conto alla rovescia.
- To pause the timer, press AVVIO/ARRESTO di nuovo. Premerlo ancora una volta per riprendere.
- When the countdown reaches zero, the alarm will sound, and the LED indicator will flash. The timer will then automatically begin counting up to show elapsed time since the alarm.
- To stop the alarm and clear the display, press the CHIARO pulsante.
4.4. Using the Count-Up Timer (COUNT-UP Mode)
- Fai scorrere il MODALITÀ passare a CONTEGGIO.
- Ensure the display shows 00:00:00. If not, press CHIARO.
- Premere il tasto AVVIO/ARRESTO pulsante per iniziare il conteggio.
- Per mettere in pausa il conteggio, premere AVVIO/ARRESTO di nuovo. Premerlo ancora una volta per riprendere.
- To reset the count-up timer to zero, press CHIARO.
4.5. Using Memory Functions (M1-M4 Presets)
The timer features four memory buttons (M1, M2, M3, M4) for storing and recalling frequently used times or for interval timing.
- In TIMER mode, enter the desired time using the number keypad.
- Press and hold one of the memory buttons (M1-M4) until the display confirms the time has been saved.
- To recall a saved time, simply press the corresponding memory button (M1-M4). The saved time will appear on the display, ready to start.
- For interval timing, set the first interval, save it to M1. Then set the second interval, save it to M2, and so on. You can then cycle through these presets as needed.
4.6. Regolazione del volume della sveglia
The timer features a volume switch, typically located on the side or back, allowing you to select between different alarm levels (e.g., High, Low, Mute) or a flashing LED indicator for silent operation.
5. Manutenzione
- Pulire il timer con un panno morbido, damp panno. Non utilizzare detergenti abrasivi né immergere l'unità in acqua.
- Evitare di esporre il timer a temperature estreme o alla luce solare diretta per periodi prolungati.
- If the display becomes dim or the alarm weakens, replace the batteries promptly.
6. Risoluzione Dei Problemi
| Problema | Possibile causa | Soluzione |
|---|---|---|
| Timer not turning on. | Le batterie sono scariche o installate in modo errato. | Controllare la polarità delle batterie o sostituirle con nuove batterie AA. |
| Il display è scuro. | Batteria scarica. | Sostituire le batterie. |
| L'allarme non suona. | Alarm volume is set to mute or low. | Check the alarm volume switch and adjust as needed. |
| Il timer non risponde alla pressione dei pulsanti. | Unit may be in a locked state (if applicable) or requires a reset. | Remove and reinsert batteries to perform a hard reset. Check for any lock switches. |
7. Specifiche
- Modello: TI030018WH
- Marca: MARATHON
- Materiale: Plastica
- Dimensioni: 4.45 x 2.64 x 4.45 pollici
- Peso dell'articolo: 7.1 once
- Fonte di energia: 2 batterie AA (incluse)
- Max Timer Duration: 99 ore, 59 minuti, 59 secondi
- Caratteristiche: Direct Entry, Dual Function (Count-up/Count-down), Clock, Memory Presets, LED Indicator, Magnetic Back, Kickstand
- Codice UPC: 063442000342

Figura 6: Dimensioni del prodotto.
8. Garanzia e supporto
Per informazioni sulla garanzia o supporto tecnico, fare riferimento al sito ufficiale del produttore websito o contattare il servizio clienti. Conservare la ricevuta d'acquisto come prova d'acquisto.


