
1. Introduzione
Welcome to the instruction manual for your Sygonix SY-RSL-T3 Wireless Wall Switch. This manual provides essential information for the safe and efficient use of your device. Please read it thoroughly before installation and operation, and keep it for future reference.
2. Istruzioni di sicurezza
Per evitare lesioni o danni al dispositivo, osservare sempre le seguenti precauzioni di sicurezza:
- Non aprire il dispositivo casing. All'interno non ci sono parti riparabili dall'utente.
- Keep the device away from moisture, water, and extreme temperatures.
- Use only the specified battery type (12V, not included) and ensure correct polarity during installation.
- Smaltire le batterie usate secondo le normative locali. Non smaltire le batterie tra i rifiuti domestici.
- This device is designed for indoor use. If used outdoors, ensure it is protected from direct weather exposure.
- Tenere i materiali di imballaggio lontano dalla portata dei bambini.
3. Prodotto finitoview
3.1. componenti
The Sygonix SY-RSL-T3 Wireless Wall Switch consists of the following main components:
- Wireless Wall Switch Unit (1 piece)
- Mounting Hardware (screws, if included with purchase)
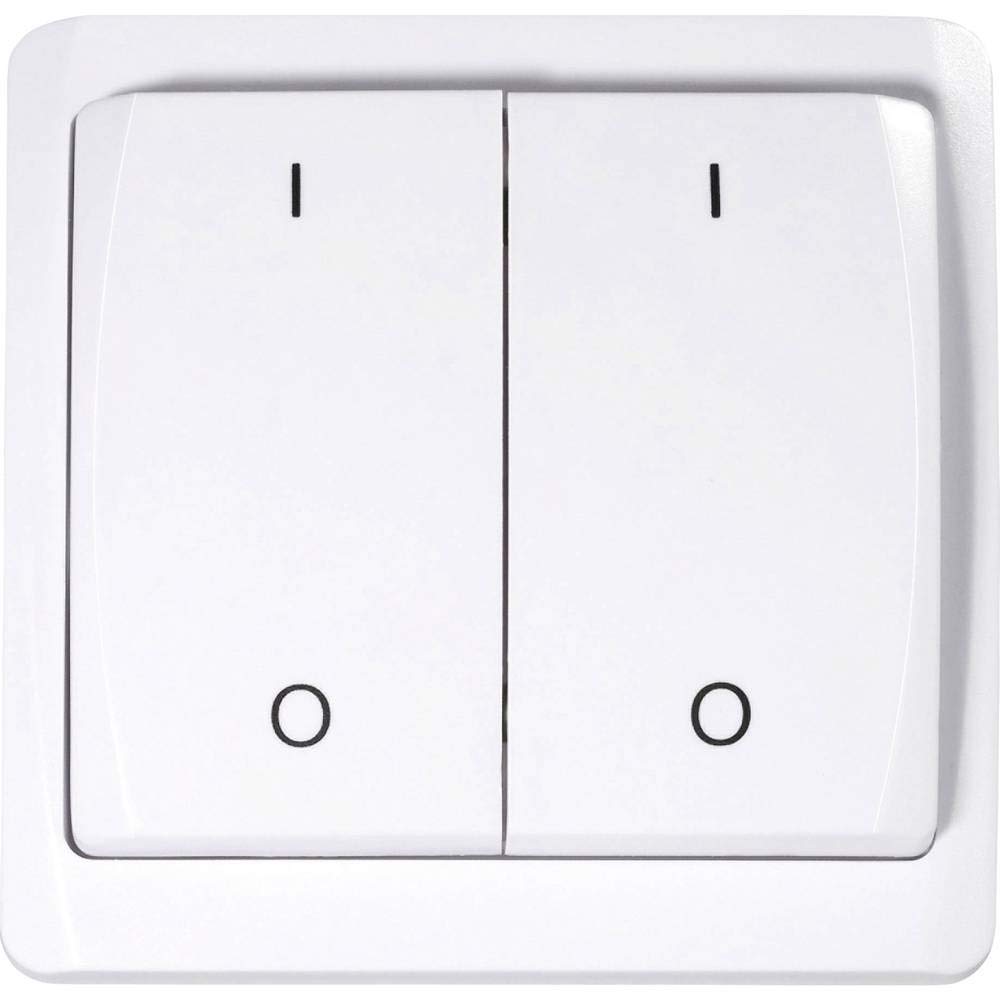
This image shows the front of the Sygonix SY-RSL-T3 wireless wall switch. It is white with two large push-buttons. The left button is marked with an 'I' (for ON) and a circle (for OFF), and the right button is similarly marked. The switch has a slightly curved, modern design.
3.2 Caratteristiche
- Surface-mounted RSL wall switch
- Maximum wireless range: 70 meters (in open field)
- Push-button style operation (ON-OFF mode)
- Requires 12V battery (not included)
- Materiale: Plastica
4. Configurazione e installazione
4.1. Disimballaggio
Carefully remove all components from the packaging. Ensure all parts are present and undamaged. Retain the packaging for future transport or storage.
4.2. Installazione della batteria
The device requires a 12V battery (not included). To install the battery:
- Individuare il vano batteria sul retro dell'interruttore.
- Aprire il coperchio del vano batterie.
- Insert the 12V battery, ensuring correct polarity (+ and - terminals match the markings).
- Chiudere saldamente il coperchio del vano batterie.
4.3. Montaggio dell'interruttore a parete
The SY-RSL-T3 is a surface-mounted switch. Choose a suitable, flat location for installation, free from excessive moisture or heat. Use appropriate screws or adhesive (not specified if included) to secure the switch to the wall. Ensure the mounting surface is clean and dry before installation.

Un angolo view of the white Sygonix SY-RSL-T3 wireless wall switch, highlighting its two push-buttons and sleek profile.

Un lato view of the Sygonix SY-RSL-T3 wireless wall switch, showing its depth and how it would sit on a surface.
5. Istruzioni per l'uso
5.1. Pairing with an RSL Receiver
To operate the switch, it must first be paired with a compatible Sygonix RSL receiver (sold separately). The SY-RSL-T3 uses the RSL wireless protocol.
- Refer to your RSL receiver's instruction manual for specific pairing instructions.
- Typically, you will need to put the RSL receiver into a pairing or learning mode.
- Within the specified time frame (usually a few seconds), press one of the buttons (e.g., 'I' or 'O') on the SY-RSL-T3 wall switch.
- The receiver should indicate successful pairing (e.g., by flashing an LED or clicking).
- Repeat the process if you wish to pair the other button to a different receiver or channel, if supported by your receiver.
5.2. Funzionamento di base
Once successfully paired with an RSL receiver:
- Press the button marked with 'I' to send an ON signal to the paired receiver.
- Press the button marked with 'O' to send an OFF signal to the paired receiver.
The switch operates in a simple ON-OFF mode, controlling the connected device via the RSL receiver.
6. Manutenzione
6.1. Pulizia
Clean the surface of the switch with a soft, dry, lint-free cloth. Do not use abrasive cleaners, solvents, or harsh chemicals, as these can damage the plastic surface.
6.2. Sostituzione della batteria
When the switch's wireless range decreases significantly, or it stops responding to button presses, the battery may need replacement. Follow the steps in section 4.2 (Battery Installation) to replace the 12V battery.
7. Risoluzione Dei Problemi
| Problema | Possibile causa | Soluzione |
|---|---|---|
| Il dispositivo non risponde alla pressione dei pulsanti. | Batteria scarica o scarica. Non abbinato al ricevitore. Receiver is out of range or not powered. | Sostituire la batteria da 12V. Perform the pairing procedure (see section 5.1). Ensure the RSL receiver is powered and within the 70m range. |
| Portata wireless ridotta. | Batteria scarica. Obstructions between switch and receiver. | Sostituire la batteria da 12V. Minimize physical obstructions (e.g., thick walls, metal objects) between the switch and the receiver. |
8. Specifiche
| Caratteristica | Dettaglio |
|---|---|
| Produttore | Sygonix |
| Numero di modello | Codice articolo: SY-3523488 |
| Dimensioni del prodotto (L x P x A) | 1.9 x 8 x 8 cm (19 x 80 x 80 mm) |
| Peso | 100 grammi |
| Materiale | Plastica |
| Fonte di alimentazione | Alimentato a batteria |
| Batteria richiesta | Yes (12 Volts, not included) |
| Cambia stile | Pulsante |
| Modalità operativa | ACCESO SPENTO |
| Valutazione attuale | 1 A |
| Protocollo wireless | RSL |
| Max. Range (open field) | 70 metri |
| Quantità per confezione | 1 unità |
| Disponibilità dei pezzi di ricambio (UE) | 1 anno |
9. Garanzia e supporto
Sygonix provides a 1-year warranty for spare parts availability within the EU. For further support, technical assistance, or warranty claims, please contact your retailer or Sygonix customer service. Please have your model number (SY-3523488) and ASIN (B07NLBNPTF) ready when contacting support.
Produttore: Sygonix
Numero modello: Codice articolo: SY-3523488
ASIN: B07NLBNPTF


