1. Prodotto finitoview
This manual provides detailed instructions for the operation and maintenance of your Calvas Air Conditioner Remote Control. This remote is designed to be compatible with various Mitsubishi air conditioner models, ensuring convenient control over your cooling and heating settings.
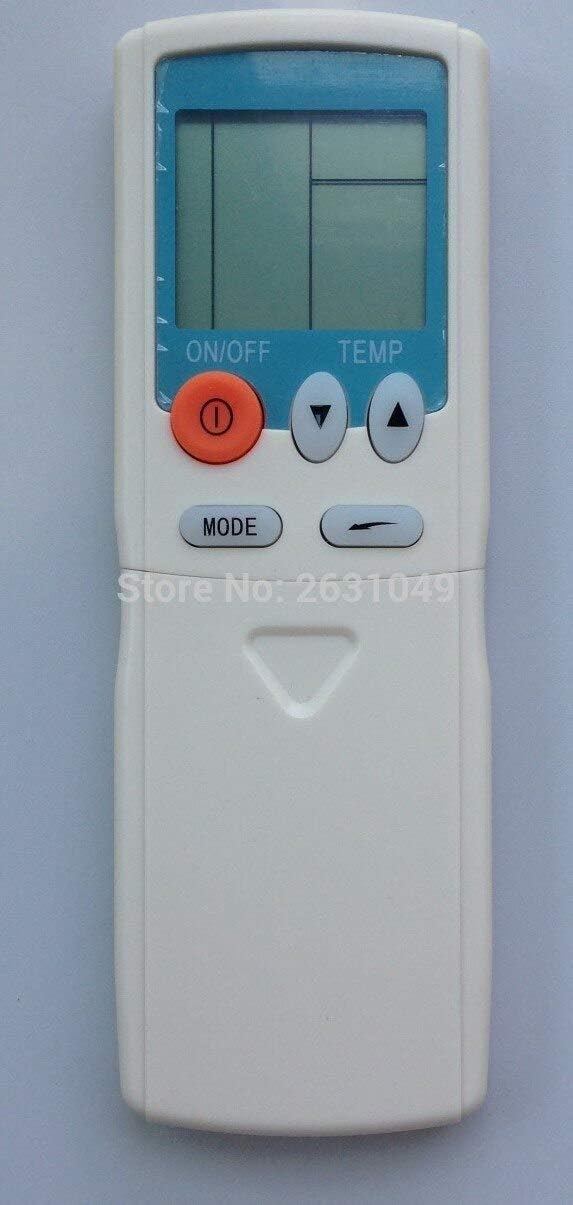
Figura 1: Fronte view of the Calvas Air Conditioner Remote Control. It features a clear LCD display at the top, an orange ON/OFF button, two triangular temperature adjustment buttons (up and down), and a MODE button below them. The remote is white with a light blue accent around the display.
2. Impostazione
2.1 Installazione della batteria
To begin using your remote control, you must first install the batteries. This remote requires standard batteries (typically AAA, though the product specifications mention Lithium, please verify the battery type indicated in the battery compartment).
- Individuare il vano batterie sul retro del telecomando.
- Per aprire il coperchio del vano batteria, farlo scorrere verso il basso o nella direzione indicata dalla freccia.
- Insert the batteries, ensuring the positive (+) and negative (-) terminals align correctly with the markings inside the compartment. Incorrect insertion can prevent the remote from functioning.
- Richiudere il coperchio del vano batteria facendolo scorrere in posizione finché non scatta in posizione.
After battery installation, the LCD display on the remote should illuminate, indicating it is ready for use.
3. Istruzioni per l'uso
Familiarize yourself with the buttons on your remote control to effectively manage your air conditioner's functions.

Figura 2: dettagliata view of the remote control with the lower panel extended, revealing additional function buttons. These include buttons for fan speed, timer settings, and possibly a reset clock function.
3.1 Funzioni di base
- Pulsante ON/OFF (●): Press this orange button to turn the air conditioner unit on or off.
- Pulsanti di regolazione della temperatura (▲ TEMP ▼): Use the up (▲) and down (▼) triangular buttons to increase or decrease the desired temperature setting.
- Pulsante MODE: Press this button to cycle through the available operating modes, such as Cool, Heat, Fan, Dry, and Auto. The current mode will be displayed on the LCD screen.
3.2 Funzioni avanzate (sotto la copertura scorrevole)
Some models of this remote control feature a sliding cover at the bottom that reveals additional function buttons. Slide the cover down to access these controls.
- Pulsanti della velocità della ventola: Typically represented by fan icons, these buttons allow you to adjust the fan speed (e.g., Low, Medium, High, Auto).
- Timer Buttons (HR., MIN.): Used to set the ON/OFF timer for the air conditioner. Refer to your air conditioner's main manual for specific timer programming instructions.
- Pulsante CANCELLA: May be used to clear certain settings or timer programs.
- RESET CLOCK Button: Used to reset the internal clock of the remote, if applicable.
- Indicatore BATTERIA: Some remotes may have a low battery indicator or a button to check battery status.
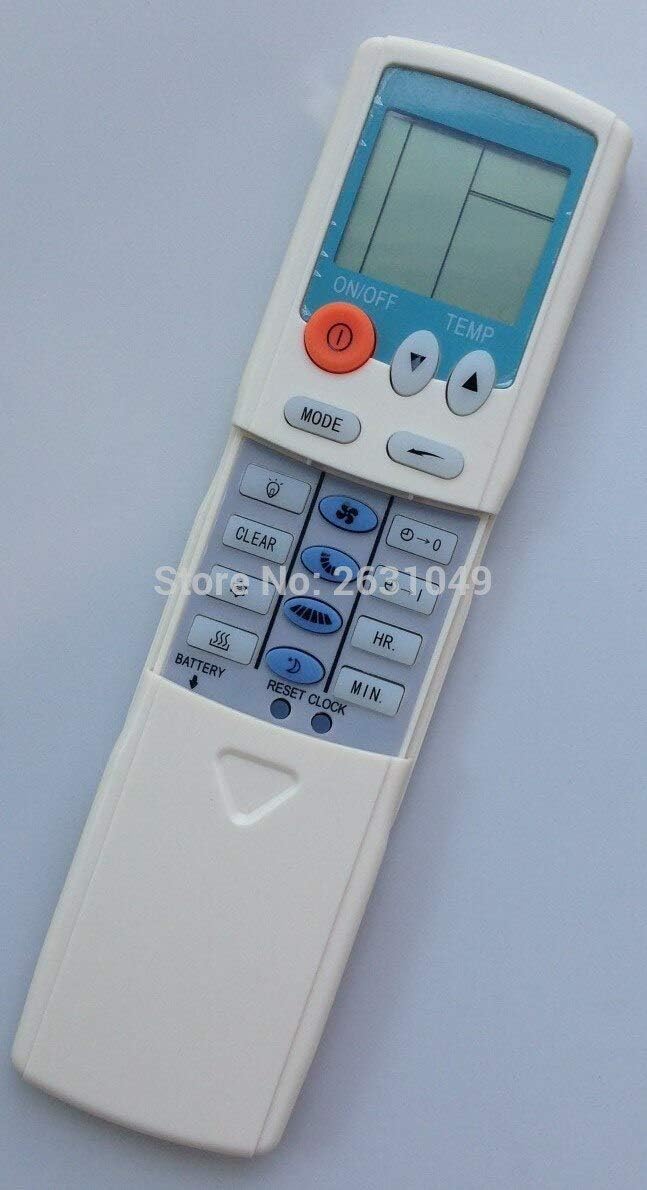
Figura 3: lato view of the remote control, providing a clearer perspective of the button arrangement and the sliding cover mechanism.
4. Manutenzione
4.1 Pulizia del telecomando
To ensure the longevity and proper functioning of your remote control, keep it clean and free from dust and debris.
- Pulire la superficie del telecomando con un panno morbido e asciutto.
- Per sporco ostinato, leggermente dampPulire il panno con acqua o con un detergente delicato e non abrasivo. Non spruzzare il detergente direttamente sul telecomando.
- Evitare l'uso di prodotti chimici aggressivi, solventi o materiali di pulizia abrasivi, poiché potrebbero danneggiare la finitura del telecomando o i componenti interni.
4.2 Sostituzione della batteria
Replace batteries when the display becomes dim or the remote's range decreases. Always replace all batteries at the same time with new ones of the same type.
- Seguire i passaggi per l'installazione della batteria descritti nella Sezione 2.1.
- Smaltire le batterie usate in modo responsabile secondo le normative locali.
5. Risoluzione Dei Problemi
If you experience issues with your remote control, try the following troubleshooting steps before seeking further assistance.
| Problema | Possibile causa | Soluzione |
|---|---|---|
| Il telecomando non risponde / Il condizionatore non reagisce. |
|
|
| Il display è scuro o vuoto. |
|
|
| Remote functions intermittently. |
|
|
6. Specifiche
| Caratteristica | Dettaglio |
|---|---|
| Marca | punti calvi |
| Compatibilità del modello | HYPFCR-38W, HYPFCR-30, HYPFCR-37W, HYPFCR-47, HYPFCR-48W |
| Comunicazione senza fili | Infrarossi (IR) |
| Frequenza | 433 MHz |
| Canale | 1 |
| Dispositivi compatibili | Condizionatore d'aria |
| Materiale | Altro |
| Tipo di batteria | Lithium (Please verify actual battery type in compartment, typically AAA/AA for remotes) |


