1. Introduzione
The i-Star T-7M1HD-RED is an aluminum hot-swappable mobile rack designed to convert a 5.25" drive bay into a versatile bay for 3.5" or 2.5" HDDs/SSDs. It features a high-performance SAS/SATA interface, offering robust functionality and compact design. This unit is built for durability and includes an 80mm blower fan for enhanced cooling, ensuring optimal performance even under demanding conditions. LED indicators provide real-time monitoring of power and hard drive activity.

Figura 1: Fronte view of the T-7M1HD-RED hot-swap rack, showing the 5.25" bay form factor and the red drive insert.
2. Caratteristiche principali
- Power/Drive Activity LEDs: Visual indicators for system power and hard drive read/write operations.
- Point to Point, Free from Master/Slave Setting: Simplifies drive configuration and connectivity.
- Best Air Ventilation with 1x80mm HDD Blower Fan: Integrated fan for efficient heat dissipation, maintaining optimal drive temperatures.
- Pulsante di accensione/spegnimento: Convenient control for the installed drive.
- Cableless Connection, Support Plug & Play, Hot-Swappable: Enables easy installation, removal, and replacement of drives without system shutdown.
3. Contenuto della confezione
Si prega di verificare che tutti gli articoli elencati di seguito siano inclusi nel pacchetto:
- ISTAR T-7M1HD-RED Hot-swap Rack Unit
- SATA Data Cable (typically red)
- Viti di montaggio
- Manuale dell'utente (questo documento)

Figure 2: Included accessories, showing the SATA data cable and mounting screws.
4. Configurazione e installazione
Follow these steps to properly install your T-7M1HD-RED hot-swap rack and integrate your drives.
4.1 Installing the Rack into a PC Bay
- Assicurati che il computer sia spento e scollegato dalla presa a muro.
- Aprire il case del computer per accedere agli alloggiamenti delle unità interne.
- Locate an available 5.25" drive bay. Remove any front panel covers or brackets if necessary.
- Slide the T-7M1HD-RED unit into the 5.25" bay from the front of the case until the mounting holes align.
- Secure the unit using the provided mounting screws on both sides of the rack.

Figura 3: lato view of the rack, highlighting the mounting points for installation into a 5.25" PC bay.
4.2 Collegamento dei cavi di alimentazione e dati
- Connect a SATA power cable from your power supply unit (PSU) to the power connector on the rear of the T-7M1HD-RED unit.
- Connect one end of the provided SATA data cable to the data port on the rear of the T-7M1HD-RED unit.
- Connect the other end of the SATA data cable to an available SATA port on your motherboard.

Figura 4: In basso view of the rack, illustrating the location of the SATA data and power connectors.
4.3 Installing a 2.5" or 3.5" HDD/SSD
- Open the front door of the T-7M1HD-RED unit.
- Carefully slide your 2.5" or 3.5" HDD/SSD into the drive bay until it firmly connects with the internal SATA/SAS connector. Ensure the drive is oriented correctly.
- Close the front door. The mechanism will secure the drive in place.
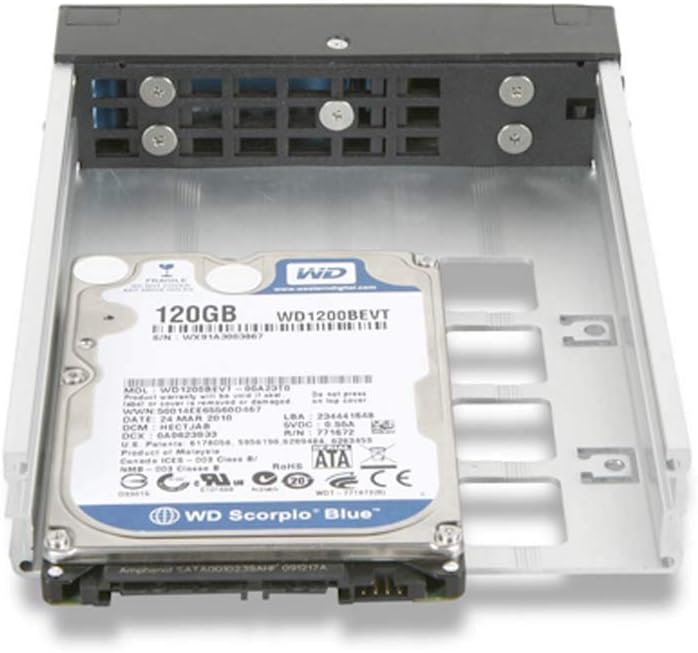
Figure 5: A 2.5" hard drive being inserted into the hot-swap rack.
5. Istruzioni per l'uso
5.1 Accensione/Spegnimento
After installing the rack and a drive, power on your computer. The T-7M1HD-RED unit has a dedicated power button on its front panel. Press this button to power on or power off the installed drive. The Power LED will illuminate when the drive is powered on.
5.2 Unità hot-swap
The T-7M1HD-RED supports hot-swapping, allowing you to insert or remove drives while the computer is running, provided your operating system and motherboard support this feature (e.g., AHCI mode enabled in BIOS/UEFI). Always ensure the drive is safely ejected or unmounted through your operating system before physically removing it to prevent data loss.
5.3 Indicatori LED
- LED di potenza: Indicates that the rack unit and the installed drive are receiving power.
- LED di attività: Flashes to indicate data read/write activity on the installed drive.
6. Manutenzione
To ensure optimal performance and longevity of your T-7M1HD-RED hot-swap rack, consider the following maintenance tips:
- Rimozione della polvere: Periodically inspect the unit's fan and ventilation openings for dust accumulation. Use compressed air to gently clear any dust, ensuring proper airflow for the integrated blower fan.
- Pulizia: Keep the exterior of the unit clean with a soft, dry cloth. Avoid using liquid cleaners directly on the unit.
- Condizioni ambientali: Operate the unit within recommended temperature and humidity ranges to prevent damage to internal components and installed drives.
7. Risoluzione Dei Problemi
If you encounter issues with your T-7M1HD-RED hot-swap rack, refer to the following common problems and solutions:
| Problema | Possibile causa | Soluzione |
|---|---|---|
| Unità non rilevata dal sistema. | Loose SATA data/power cables, drive not fully seated, BIOS/UEFI settings. |
|
| Il LED di alimentazione è spento. | No power to the unit, unit's power button off. |
|
| Drive activity LED not flashing. | No drive activity, drive not recognized, faulty LED. |
|
8. Specifiche
| Caratteristica | Dettaglio |
|---|---|
| Marca | io stella |
| Serie | T-7M1HD-RED |
| Numero di modello | T-7M1HD-RED |
| Peso dell'articolo | 1.62 libbre |
| Dimensioni del prodotto (LxWxH) | 8 x 6 x 2 pollici |
| Produttore | iStar |
| ASIN | B07V1229PF |
| Data prima disponibilità | 5 luglio 2019 |
| Compatibilità | 5.25" PC Drive Bay, 3.5" / 2.5" SAS/SATA HDDs/SSDs |
| Interfaccia | 12Gb/s SAS/SATA |
| Raffreddamento | 1x 80mm HDD Blower Fan |
9. Garanzia e supporto
For information regarding warranty coverage and technical support for your i-Star T-7M1HD-RED hot-swap rack, please refer to the official i-Star webo contattare direttamente il servizio clienti. Conservare la ricevuta d'acquisto come prova d'acquisto per eventuali reclami in garanzia.
For further assistance, you may visit the i-Star store on Amazon: i-Star Amazon Store