Introduzione
Thank you for choosing the GameMax H605 Micro ATX Gaming Tower Case. This manual provides essential information for the proper installation, operation, and maintenance of your new PC case. Please read this manual thoroughly before beginning assembly to ensure optimal performance and safety.
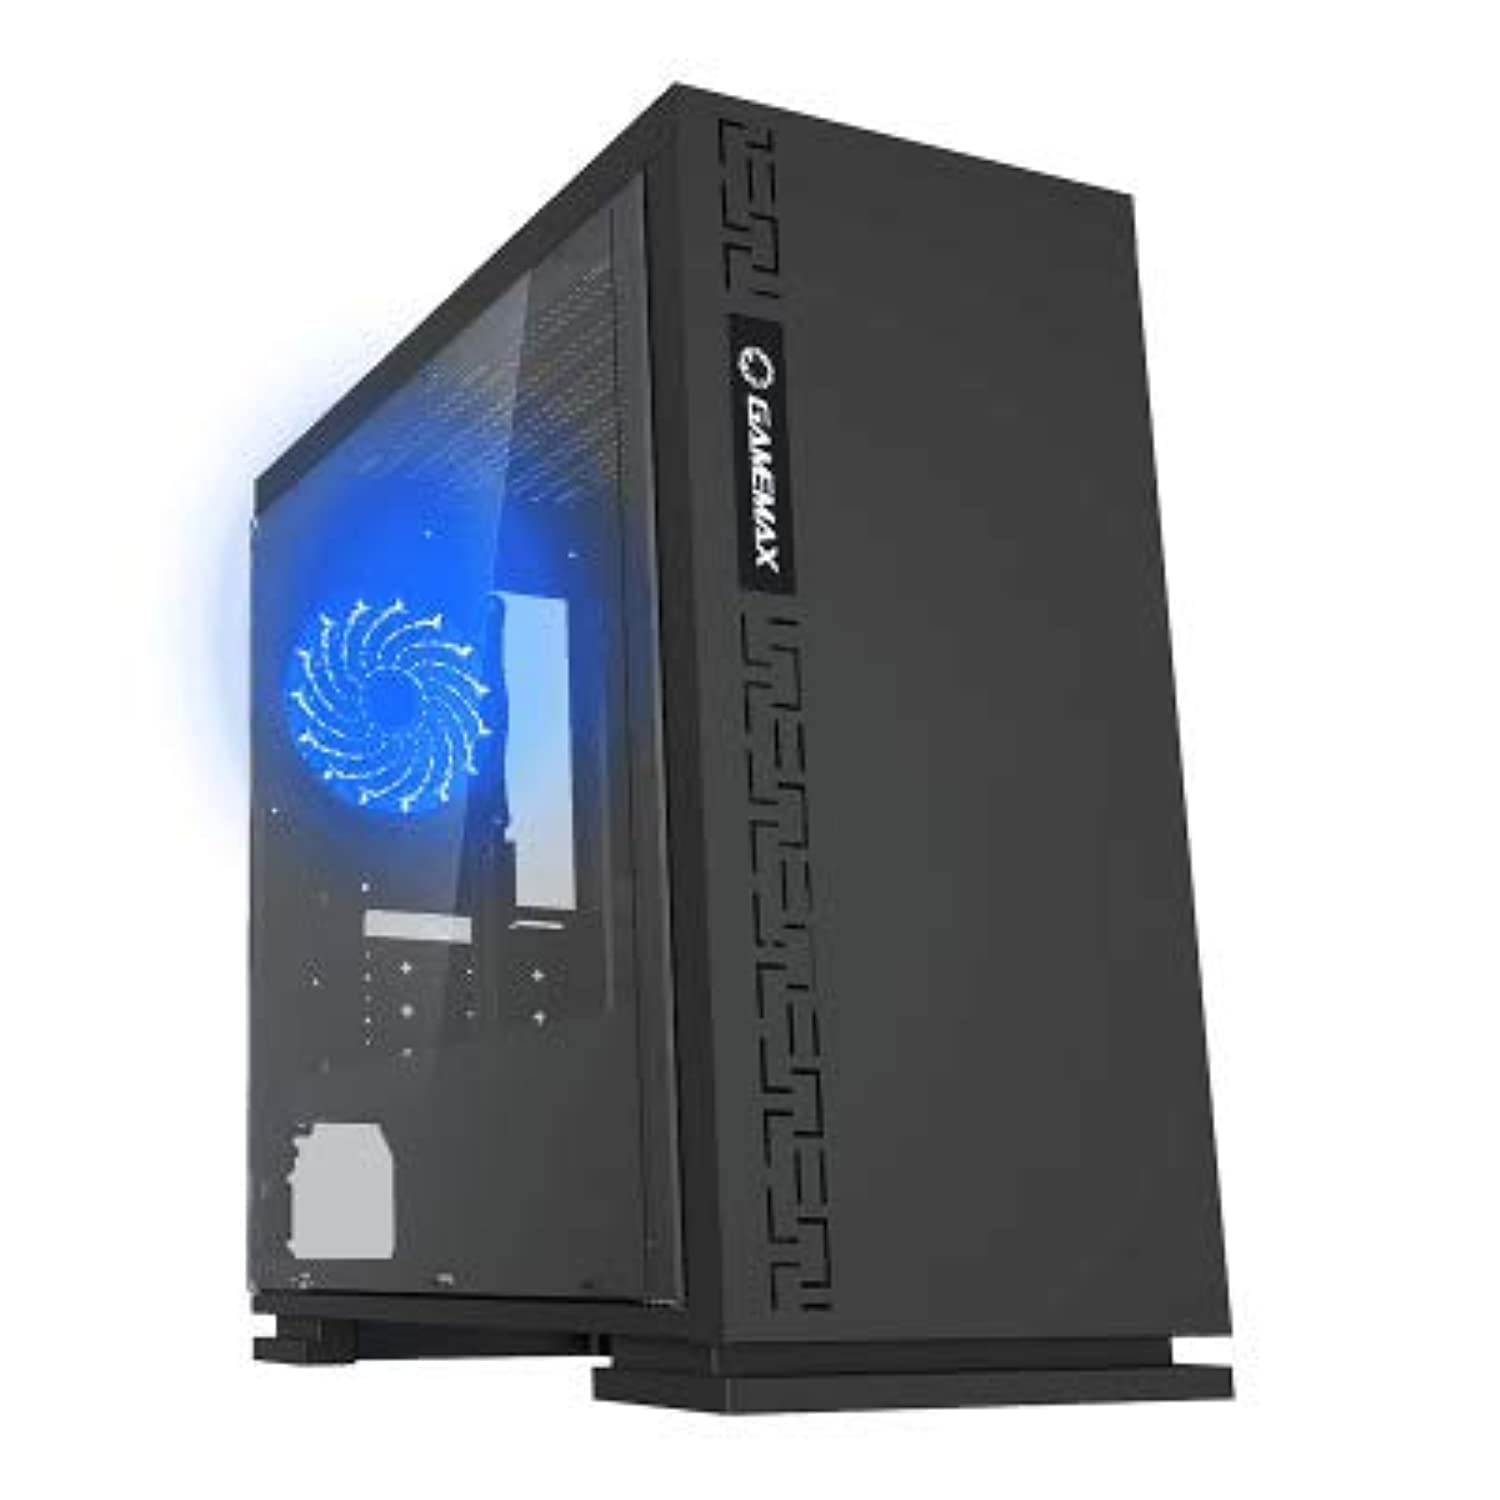
Figura 1: Fronte view of the GameMax H605 Micro ATX Gaming Tower Case, showcasing its sleek design and front panel.
The GameMax H605 is designed for Micro ATX motherboards and features a compact yet efficient layout for gaming components. It includes one pre-installed LED fan at the rear for immediate cooling. The case is constructed from steel and plastic, offering a balance of durability and aesthetics.
Informazioni sulla sicurezza
Durante l'installazione e il funzionamento, osservare le seguenti norme di sicurezza:
- Scollegare sempre l'alimentatore dalla presa a muro prima di installare o rimuovere qualsiasi componente.
- Indossare un braccialetto antistatico per evitare danni causati dalle scariche elettrostatiche (ESD) ai componenti sensibili.
- Maneggiare i componenti con cura per evitare danni fisici.
- Tenere la custodia lontana da liquidi e da umidità eccessiva.
- Assicurare una corretta ventilazione attorno al case per evitare il surriscaldamento.
Contenuto della confezione
Verify that all the following items are present in your GameMax H605 package:
- GameMax H605 Micro ATX Gaming Tower Case
- Scatola degli accessori (viti, distanziatori, fascette)
- Manuale dell'utente (questo documento)
If any items are missing or damaged, please contact your retailer or GameMax support.
Impostare
1. Preparazione del caso
- Posizionare la custodia su una superficie piana e stabile.
- Rimuovere i pannelli laterali svitando le viti a testa zigrinata sul retro del case e facendo scorrere i pannelli all'indietro.

Figura 2: Interno view of the GameMax H605 case with the side panel removed, showing the motherboard tray and drive bays.
2. Installazione della scheda madre
- Installare la schermatura I/O nell'apertura posteriore del case.
- Align your Micro ATX motherboard with the standoffs inside the case. Ensure the standoffs match the screw holes on your motherboard.
- Fissare la scheda madre con le viti fornite.
3. Installazione dell'unità di archiviazione
- For 3.5-inch HDDs, slide the drive into the designated drive cage bays and secure with screws if necessary.
- For 2.5-inch SSDs, mount them onto the dedicated SSD brackets or trays and secure with screws.
4. Installazione dell'alimentatore
- Position the power supply unit (PSU) in the bottom rear compartment of the case.
- Fissare l'alimentatore al case utilizzando le viti fornite con l'alimentatore.
5. Installazione della scheda grafica e della scheda di espansione
- Rimuovere le coperture degli slot di espansione necessari dalla parte posteriore del case.
- Inserisci la scheda grafica o altre schede di espansione negli slot PCIe appropriati sulla scheda madre.
- Fissare le schede con le viti.

Figura 3: Posteriore view of the GameMax H605 case, showing expansion slots and I/O shield opening.
6. Gestione dei cavi
Utilizzate i fori per il passaggio dei cavi e i punti di fissaggio dietro il vassoio della scheda madre per gestire i cavi. Questo migliora il flusso d'aria e l'estetica.
Operativo
Once all components are installed and connected, replace the side panels and connect your peripherals (monitor, keyboard, mouse) to the motherboard's I/O ports. Connect the power cable to the PSU and a wall outlet. Press the power button on the front panel to start your system.

Figura 4: Parte superiore-anteriore view of the GameMax H605 case, highlighting the front panel I/O ports and power button.
Manutenzione
Regular maintenance helps ensure the longevity and optimal performance of your PC case and components:
- Pulizia della polvere: Periodically clean dust from the case interior, fans, and filters using compressed air or a soft brush. Ensure the system is powered off and unplugged before cleaning.
- Controllo della gestione dei cavi: Controllare di tanto in tanto il percorso dei cavi per assicurarsi che nessuno di essi ostruisca il flusso d'aria o il funzionamento della ventola.
- Ispezione della ventola: Verify that all fans are spinning freely and are free from obstructions.
Risoluzione dei problemi
Se riscontri problemi con la configurazione del tuo PC, prendi in considerazione i seguenti passaggi comuni per la risoluzione dei problemi:
- Nessun potere: Ensure all power cables (24-pin ATX, 8-pin CPU, GPU power) are securely connected. Check if the PSU switch is in the 'ON' position.
- Nessuna visualizzazione: Verify that the monitor cable is connected to the graphics card (not the motherboard I/O) and that the monitor is powered on and set to the correct input.
- Surriscaldamento: Check fan connections and ensure they are spinning. Clean any dust buildup. Verify proper airflow within the case.
- Collegamenti allentati: Re-seat RAM modules, graphics card, and all power/data cables to ensure they are firmly in place.
Specifiche
| Caratteristica | Dettaglio |
|---|---|
| Marca | GiocoMax |
| Numero modello articolo | H605 NERO |
| Produttore | GiocoMax |
| Serie | H605 NERO |
| Colore | Nero |
| Piattaforma hardware | Finestre 7 |
| Batterie incluse | NO |
| Peso dell'articolo | 7.53 grammi |
| Compatibilità della scheda madre | Micro-ATX |
| Tipo di caso | Mid Tower |
| Usi consigliati per il prodotto | Gioco d'azzardo |
| Materiale | Solid Plastic Alloy |
| Metodo di raffreddamento | Water (Implies compatibility for water cooling solutions) |
| Nome del modello | H605 NERO |
| Dimensioni della ventola | 120 millimetri |
| Porte USB totali | 1 |
| Data prima disponibilità | 9 luglio 2019 |
Garanzia e supporto
GameMax products are designed for reliability and performance. For warranty information, please refer to the warranty card included with your purchase or visit the official GameMax website. If you require technical assistance or have questions regarding your GameMax H605 case, please contact GameMax customer support through their official channels.
Conservare la prova d'acquisto per eventuali richieste di garanzia.


