Introduzione
The OneTouch Ultra2 Blood Glucose Monitoring System is designed to help individuals with diabetes monitor their blood glucose levels quickly and accurately. Regular monitoring is a key part of managing diabetes effectively. This system provides reliable results, allowing you to track your glucose trends and make informed decisions about your health in consultation with your healthcare professional.
Key features include a large, easy-to-read display with backlight, and the ability to store and review before and after meal results and averages.

Image: The OneTouch Ultra2 Blood Glucose Monitoring System, including the meter, lancing device, and a box of test strips, all neatly arranged with its carrying case.
Cosa è incluso
Your OneTouch Ultra2 Blood Glucose Monitoring System package typically includes the following components:
- OneTouch Ultra2 Meter: The main device for reading blood glucose levels.
- OneTouch Delica Plus Lancing Device: Used to obtain a blood samplui.
- OneTouch Ultra2 Meter Owner's Booklet: Detailed instructions and information about your system.
- OneTouch Ultra2 Meter Getting Started Guide: A quick reference for initial setup.
- Custodia per il trasporto: For convenient storage and transport of your system components.

Immagine: A view inside the open carrying case, showing the OneTouch Ultra2 meter, lancing device, owner's booklet, and getting started guide, illustrating all included items.
Impostare
Before using your OneTouch Ultra2 meter for the first time, follow these setup steps:
- Inserire le batterie: Open the battery compartment on the back of the meter and insert the two C batteries (included), ensuring correct polarity. Close the compartment securely.
- Imposta data e ora: Turn on the meter. The display will prompt you to set the current date and time. Use the arrow buttons to adjust the values and the OK button to confirm each setting.
- Preparare il dispositivo pungidito: Insert a new, sterile lancet into the OneTouch Delica Plus Lancing Device. Twist off the protective cap from the lancet. Replace the lancing device cap. Adjust the depth setting on the lancing device according to your comfort level and skin type.

Image: A person's hands are shown preparing the OneTouch Delica Plus Lancing Device, demonstrating the process of inserting a lancet and twisting off its protective cap.
Istruzioni per l'uso
Esecuzione di un test della glicemia
Per eseguire un test della glicemia, seguire questi passaggi:
- Lavarsi le mani: Lavatevi accuratamente le mani con acqua tiepida e sapone. Asciugatele completamente.
- Inserire la striscia reattiva: Insert a OneTouch Ultra test strip into the test strip port of the meter. The meter will turn on automatically.
- Ottieni sangue Sampon: Utilizzare il pungidito per pungere il lato del polpastrello. Premere delicatamente il dito per far uscire una piccola goccia di sangue.
- Applicare sangue Sampon: Toccare la punta della striscia reattiva con la goccia di sangue. Il sangue verrà aspirato nella striscia. Non applicare il sangue sulla parte superiore della striscia.
- Leggi i risultati: Il misuratore visualizzerà il risultato della glicemia in circa 5 secondi.
- Risultati record: The meter automatically stores your results. You can also manually record them in a logbook.

Image: An informational graphic highlighting the features of the lancing device, emphasizing its silicone-coating for smooth gliding and comfortable testing.
Capire i tuoi risultati
The OneTouch Ultra2 meter provides clear numerical results. It also allows you to mark readings as "before meal" or "after meal" to help you understand how food affects your blood glucose. The meter can calculate and display averages for these categories over time.
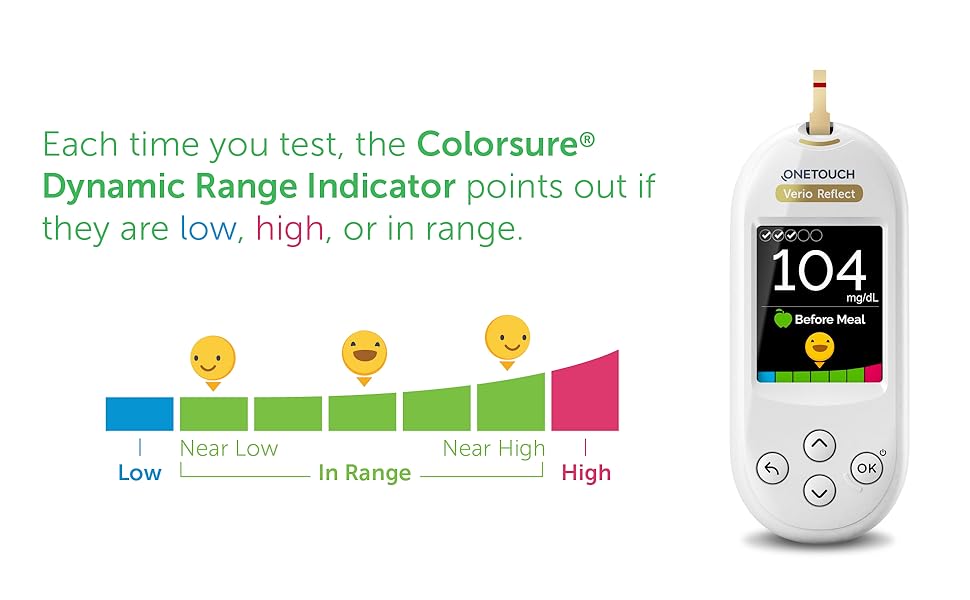
Image: A OneTouch meter displaying a blood glucose reading, accompanied by a colorful chameleon graphic and text promoting the use of colors for diabetes management, indicating visual cues for glucose levels.
Manutenzione e cura
Pulizia del contatore
To clean your OneTouch Ultra2 meter, wipe the exterior with a soft, damp cloth. Do not immerse the meter in water or use harsh cleaning agents. Ensure the test strip port remains free of debris.
Magazzinaggio
Store your OneTouch Ultra2 meter and test strips in their original containers in a cool, dry place, away from direct sunlight, extreme temperatures, and humidity. Always keep the test strip vial cap tightly closed to protect the strips from moisture.
Sostituzione della batteria
The meter uses two C batteries. When the low battery indicator appears on the display, replace both batteries simultaneously. Refer to the Owner's Booklet for detailed instructions on battery replacement.
Risoluzione dei problemi
If you encounter issues with your OneTouch Ultra2 Blood Glucose Monitoring System, refer to the table below for common problems and their solutions. For issues not listed, consult your Owner's Booklet or contact customer support.
| Problema | Possibile causa/soluzione |
|---|---|
| Codice errore E-1 | Test strip improperly inserted or damaged. Remove and reinsert the test strip, or use a new one. |
| Letture imprecise | Check test strip expiration date. Ensure proper blood sample application. Verify meter and strip are at room temperature. Consult your healthcare professional if discrepancies persist. |
| Meter Does Not Turn On | Batteries may be low or incorrectly inserted. Replace batteries or ensure they are properly seated. |
| Sangue insufficiente Sample | Ensure a sufficient blood drop is applied to the test strip. Do not add more blood after the test has started. Use a new strip if necessary. |
Specifiche
- Nome modello: Ultra 2
- Marca: UN TOCCO
- Dimensioni del prodotto: 3.85 x 3.02 x 6.41 pollici; 5.61 once
- Batterie: 2 batterie C (incluse)
- Composizione delle celle della batteria: Litio
- Tempo di funzionamento: 5 Seconds (for test results)
- Produttore: LifeScan Inc.
- ASIN: B07Y1C68K7
- Codice UPC: 353885011853
Garanzia e supporto
For detailed warranty information regarding your OneTouch Ultra2 Blood Glucose Monitoring System, please refer to the Owner's Booklet provided with your product. The booklet contains specific terms, conditions, and duration of the warranty.
Should you require technical assistance, have questions about your meter, or need to order replacement parts or supplies, please contact OneTouch Customer Support. Contact details can typically be found in your Owner's Booklet or on the official OneTouch websito.
Always ensure you are using genuine OneTouch Ultra test strips with your OneTouch Ultra2 meter for accurate results and to maintain warranty validity.


