Introduzione
This manual provides detailed instructions for the assembly, operation, and maintenance of your Tamiya Neo-VQS (VS Chassis) 1/32 Racing Mini 4WD Series model kit. Please read all instructions carefully before beginning assembly to ensure correct construction and optimal performance.
Cosa c'è nella scatola
Your Tamiya Neo-VQS kit includes the following components:
- Neo-VQS Body Parts
- VS Chassis Parts
- Motore
- Wheel and Tire Set
- Set di ingranaggi
- Axles and Bearings
- Roller Parts
- Metallic Stickers
- Istruzioni per il montaggio e l'uso
Note: Two AA batteries (not included) are required for operation.
Istruzioni di montaggio
Follow these steps to assemble your Tamiya Neo-VQS Mini 4WD car. Refer to the included diagrams and the general assembly video for visual guidance.
Step 1: Chassis Preparation
Begin by carefully detaching all chassis components from their runners. Ensure all edges are smooth. The VS Chassis is designed for stability and performance.

Image: The VS Chassis showing the motor, gears, and battery compartment. This image illustrates the internal layout of the chassis.
Step 2: Motor and Gear Installation
Install the motor into its designated slot within the chassis. Attach the appropriate gears to the motor shaft and axles as per the detailed instructions. Ensure gears mesh smoothly for efficient power transfer.

Immagine: Un dettaglio view of the motor and gear assembly within the chassis, highlighting the blue and pink gears.
Step 3: Axle and Wheel Assembly
Insert the axles through the chassis and attach the wheels. Ensure the wheels spin freely without obstruction. The Neo-VQS features red wheels for a distinctive look.

Immagine: A view of the front axle and wheel assembly, showing how the wheels attach to the chassis.
Step 4: Attaching Bumper/Roller Stays
Securely attach the front and rear bumper/roller stays to the chassis. These components are crucial for guiding the car on the track and absorbing impacts.
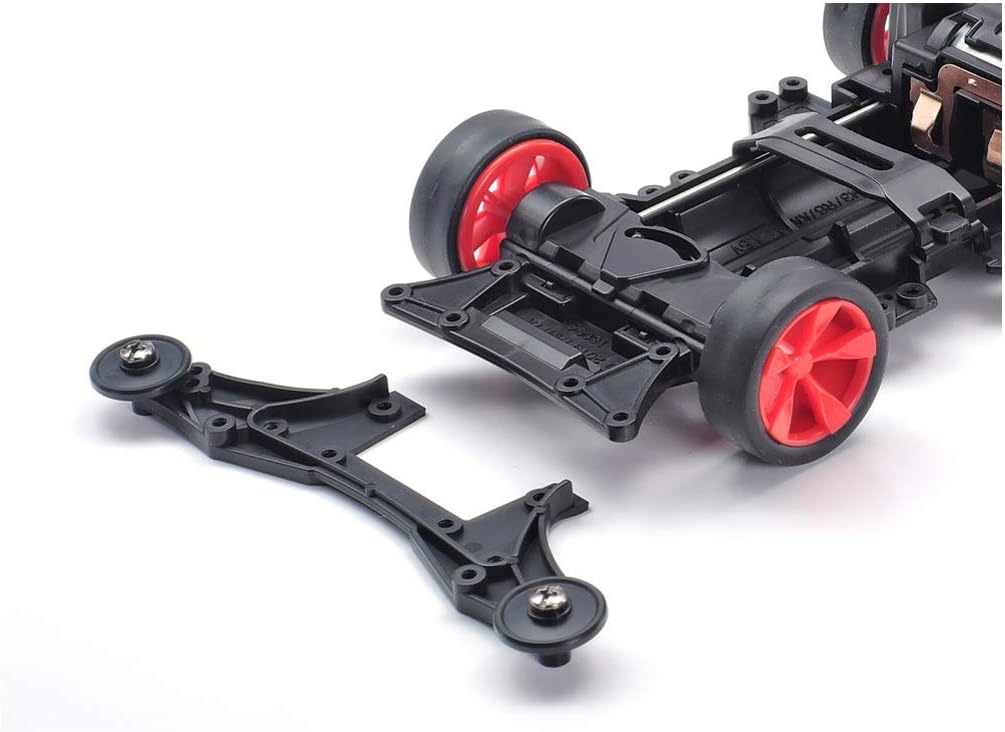
Image: The front bumper/roller stay shown detached from the main chassis, ready for assembly.

Image: The rear bumper/roller stay shown detached from the main chassis, illustrating its separate component nature.
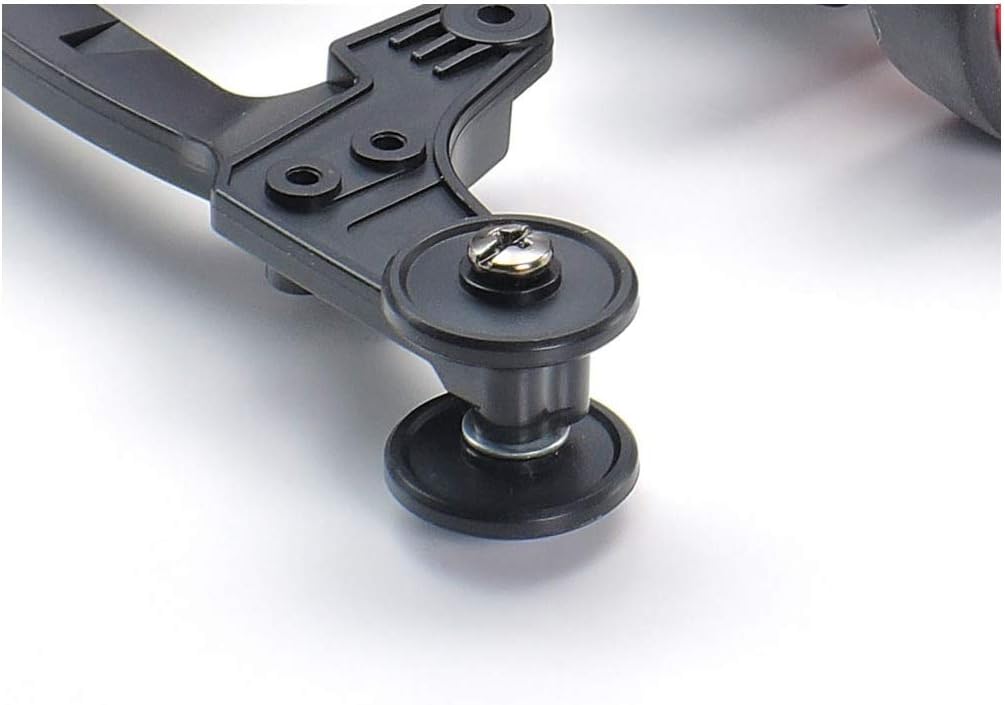
Image: A close-up of a roller attached to the bumper stay, demonstrating its function for track guidance.
Step 5: Body Shell and Sticker Application
Attach the Neo-VQS body shell to the assembled chassis. Apply the metallic stickers according to the design on the packaging or your preference. This completes the aesthetic of your Mini 4WD car.

Image: The fully assembled Tamiya Neo-VQS Mini 4WD car, showcasing its sleek design and applied stickers.
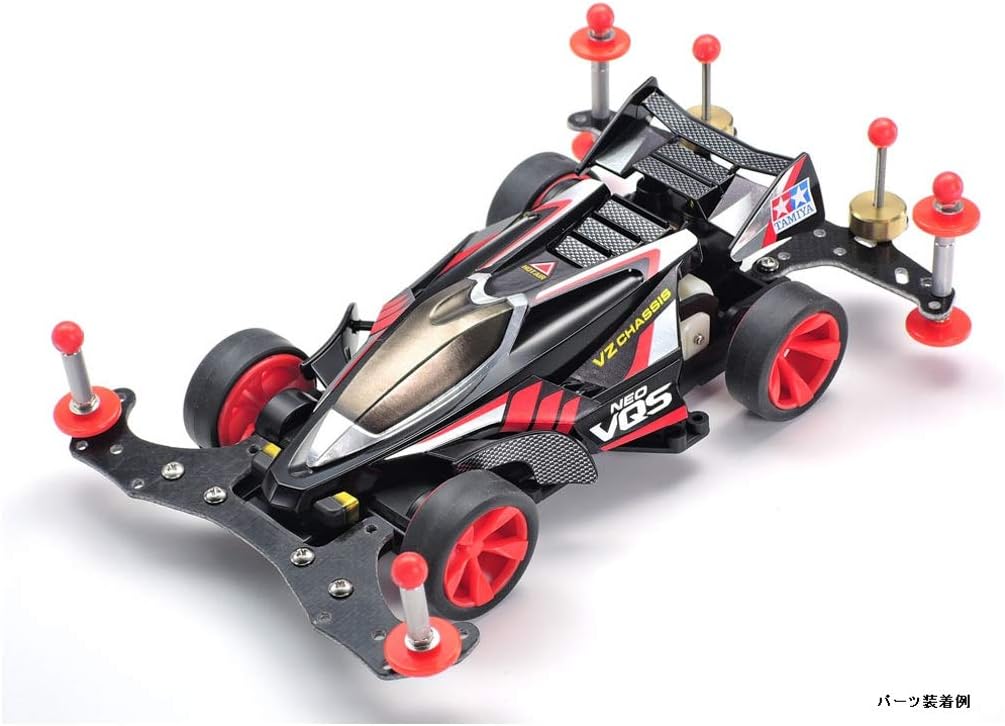
Image: The Tamiya Neo-VQS with additional optional parts, such as extra rollers and weights, demonstrating customization possibilities.
General Assembly Guide (Video)
Per un generale overview of Tamiya Mini 4WD kit assembly, you may refer to the following video. Please note that this video features a different Tamiya Mini 4WD model (Mach Frame Kit), but the fundamental assembly principles are similar.
Video: A general assembly guide for a Tamiya 1/32 Jr Racing Mach Frame Kit. This video demonstrates the typical steps involved in building a Tamiya Mini 4WD car, including unpacking components, chassis assembly, and body attachment.
Istruzioni per l'uso
Once assembled, your Tamiya Neo-VQS is ready for action:
- Inserire le batterie: Open the battery compartment (usually on the underside of the chassis) and insert two AA batteries, ensuring correct polarity.
- Accensione: Locate the power switch on the chassis and slide it to the 'ON' position.
- Posizionamento in pista: Carefully place your Mini 4WD car onto a compatible racing track.
- Divertiti a correre: The car will propel itself around the track. Observe its performance and make adjustments as needed.

Image: The underside of the VS Chassis, illustrating the battery compartment and power switch location.
Manutenzione
Regular maintenance will ensure the longevity and performance of your Mini 4WD car:
- Pulizia: After each use, gently clean the chassis, wheels, and gears to remove dust and debris. A soft brush or compressed air can be used.
- Controllo dell'attrezzatura: Periodically inspect the gears for wear or damage. Replace worn gears to maintain smooth operation.
- Cura del motore: Keep the motor free from dust. If performance degrades, consider replacing the motor.
- Conservazione della batteria: Remove batteries when the car is not in use for extended periods to prevent leakage and damage.
Risoluzione dei problemi
If you encounter issues with your Tamiya Neo-VQS, refer to the following common problems and solutions:
| Problema | Possibile causa | Soluzione |
|---|---|---|
| L'auto non si muove o si muove lentamente. |
|
|
| L'auto esce di strada. |
|
|
If problems persist after troubleshooting, please contact Tamiya customer support.
Specifiche
- Dimensioni del prodotto: 6.3 x 3.94 x 1.97 pollici
- Peso dell'articolo: 6.3 once
- Numero modello articolo: 18094-000
- Età consigliata dal produttore: 0 - 2 anni (Note: This age recommendation may refer to packaging guidelines; actual assembly and play are typically for older children and adults.)
- Tipo di telaio: VS Chassis
- Motore: Incluso
Garanzia e supporto
Specific warranty information for the Tamiya Neo-VQS (VS Chassis) 1/32 Racing Mini 4WD Series is not provided within this instruction manual. For details regarding warranty coverage, technical support, or replacement parts, please refer to the official Tamiya website or contact Tamiya customer service directly.


