1. Importanti istruzioni di sicurezza
Leggere attentamente tutte le istruzioni prima dell'installazione e dell'uso. Conservare il manuale per riferimento futuro.
Sicurezza generale
- Prima di procedere all'installazione, alla manutenzione o alla pulizia, assicurarsi che l'alimentazione sia scollegata.
- Questo apparecchio non è destinato all'uso da parte di persone (bambini compresi) con ridotte capacità fisiche, sensoriali o mentali, o prive di esperienza e conoscenza, a meno che non siano supervisionate o abbiano ricevuto istruzioni riguardanti l'uso dell'apparecchio da una persona responsabile della loro sicurezza.
- I bambini devono essere sorvegliati per assicurarsi che non giochino con l'apparecchio.
Sicurezza elettrica
- All electrical connections must be made by a qualified electrician and conform to local codes and regulations.
- Assicurare il volumetage and frequency of your power supply match the specifications of the fan.
- The fan must be properly grounded to prevent electric shock.
Sicurezza dell'installazione
- Mount the fan to a ceiling structure capable of supporting a minimum of 15 kg (33 lbs).
- Ensure there is adequate clearance between the fan blades and any obstacles (walls, furniture) and the floor. A minimum distance of 2.3 meters (7.5 feet) from the floor to the blades is recommended.
- Do not install the fan in a location where it can be easily reached by children or pets.
2. Prodotto finitoview
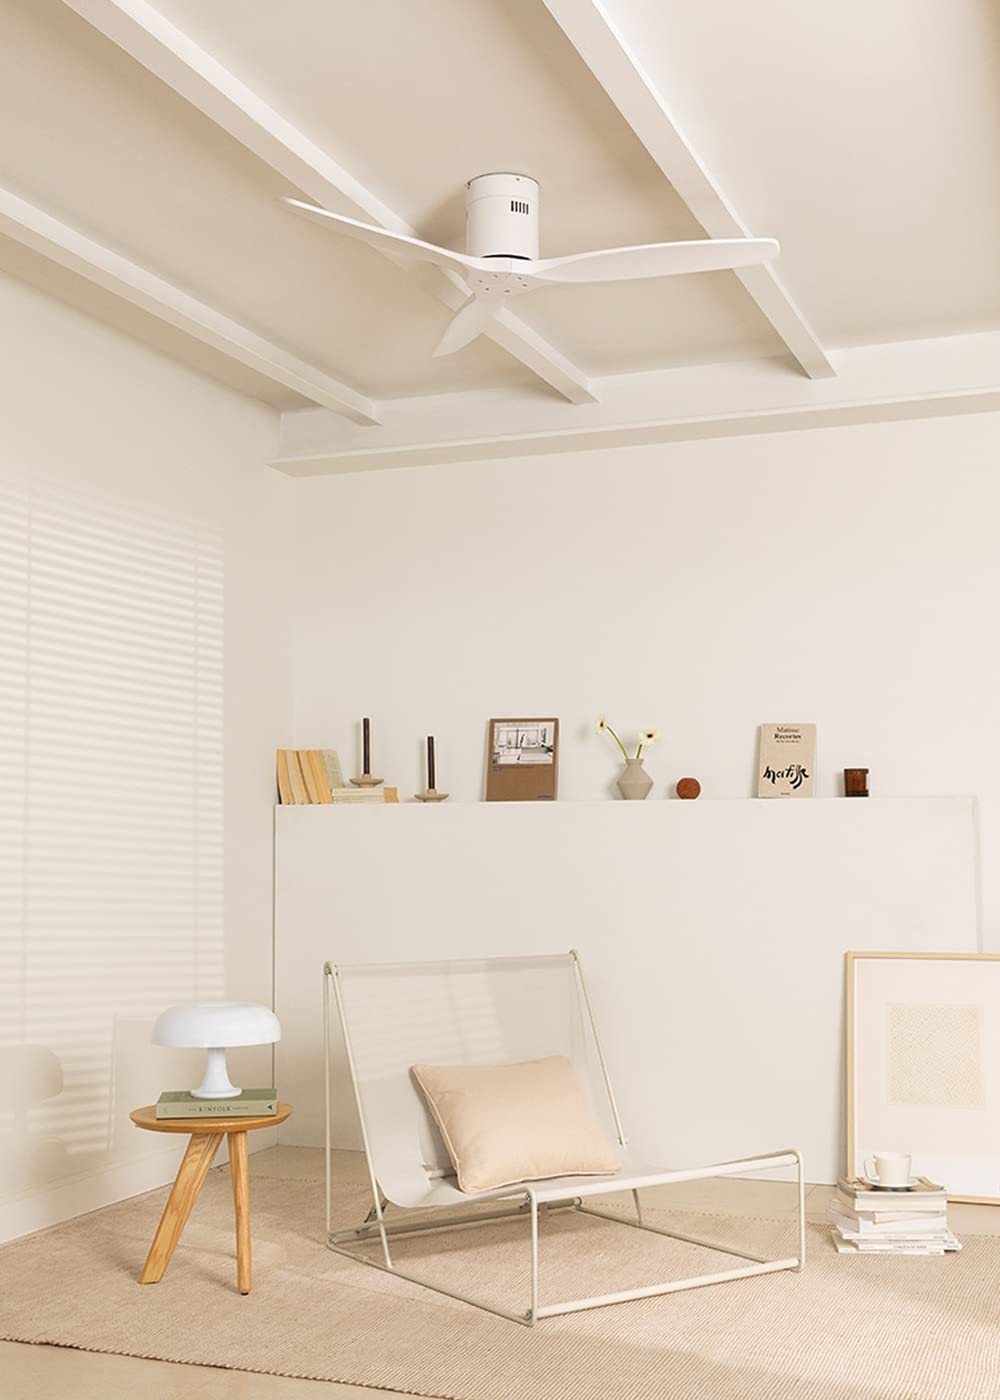
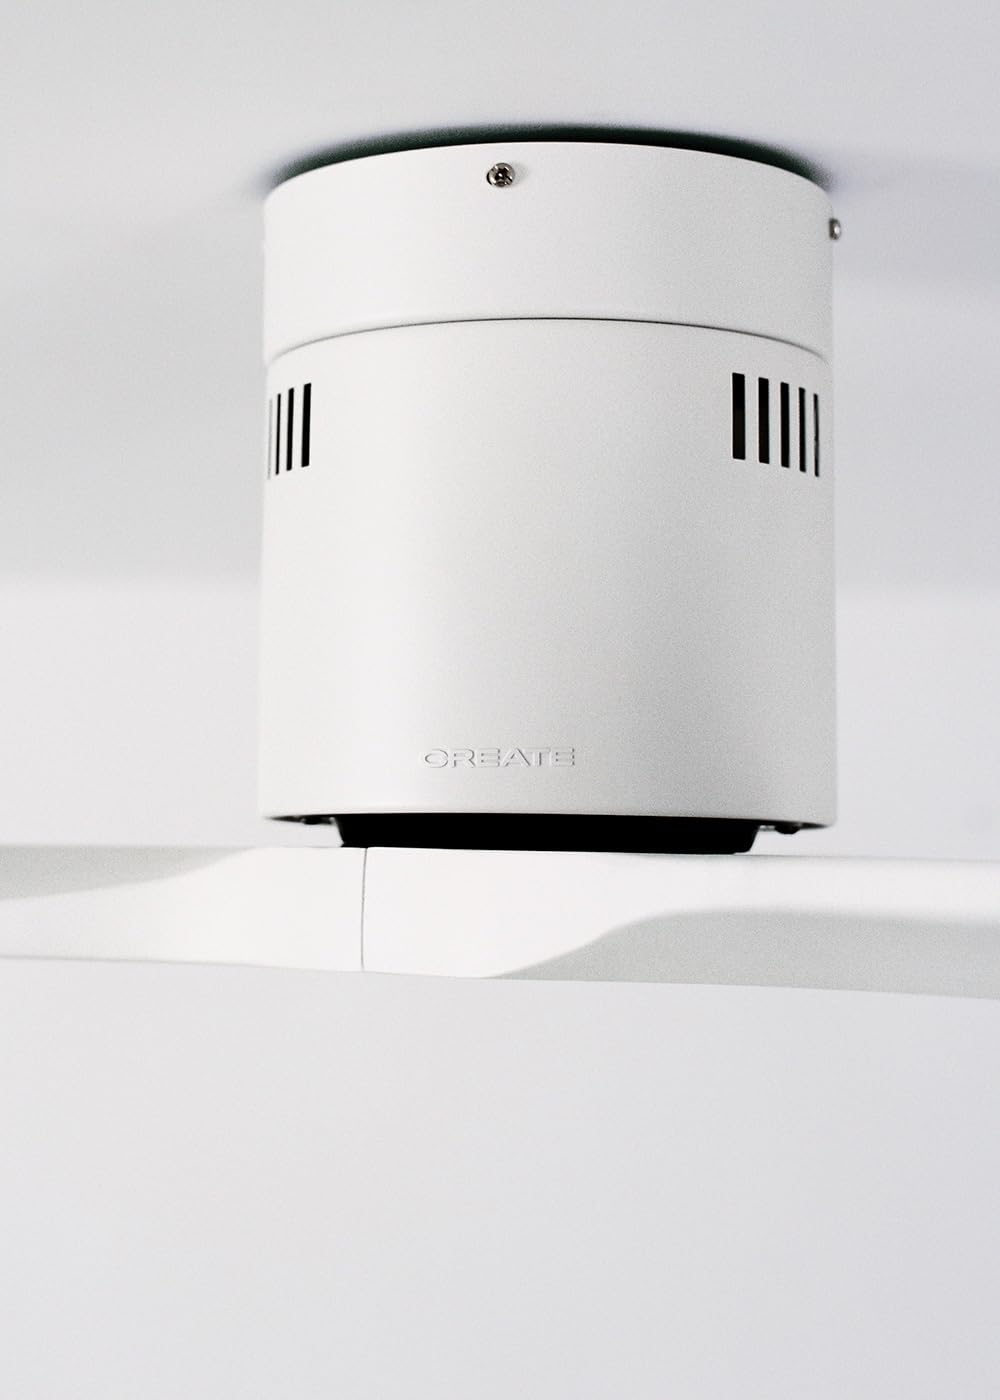
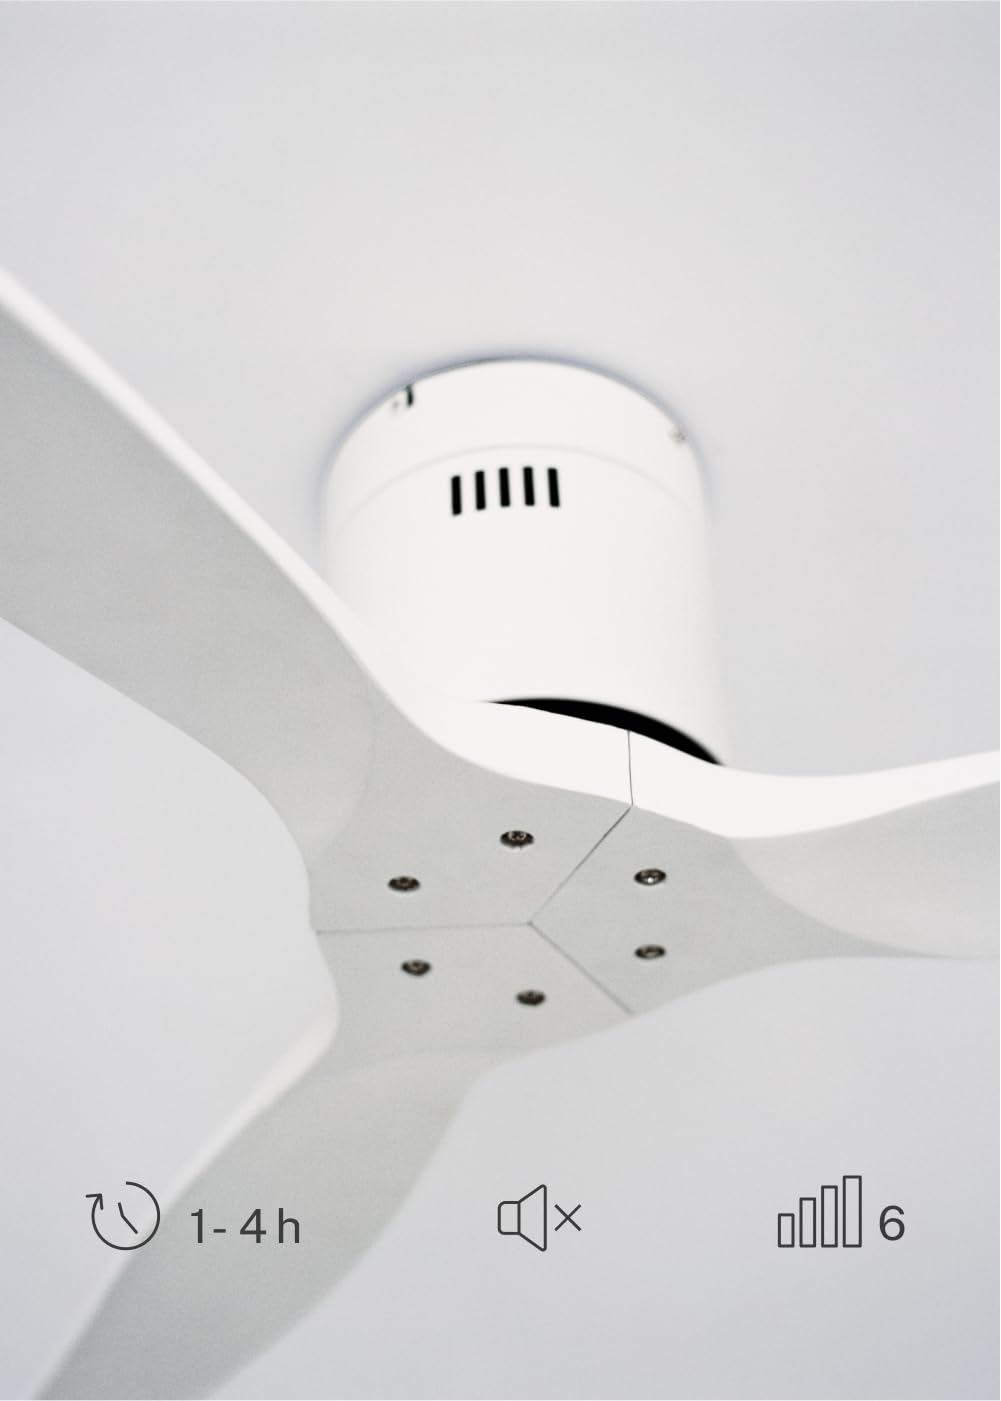
The CREATE WINDCALM DC Ceiling Fan is designed for efficient and quiet air circulation in various indoor spaces. It features a durable aluminum body, a silent DC motor, and three lightweight blades, ensuring minimal noise operation. The fan offers 6 adjustable speeds and a programmable timer for convenience.

3. Specifiche tecniche
| Caratteristica | Specificazione |
|---|---|
| Marca | CREARE |
| Numero di modello | 43479_88375 |
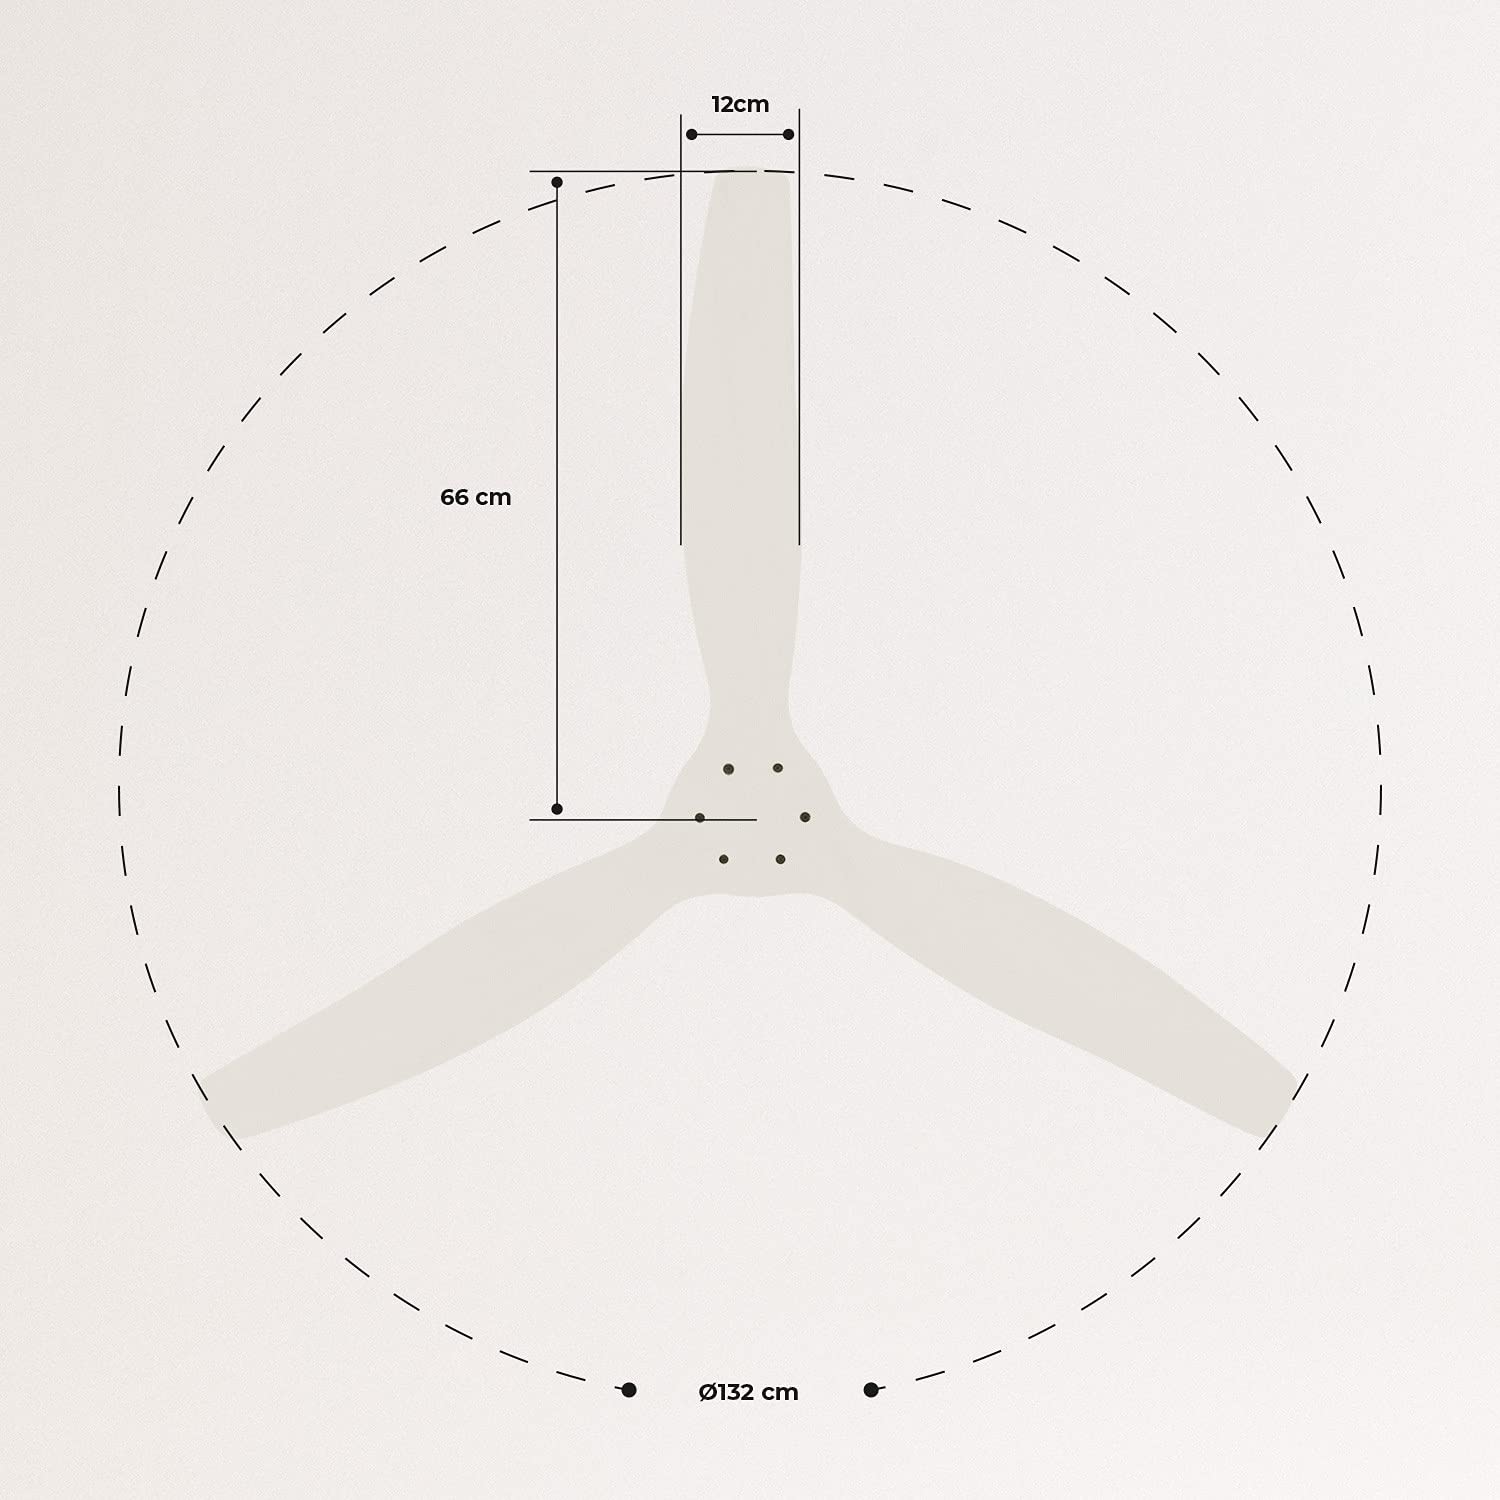
| Dimensioni (L x P x A) | Dimensioni: 132 x 132 x 29 cm |
| Peso | 6.38 kg |
| Progettazione del ventilatore | Ventilatore a soffitto |
| Fonte di alimentazione | Cavo elettrico |
| Caratteristica speciale | High Speed, Silent DC Motor, Timer, Summer/Winter Function |
| Uso consigliato | Ventilazione |
| Tipologia di camera | Living Room (suitable for 13m² to 25m² rooms) |
| Colore | White Blades |

4. Guida all'installazione
Proper installation is crucial for the safe and efficient operation of your ceiling fan. It is highly recommended that installation be performed by a qualified electrician.
Controlli pre-installazione
- Disimballare tutti i componenti e verificarli rispetto alla lista di imballaggio.
- Ensure the ceiling joist or support structure is strong enough to hold the fan's weight.
- Prima di iniziare qualsiasi lavoro elettrico, disattivare l'alimentazione elettrica tramite l'interruttore principale.
Montaggio del ventilatore
- Secure the mounting bracket to the ceiling outlet box using appropriate screws and washers.
- Sollevare con cautela il gruppo motore della ventola e fissarlo alla staffa di montaggio.
Collegamenti elettrici
Connect the electrical wires according to the wiring diagram provided in the separate detailed installation manual (not included in this general overview). Ensure all connections are secure and insulated.
Fissaggio delle lame
Attach the fan blades to the motor hub using the provided screws. Ensure all screws are tightened securely.

5. Istruzioni per l'uso
Your CREATE WINDCALM DC Ceiling Fan comes with a remote control for convenient operation of all its functions.
Funzioni del telecomando
Il telecomando consente di:
- Accensione/spegnimento: Accendere o spegnere il ventilatore.
- Regolazione della velocità: Select from 6 different fan speeds to control airflow intensity.
- Impostazione del timer: Program the fan to automatically turn off after 1, 2, or 4 hours.
- Modalità estate/inverno: Cambiare la direzione di rotazione delle pale per ottimizzare la circolazione dell'aria nelle diverse stagioni.
Modalità estiva
In summer mode, the fan blades rotate counter-clockwise, pushing air downwards. This creates a cooling breeze effect, helping to dissipate heat and refresh the room.

Moda invernale
In winter mode, the fan blades rotate clockwise, drawing air upwards. This helps to circulate warm air that accumulates near the ceiling, distributing it evenly throughout the room and improving heating efficiency.
6. Manutenzione e cura
Una manutenzione regolare garantisce la longevità e le prestazioni ottimali del ventilatore da soffitto.
Pulizia
- Prima di pulire la ventola, spegnerla sempre tramite l'interruttore automatico.
- Utilizzare un morbido, damp panno per pulire le pale della ventola e l'alloggiamento del motore. Non utilizzare detergenti abrasivi o solventi, poiché potrebbero danneggiare la finitura.
- Prima di ripristinare l'alimentazione, assicurarsi che la ventola sia completamente asciutta.
Controlli regolari
- Periodically check all screws and fasteners on the mounting bracket and blade attachments to ensure they are secure. Tighten if necessary.
- Listen for any unusual noises during operation, which may indicate a loose part or an issue with the motor.
7. Risoluzione Dei Problemi
If you encounter any issues with your fan, refer to the following common problems and their solutions:
| Problema | Possibile causa | Soluzione |
|---|---|---|
| La ventola non si accende | Nessuna alimentazione Collegamento del cablaggio allentato Batteria del telecomando scarica | Controllare l'interruttore automatico e l'interruttore a parete Verify all wiring connections are secure (consult electrician) Sostituire le batterie del telecomando |
| La ventola fa rumore eccessivo | Viti allentate sulle lame o sul montaggio Lama piegata Problema al motore | Stringere tutte le viti Check blades for damage and replace if necessary Contatta il supporto clienti |
| Il telecomando non funziona | Batteria scarica Ostruzione tra telecomando e ricevitore Telecomando non associato (se applicabile) | Sostituire le batterie Assicurare una linea di vista libera Refer to detailed manual for pairing instructions |
| La ventola traballa | Staffa di montaggio allentata Lame sbilanciate | Assicurarsi che la staffa di montaggio sia fissata saldamente Check blade balance and use balancing kit if needed |
8. Garanzia e supporto
For warranty information, technical support, or replacement parts, please contact CREATE customer service. Keep your purchase receipt as proof of purchase.
You can find more information and contact details on the official CREATE websito: www.create-store.com


