1. Introduzione
Grazie per l'acquistoasing the BLACK+DECKER BXAC40006GB Portable 3-in-1 Air Conditioner. This manual provides important information for the safe and efficient operation of your appliance. Please read this manual thoroughly before use and retain it for future reference.
1.1 Informazioni sulla sicurezza
- Assicurarsi sempre che l'apparecchio sia posizionato su una superficie piana e stabile.
- Non ostruire le prese d'aria o le uscite.
- Tenere l'apparecchio lontano da fonti di calore e luce solare diretta.
- Non utilizzare con un cavo o una spina danneggiati.
- Scollegare l'apparecchio prima della pulizia o della manutenzione.
- Questo apparecchio è destinato esclusivamente all'uso in ambienti interni.
2. Prodotto finitoview
The BLACK+DECKER BXAC40006GB is a versatile 3-in-1 unit offering air conditioning, dehumidifying, and fan functions.
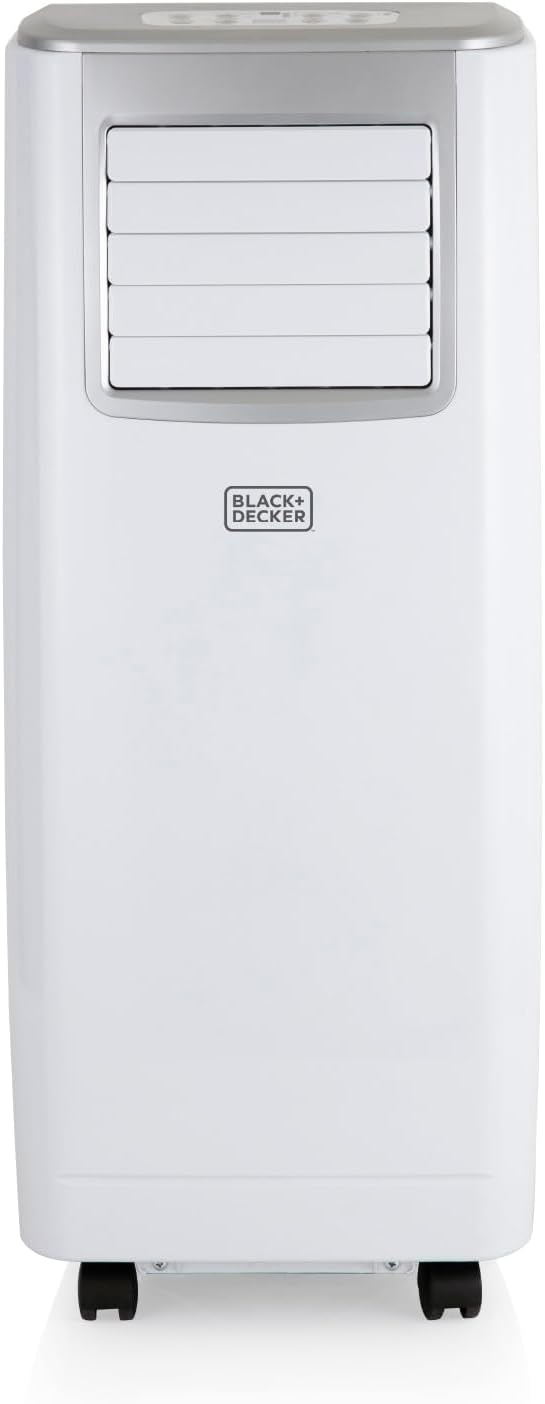
Figura 2.1: Fronte view of the BLACK+DECKER BXAC40006GB Portable Air Conditioner.
2.1 Componenti e controlli
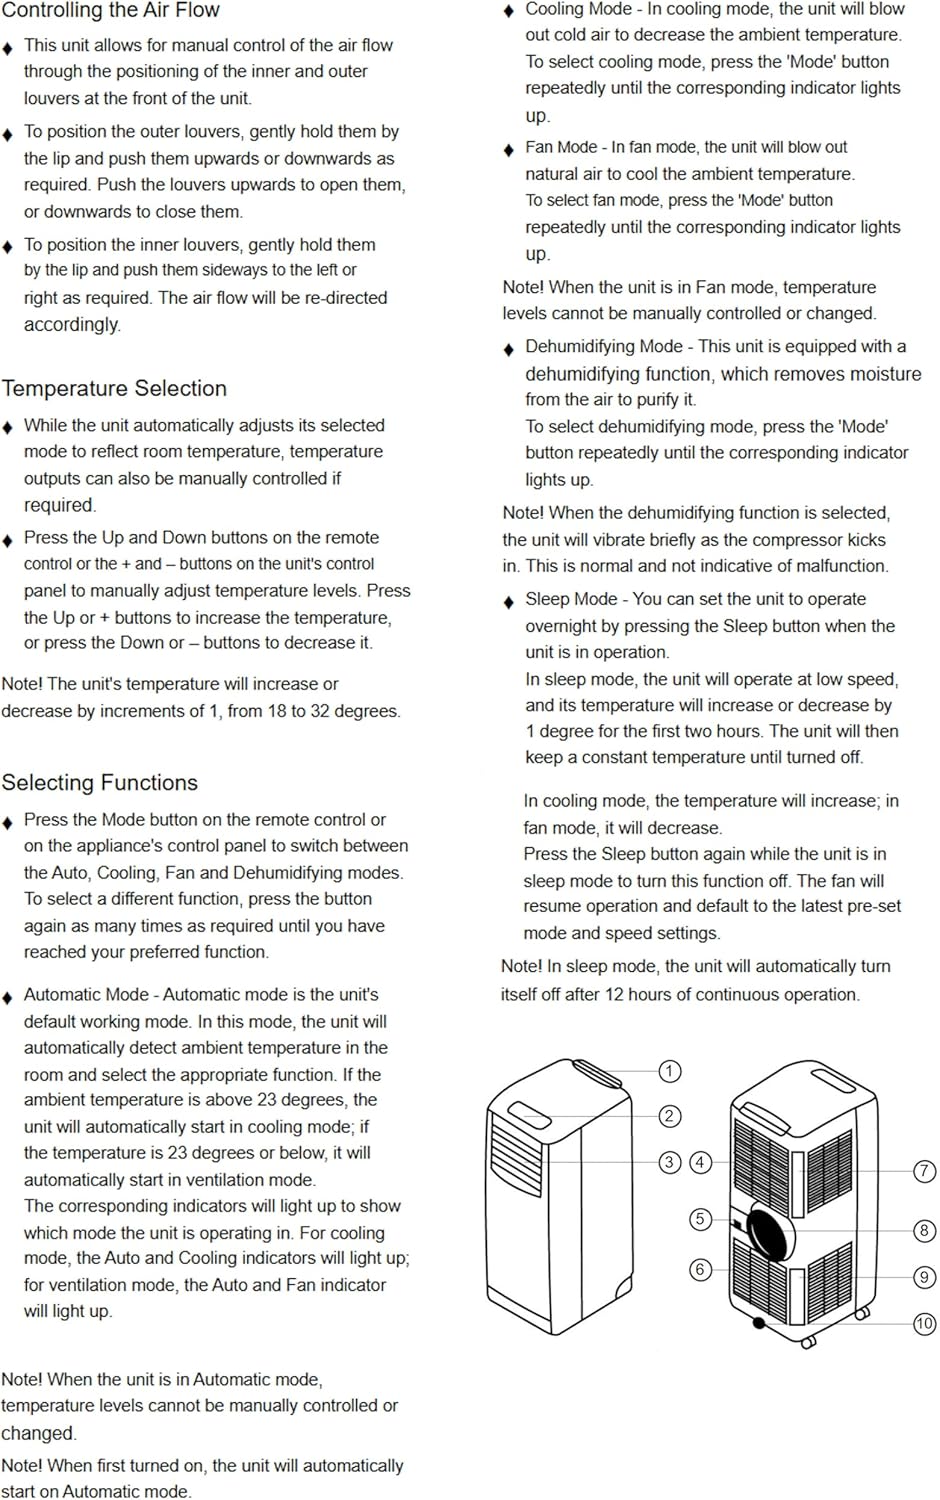
Figure 2.2: Detailed diagram of the air conditioner with key components labeled.
I componenti chiave includono:
- Griglie di uscita dell'aria
- Pannello di controllo
- Maniglia
- Air Filter (Rear)
- Uscita dell'aria di scarico
- Uscita di drenaggio
- Cavo di alimentazione
- Ruote girevoli

Figura 2.3: Pannello di controllo e telecomando per un facile utilizzo.
The control panel and remote allow you to adjust settings such as mode, temperature, fan speed, and timer.
3. Configurazione e installazione
Una corretta configurazione è fondamentale per garantire prestazioni e sicurezza ottimali.
3.1 Disimballaggio
Estrarre con cautela l'apparecchio e tutti gli accessori dall'imballaggio. Conservare l'imballaggio per un eventuale stoccaggio o trasporto futuro.

Figure 3.1: "What's in the Box?" - All included accessories.
3.2 Installazione del tubo di scarico
- Attach the hose adaptor to one end of the exhaust hose.
- Attach the window kit adaptor to the other end of the exhaust hose.
- Insert the hose adaptor into the exhaust air outlet on the back of the unit.
3.3 Installazione del kit per finestre
The unit comes with both sash and casement window kits. Choose the appropriate kit for your window type.
- For Sash Windows: Adjust the sash window kit to fit your window opening. Secure it in place.
- For Casement Windows: Use the casement window kit (fabric seal) to create a sealed opening around the window.
Once the window kit is installed, insert the window kit adaptor of the exhaust hose into the opening, ensuring a tight seal to prevent hot air from re-entering the room.
4. Istruzioni per l'uso
Familiarize yourself with the various functions and settings of your air conditioner.
4.1 Accensione/Spegnimento
- Premere il tasto ACCESO/SPENTO pulsante sul pannello di controllo o sul telecomando per accendere o spegnere l'unità.
4.2 Selezione della modalità
Premere il tasto MODALITÀ button to cycle through the available modes: Cool, Dehumidify, and Fan.
- Modalità di raffreddamento: For air conditioning. The unit will blow out cold air to decrease the ambient temperature. Adjust temperature between 18-32°C.
- Modalità deumidificazione: Removes excess moisture from the air. The unit will vibrate briefly as the compressor kicks in.
- Modalità ventola: Fa circolare l'aria senza raffreddarla.

Figure 4.1: The 3-in-1 functionality of the unit.
4.3 Temperature Adjustment (Cooling Mode Only)
- In modalità raffreddamento, utilizzare il UP or GIÙ buttons to set your desired temperature (18-32°C).
4.4 Velocità della ventola
- Premere il tasto VELOCITÀ pulsante per selezionare tra velocità della ventola bassa, media e alta.
4.5 Funzione timer
- Premere il tasto TIMER button to set a desired shut-off or start-up time (up to 24 hours).
4.6 Modalità di sospensione
- Attivare la modalità di sospensione premendo il tasto SONNO button. In this mode, the unit operates at a low speed, and the temperature will increase by 1 degree for the first two hours, then remain constant. The unit will automatically shut off after 12 hours.
4.7 Controlling the Air Flow
- To position the outer louvers, gently hold them by the tip and push them upwards or downwards as required.
- To position the inner louvers, gently hold them by the lip and push them sideways to the left or right as required.
5. Manutenzione
Una manutenzione regolare garantisce la longevità e l'efficienza del tuo condizionatore d'aria.
5.1 Pulizia del filtro dell'aria
Il filtro dell'aria deve essere pulito ogni due settimane o più frequentemente, a seconda dell'utilizzo.
- Scollegare l'unità dalla presa di corrente.
- Rimuovere il filtro dell'aria dalla parte posteriore dell'unità.
- Pulire il filtro con un aspirapolvere oppure lavarlo con acqua tiepida e un detergente delicato.
- Risciacquare abbondantemente e lasciare asciugare completamente all'aria prima di reinserirlo.
5.2 Scarico dell'acqua
The unit has a 0.5L water tank and is designed to extract up to 24.8 litres of unwanted moisture per day. For continuous drainage, connect the provided drainage hose to the drainage outlet.
- For manual drainage, place a shallow pan under the drainage outlet and remove the cap to allow water to drain.
- For continuous drainage, attach the drainage hose to the outlet and direct it to a suitable drain or container.
5.3 Pulizia dell'esterno
Pulire l'esterno dell'unità con un panno morbido, damp stoffa. Non utilizzare prodotti chimici aggressivi o detergenti abrasivi.
5.4 Conservazione
Se si conserva l'unità per un periodo prolungato:
- Assicurarsi che tutta l'acqua venga scaricata dall'unità.
- Pulire il filtro dell'aria.
- Conservare l'unità in un luogo asciutto e fresco, preferibilmente nella confezione originale.
6. Risoluzione Dei Problemi
Prima di contattare l'assistenza clienti, fai riferimento ai seguenti problemi comuni e alle relative soluzioni:
| Problema | Possibile causa | Soluzione |
|---|---|---|
| L'unità non si accende. | Nessuna alimentazione, cavo di alimentazione scollegato, interruttore automatico scattato. | Controllare il collegamento elettrico, ripristinare l'interruttore automatico. |
| L'unità non raffredda in modo efficace. | Filtro dell'aria sporco, tubo di scarico non installato correttamente, stanza troppo grande, finestre/porte aperte. | Clean air filter, ensure hose is sealed, close windows/doors, check room size suitability (up to 18m²). |
| L'unità è rumorosa. | Compressor operation (normal), unit not on a flat surface, fan obstruction. | Ensure unit is on a flat surface. Some noise is normal during compressor operation. |
| Perdita d'acqua. | Drainage hose blocked or disconnected, water tank full (if not using continuous drainage). | Check drainage hose for kinks/blockages, ensure continuous drainage is set up correctly, or manually drain the tank. |
7. Specifiche
Technical specifications for the BLACK+DECKER BXAC40006GB Portable Air Conditioner:
| Caratteristica | Dettaglio |
|---|---|
| Numero di modello | BXAC40006GB |
| Capacità di raffreddamento | Potenza nominale: 9,000 BTU |
| Funzioni | Condizionatore d'aria, deumidificatore, ventilatore |
| Dimensioni consigliate della stanza | Fino a 18m² |
| Capacità deumidificante | Fino a 24.8 litri/giorno |
| Capacità del serbatoio dell'acqua | 0.5 litri |
| Fonte di alimentazione | Elettrico con cavo |
| Voltage | 240 Volt |
| Cosatage | 1000 watt |
| Livello di rumore | 49 dB |
| Dimensioni del prodotto (L x P x A) | 31.5P x 39.2L x 77A cm |
| Peso dell'articolo | 23.8 kg |
| Intervallo di temperatura | 18 - 32°C |
| Caratteristiche speciali | 24-hour timer, Remote control, Sleep mode, Overheat protection |
8. Garanzia e supporto
Your BLACK+DECKER BXAC40006GB Portable Air Conditioner comes with a 2-year guarantee.
- Includes a 1-year manufacturer’s guarantee.
- An additional 1-year extension is available upon product registration online.
For warranty claims, technical support, or spare parts, please contact BLACK+DECKER customer service. Refer to the official BLACK+DECKER websito o nella documentazione di acquisto per i dettagli di contatto specifici per la tua regione.


