1. Introduzione
This manual provides detailed instructions for the proper installation, operation, and maintenance of your Pyramid Plastics Rear Hugger for the Kawasaki Ninja 250R (2008-2013 models). This product is designed to protect the rear shock absorber, undertray, and other components from road debris, water spray, and dirt, enhancing the longevity and cleanliness of your motorcycle.
Please read this manual thoroughly before beginning installation to ensure correct fitting and to prevent damage to the product or your motorcycle. Keep this manual for future reference.
2. Informazioni sulla sicurezza
Durante l'installazione e la manutenzione, osservare sempre le seguenti precauzioni di sicurezza:
- Prima di iniziare qualsiasi lavoro, assicurarsi che la motocicletta sia stabile e appoggiata saldamente su un cavalletto.
- Allow the engine and exhaust system to cool down completely before touching any components to avoid burns.
- Indossare adeguati dispositivi di protezione individuale, tra cui guanti e protezioni per gli occhi.
- Use the correct tools for each step to prevent damage to fasteners or components.
- In caso di dubbi su un passaggio, consultare un meccanico di motociclette qualificato.
- Do not modify the product or motorcycle components in any way not described in this manual.
- Tenere tutti i piccoli pezzi e gli utensili fuori dalla portata dei bambini e degli animali domestici.
3. Contenuto della confezione
Before installation, verify that all components are present and undamaged. If any parts are missing or damaged, contact your supplier immediately.
- 1x Pyramid Plastics Rear Hugger (Model 07301B)
- 1x Fitting Kit (includes bolts, washers, spacers, and any necessary brackets)
- 1x Istruzioni di installazione (questo manuale)
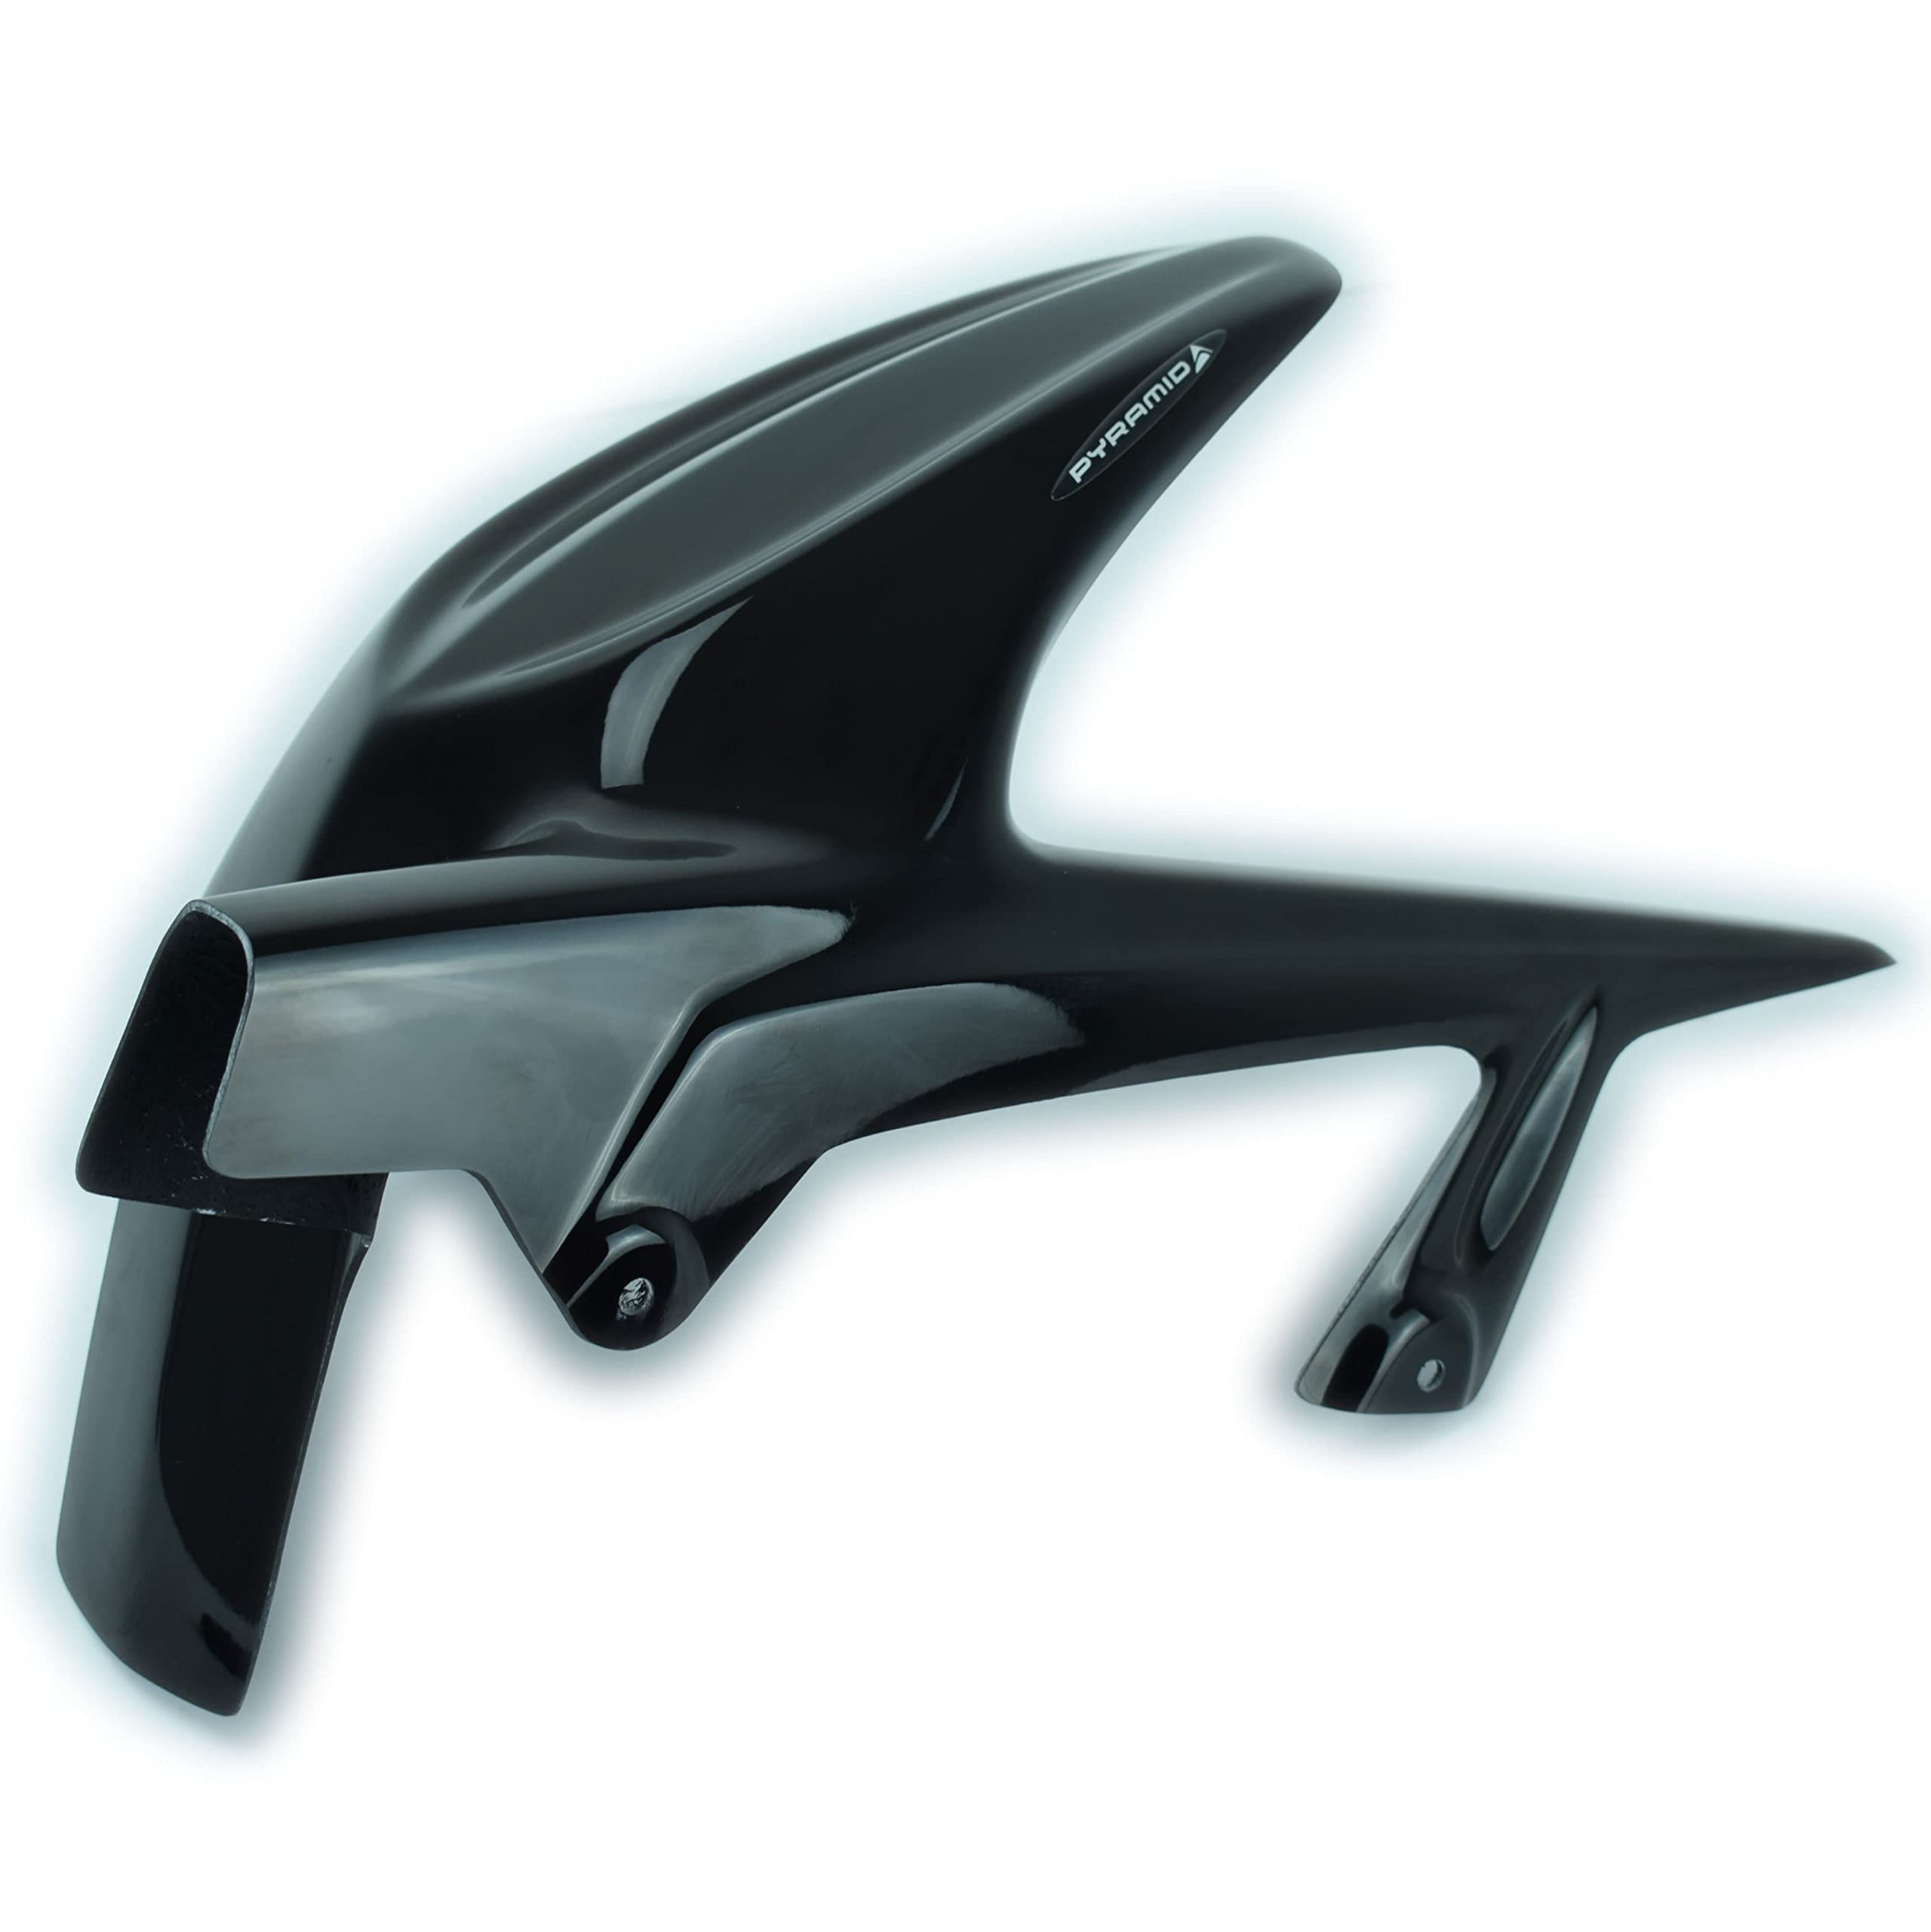
Image 3.1: Main component of the Pyramid Plastics Rear Hugger, Gloss Black finish.
4. Guida all'installazione
This section outlines the steps required to install the Pyramid Plastics Rear Hugger on your Kawasaki Ninja 250R. Ensure you have all necessary tools before starting.
Strumenti necessari:
- Socket Wrench Set
- Set di chiavi esagonali (chiavi a brugola)
- Torque Wrench (recommended)
- Panno pulito
- Cavalletto per moto
Fasi di installazione:
- Preparare la motocicletta: Place your Kawasaki Ninja 250R on a suitable stand to lift the rear wheel off the ground. Ensure the motorcycle is stable. Allow the exhaust to cool.
- Individuare i punti di montaggio: Identify the existing mounting points on the swingarm or chain guard area where the hugger will attach. These typically involve existing bolt holes.
- Pulisci l'area: Thoroughly clean the swingarm, chain guard, and surrounding areas to remove any dirt, grease, or debris. This ensures a clean fit and prevents contamination.
- Position the Hugger: Carefully position the Pyramid Plastics hugger against the swingarm, aligning its mounting holes with the motorcycle's attachment points.
- Installare i dispositivi di fissaggio: Using the provided fitting kit, insert the bolts with appropriate washers and spacers through the hugger's mounting holes and into the motorcycle's attachment points. Do not fully tighten yet.
- Regola e allinea: Gently adjust the hugger to ensure it is centered and has adequate clearance from the tire, chain, and any moving parts. Ensure there is no contact with the tire at full suspension compression.
- Stringere i dispositivi di fissaggio: Once properly aligned, progressively tighten all fasteners. Refer to your motorcycle's service manual for specific torque specifications for the mounting points, if available. Do not overtighten.
- Controllo finale: After tightening, visually inspect the hugger for secure attachment, proper alignment, and sufficient clearance. Rotate the rear wheel manually to confirm no rubbing or interference.
Immagine 4.1: Es.ample of a rear hugger properly installed, showing clearance around the tire and chain.
5. Manutenzione
Regular maintenance of your Pyramid Plastics Rear Hugger will ensure its longevity and continued performance.
- Pulizia: Clean the hugger regularly with mild soap and water, using a soft cloth. Avoid abrasive cleaners or harsh chemicals that could damage the finish.
- Ispezione: Periodically check all mounting bolts for tightness. Vibrations from riding can sometimes loosen fasteners. Inspect the hugger for any signs of cracks, damage, or excessive wear.
- Controllo di autorizzazione: Ensure the hugger maintains adequate clearance from the tire and chain, especially after long rides or if the suspension has been adjusted.
- Danno: If the hugger sustains significant damage, consider replacing it to maintain optimal protection and aesthetic appeal.
6. Risoluzione Dei Problemi
Ecco alcuni problemi comuni e le loro possibili soluzioni:
| Problema | Possibile causa | Soluzione |
|---|---|---|
| Hugger is loose or rattling. | I bulloni di montaggio non sono serrati a sufficienza. | Check and tighten all mounting bolts securely. Do not overtighten. |
| Hugger rubs against the tire or chain. | Incorrect alignment during installation; incorrect spacers used. | Loosen mounting bolts, re-align the hugger, and ensure proper clearance. Verify correct spacer usage as per fitting kit instructions. |
| Excessive vibration from the hugger. | Loose mounting; improper fitment. | Ensure all bolts are tight. Re-check installation steps. If vibration persists, consult a professional. |
7. Specifiche
- Nome del prodotto: Pyramid Plastics Rear Hugger
- Numero modello: 07301B
- Compatibilità: Kawasaki Ninja 250R (Years: 2008-2013)
- Materiale: Plastica ABS di alta qualità
- Fine: Gloss Black
- Peso dell'articolo: Approximately 2.5 kg (as per product data)
- Produttore: Plastica piramidale
8. Garanzia e supporto
Pyramid Plastics products are manufactured to high standards. For specific warranty information, please refer to the warranty card included with your purchase or visit the official Pyramid Plastics website. In case of any issues or for technical support, please contact your retailer or Pyramid Plastics customer service directly.
Informazioni sui contatti:
- Websito: www.pyramidplastics.co.uk (exampil collegamento (il collegamento effettivo può variare)
- E-mail: support@pyramidplastics.co.uk (exampl'email)


