1. Prodotto finitoview
The Linkind StarRay Solar Spot Lights are designed to provide efficient and versatile outdoor illumination. Featuring a durable, waterproof design and advanced solar technology, these lights offer customizable brightness modes and flexible installation options for various landscape lighting needs.
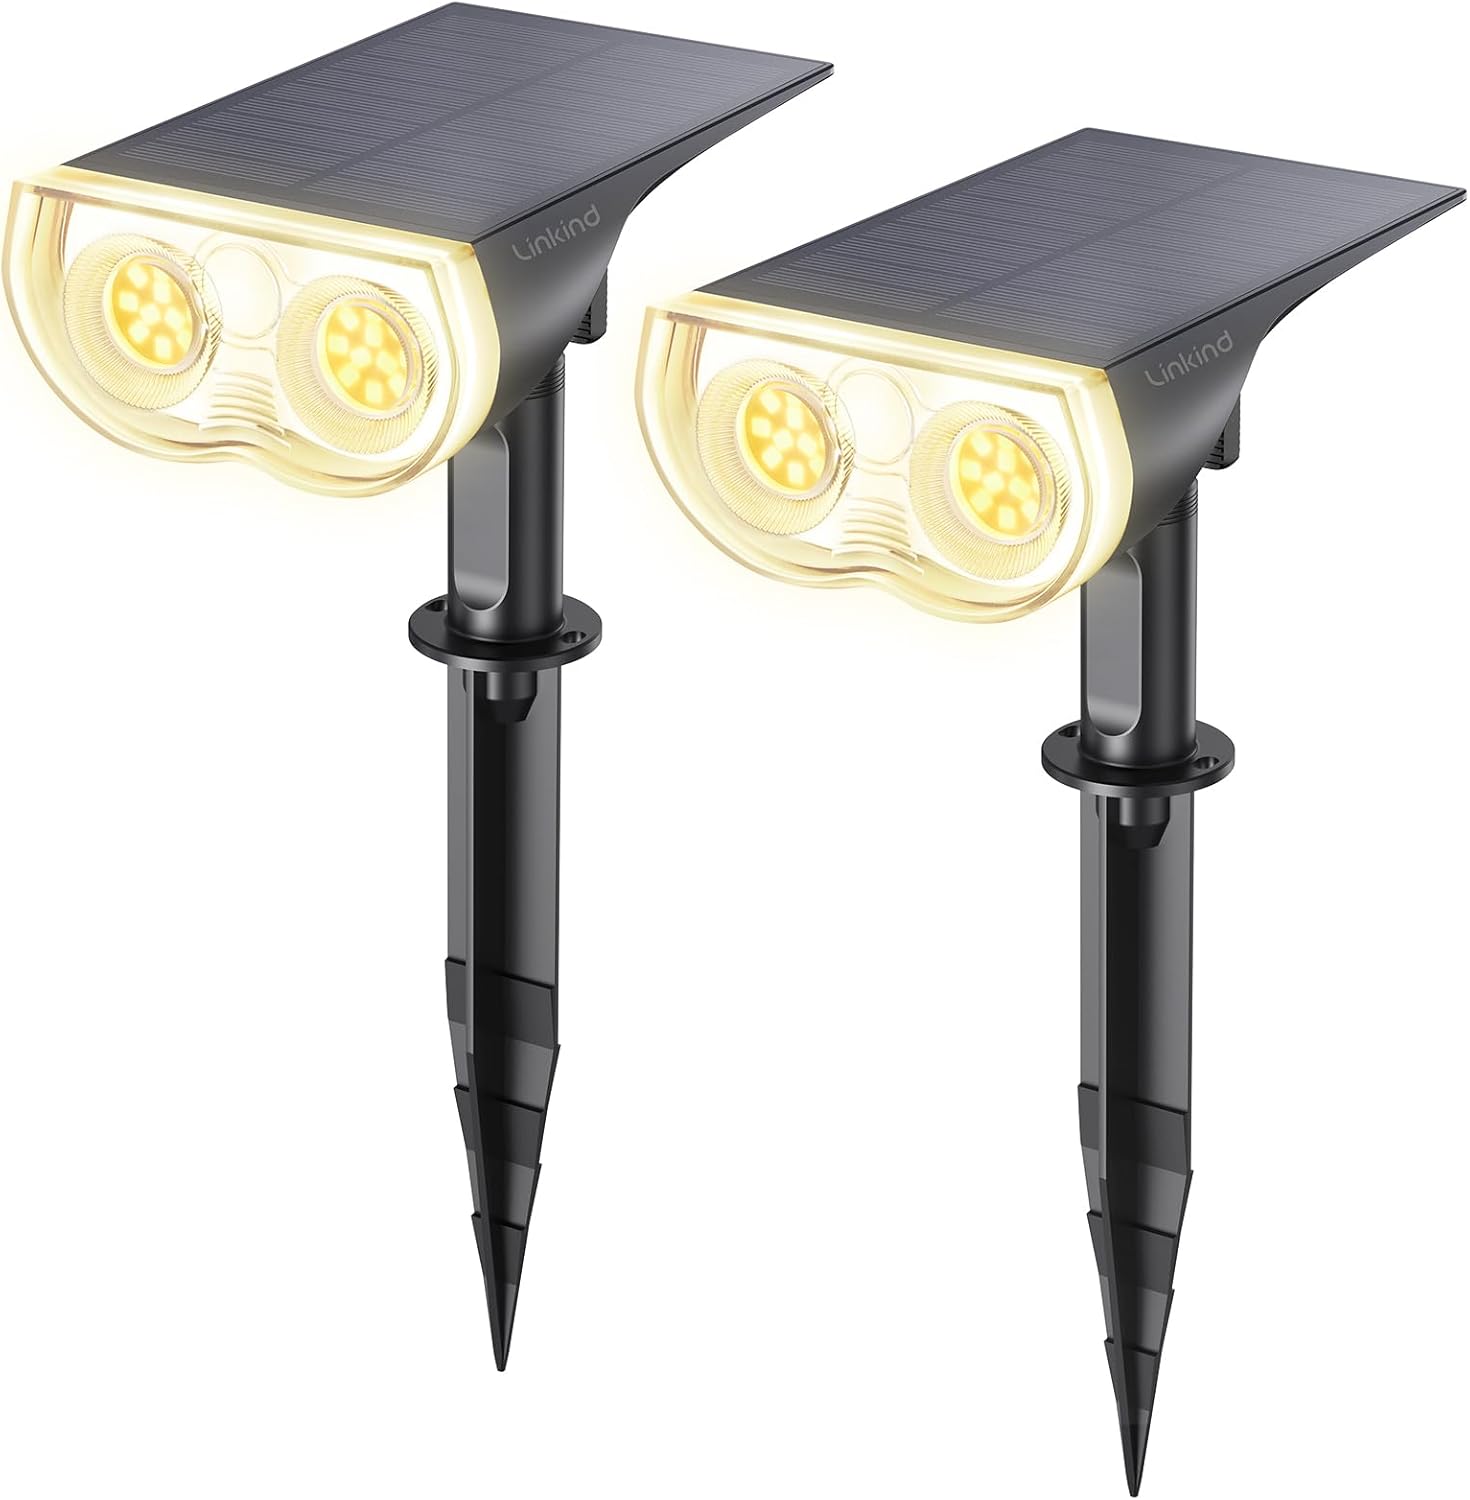
Image: Two Linkind StarRay solar spot lights, showcasing their design and warm white light output.
2. Caratteristiche del prodotto
- Three Brightness Modes & Dusk-to-Dawn Sensor: Offers High (6 hours), Medium (12 hours), and Low (24 hours) brightness settings. The built-in sensor automatically activates the lights at dusk and deactivates them at dawn.
- Enhanced Solar Panels with 360° Adjustability: Larger solar panels provide a 30% higher photoelectric conversion rate for faster charging. Panels can be adjusted 180° vertically and 360° horizontally to optimize sunlight exposure.
- Powerful 650 Lumen Warm White Light: Equipped with 22 high-quality LEDs, delivering up to 650 lumens of 3000K warm white light with a focused 90° beam angle.
- All-Weather Durability with IP67 Waterproofing: Constructed from durable anti-UV ABS material with an IP67 waterproof rating, ensuring reliable performance in various weather conditions including rain, snow, and heat.
- 2-in-1 Installation for Versatile Use: Can be easily installed by staking into the ground or mounting on a wall using the included hardware.

Image: Illustration of the solar panel's 360-degree horizontal and 180-degree vertical adjustability, highlighting enhanced photoelectric conversion.

Image: Depiction of the light's IP67 waterproof rating and resistance to extreme temperatures, showing it functioning in rainy conditions.
3. Contenuto della confezione
Si prega di verificare che tutti i componenti siano presenti nel pacchetto:
- Solar Spotlight x 2
- Plastic Rod x 2 (for ground installation)
- Plastic Anchor x 2 (for wall mounting)
- Turn Knob x 2
- Manuale di istruzioni x 1
4. Specifiche tecniche
| Specificazione | Dettaglio |
|---|---|
| Marca | Collegamento |
| Nome del modello | Riflettori |
| Numero di modello | LL18009-WW-SP001A-US-2-A |
| Colore | Bianco caldo |
| Materiale | Acrilonitrile Butadiene Stirene (ABS) |
| Tipo di sorgente luminosa | GUIDATO |
| Numero di LED | 22 |
| Luminosità | 650 lumen |
| Temperatura del colore | 3000K (bianco caldo) |
| Angolo del fascio | 90° |
| Voltage | 3 Volt (CC) |
| Fonte di alimentazione | Alimentato ad energia solare |
| Livello di resistenza all'acqua | IP67 impermeabile |
| Dimensioni del prodotto | 1.97 cm L x 3.15 cm P x 5.91 cm A |
| Peso dell'articolo | 1.3 libbre |
| Tipo di batteria | Ioni di litio (inclusi) |
| Tipo di installazione | In-ground, Wall-mounted |

Image: Visual representation of the light's specifications including LED count, lumen output, and color temperature, shown in a garden setting.
5. Guida all'installazione
The Linkind Solar Spot Lights offer two primary installation methods: ground insertion and wall mounting.

Immagine: Oltreview of the two installation methods: ground stake and wall mount.
5.1 Installazione a terra
- Seleziona la modalità: Before assembly, choose your desired brightness mode (High, Medium, or Low) by pressing the power button on the back of the light head.
- Montare il supporto: Attach the light head to the top of the plastic rod using the turn knob. Ensure it is securely fastened.
- Connetti Spikes: Connect the pointed spike end of the plastic rod to the main body.
- Inserire nel terreno: Firmly insert the assembled light into soft ground in a location that receives ampla luce solare diretta durante tutto il giorno.

Image: Step-by-step guide for ground installation of the solar light.
5.2 Montaggio a parete
- Seleziona la modalità: Before assembly, choose your desired brightness mode (High, Medium, or Low) by pressing the power button on the back of the light head.
- Fissare il supporto: Use the included plastic anchors and screws to securely mount the wall bracket to your desired wall surface.
- Connect the Two Parts: Attach the light head to the wall bracket using the turn knob.
- Regola l'angolazione: Adjust the light head and solar panel to the desired angle for optimal illumination and sunlight exposure.

Image: Step-by-step guide for wall mounting the solar light.
6. Istruzioni per l'uso
The Linkind Solar Spot Lights are equipped with a single button for mode selection and an automatic dusk-to-dawn sensor.
- Carica iniziale: For optimal performance, allow the solar lights to charge for at least 8-10 hours in direct sunlight before first use.
- Power On/Mode Selection: Locate the power button on the back of the light head.
- Press once (x1) for Modalità luce elevata (approx. 6 hours illumination).
- Press twice (x2) for Modalità luce media (approx. 12 hours illumination).
- Press three times (x3) for Modalità luce scarsa (approx. 24 hours illumination).
- Press four times (x4) to Spegnere la luce.
- Funzionamento automatico: Once a mode is selected, the light will automatically turn on at dusk and turn off at dawn, based on the ambient light conditions.

Image: Illustration of the three brightness modes and their respective illumination durations.
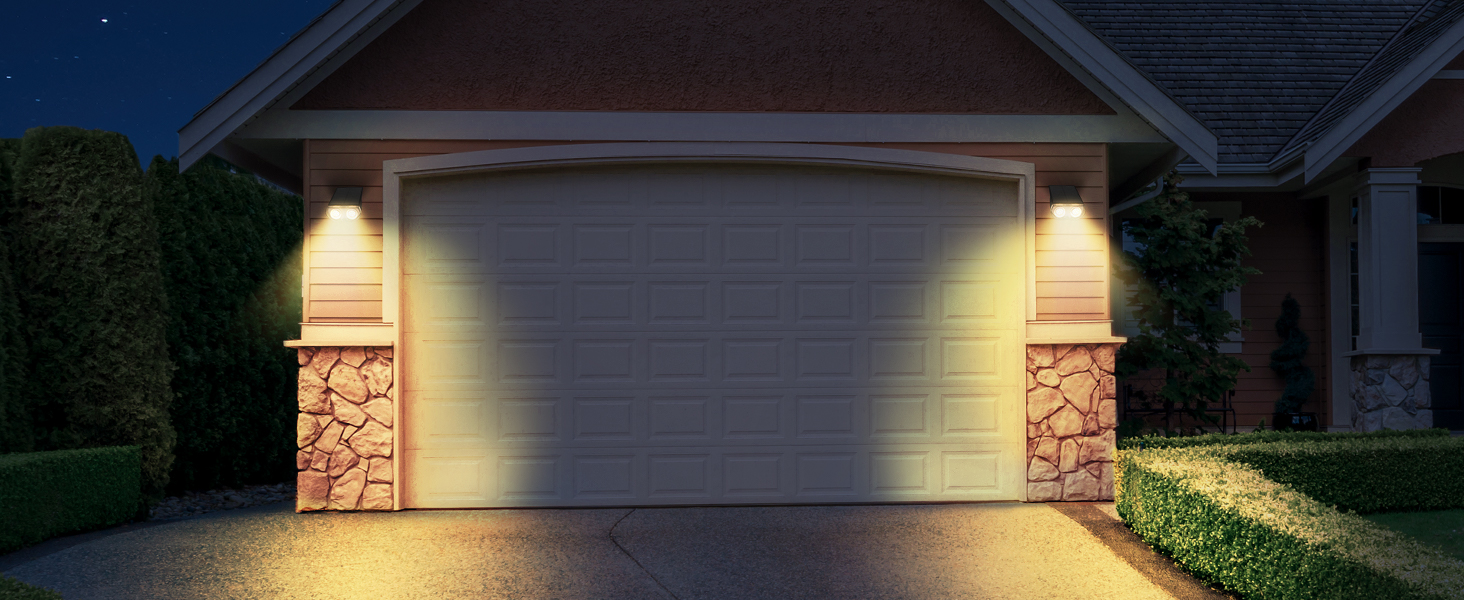
Image: Visual comparison of the light output for High, Medium, and Low brightness settings, and the off state.
7. Cura e manutenzione
To ensure the longevity and optimal performance of your Linkind Solar Spot Lights, follow these maintenance guidelines:
- Pannello solare pulito: Pulire regolarmente il pannello solare con un panno morbido e asciutto.amp panno per rimuovere polvere, sporco, foglie o neve. Un pannello pulito garantisce il massimo assorbimento della luce solare e l'efficienza di ricarica.
- Ostacoli chiari: Ensure that no trees, bushes, or structures are blocking direct sunlight from reaching the solar panel, especially during peak charging hours.
- Cura della batteria: While the battery is included and designed for long life, extreme temperatures can affect its performance. If storing the lights for an extended period, ensure they are fully charged and stored in a cool, dry place.
- Ispezionare le connessioni: Periodically check all connections and ensure the light head is securely attached to the stake or wall mount.
- Cura invernale: In areas with heavy snowfall, clear snow from the solar panel to allow for charging.
8. Risoluzione Dei Problemi
If your Linkind Solar Spot Light is not functioning as expected, please refer to the following common issues and solutions:
| Problema | Possibile causa | Soluzione |
|---|---|---|
| La luce non si accende di notte. | Esposizione alla luce solare insufficiente per la ricarica. | Relocate the light to an area that receives 8-10 hours of direct sunlight daily. Ensure the solar panel is clean. |
| La durata della luce è più breve del previsto. | Partial charging due to cloudy weather or obstructions. | Ensure the solar panel is clean and free from debris. Verify the light is in a location with maximum sun exposure. Consider a lower brightness mode for longer illumination. |
| La luce tremola o è fioca. | Batteria scarica o pannello solare sporco. | Allow the light to charge for a full day in direct sunlight. Clean the solar panel. |
| La luce si accende durante il giorno. | Dusk-to-dawn sensor is obstructed or faulty. | Ensure no external light sources (e.g., streetlights, porch lights) are directly shining on the solar panel, which can trick the sensor into thinking it's daytime. |
9. Informazioni sulla garanzia
Linkind provides a Garanzia di 1 anno for this product. This warranty covers defects in materials and workmanship under normal use. Please retain your proof of purchase for warranty claims.
For warranty service or technical support, please contact Linkind customer service through their official channels. Refer to the product packaging or the Linkind brand store on Amazon for contact details.


