1. Introduzione
Thank you for choosing the CREATE SILKAIR CONNECT 3-in-1 Mobile Air Conditioner. This versatile appliance is designed to provide cooling, dehumidification, and fan functions for your living space. With its Wi-Fi connectivity, you can conveniently control the unit via a mobile application. Please read this manual thoroughly before operation to ensure safe and efficient use.
Modello: 64274_145198
Marca: CREARE
2. Informazioni sulla sicurezza
Quando si utilizzano apparecchi elettrici, seguire sempre le precauzioni di sicurezza di base per ridurre il rischio di incendi, scosse elettriche e lesioni.
- Assicurarsi che l'alimentazione corrisponda al voltage specificato sulla targhetta dei dati tecnici.
- Non utilizzare l'unità con un cavo o una spina danneggiati.
- Tenere l'unità lontano da fonti di calore e dalla luce solare diretta.
- Non ostruire le prese d'aria o le uscite.
- Scollegare sempre l'unità prima di pulirla o sottoporla a manutenzione.
- Questo apparecchio utilizza il refrigerante R290. Non forare il circuito refrigerante.
- Sorvegliare i bambini e assicurarsi che non giochino con l'apparecchio.
3. Contenuto della confezione
Carefully unpack your air conditioner and check that all items are present and in good condition.
- CREATE SILKAIR CONNECT Mobile Air Conditioner Unit
- Tubo di scarico
- Window Sealing Kit (Adjustable window slider, hose adapter)
- Telecomando
- Manuale d'uso

Figure 1: The CREATE SILKAIR CONNECT Mobile Air Conditioner unit shown alongside a smartphone displaying its control application interface.
4. Prodotto finitoview
4.1 Pannello di controllo

Figure 2: Close-up of the top-mounted control panel, featuring an LED display and touch-sensitive buttons for various functions such as power, mode selection, fan speed, and timer.
4.2 Componenti e dimensioni
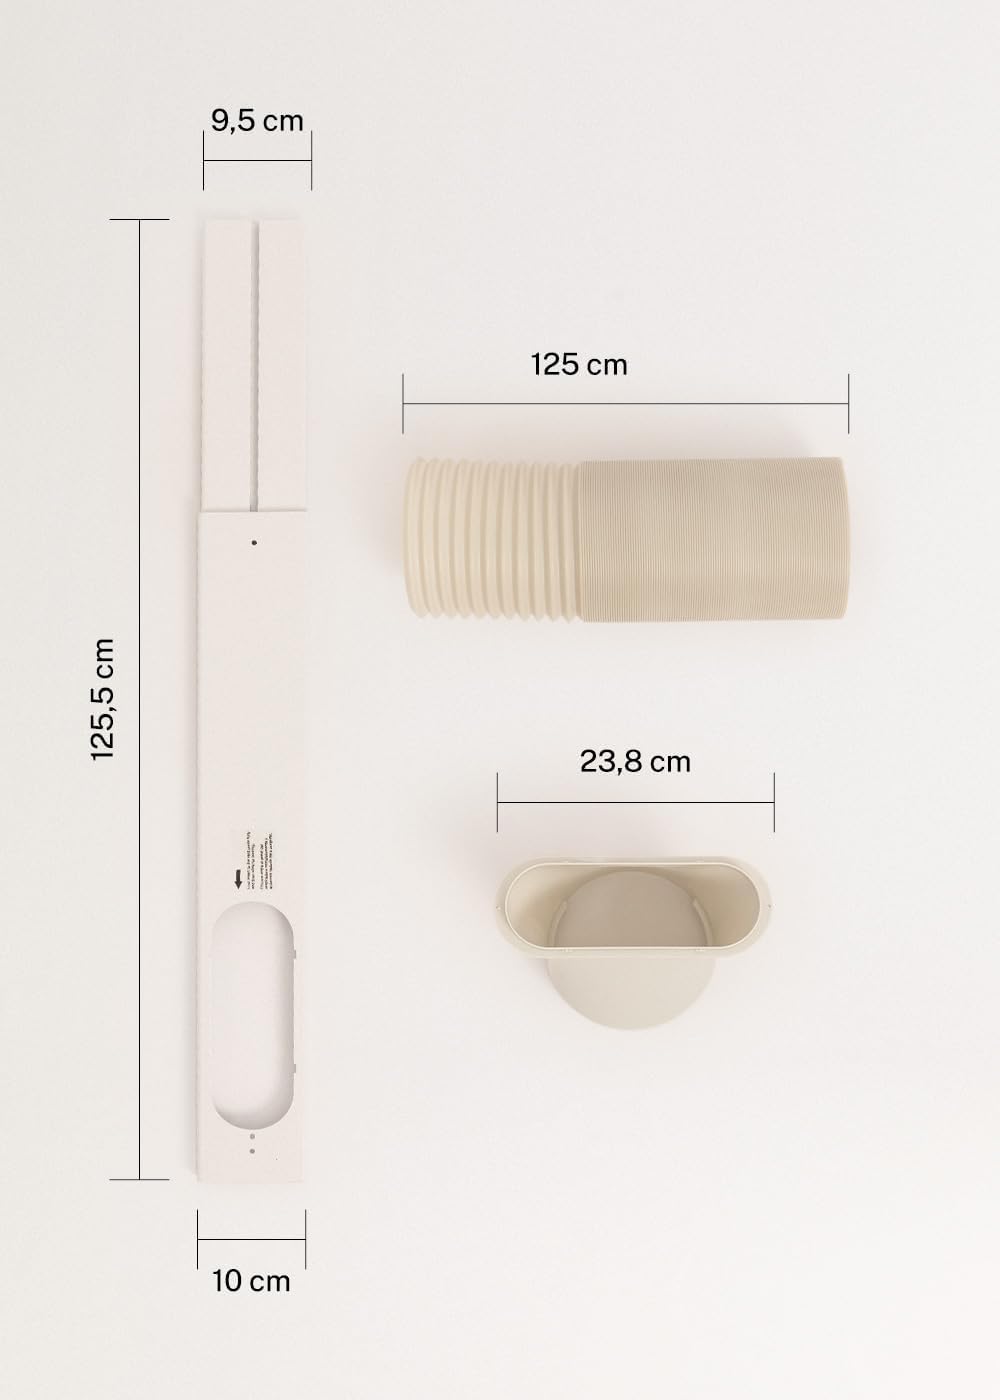
Figure 3: Detailed diagram illustrating the dimensions of the window sealing plate (125.5 cm length, 10 cm width, 9.5 cm adjustable width) and the exhaust hose (125 cm length) with its adapter (23.8 cm diameter).
5. Configurazione e installazione
Proper installation is crucial for the efficient operation of your mobile air conditioner.
5.1 Posizionamento dell'unità
- Posizionare l'unità su una superficie piana e stabile.
- Assicurarsi che ci siano almeno 30 cm di spazio attorno all'unità per garantire un corretto flusso d'aria.
- Posizionare l'unità vicino a una finestra o all'apertura per il tubo di scarico.
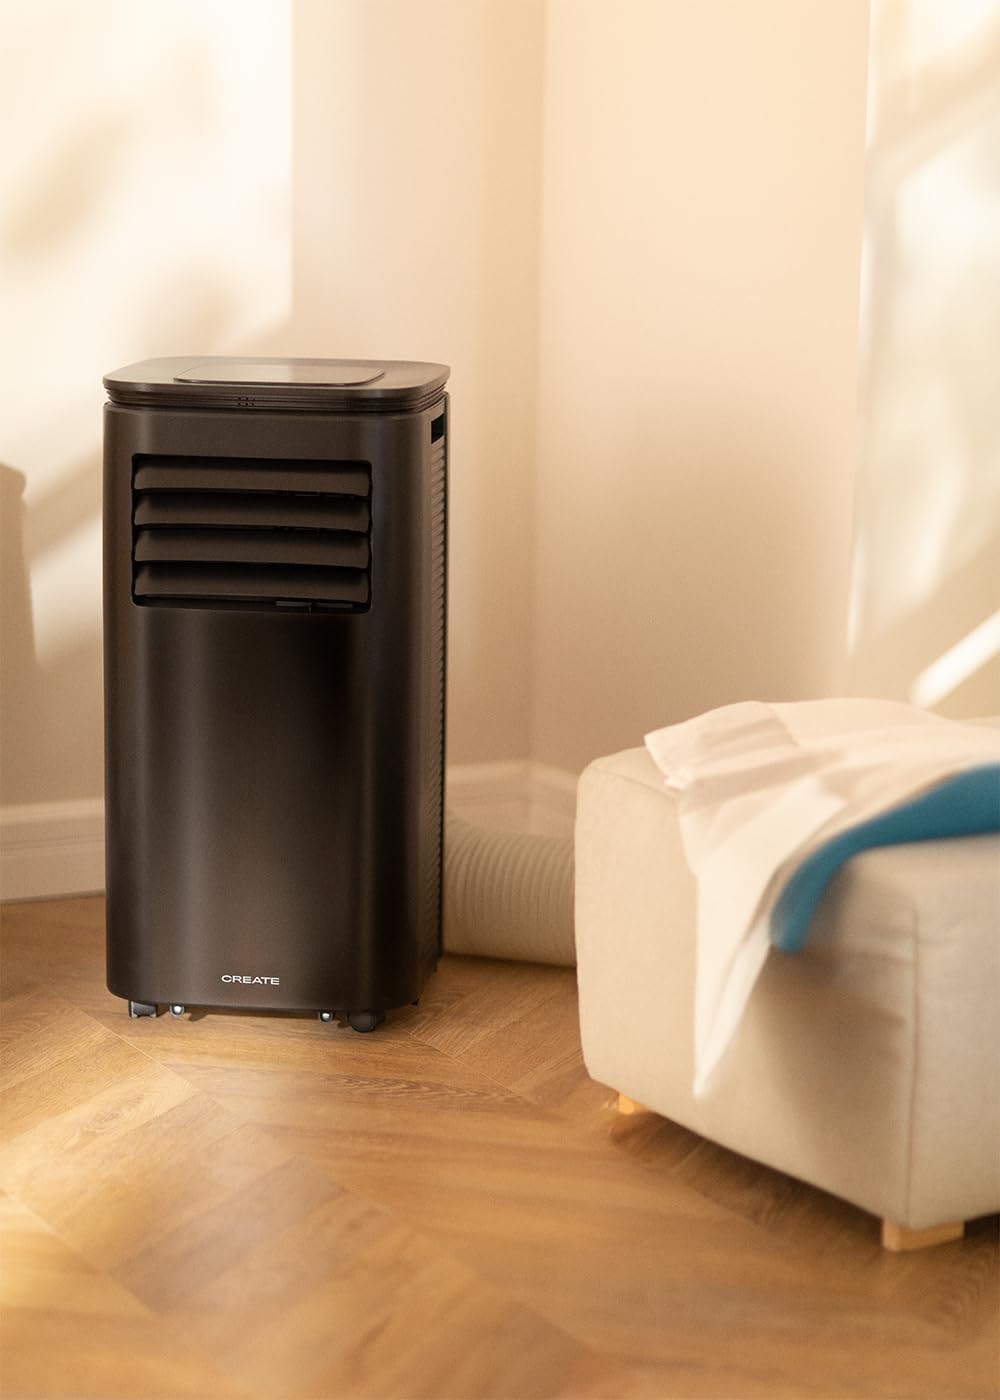
Figure 4: The air conditioner unit positioned in a room, demonstrating the typical setup with the exhaust hose directed towards a window for heat expulsion.
5.2 Installing the Exhaust Hose and Window Kit
- Collegare l'adattatore del tubo a un'estremità del tubo di scarico.
- Collegare l'altra estremità del tubo di scarico all'uscita dell'aria sul retro dell'unità.
- Install the adjustable window sealing kit in your window opening. Extend it to fit the window frame.
- Insert the hose adapter into the opening of the window sealing kit.

Figure 5: Illustrates the secure connection of the flexible exhaust hose to the designated port at the rear of the air conditioning unit.
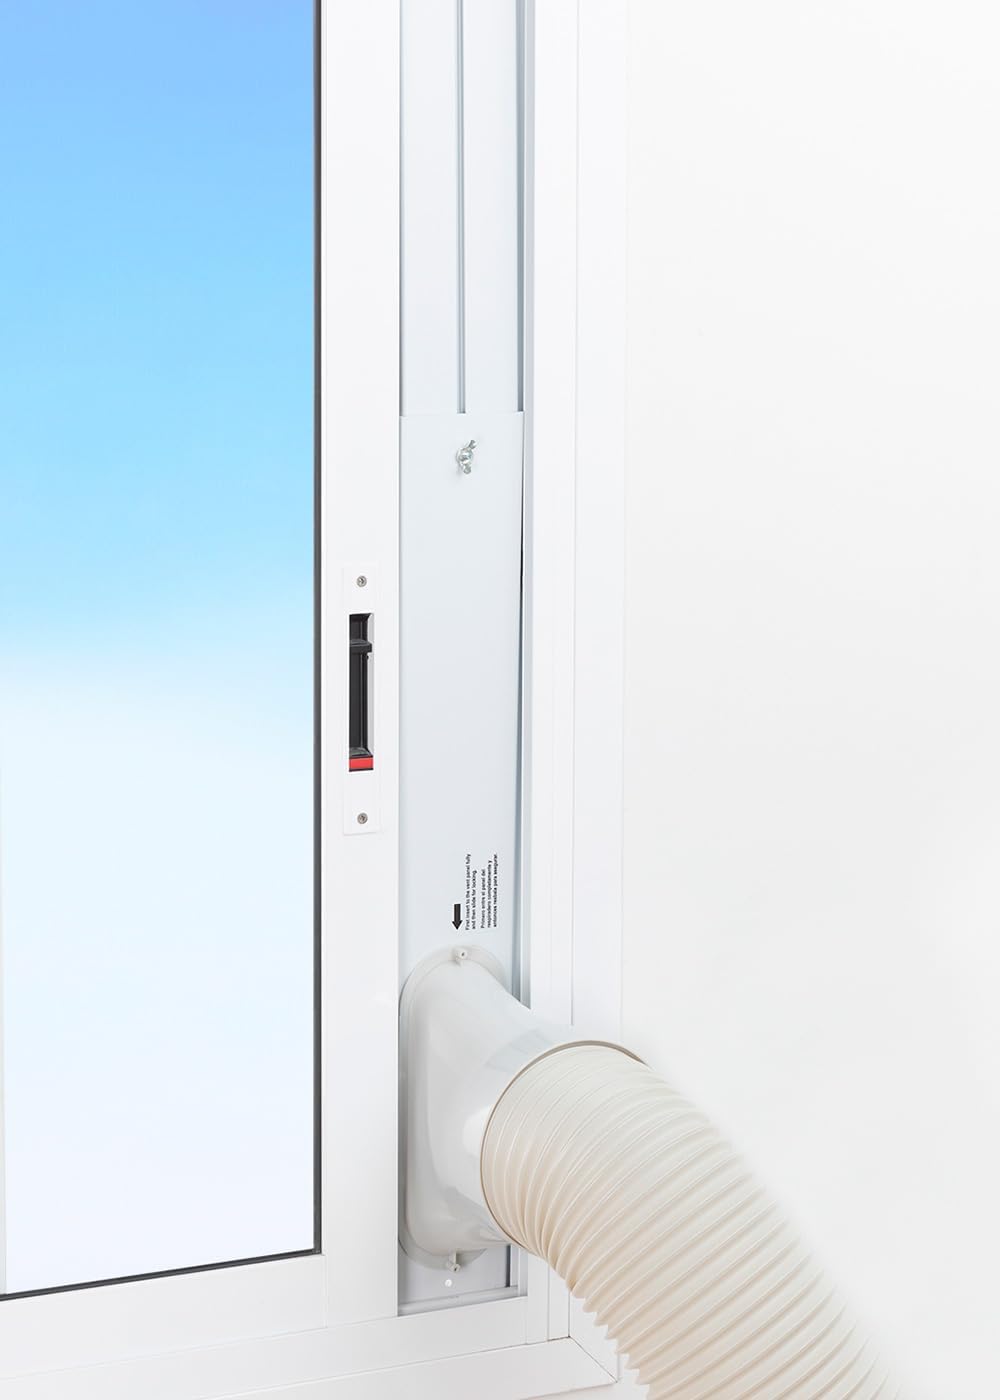
Figure 6: The window sealing kit is shown properly installed in a window frame, with the exhaust hose securely fitted into the kit's opening to vent hot air outside.
6. Istruzioni per l'uso
6.1 Utilizzo del pannello di controllo
The control panel on top of the unit allows direct operation.
- Pulsante di accensione: Premere per accendere o spegnere l'unità.
- Pulsante Modalità: Passare tra le modalità Raffreddamento, Ventilatore e Deumidificatore.
- Pulsante velocità ventola: Adjust fan speed (Low, High).
- Pulsanti della temperatura (+/-): Adjust desired temperature in Cooling mode.
- Pulsante Timer: Set the auto-on or auto-off timer (up to 24 hours).
- Pulsante modalità di sospensione: Attiva una modalità di funzionamento più silenziosa per l'uso notturno.
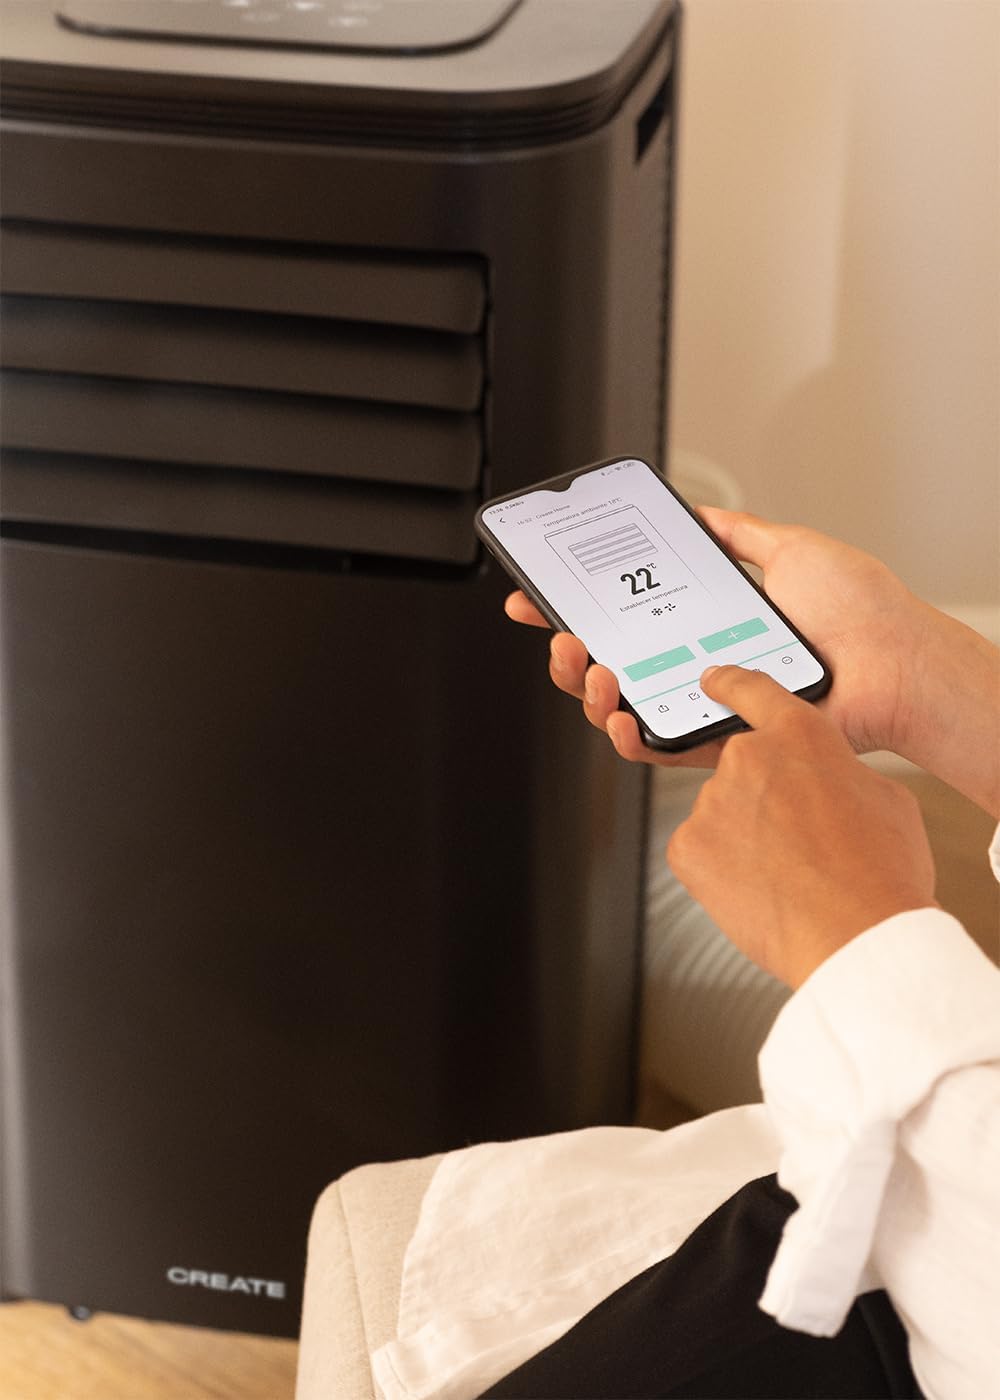
Figure 7: A user's hand interacting with the touch-sensitive control panel located on the top surface of the air conditioner, demonstrating direct manual operation.
6.2 Utilizzo del telecomando
Il telecomando consente un comodo utilizzo a distanza.

Figure 8: A hand holding the dedicated remote control for the air conditioner, illustrating its use for convenient operation from a distance.
6.3 Controllo Wi-Fi e app
Download the CREATE Home app from your smartphone's app store. Follow the in-app instructions to connect your air conditioner to your home Wi-Fi network. Once connected, you can control all functions of the unit from your smartphone, including mode selection, temperature adjustment, fan speed, and timer settings.
Figure 9: A user interacting with the mobile application on a smartphone to remotely control the air conditioner, showcasing the Wi-Fi connectivity feature.
7. Manutenzione
Una manutenzione regolare garantisce prestazioni ottimali e prolunga la durata della tua unità.
7.1 Pulizia del filtro dell'aria
Il filtro dell'aria deve essere pulito ogni due settimane o più frequentemente, a seconda dell'utilizzo e della qualità dell'aria.
- Spegnere l'unità e scollegarla dalla presa di corrente.
- Locate the air filter panel on the back of the unit.
- Rimuovere delicatamente il filtro.
- Clean the filter with warm, soapy water or a vacuum cleaner. Rinse thoroughly and allow it to air dry completely before reinserting.

Figure 10: Demonstrates the process of removing the air filter from the rear of the air conditioner unit for cleaning or replacement.
7.2 Scarico dell'acqua
In Dehumidifier mode or high humidity conditions, the internal water tank may fill up. The unit will stop operating when the tank is full. Drain the water from the drainage port at the bottom rear of the unit.
8. Risoluzione Dei Problemi
| Problema | Possibile causa | Soluzione |
|---|---|---|
| L'unità non si accende | Nessuna alimentazione; Cavo di alimentazione non collegato; Serbatoio dell'acqua pieno. | Controllare la presa di corrente; Collegare il cavo di alimentazione; Svuotare il serbatoio dell'acqua. |
| L'unità non raffredda efficacemente | Filtro dell'aria sporco; Tubo di scarico non installato correttamente; Stanza troppo grande; Porte/finestre aperte. | Clean air filter; Ensure hose is sealed; Use in recommended room size (14-25 m²); Close doors/windows. |
| Rumore forte | Unità non posizionata su una superficie piana; ostruzione nella ventola. | Place on flat surface; Check for obstructions. |
| Problemi di connessione Wi-Fi | Password Wi-Fi errata; Router troppo lontano; Problemi con l'app. | Verify password; Move unit closer to router; Restart app/unit. |
9. Specifiche
| Caratteristica | Specificazione |
|---|---|
| Numero di modello | 64274_145198 |
| Capacità di raffreddamento | 9000 BTU / 2270 Watt |
| Capacità di deumidificazione | 24 litri/giorno |
| Flusso d'aria | Fino a 350 m³/h |
| Dimensioni consigliate della stanza | 14-25 mq |
| Livello di rumore | 65 dB |
| Refrigerante | R290 (ECO-friendly) |
| Voltage | 240 Volt |
| Cosatage | 2600 Watt |
| Dimensioni (L x P x A) | Dimensioni: 35.5 x 36.5 x 71.3 cm |
| Materiale | addominali |
| Classe di efficienza energetica | A |

Figure 11: The energy efficiency label for the CREATE SILKAIR CONNECT, indicating an A-class energy rating, 2.6 kW cooling capacity, and a noise level of 65 dB. More details can be found at eprel.ec.europa.eu/qr/1580267.
10. Garanzia e supporto
For warranty information and technical support, please refer to the warranty card included with your product or visit the official CREATE websito. Conserva la ricevuta d'acquisto come prova d'acquisto.
Produttore: CREARE
Contatto: Refer to CREATE's official support channels.


