1. Introduzione
Thank you for choosing the Offgridtec MPPT Pro Duo charge controller. This device is designed to efficiently manage solar power input to charge two independent battery banks, typically a main service battery and a starter battery, in 12V or 24V systems. It utilizes Maximum Power Point Tracking (MPPT) technology to optimize energy harvest from your solar panels. Please read this manual thoroughly before installation and operation to ensure safe and optimal performance.

Figura 1: Fronte view of the Offgridtec MPPT Pro Duo Charge Controller.
2. Istruzioni di sicurezza
Always observe the following safety precautions to prevent personal injury or damage to the controller and connected equipment:
- L'installazione deve essere eseguita solo da personale qualificato.
- Ensure all power sources (solar panels, batteries) are disconnected before installation or maintenance.
- Utilizzare strumenti adeguati e indossare dispositivi di protezione individuale.
- Do not disassemble or attempt to repair the controller. Contact Offgridtec support for assistance.
- Assicurare una ventilazione adeguata attorno al controller per evitare il surriscaldamento.
- Collegare le batterie rispettando la polarità corretta. L'inversione di polarità può causare gravi danni.
- Use fuses or circuit breakers on all battery and solar panel connections as recommended by local regulations and system design.
- Avoid short-circuiting battery terminals or solar panel wires.
- Keep the controller away from flammable materials, moisture, and direct sunlight.
3. Prodotto finitoview
3.1 Caratteristiche principali
- Dual battery charging: Charges both main (service) and starter batteries.
- Tecnologia MPPT: massimizza la raccolta di energia dai pannelli solari.
- Supports 12V and 24V systems.
- Maximum charge current up to 30A.
- Adaptive three-level charging for extended battery life.
- Supports various battery types: Gel, Flooded, LiFePO4, Li-NiCoMn (for main battery).
- Secondary charge output for starter battery (supports lead-acid).
- Optional remote display and Bluetooth compatibility (accessories required).
- AES control signal for car refrigerators to prevent energy waste.
- Standard bus protocol and RS485 communication connection.
- Robust aluminum heatsink design for efficient cooling.
- Overload, reverse polarity, and deep discharge protection.
3.2 Componenti
The Offgridtec MPPT Pro Duo charge controller includes:
- MPPT Pro Duo Charge Controller unit.
- Terminali di collegamento.
- Integrated LED status indicators.
- SET button for battery type selection.
- Temperature sensor ports (one with integrated sensor, one for external).
- Porta di comunicazione RS485.
- AES signal output port.
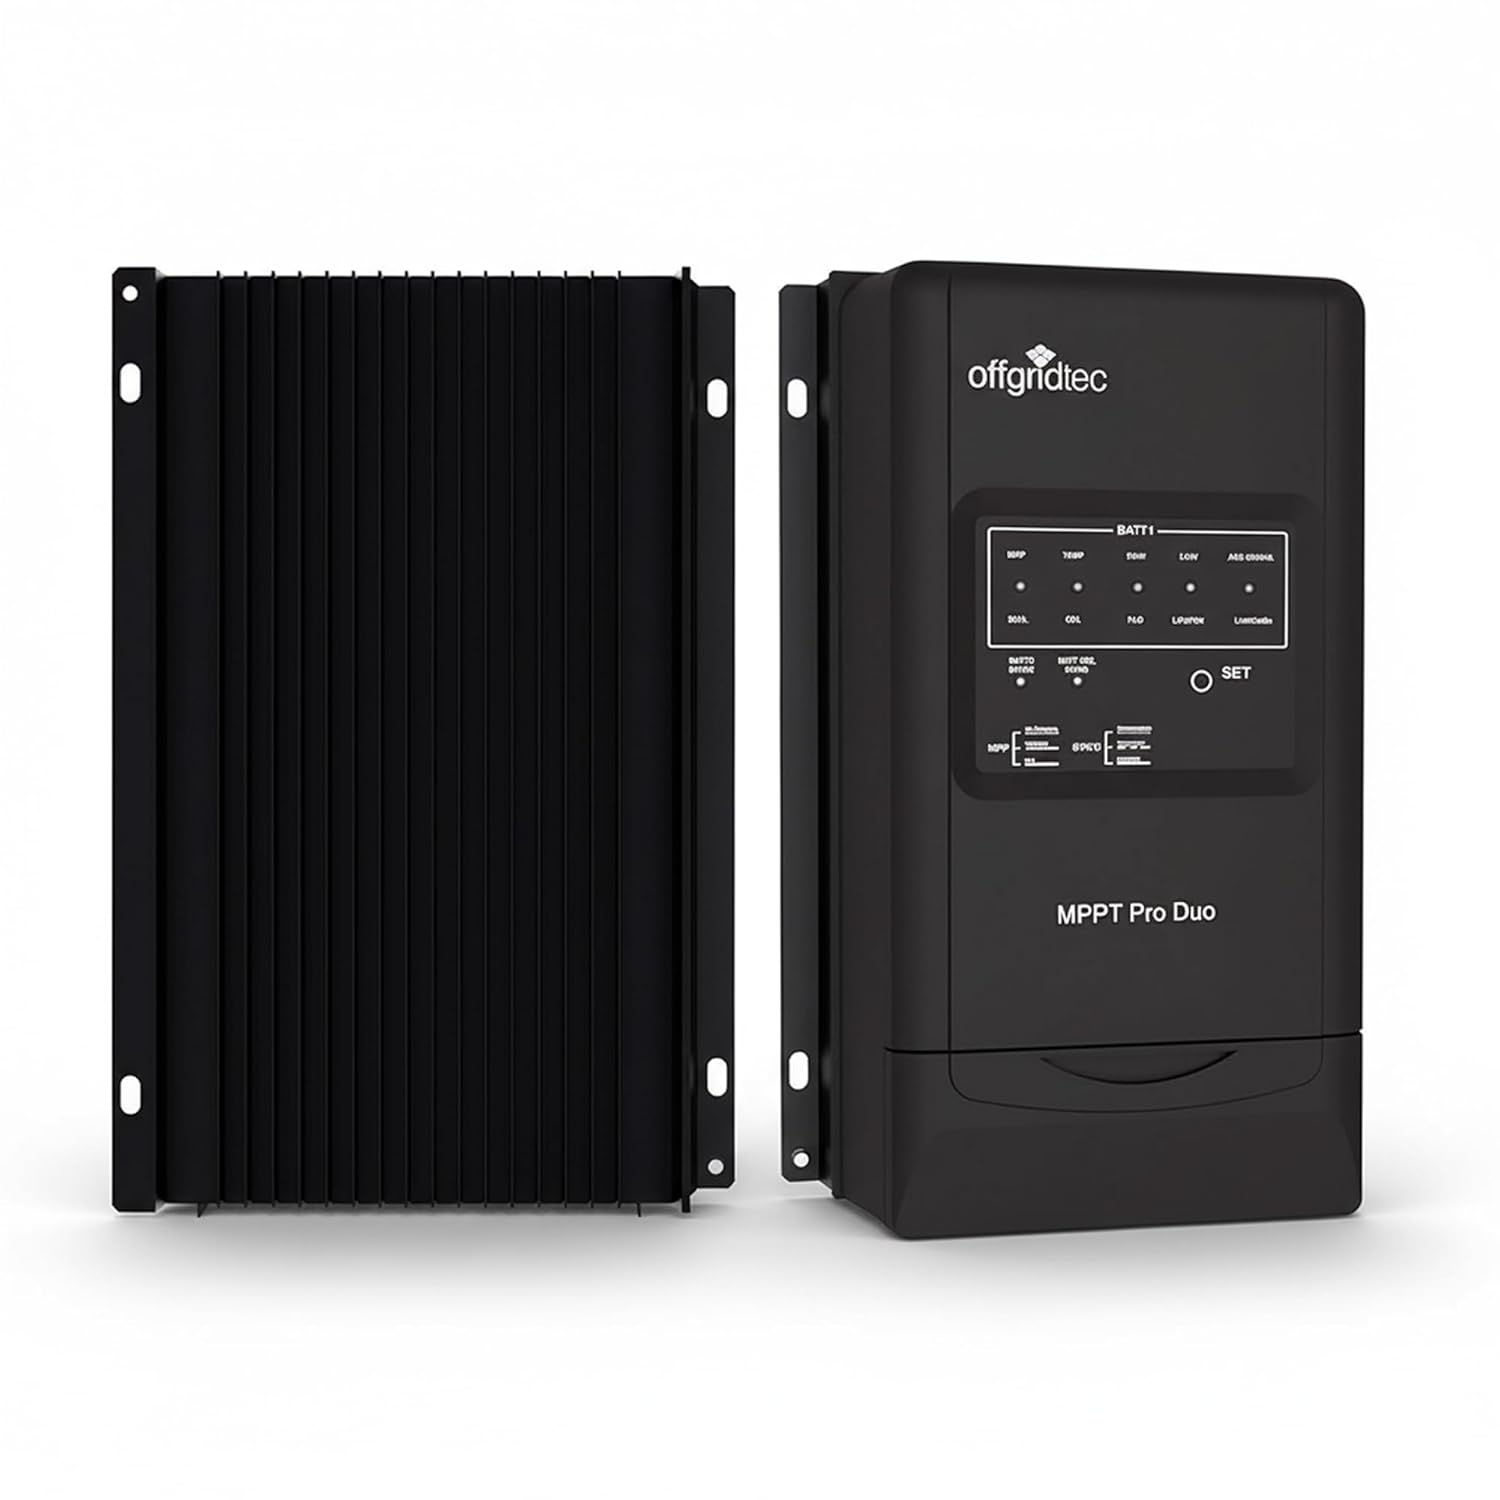
Figura 2: Fronte e retro view of the charge controller, highlighting the heatsink design.
4. Configurazione e installazione
Proper installation is crucial for the safe and efficient operation of your charge controller. Ensure all safety instructions are followed.
4.1 Posizione di montaggio
- Montare il controller verticalmente su una superficie non infiammabile.
- Ensure adequate air circulation around the heatsink for optimal cooling.
- Avoid locations exposed to direct sunlight, high temperatures, or moisture.
- Dimensions: 24.7 cm (L) x 16.5 cm (W) x 6.9 cm (H).
- Mounting holes diameter: 5 mm.

Figure 3: Physical dimensions of the MPPT Pro Duo charge controller, showing the aluminum heatsink.
4.2 Schema elettrico e collegamenti
Follow the wiring sequence below. Incorrect wiring can damage the controller or batteries.
- Connect Battery 1 (Main/Service Battery): Connect the positive and negative terminals of your main battery to the BATT1 terminals on the controller. Use appropriate cable gauge (e.g., 16 mm² / AWG6). Ensure correct polarity.
- Connect Battery 2 (Starter Battery): Connect the positive and negative terminals of your starter battery to the BATT2 terminals on the controller. Use appropriate cable gauge (e.g., 4 mm² / AWG12). Ensure correct polarity.
- Connect Solar Panels (PV): Connect the positive and negative terminals of your solar panel array to the PV terminals on the controller. Ensure the open-circuit voltage del tuo impianto solare non superi i 100 V.
- Collegare i sensori di temperatura: The controller includes ports for temperature sensors. Connect the provided sensor to monitor battery temperature for optimized charging.
- Connessioni opzionali:
- Comunicazione RS485: For connecting an optional remote display or USB adapter for PC communication.
- AES Signal Output: For controlling car refrigerators to prevent excessive discharge of the main battery.
- Messa a terra: Ensure the controller is properly grounded (negative grounding).

Figure 4: Simplified wiring diagram showing connections from solar panel to controller and dual batteries.

Figura 5: Esample installation of the charge controller in a recreational vehicle.
5. Istruzioni per l'uso
5.1 Accensione iniziale
After all connections are securely made, connect the battery power first, then the solar panel power. The controller will perform a self-test, and the LED indicators will illuminate.
5.2 Setting Battery Type (BATT1)
The controller supports various battery types for the main battery (BATT1). To select the correct battery type:
- Premere e tenere premuto il tasto IMPOSTATO button for approximately 5 seconds until the battery type indicator starts flashing.
- Premere il tasto IMPOSTATO button repeatedly to cycle through the available battery types (Gel, Flooded, LiFePO4, Li-NiCoMn).
- Once the desired battery type is selected, wait for 5 seconds without pressing any button. The indicator will stop flashing, and the setting will be saved.
The secondary battery (BATT2) is typically charged as a lead-acid battery and does not require specific type selection.
5.3 Indicatori LED
The front panel features LED indicators to show the operational status:
- PV Status LED: Indicates solar panel input status.
- BATT1 Status LEDs: Show the charging stage and state of charge for the main battery.
- BATT2 Status LED: Indicates charging status for the starter battery.
- LED di errore: Illuminates to indicate a fault or warning. Refer to the troubleshooting section.

Figure 6: Installed charge controller showing illuminated LED indicators.
5.4 Processo di ricarica
The MPPT Pro Duo uses an adaptive three-level charging algorithm to optimize battery health and lifespan. It prioritizes charging the main battery (BATT1) and then provides a maintenance charge to the starter battery (BATT2).
- Carica alla rinfusa: Fornisce la massima corrente per caricare rapidamente la batteria.
- Carica di assorbimento: Mantiene un volume costantetage per caricare completamente la batteria senza sovraccaricarla.
- Carica galleggiante: Riduce il volumetage a un livello inferiore per mantenere la batteria completamente carica e compensare l'autoscarica.
6. Manutenzione
Regular maintenance ensures the longevity and optimal performance of your charge controller:
- Ispezione visiva: Periodically check for loose connections, damaged wiring, or signs of corrosion.
- Pulizia: Keep the controller clean and free of dust. Use a dry cloth to wipe the exterior. Do not use liquids or solvents.
- Ventilazione: Ensure the heatsink fins are not obstructed to allow for proper heat dissipation.
- Verifica della connessione: Verify that all terminal connections are tight and secure.
- Stato della batteria: Monitor the health of your batteries. A failing battery can affect the performance of the entire system.
7. Risoluzione Dei Problemi
If you encounter issues with your MPPT Pro Duo, refer to the following common problems and solutions:
| Problema | Possibile causa | Soluzione |
|---|---|---|
| No LED indicators lit. | No power from battery or solar panels; reverse polarity. | Check battery and solar panel connections and polarity. Ensure fuses are intact. |
| Le batterie non si caricano. | Low solar input; incorrect battery type setting; loose connections; faulty solar panel or battery. | Verify solar panel output. Check battery type setting. Inspect all wiring. Test solar panels and batteries independently. |
| Error LED is lit. | Sovraccarico, cortocircuito, over-voltage, over-temperature, or other system fault. | Disconnect all power, inspect wiring for shorts or damage. Allow controller to cool if overheating. Reconnect power in correct sequence. If error persists, contact support. |
| Bluetooth connection issues (with optional adapter). | Incorrect password; app not installed correctly; location services disabled for app. | Try alternative passwords (refer to adapter manual). Reinstall the app. Enable location services for the app on your mobile device. |
| Secondary battery (BATT2) not charging or charging slowly. | Main battery (BATT1) not fully charged; low solar input; faulty BATT2 connection. | Ensure BATT1 is adequately charged. Verify solar input. Check BATT2 wiring and health. Note that BATT2 receives a compensatory charge after BATT1. |
Se il problema persiste dopo aver provato queste soluzioni, contattare l'assistenza clienti Offgridtec.
8. Specifiche
| Parametro | Valore |
|---|---|
| Modello | MPPT Pro Duo 12V/24V 30A |
| Volume di sistematage | 12 V / 24 V (rilevamento automatico) |
| Corrente di carica massima | 30A |
| Potenza massima in ingresso FV (sistema a 12 V) | 390W |
| Potenza massima in ingresso FV (sistema a 24 V) | 780W |
| Massimo Circuito aperto fotovoltaico voltage | 100V |
| Messa a terra | Negativo |
| Supported Battery Types (BATT1) | Gel, Flooded, LiFePO4, Li-NiCoMn |
| Supported Battery Types (BATT2) | Piombo-acido |
| Efficienza | Fino al 98% |
| Dimensioni (L x P x A) | Dimensioni: 24.7 cm x 16.5 cm x 6.9 cm |
| Peso | 1.4 kg |
| Temperatura di esercizio | Fino a 60 gradi Celsius |
| Consumo energetico | 26 mA (12V), 15 mA (24V) |
| Produttore | Offgridtec GmbH |
| Product Reference / Model Number | 011200 |
9. Garanzia e supporto
For warranty information, please refer to the terms and conditions provided at the time of purchase or contact Offgridtec GmbH directly. Keep your proof of purchase for any warranty claims.
For technical support, troubleshooting assistance beyond this manual, or inquiries about accessories, please contact Offgridtec customer service. Contact details can typically be found on the manufacturer's official websito o la documentazione di acquisto.
10. Applicazioni tipiche
The Offgridtec MPPT Pro Duo charge controller is suitable for a variety of off-grid and mobile solar power systems, including:
- Veicoli ricreativi (RV) e Campervans
- Marine Systems (Boats & Yachts)
- Remote Telecommunication Stations
- Off-grid Cabins and Small Homes
- Camping and Outdoor Solar Setups

Figura 7: Esamples of typical applications for the MPPT Pro Duo charge controller.