1. Prodotto finitoview
The PROAIM Telescopic Bazooka is a robust and versatile camera support system designed for professional video production. It provides adjustable height for camera setups on dollies, sliders, jibs, and cranes, ensuring stable and precise camera positioning. Constructed from high-grade aluminum, it offers exceptional durability and a high payload capacity.
2. Caratteristiche principali
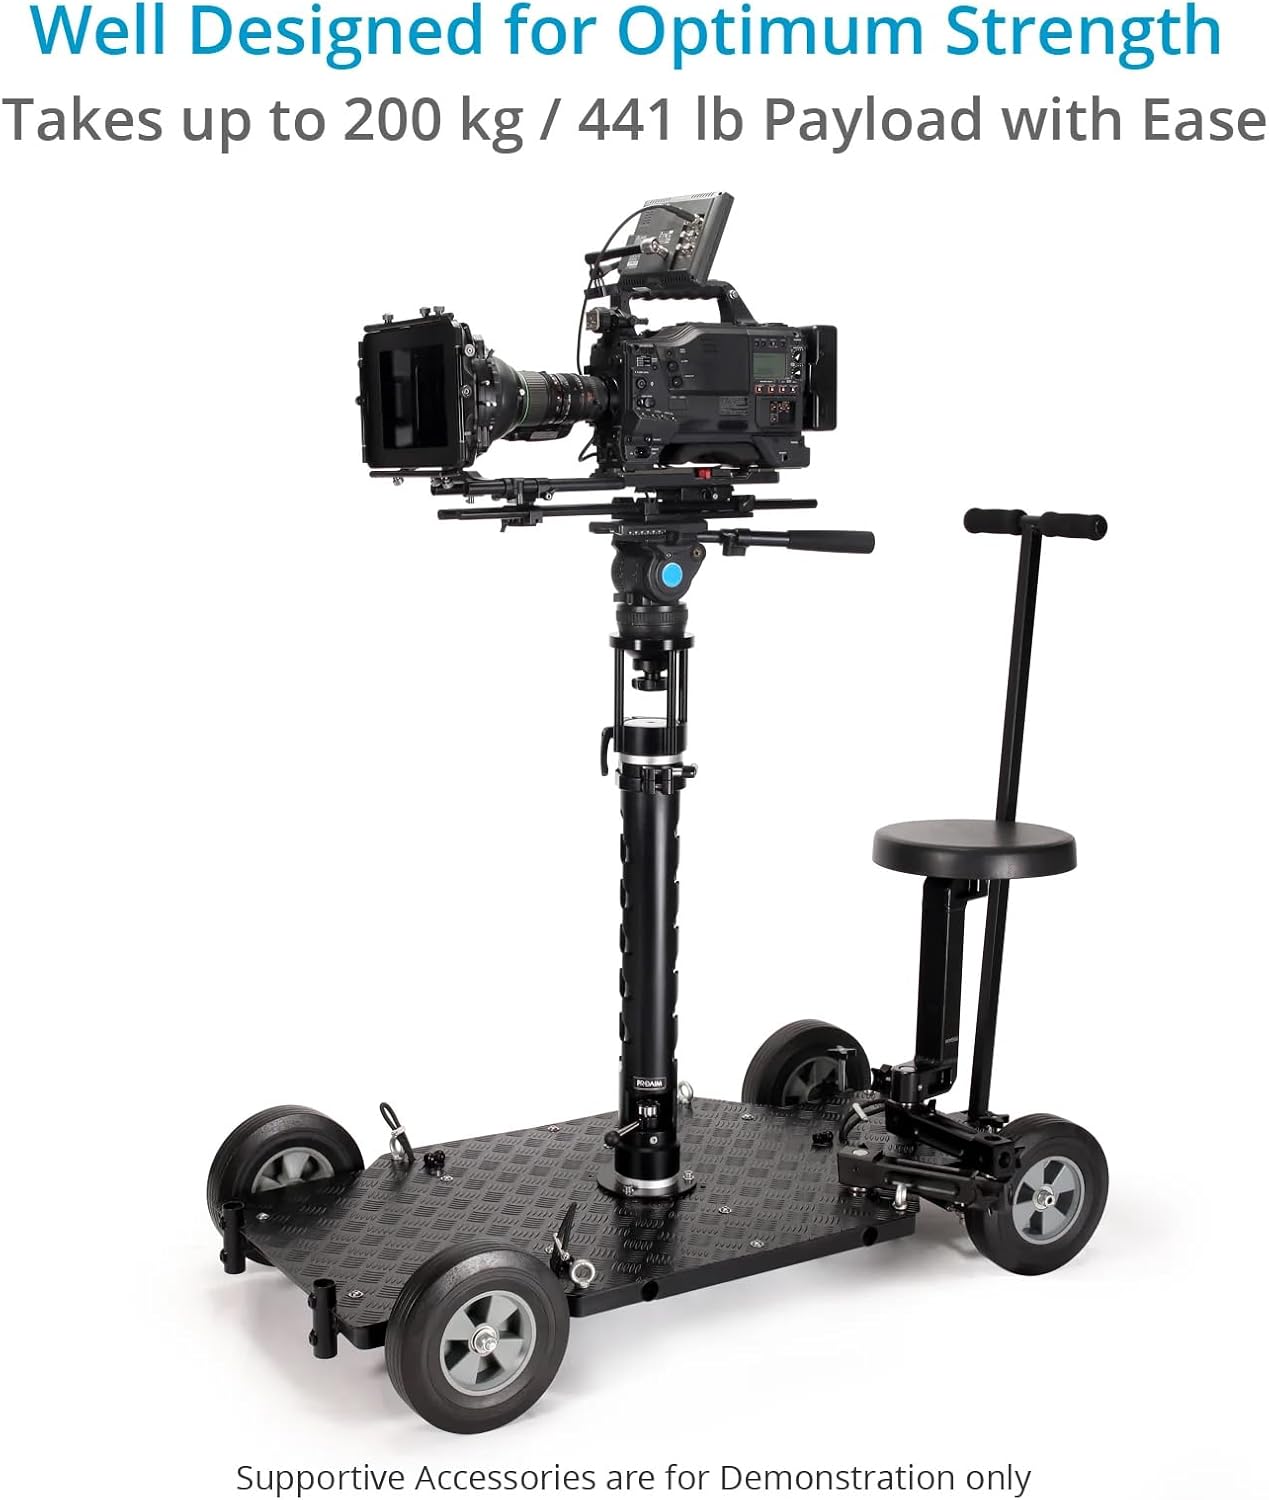
- Strong & Stable Design: Built with high-grade aluminum, the Proaim Telescopic Bazooka supports up to 200 kg / 441 lb, ensuring maximum stability and durability for your camera setup.
- Altezza regolabile: Effortlessly adjust the height from 69–107 cm / 27–42 inches using the ratchet knob, offering precise camera positioning.
- Quick-Lock Lever: Provides a secure lock-off when mounted on a dolly system, ensuring safe and reliable use during filming.
- Reliable Mounting: Features a Proaim Euro/Elemac plate for easy attachment to dolly systems and camera heads, providing an incredibly stable platform for professional filming.
3. Istruzioni per l'installazione
Follow these steps to set up your PROAIM Telescopic Bazooka:
- Attach to Dolly/Platform: Secure the Euro/Elemac mounting plate to your camera dolly or platform using the provided hardware. Ensure it is firmly tightened for stability.
- Mount Bazooka: Insert the base of the Telescopic Bazooka into the Euro/Elemac mounting plate. Use the quick-lock lever to secure the bazooka firmly in place.
- Install Camera Head/Jib: Attach your camera head, jib arm, or other compatible equipment to the top Euro/Elemac mount of the bazooka. Ensure all connections are secure.

The quick lock lever ensures a secure connection between the bazooka and the mounting plate, preventing any unwanted movement during operation.

Video dimostrativo di installazione
Video 1: This video demonstrates the assembly and mounting of the Proaim Telescopic Bazooka with a quick lock Euro/Elemac base, showcasing its use with a camera dolly.
4. Istruzioni per l'uso
The PROAIM Telescopic Bazooka allows for quick and easy height adjustments:
- Regolazione dell'altezza: To change the height, loosen the ratchet knob on the side of the bazooka. Extend or retract the telescopic sections to your desired height.
- Altezza di sicurezza: Once the desired height is reached, tighten the ratchet knob firmly to lock the bazooka in position. Ensure it is fully secured before operating your camera.
- Using the Quick Lock Lever: The quick lock lever at the base allows for rapid attachment and detachment from the mounting plate, facilitating quick setup changes.


Video dimostrativo del funzionamento
Video 2: This video demonstrates the quick lock lever and height adjustment features of the PROAIM Bazooka, highlighting its ease of use and stability for camera elevation.
5. Manutenzione
To ensure the longevity and optimal performance of your PROAIM Telescopic Bazooka, regular maintenance is recommended:
- Pulizia: Wipe down the bazooka with a soft, dry cloth after each use to remove dust and debris. For stubborn dirt, use a slightly damp panno e sapone neutro, quindi asciugare accuratamente.
- Lubrificazione: Periodically apply a small amount of silicone-based lubricant to the telescopic sections and moving parts to ensure smooth operation. Avoid excessive lubrication.
- Ispezione: Regularly check all screws, knobs, and levers for tightness. Ensure there are no loose components or signs of wear and tear. Replace any damaged parts immediately.
- Magazzinaggio: Store the bazooka in a clean, dry environment, preferably in its original packaging or a protective case, to prevent damage.
6. Risoluzione Dei Problemi
If you encounter any issues with your PROAIM Telescopic Bazooka, consider the following:
- Difficoltà nella regolazione dell'altezza: Ensure the ratchet knob is fully loosened before attempting to adjust the height. Check for any obstructions or debris in the telescopic mechanism. Apply lubricant if necessary.
- Configurazione instabile: Verify that the bazooka is securely mounted to the platform using the quick-lock lever and that the platform itself is stable. Ensure all camera equipment is properly balanced and tightened on the bazooka's top mount.
- Componenti sciolti: Regularly inspect and tighten all screws and fasteners. If a component is consistently loose or damaged, contact customer support for assistance.
7. Specifiche
| Caratteristica | Dettaglio |
|---|---|
| Costruzione | Alluminio di alta qualità |
| Capacità di carico | Fino a 200 kg / 441 libbre |
| Telescopic Height Range | 69–107 cm / 27–42 pollici |
| Montaggio dall'alto | Euro/Elemac |
| Montaggio inferiore | Euro/Elemac |
| Product Weight (Bazooka) | 4.71 kg / 10.36 libbre |
| Quick Lock Lever | SÌ |
| Dimensioni del prodotto | 35.43 x 8.66 x 7.48 inches (packaged) / 42"D x 6"W x 6"H (extended) |
| Numero modello articolo | (BZ-286-00) |
| Codice UPC | 705669220584, 046708566103 |
8. Garanzia e supporto
PROAIM products are designed for durability and performance. For warranty information, technical support, or service inquiries, please refer to the official PROAIM webo contattare direttamente il servizio clienti. Conservare la ricevuta d'acquisto come prova d'acquisto per eventuali reclami in garanzia.
Per ulteriore supporto, visitare il PROAIM Store on Amazon.


