Introduzione
The Foxwell NT520 PRO is a professional-grade car fault diagnostic tool designed to help users identify and resolve issues in various vehicle systems. This device offers comprehensive diagnostic functions, including reading and clearing fault codes, viewing live data streams, and performing specialized tests and coding functions. It supports a wide range of car makes and models equipped with an OBD II - 16 pin connector.
1. Impostazione
1.1 Contenuto della confezione
- Foxwell NT520 PRO Diagnostic Tool
- Cavo diagnostico OBD II
- Cavo USB (per aggiornamenti e trasferimento dati)
- Manuale dell'utente (questo documento)
1.2 Accensione iniziale del dispositivo
- Connect the OBD II diagnostic cable to the NT520 PRO device.
- Locate the vehicle's OBD II port, typically found under the dashboard on the driver's side.
- Plug the diagnostic cable into the vehicle's OBD II port. The device should power on automatically. If not, ensure the vehicle's ignition is in the ON position.
1.3 Aggiornamenti software
The NT520 PRO offers free updates for one selected car brand. Additional brands (up to five) can be added via internet for a fee. Regular software updates ensure compatibility with newer vehicle models and provide access to the latest diagnostic features.
- Collega il dispositivo a un computer utilizzando il cavo USB in dotazione.
- Install the Foxwell update client software on your computer (refer to the official Foxwell websito per il download).
- Follow the on-screen instructions in the update client to register your device and perform software updates.
2. Istruzioni per l'uso
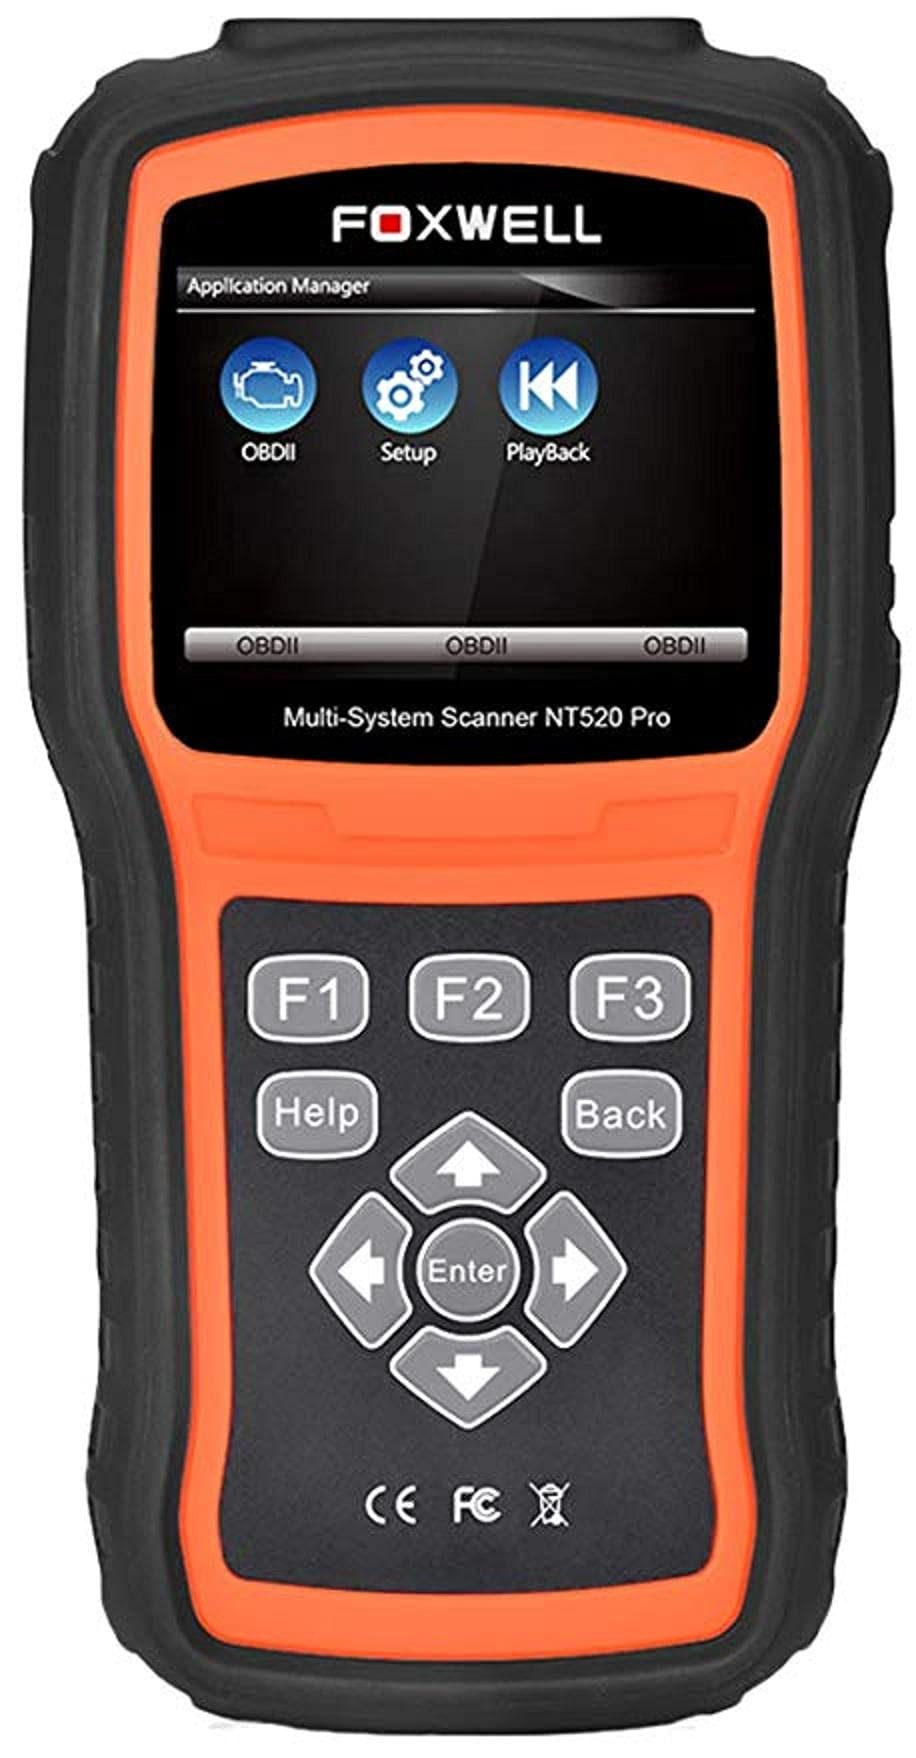
The NT520 PRO features a color screen for easy navigation and data display.
2.1 Navigazione di base
- Utilizzare i tasti freccia per navigare nei menu.
- Premere il pulsante "Invio" o "OK" per selezionare un'opzione.
- Press the 'Back' or 'Exit' button to return to the previous screen.
2.2 Funzioni diagnostiche
The device supports diagnostics for most available control units in a vehicle, including:
- Modulo di controllo del motore (ECM)
- Modulo di controllo della trasmissione (TCM)
- Sistema frenante antibloccaggio (ABS)
- Sistema Airbag
- Modulo di controllo della carrozzeria (BCM)
2.2.1 Lettura e cancellazione dei codici di errore
- From the main menu, select 'Diagnostics' or 'Scan'.
- Seleziona la marca e il modello del veicolo.
- Select the desired control unit (e.g., Engine, ABS).
- Seleziona "Leggi codici" per view current and stored Diagnostic Trouble Codes (DTCs).
- Select 'Clear Codes' to erase the detected fault codes. This will also turn off the Malfunction Indicator Lamp (MIL) se il guasto non è più presente.
2.2.2 Flusso di dati in tempo reale
View dati in tempo reale provenienti da vari sensori e componenti.
- After selecting the control unit, choose 'Live Data'.
- Seleziona i parametri che desideri monitorare.
- I dati verranno visualizzati in formato numerico o grafico.
2.2.3 Informazioni ECU
Access information about the Electronic Control Unit.
- After selecting the control unit, choose 'ECU Information'.
- View details such as VIN, calibration ID, and software version.
2.2.4 Component Testing and Coding
The device can perform tests on various car parts and supports programming and coding for different components.
- Component Tests: Select 'Active Test' or 'Component Test' from the menu to activate specific components and check their functionality.
- Programming and Coding: This function allows for programming and coding of various parts. Use with caution and only if you are familiar with the specific vehicle's requirements.
- Key Coding: For certain models, the device supports key coding functionality. Refer to your vehicle's service manual for specific procedures.
3. Manutenzione
3.1 Manutenzione del dispositivo
- Mantenere il dispositivo pulito, privo di polvere e umidità.
- Conservare il dispositivo in un luogo fresco e asciutto quando non viene utilizzato.
- Evitare di far cadere il dispositivo o di sottoporlo a forti impatti.
- Do not use harsh chemicals for cleaning; a soft, damp il panno è sufficiente.
3.2 Manutenzione del software
Regularly check for and install software updates to ensure optimal performance and compatibility with the latest vehicle models. Refer to section 1.3 for update instructions.
4. Risoluzione Dei Problemi
4.1 Il dispositivo non si accende
- Ensure the OBD II cable is securely connected to both the device and the vehicle's OBD II port.
- Verificare che l'accensione del veicolo sia in posizione ON.
- Controllare il fusibile del veicolo per la porta OBD II (consultare il manuale del proprietario del veicolo).
4.2 Errore di comunicazione
- Confirm the vehicle supports the OBD II protocol (most vehicles manufactured after 1996 do).
- Assicurarsi che il cavo diagnostico non sia danneggiato.
- Prova a connetterti a un veicolo diverso per escludere un problema specifico del veicolo.
- Aggiornare il software del dispositivo alla versione più recente.
4.3 Indicatore di malfunzionamento Lamp (MIL) Remains On
After clearing fault codes, if the MIL (Check Engine Light) remains illuminated, it indicates that the underlying fault has not been resolved or a new fault has occurred. Address the root cause of the fault before attempting to clear codes again.
5. Specifiche
| Caratteristica | Dettaglio |
|---|---|
| Produttore | Foxwell |
| Marca | Foxwell |
| Numero di modello | 111111111111 |
| Numero di parte del produttore | 111111111111 |
| Fonte di alimentazione | Elettrico con cavo |
| Peso dell'articolo | 818 grammi |
| Dimensioni di spedizione | Dimensioni: 21.2 x 17.8 x 8.2 cm |
| ASIN | B092326PXZ |
| Prima data disponibile | 8 aprile 2021 |
6. Garanzia e supporto
6.1 Garanzia del prodotto
Please refer to the warranty card included with your product or visit the official Foxwell website for detailed warranty information. Warranty terms typically cover manufacturing defects for a specified period from the date of purchase.
6.2 Supporto tecnico
For technical assistance, software updates, or troubleshooting not covered in this manual, please contact Foxwell customer support through their official website or authorized service centers. Have your product model and serial number ready when contacting support.


