Prodotto finitoview
The Daytech Wireless Door Sensor Chime system provides a reliable alert solution for various applications. It consists of a wireless magnetic sensor and one or more plug-in receivers. When the sensor detects an opening (e.g., a door or window), it sends a signal to the receiver, which then emits an audible chime and activates an LED indicator. This system is designed to enhance security and convenience in homes, businesses, and care settings.
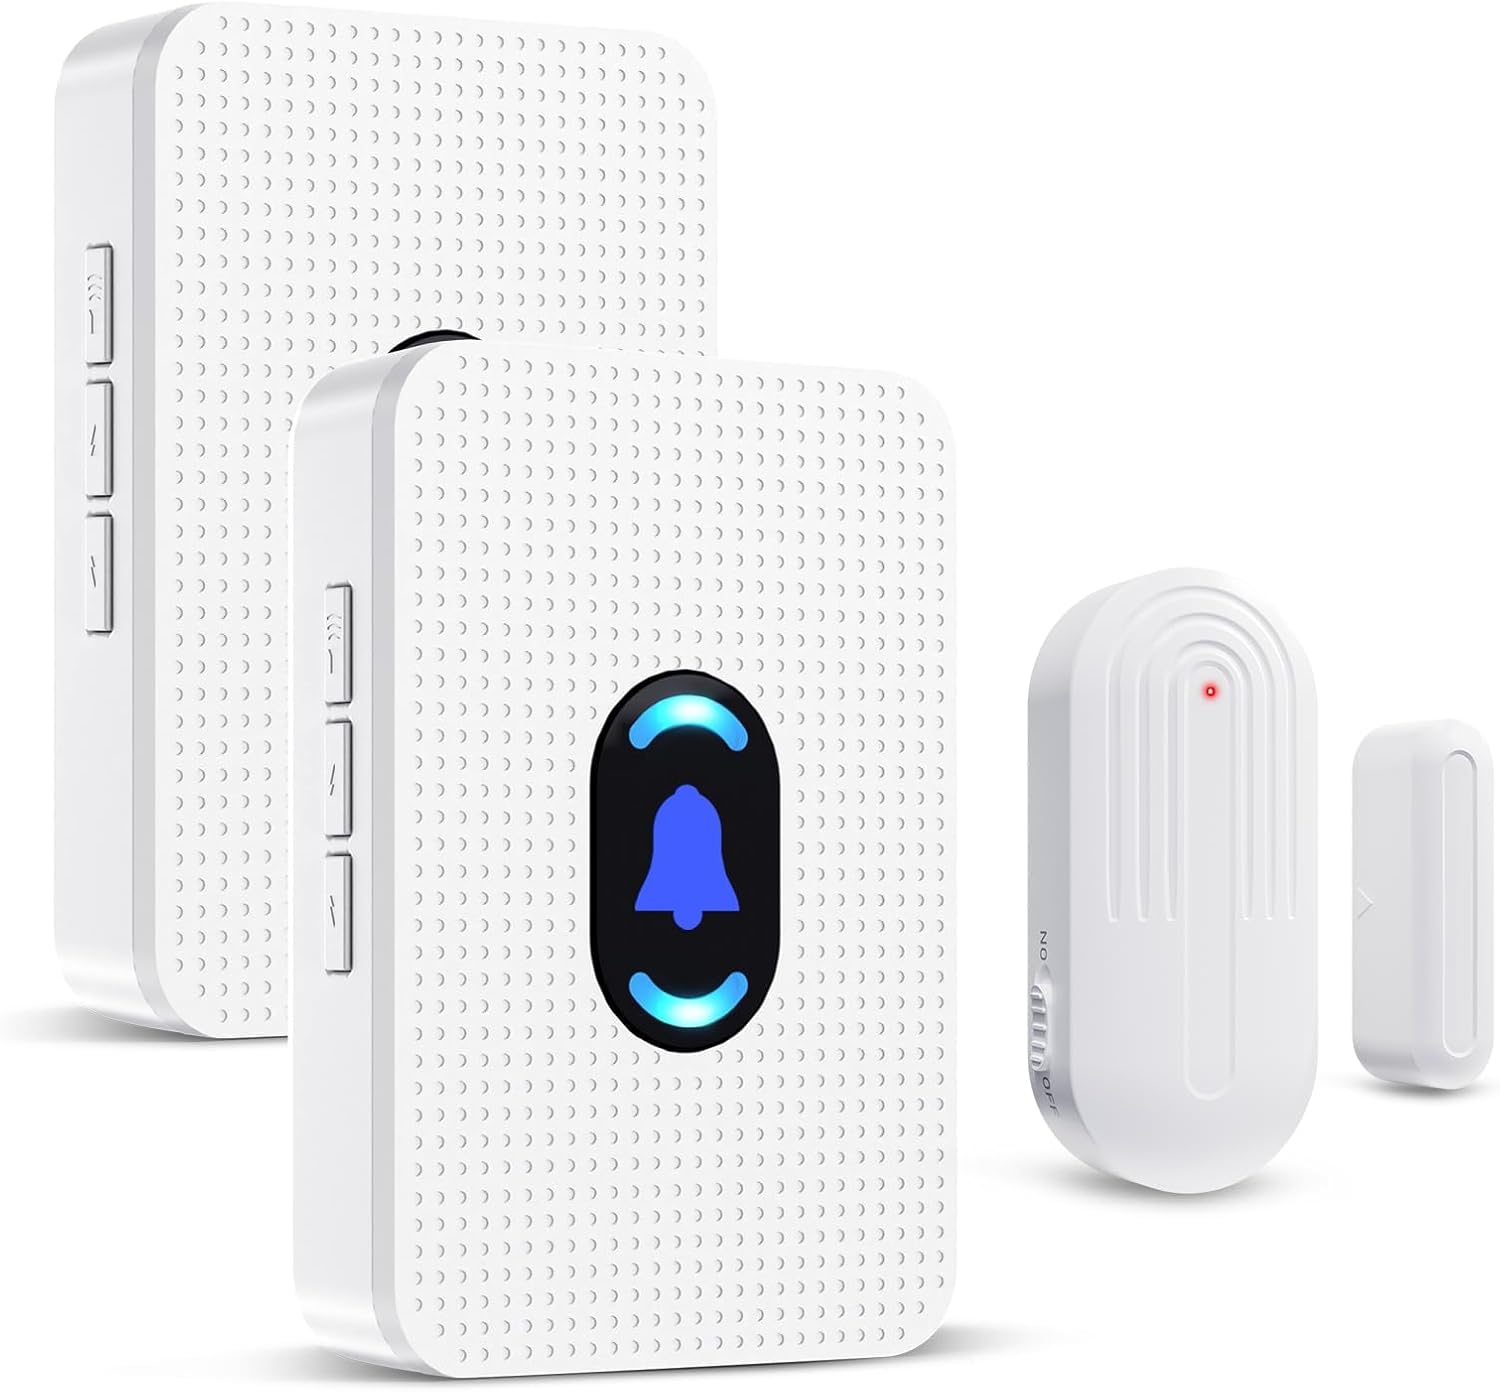
Image: Daytech Wireless Door Sensor Chime system, showing two plug-in receivers and a magnetic door/window sensor.
Caratteristiche principali:
- Funzionamento senza fili: Provides flexible placement without the need for complex wiring.
- Gamma estesa: Funziona efficacemente fino a 240 metri (800 piedi) in aree aperte.
- Avvisi personalizzabili: Offers 20 selectable chimes and 5 adjustable volume levels (0-110 dB), including a mute mode.
- Indicatore visivo: Features an LED indicator on the receiver for visual alerts.
- Applicazione versatile: Suitable for home security, business entry alerts, child safety, and monitoring for elderly individuals.
- Installazione semplice: Simple setup with adhesive tape for the sensor and plug-and-play for the receiver.
- Durable Sensor: IP44 waterproof rating for the sensor, designed for long-term use.
Contenuto della confezione
- 1 x Wireless Magnetic Door Sensor
- 2 ricevitori plug-in
- Hardware di montaggio (ad esempio, nastro biadesivo)
- Manuale d'uso
Configurazione e installazione
1. Powering the Receiver:
Plug the receiver into any standard electrical outlet. The receiver will power on and be ready for operation.
2. Installing the Sensor:
The wireless sensor consists of two parts: the main sensor unit and a smaller magnetic strip. These two parts must be installed in close proximity to each other, typically on a door/window frame and the door/window itself.
- Identify a suitable location on your door, window, drawer, or cabinet. Ensure the two sensor parts can be aligned when the door/window is closed.
- Clean the surface where the sensor will be mounted to ensure proper adhesion.
- Peel the backing from the double-sided adhesive tape provided.
- Attach one part of the sensor to the door/window frame and the other part to the moving door/window. Ensure the alignment marks on both parts are facing each other and the gap between them is less than 0.6 inches (1.5 cm) when closed.

Immagine: Examples of sensor installation on doors, windows, drawers, and cabinets.

Image: Visual guide for mounting the door sensor using adhesive tape.
3. Abbinamento (se necessario):
The sensor and receiver are typically pre-paired from the factory. If re-pairing is needed or if you are adding new sensors/receivers, follow these steps:
- Collega il ricevitore.
- On the receiver, long press the volume button for 5-7 seconds until the LED indicator starts blinking rapidly. This indicates pairing mode.
- Quickly separate the two parts of the door sensor to activate the transmitter and send a signal to the receiver.
- Upon successful pairing, the receiver will sound a chime and the LED will stop blinking, confirming the connection.
Istruzioni per l'uso
1. Chime Activation:
When the two parts of the magnetic sensor are separated (e.g., a door or window opens), the sensor will trigger the paired receiver(s) to sound the selected chime and illuminate the LED indicator.

Image: Applications for home security, child safety, and elderly care.

Image: Applications for business, store, and office environments.
2. Regolazione del volume:
The receiver features a volume control button. Press this button repeatedly to cycle through 5 adjustable volume levels, ranging from 0 dB (mute) to 110 dB (maximum volume).

Image: Receiver with adjustable volume levels and LED indicator.
3. Changing Chime Melodies:
The receiver offers 20 different chime melodies. Use the "forward" and "backward" buttons on the side of the receiver to select your preferred melody.
4. Campo di funzionamento:
The system has a wireless operating range of up to 800 feet (240 meters) in an open environment. Walls, metal structures, and other electronic devices may reduce the effective range.

Image: Illustration of the system's 800ft wireless range.
Manutenzione
1. Sensor Battery Replacement:
The wireless sensor is powered by a CR2450 3V lithium battery. When the sensor's performance degrades or it stops transmitting signals, the battery may need replacement.
- Aprire con cautela il sensore casing using a small screwdriver.
- Rimuovere la vecchia batteria CR2450.
- Insert a new CR2450 3V lithium battery, ensuring correct polarity.
- Chiudere il sensore casing in modo sicuro.
Image: Visual guide for battery replacement in the sensor.
The sensor battery is designed for long life, supporting up to 100,000 uses or 3-5 years of typical operation.

Image: Details on sensor battery life and durability features.
2. Pulizia:
Wipe the sensor and receiver with a soft, dry cloth. Do not use abrasive cleaners or immerse the units in water.
3. Condizioni ambientali:
The sensor is IP44 waterproof, suitable for outdoor use in various weather conditions. The operating temperature range is -4°F (-20°C) to 140°F (60°C).
Risoluzione dei problemi
| Problema | Possibile causa | Soluzione |
|---|---|---|
| Il ricevitore non emette un segnale acustico quando il sensore viene attivato. |
|
|
| Il volume del segnale acustico è troppo basso o troppo alto. | L'impostazione del volume necessita di regolazione. | Press the volume control button on the receiver to cycle through the 5 volume levels. |
| La melodia del carillon non è desiderata. | Melodia selezionata non corretta. | Use the "forward" and "backward" buttons on the receiver to select a different melody. |
| Portata wireless ridotta. | Environmental interference or excessive distance. |
|
Specifiche
| Caratteristica | Dettaglio |
|---|---|
| Numero di modello | AUB094VDX2J6 |
| Marca | Daytech |
| Fonte di alimentazione (ricevitore) | Plug-in (alimentazione CA) |
| Fonte di alimentazione (sensore) | 1 x CR2450 3V Lithium Battery (included) |
| Voltage | 260 Volts (for receiver, typical for plug-in devices) |
| wireless Range | Fino a 800 piedi (240 metri) in area aperta |
| Melodie di campanelli | 20 suonerie selezionabili |
| Livelli di volume | 5 livelli regolabili (da 0 dB a 110 dB) |
| Tecnologia | Sensore di contatto (magnetico) |
| Tipo di montaggio | Door Mount, Window Mount (Adhesive Tape) |
| Sensor Gap Requirement | Less than 0.6 inches (1.5 cm) when closed |
| Materiale | addominali |
| Valutazione di impermeabilità del sensore | Grado di protezione IP44 |
| Temperatura di esercizio | Da -4°F (-20°C) a 140°F (60°C) |
| Peso dell'articolo | 8.1 once (confezione totale) |
| Dimensioni del pacco | 4.33 x 3.82 x 3.58 pollici |
Garanzia e supporto
For any product inquiries, technical support, or warranty information, please contact Daytech Customer Service. Refer to the product packaging or the official Daytech websito per i dettagli di contatto più aggiornati.
Daytech is committed to providing quality products and customer satisfaction.


