DEWINNER 710W Electric Corded Impact Drill
Instruction Manual - Model DE-7133A
La tua guida per un funzionamento sicuro ed efficace.
1. Introduzione
Thank you for choosing the DEWINNER 710W Electric Corded Impact Drill. This powerful and versatile tool is designed for a variety of drilling tasks in materials such as wood, metal, and masonry. To ensure safe and optimal performance, please read this instruction manual thoroughly before using the drill. Keep this manual for future reference.

Image 1.1: The DEWINNER 710W Electric Corded Impact Drill along with its comprehensive set of accessories.
2. Istruzioni generali di sicurezza
ATTENZIONE: leggere tutte le avvertenze di sicurezza, le istruzioni, le illustrazioni e le specifiche fornite con questo elettroutensile. La mancata osservanza di tutte le istruzioni elencate di seguito può causare scosse elettriche, incendi e/o gravi lesioni.
2.1 Sicurezza dell'area di lavoro
- Mantenere l'area di lavoro pulita e ben illuminata. Le aree disordinate o buie favoriscono gli incidenti.
- Non utilizzare utensili elettrici in atmosfere esplosive, come in presenza di liquidi, gas o polvere infiammabili. Gli utensili elettrici creano scintille che possono incendiare la polvere o i fumi.
- Tenere lontani bambini e astanti mentre si utilizza un elettroutensile. Le distrazioni possono causare la perdita del controllo.
2.2 Sicurezza elettrica
- Le spine degli utensili elettrici devono essere adatte alla presa. Non modificare mai la spina in alcun modo.
- Evitare il contatto del corpo con superfici collegate a terra o a massa, come tubi, radiatori, fornelli e frigoriferi. C'è un rischio maggiore di scosse elettriche se il corpo è collegato a terra o a massa.
- Non esporre gli utensili elettrici alla pioggia o a condizioni di bagnato. L'ingresso di acqua in un utensile elettrico aumenta il rischio di scosse elettriche.
- Non abusare del cavo. Non usare mai il cavo per trasportare, tirare o scollegare l'elettroutensile. Tenere il cavo lontano da calore, olio, bordi taglienti o parti in movimento. Cavi danneggiati o aggrovigliati aumentano il rischio di scosse elettriche.
2.3 Sicurezza personale
- Indossare sempre protezioni per gli occhi. Utilizzare occhiali di sicurezza, maschere o una visiera.
- Wear appropriate personal protective equipment (PPE) such as dust mask, non-skid safety shoes, hard hat, or hearing protection for appropriate conditions.
- Vestiti in modo appropriato. Non indossare abiti larghi o gioielli. Tieni i capelli e gli abiti lontani dalle parti in movimento.
- Siate vigili, fate attenzione a ciò che fate e usate il buon senso quando utilizzate un elettroutensile.
3. Prodotto finitoview
Familiarize yourself with the components of your DEWINNER Impact Drill:

Image 3.1: Key components of the DEWINNER Impact Drill.
- Mandrino per trapano: Holds the drill bit or accessory securely.
- Maniglia ausiliaria: Fornisce maggiore presa e controllo durante il funzionamento.
- Asta di profondità: Used to set and measure drilling depth.
- Drill/Hammer Switch: Selects between standard drilling and hammer drilling modes.
- Cambio di velocità: Internal mechanism for speed regulation.
- Interruttore di attivazione/disattivazione: Attiva e disattiva il trapano.
- Lock On Button: Locks the trigger in the ON position for continuous operation.
- Pure Copper Electric Machinery: Indicates the motor's construction for durability and performance.
4. Impostazione
4.1 Disimballaggio e ispezione
Carefully remove the drill and all accessories from the carrying case. Inspect for any damage that may have occurred during shipping. Ensure all listed components are present.

Image 4.1: The drill and its accessories stored in the included carrying case.
4.2 Fissaggio della maniglia ausiliaria
The auxiliary handle can be rotated 360° for optimal positioning. Loosen the handle clamp, slide the handle onto the drill's neck, adjust to the desired angle, and tighten the clamp in modo sicuro.
4.3 Installing/Changing Drill Bits and Accessories
The drill features a 13mm metal chuck. To install or change a drill bit or accessory:
- Inserire la chiave del mandrino in uno dei fori presenti sul mandrino.
- Ruotare la chiave del mandrino in senso antiorario per aprire le ganasce del mandrino.
- Insert the drill bit or accessory into the chuck, ensuring it is seated as deeply as possible.
- Rotate the chuck key clockwise to tighten the chuck jaws firmly around the bit. Ensure the bit is centered and secure.
- Rimuovere la chiave del mandrino prima di utilizzare il trapano.

Image 4.2: Adjusting the drill chuck using the included chuck key.
The drill supports various accessories, including sanding discs and cutting discs, which can be attached using appropriate adapters (included in the 102-piece accessory set).
Video 4.1: Demonstrates changing drill bits, attaching sanding pads, and cutting discs, highlighting the versatility of the drill.
5. Funzionamento del trapano
5.1 Accensione/spegnimento e controllo della velocità variabile
To start the drill, press the On/Off Trigger Switch. The drill features a variable speed trigger, allowing you to control the drilling speed from 0-3300 RPM based on the pressure applied. For continuous operation, press the Lock On Button while the trigger is depressed. To release, press the trigger again.
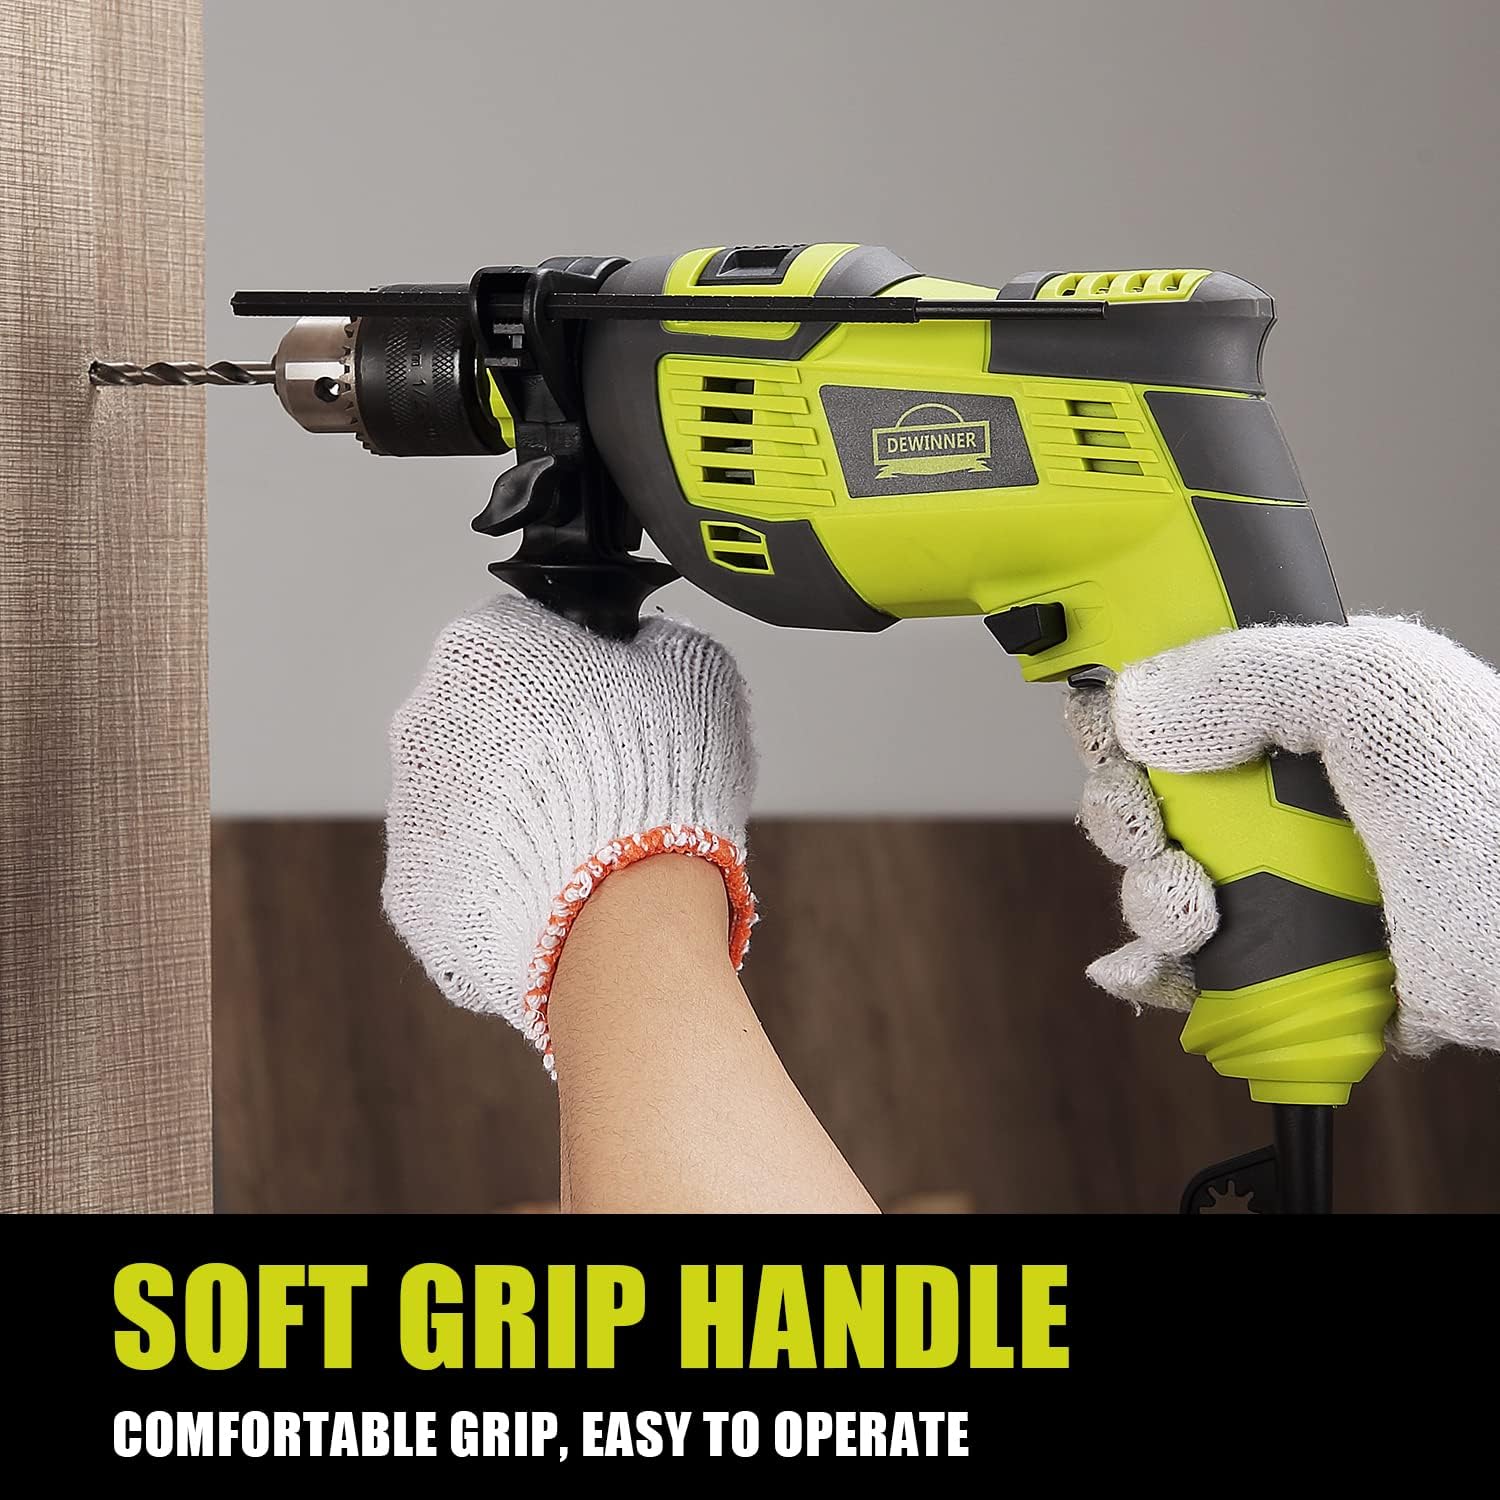
Image 5.1: The speed control knob allows for precise RPM adjustment.
5.2 Hammer and Impact Drill Dual Mode
This drill offers two modes: Drill Mode and Hammer Mode. Use the Drill/Hammer Switch to select the appropriate mode for your task:
- Modalità di perforazione: Ideal for drilling in wood, metal, plastics, and other softer materials.
- Modalità martello: Activates an impact mechanism, suitable for drilling into hard materials like concrete, brick, and masonry.

Image 5.2: Easily switch between Drill Mode and Hammer Mode.
5.3 Interruttore avanti/indietro
The Forward/Reverse switch is located near the trigger. Push it to the left for forward rotation (drilling) and to the right for reverse rotation (removing screws or freeing a stuck drill bit). Always ensure the drill has come to a complete stop before changing the direction of rotation.

Image 5.3: Controls for direction, mode, and continuous operation.
5.4 Tecniche di perforazione
- Perforazione generale: Applicare una pressione costante e uniforme. Non forzare il trapano. Lascia che sia l'utensile a fare il lavoro.
- Foratura del legno: Use wood-specific drill bits. Start with a pilot hole for larger bits.
- Foratura del metallo: Use metal-specific drill bits. Apply cutting oil to cool the bit and improve drilling efficiency.
- Foratura di muratura/calcestruzzo: Use carbide-tipped masonry bits and activate the hammer mode. Apply firm, consistent pressure.
Video 5.1: Shows the drill in action, demonstrating its capability for drilling into wood and concrete surfaces.
6. Manutenzione
6.1 Pulizia
- Prima di pulire il trapano, staccare sempre la spina.
- Pulire regolarmente le aperture di ventilazione per evitare il surriscaldamento. Utilizzare una spazzola morbida o aria compressa.
- Pulire l'alloggiamento dell'utensile con un pannoamp stoffa. Non utilizzare prodotti chimici aggressivi o detergenti abrasivi.
6.2 Manutenzione del mandrino
Periodically clean the chuck jaws to ensure proper gripping of bits. A small amount of light machine oil can be applied to the chuck threads to keep it operating smoothly.
6.3 Conservazione
Store the drill and its accessories in a clean, dry place, out of reach of children. Use the provided carrying case for organized storage and protection.
7. Risoluzione Dei Problemi
| Problema | Possibile causa | Soluzione |
|---|---|---|
| Il trapano non si avvia | Nessuna alimentazione; Cavo di alimentazione danneggiato; Interruttore difettoso | Check power outlet and cord; Contact qualified service personnel if cord or switch is faulty. |
| Vibrazione eccessiva | Punta del trapano piegata; Mandrino allentato; Danni interni | Replace bent bit; Re-tighten chuck; Discontinue use and seek professional service. |
| Surriscaldamento | Ventilazione bloccata; Sovraccarico del motore | Clean ventilation slots; Reduce load, allow drill to cool. |
| La punta scivola nel mandrino | Chuck not tightened sufficiently; Worn chuck jaws | Re-tighten chuck firmly with key; If problem persists, chuck may need replacement. |
8. Specifiche
| Caratteristica | Dettaglio |
|---|---|
| Marca | DEWINNER |
| Numero di modello | DE-7133A |
| Fonte di alimentazione | Elettrico con cavo |
| Cosatage | 710 Watt |
| Voltage | 110 Volt (CA) |
| Massima velocità di rotazione | 3300 giri al minuto |
| Dimensioni del mandrino | 13mm (1/2 inch) Metal Chuck |
| Caratteristiche speciali | Variable Speed, Hammer & Impact Dual Mode, 360° Rotating Handle, Lock Button |
| Peso dell'articolo | 3.77 kg |
| Dimensioni del prodotto | Dimensioni: 32.9 x 34.6 x 11.3 cm |
9. Garanzia e supporto
For warranty information and customer support, please refer to the documentation included with your purchase or contact DEWINNER customer service directly. You can also visit the official DEWINNER store on Amazon for more information and support resources:


