Introduzione
This manual provides essential information for the safe and effective operation, maintenance, and troubleshooting of your Crown CT18024 BMC Rotary Demolition Hammer. Please read this manual thoroughly before using the tool to ensure proper handling and to prevent injury or damage.
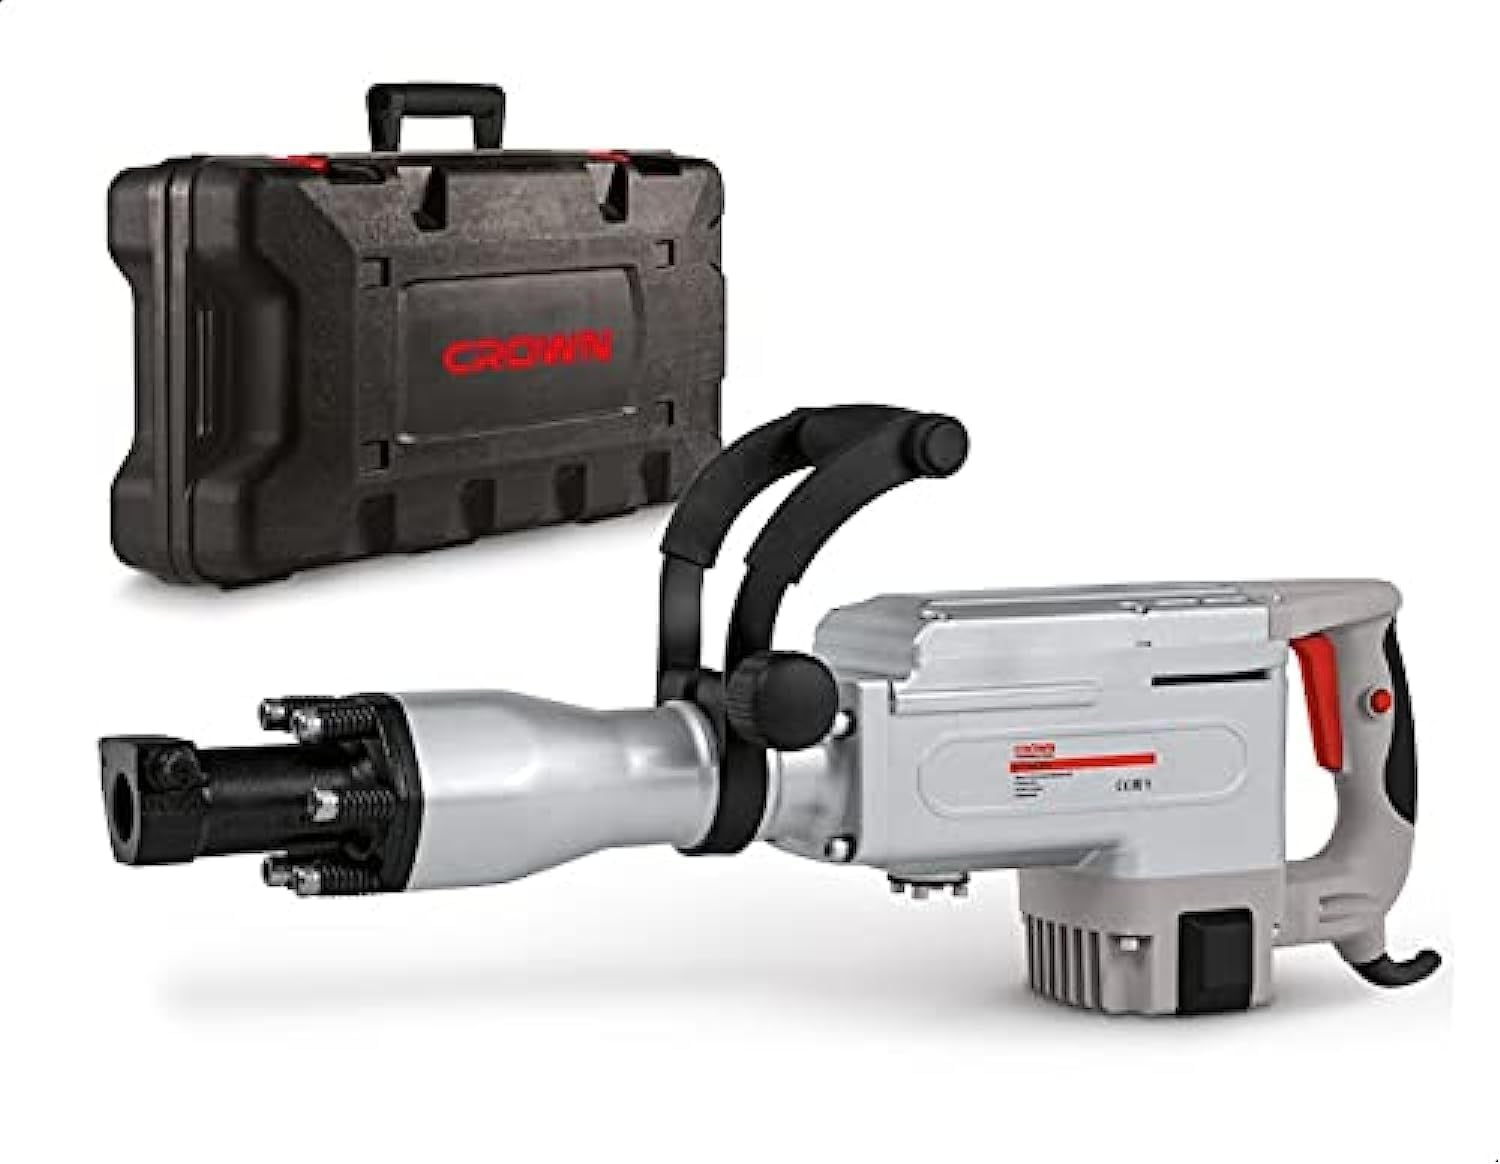
Image: The Crown CT18024 BMC Rotary Demolition Hammer, a powerful grey and red tool, is shown alongside its black, durable carrying case. The hammer features a robust body, a front chuck for bits, and an auxiliary handle for improved control.
Istruzioni generali di sicurezza
Osservare sempre le precauzioni di sicurezza di base per ridurre il rischio di incendi, scosse elettriche e lesioni personali.
- Sicurezza dell'area di lavoro: Mantenere l'area di lavoro pulita e ben illuminata. Aree disordinate o buie possono favorire incidenti. Non utilizzare utensili elettrici in atmosfere esplosive, ad esempio in presenza di liquidi, gas o polveri infiammabili.
- Sicurezza elettrica: Le spine degli elettroutensili devono essere adatte alla presa. Non modificare mai la spina in alcun modo. Non utilizzare il cavo in modo improprio. Tenere il cavo lontano da fonti di calore, olio, bordi taglienti o parti in movimento.
- Sicurezza personale: Always wear eye protection. Use hearing protection when operating the tool. Dress properly; do not wear loose clothing or jewelry.
- Uso e cura dello strumento: Non forzare l'utensile elettrico. Utilizzare l'utensile elettrico corretto per l'applicazione desiderata. Scollegare la spina dalla presa di corrente prima di effettuare qualsiasi regolazione, sostituire accessori o riporre l'utensile elettrico.
Impostare
Disimballaggio
Carefully remove the demolition hammer and all accessories from the packaging. Inspect the tool for any signs of damage that may have occurred during transit. Retain packaging for future storage or transport.
Fissaggio della maniglia ausiliaria
- Allentare la clampmeccanismo di azionamento sulla maniglia ausiliaria.
- Slide the auxiliary handle onto the front barrel of the demolition hammer.
- Adjust the handle to a comfortable and secure position for your grip.
- Stringere la clamping mechanism firmly to secure the handle.
Installing the HEX-30 Bit
- Assicurarsi che l'utensile sia scollegato dalla fonte di alimentazione.
- Clean the shank of the HEX-30 bit.
- Insert the bit into the chuck opening. Push and rotate the bit until it clicks into place.
- Pull on the bit to ensure it is securely locked. It should not come out easily.
Istruzioni per l'uso
Collegamento di potenza
Connect the power cord to a suitable 220-230V AC power outlet. Ensure the outlet is properly grounded and capable of supplying the required amperage (7.7 A) for the 1700 W motor.
Avvio e arresto
- Iniziare: Premere l'interruttore ON/OFF.
- Fermare: Release the ON/OFF switch. For continuous operation, some models may have a lock-on button. If present, press the lock-on button after pressing the ON/OFF switch, then release the ON/OFF switch. To stop, press the ON/OFF switch again to release the lock.
Operazione di demolizione
- Hold the demolition hammer firmly with both hands, using the main handle and the auxiliary handle.
- Position the chisel or point of the bit against the material to be demolished.
- Start the tool and apply steady, firm pressure. Allow the tool to do the work; excessive force is not necessary and can lead to fatigue or damage.
- Maintain a stable stance and be aware of falling debris.
Nota: This tool is designed for heavy-duty demolition tasks. Always wear appropriate personal protective equipment (PPE) including safety glasses, hearing protection, gloves, and a dust mask.
Manutenzione
Regular maintenance ensures optimal performance and extends the lifespan of your tool. Always disconnect the tool from the power supply before performing any maintenance.
Pulizia
- Dopo ogni utilizzo, pulire l'alloggiamento dell'utensile con un panno morbido e asciutto.amp stoffa. Non utilizzare prodotti chimici aggressivi o detergenti abrasivi.
- Rimuovere polvere o detriti dalle aperture di ventilazione per evitare il surriscaldamento.
- Pulire regolarmente il mandrino per garantire un inserimento e una rimozione fluidi della punta.
Lubrificazione
The internal mechanisms of the demolition hammer require periodic lubrication. Refer to the service diagram (if provided with the physical manual) for specific lubrication points and recommended lubricants. Typically, the chuck mechanism benefits from light grease application.
Sostituzione della spazzola di carbone
Carbon brushes are wear items and will need replacement over time. When the motor performance decreases significantly or sparks become excessive, the carbon brushes may need to be checked and replaced. This procedure should ideally be performed by a qualified service technician.
Magazzinaggio
Store the demolition hammer in its original carrying case in a dry, secure location, out of reach of children. Ensure the tool is clean and free of debris before storage.
Risoluzione dei problemi
| Problema | Possibile causa | Soluzione |
|---|---|---|
| Lo strumento non si avvia | Nessuna alimentazione; interruttore difettoso; spazzole di carbone usurate. | Check power connection and outlet; Have switch inspected by technician; Replace carbon brushes. |
| Forza d'impatto ridotta | Worn bit; Insufficient lubrication; Internal mechanism issue. | Replace bit; Apply appropriate lubricant to chuck; Consult service center. |
| Scintille eccessive dal motore | Spazzole di carbone usurate; commutatore sporco. | Replace carbon brushes; Have commutator cleaned by technician. |
| L'utensile si surriscalda | Fessure di ventilazione ostruite; sovraccarico dell'utensile. | Clean ventilation slots; Reduce load and allow tool to cool. |
For issues not listed or if solutions do not resolve the problem, contact an authorized service center.
Specifiche tecniche
| Caratteristica | Dettaglio |
|---|---|
| Numero di modello | CT18024 / 1130263 |
| Marca | Corona |
| Potenza nominale | 1700 Watt |
| Voltage | 220-230 Volt CA |
| Amprabbia | 7.7 Amps |
| Tipo di Chuck | Hex-30 |
| Peso dell'articolo | 23 chilogrammi |
| Dimensioni del prodotto (L x P x A) | 78.2 x 36.3 x 16.3 cm (circa) |
| Fonte di alimentazione | Elettrico con cavo |
| Colore | Grigio/Rosso |
Garanzia e supporto
Specific warranty terms and conditions for Crown products may vary by region and retailer. Please refer to the warranty card included with your purchase or visit the official Crown websito per informazioni dettagliate sulla copertura della garanzia e sulle procedure di assistenza.
For technical support, spare parts, or service inquiries, please contact your authorized Crown dealer or service center. Keep your purchase receipt and model number handy when contacting support.


