1. Introduzione
This instruction manual provides essential information for the safe and efficient use of your continuus RCA 13-inch Clearview HDTV, Model J13SE820. Please read this manual thoroughly before operating the television and retain it for future reference.
The continuus RCA 13-inch Clearview HDTV features a unique transparent design, a 720p LED display, and multiple connectivity options including HDMI and VGA, making it suitable for various entertainment and computing needs.
2. Contenuto della confezione
Verificare che tutti gli articoli siano presenti nel pacco:
- RCA 13-inch Clearview HDTV (Model J13SE820)
- Telecomando completo
- Adattatore di alimentazione
- Manuale dell'utente (questo documento)
3. Impostazione
3.1 Disimballaggio e posizionamento
Carefully remove the television from its packaging. Place the TV on a stable, flat surface. Ensure adequate ventilation around the unit. Avoid placing it in direct sunlight or near heat sources.
3.2 Collegamento dell'alimentazione
Connect the power adapter to the DC input port on the television, then plug the adapter into a standard electrical outlet.
3.3 Collegamenti di ingresso
The RCA 13-inch Clearview HDTV offers various input ports for connecting external devices.

Immagine: Posteriore view of the television with labeled input ports. This image displays the back panel of the TV, highlighting the Service Jack, HDMI, VGA, PC Audio, Component (YPbPr), RF, and Headphone ports. The side panel shows RG-6 Coax, Video In, and Audio In (L & R).
- Porta HDMI: Connect HDMI-enabled devices such as Blu-ray players, gaming consoles, or streaming devices.
- Porta VGA: Connect a computer or laptop to use the TV as a monitor.
- RF (Antenna) Input: Connect an antenna or cable TV signal for over-the-air or basic cable channels.
- Ingresso componente (YPbPr): Connect older video devices using component cables.
- Video In (Composite): Connect devices using a single yellow RCA video cable.
- Audio In (L & R): Connect audio from external devices using red and white RCA cables.
- Jack per cuffie: Collega le cuffie per l'ascolto privato.
3.4 Configurazione del telecomando
The included remote control requires two AA batteries (sold separately). Open the battery compartment on the back of the remote and insert the batteries, ensuring correct polarity (+/-). Close the compartment.

Image: The transparent remote control. This image shows the full function remote control, which matches the transparent design of the television.
4. Istruzioni per l'uso
4.1 Accensione/Spegnimento
Premere il tasto ENERGIA button on the remote control or on the top panel of the TV to turn the unit on or off.

Immagine: Frontale view of the television. This image shows the front of the RCA 13-inch Clearview HDTV, displaying the screen and the control buttons (Power, Source, Menu, Vol-, Vol+, Ch-, Ch+) located on the top edge of the transparent casing.
4.2 Selezione di una sorgente di input
Premere il tasto FONTE button on the remote or TV to cycle through available input sources (HDMI, VGA, RF, Component, Video In). Select the input corresponding to your connected device.
4.3 Adjusting Volume and Channels
- Utilizzare il Volume+ E vol- pulsanti per regolare il livello del volume.
- Utilizzare il CH+ E CH- buttons to change channels when using the RF input.
- Premere il tasto MUTE pulsante sul telecomando per disattivare temporaneamente l'audio.
4.4 Navigazione nel menu
Premere il tasto MENU button on the remote or TV to access the on-screen display (OSD) menu. Use the arrow buttons to navigate and the OK button to confirm selections. Common menu options include:
- Impostazioni immagine: Regola luminosità, contrasto, colore e nitidezza.
- Impostazioni audio: Adjust bass, treble, balance, and select sound modes. Ensure audio settings are configured for optimal sound quality.
- Scansione canali: Automatically scan for available channels when using an antenna.
- Impostazioni di tempo: Set current time and sleep timer.
4.5 Using as a Second Monitor
Connect your computer or laptop to the TV using an HDMI or VGA cable. Select the corresponding input source on the TV. You may need to adjust display settings on your computer to extend or duplicate your desktop.
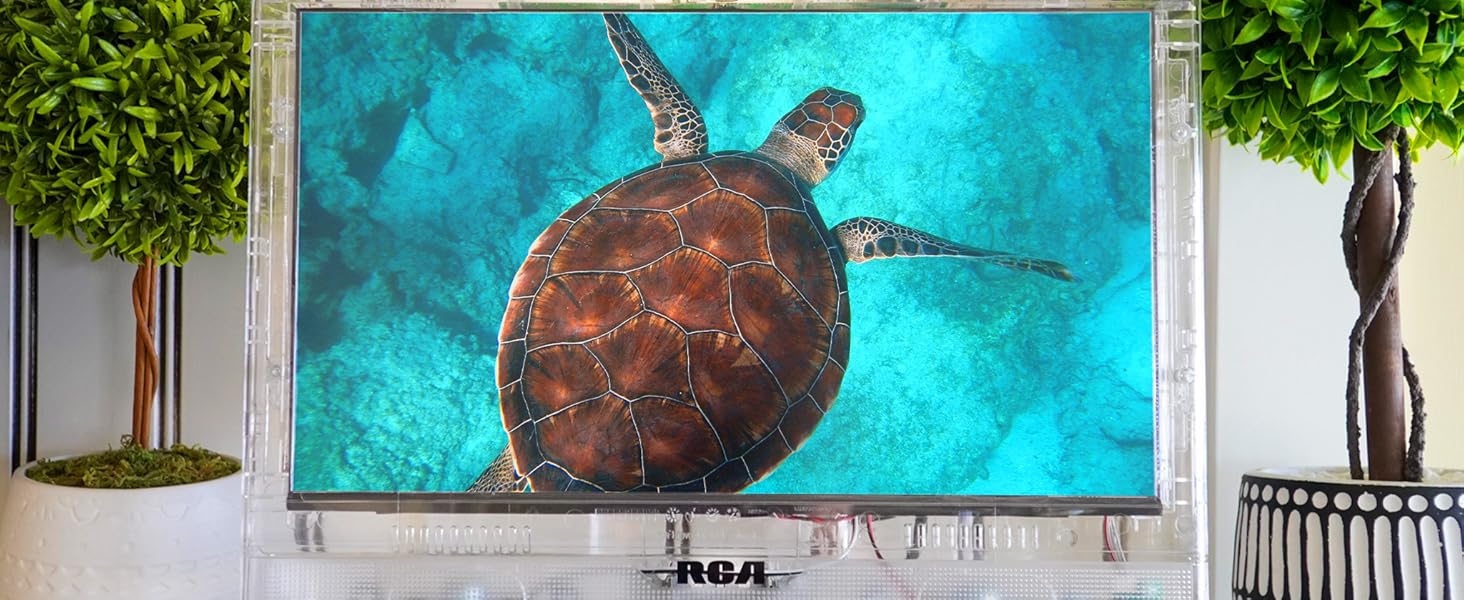
Image: Television used as a second monitor. This image shows the RCA Clearview HDTV connected to a laptop, displaying an extended desktop, demonstrating its functionality as a secondary display.
4.6 Third-Party Streaming
While this television is not a smart TV, you can easily convert it into one by connecting a third-party streaming device (e.g., Roku, Amazon Fire Stick) to an available HDMI port. This allows access to various streaming services.
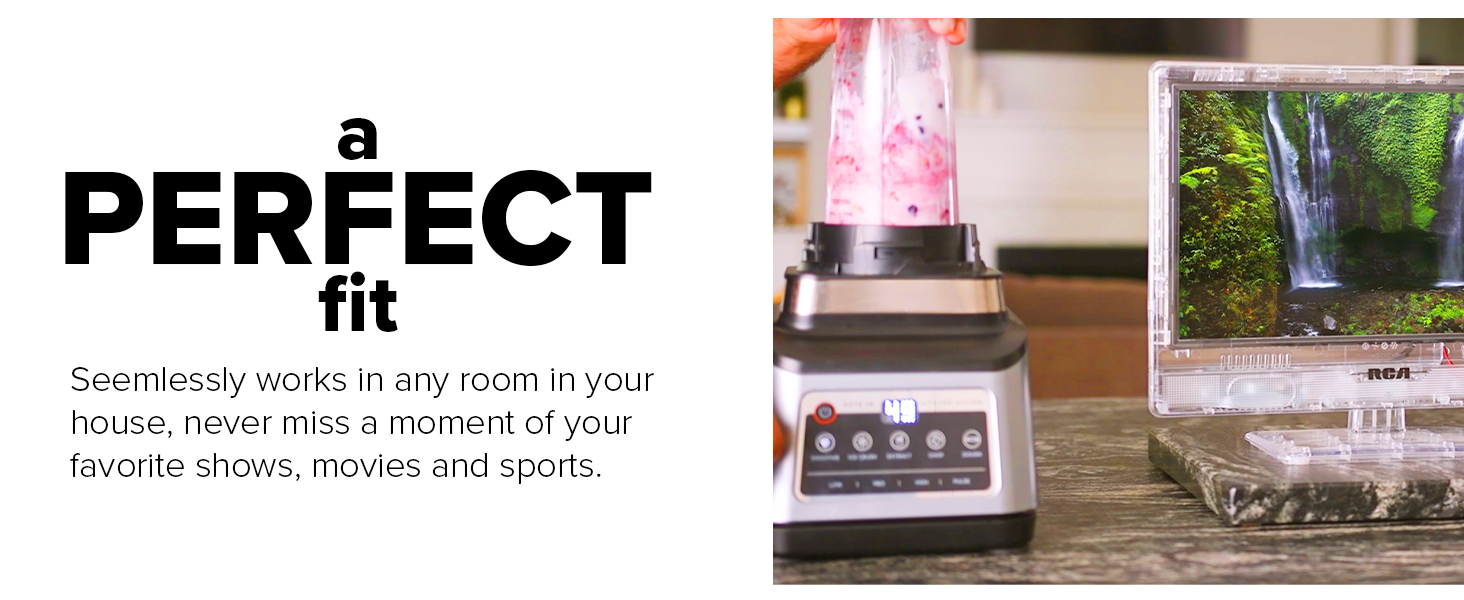
Image: Television displaying streaming content. This image illustrates the television screen showing a grid of streaming service icons, indicating its compatibility with external streaming devices.
5. Manutenzione
5.1 Pulizia dello schermo e Casing
Per pulire lo schermo, strofinarlo delicatamente con un panno morbido e privo di lanugine. Per macchie ostinate, dampen the cloth with a small amount of screen cleaner. Avoid using harsh chemicals or abrasive materials. The transparent casing can be cleaned with a soft, damp stoffa.
5.2 Cura generale
- Scollegare il televisore dalla presa di corrente prima di pulirlo o quando non lo si utilizza per lunghi periodi.
- Non ostruire le aperture di ventilazione.
- Evitare di esporre il televisore a temperature o umidità estreme.
6. Risoluzione Dei Problemi
Se riscontri problemi con il tuo televisore, fai riferimento ai seguenti problemi comuni e alle relative soluzioni:
| Problema | Possibile causa | Soluzione |
|---|---|---|
| Nessun potere | Cavo di alimentazione scollegato; presa non funzionante. | Assicurarsi che il cavo di alimentazione sia collegato saldamente. Testare la presa con un altro dispositivo. |
| Nessuna immagine/scarsa qualità dell'immagine | Incorrect input source; loose cable connection; viewangolo di ing. | Select the correct input source. Check all cable connections. Adjust viewangolo di visione per una chiarezza ottimale. |
| Nessun suono/scarsa qualità del suono | Volume too low; Mute activated; incorrect audio settings; external speaker issue. | Increase volume. Deactivate Mute. Check audio settings in the menu. If using external speakers, ensure they are connected and powered correctly. |
| Il telecomando non funziona | Dead batteries; obstruction; remote not pointed at TV. | Replace batteries. Remove any obstructions between remote and TV. Point remote directly at the TV's sensor. |
Se i problemi persistono dopo aver provato queste soluzioni, contattare l'assistenza clienti.
7. Specifiche
| Caratteristica | Specificazione |
|---|---|
| Marca | continuus |
| Numero di modello | J13SE820-21 |
| Dimensioni dello schermo | 13 pollici |
| Tecnologia di visualizzazione | GUIDATO |
| Risoluzione | Formato: 720p |
| Frequenza di aggiornamento | Frequenza 60 Hz |
| Proporzioni | 1.77:1 |
| Tecnologia di connettività | HDMI, VGA, Headphone |
| Dimensioni del prodotto (P x L x A) | 5 x 15.3 x 12.5 pollici |
| Peso dell'articolo | 4.34 libbre |
| Caratteristica speciale | Clear Body |
| Componenti inclusi | Altoparlanti |

Image: Dimensional diagram of the television. This diagram illustrates the physical measurements of the RCA 13-inch Clearview HDTV, including its width (13.5"), height (9.8"), screen diagonal (13.25"), base width (7.875"), and base height (1.5").
8. Informazioni sulla garanzia
Specific warranty details for the continuus RCA 13-inch Clearview HDTV (Model J13SE820) are typically provided with your purchase documentation or can be obtained directly from the manufacturer. Please refer to the warranty card included in your product packaging or visit the continuus websito per le informazioni più aggiornate.
9. Supporto
For technical assistance, troubleshooting beyond this manual, or general inquiries, please contact continuus customer support. Our team is available to provide assistance via phone or email.
You can find contact information on the official continuus websito:

Image: QR code for customer support. This QR code provides a direct link to the continuus contact page for customer support.