Introduzione
This manual provides detailed instructions for the installation, operation, and maintenance of your AXAGON ADSA-ST USB 3.0 Docking Station. This device is designed to connect 2.5" and 3.5" SATA SSDs and HDDs to your computer via a USB 3.0 interface, offering fast data transfer speeds.
Si prega di leggere attentamente il presente manuale prima di utilizzare il prodotto per garantirne il corretto funzionamento ed evitare danni.
Contenuto della confezione
Verificare che tutti i componenti siano presenti nella confezione:
- AXAGON ADSA-ST Docking Station
- USB 3.0 Type-A to Micro-B cable
- Adattatore di alimentazione
- Manuale dell'utente (questo documento)

Image: The AXAGON ADSA-ST Docking Station shown alongside its retail packaging, illustrating the product and its box.
Caratteristiche principali
- Supports 2.5" and 3.5" SATA I/II/III SSDs and HDDs.
- USB 3.0 (USB 3.2 Gen 1) interface with up to 5 Gbps transfer speed.
- SATA 6G (SATA III) support.
- Supporto UASP (USB Attached SCSI Protocol) per prestazioni migliorate.
- TRIM support for SSDs.
- HDD Auto Spindown function.
- LED indication for power and activity.
- Compact design with aluminum body.

Immagine: A view of the AXAGON ADSA-ST Docking Station highlighting its 5 Gbps USB 3.2 Gen 1 speed and compact size.
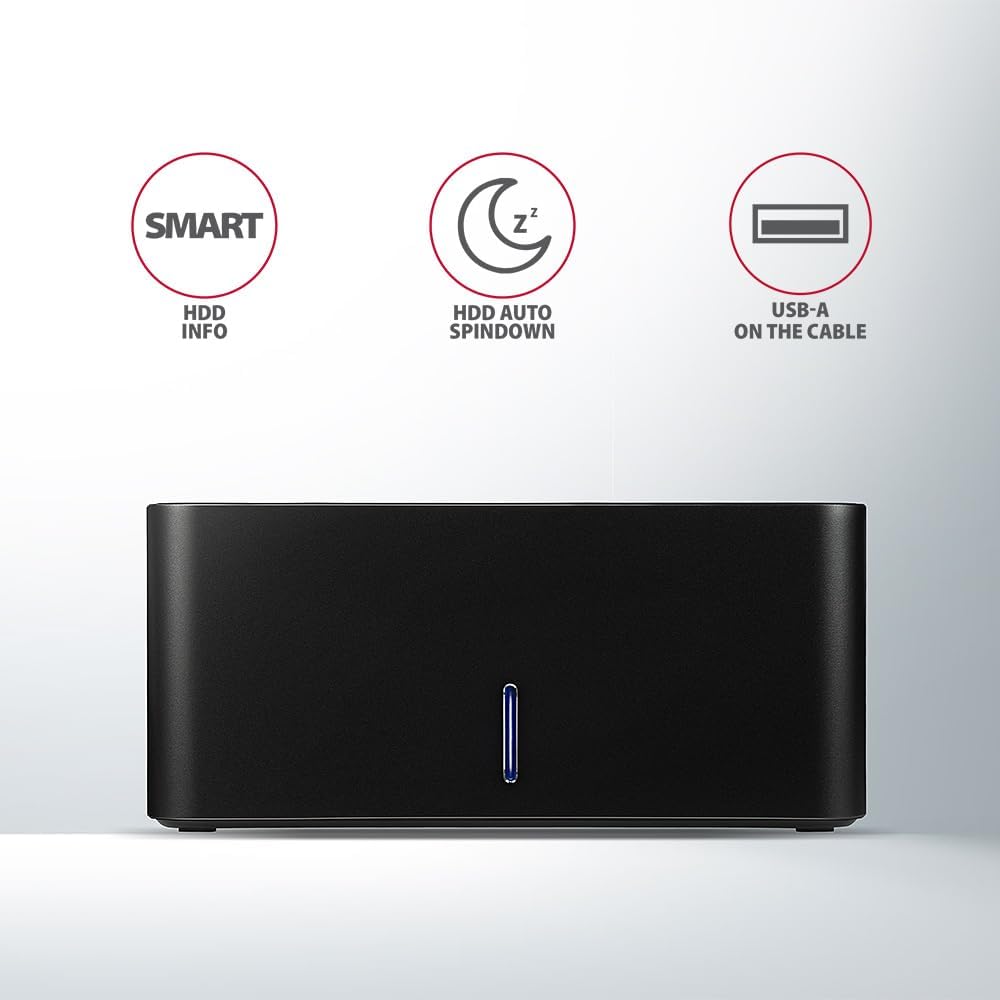
Image: The docking station from the front, indicating features like SMART HDD info, automatic HDD spindown, and USB-A connectivity.
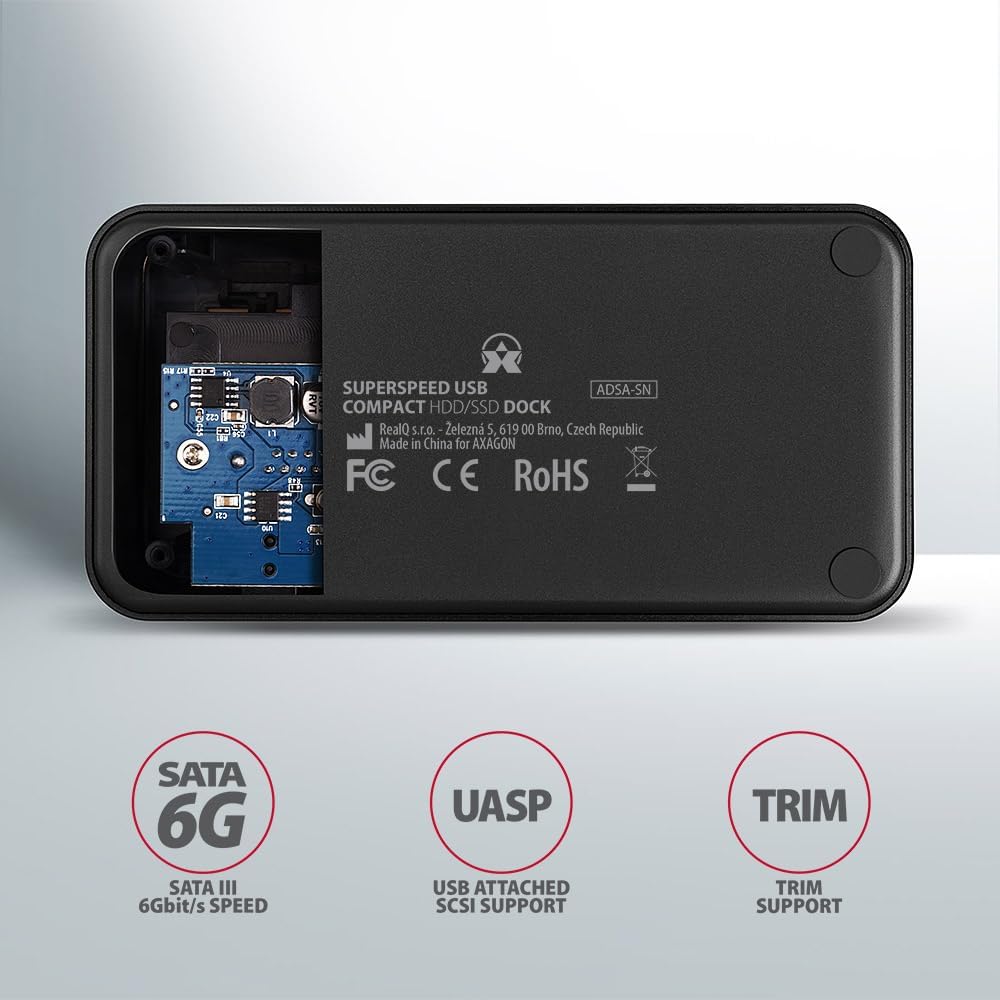
Image: The underside of the docking station, showing internal components and highlighting SATA 6G, UASP, and TRIM support.
Istruzioni di installazione
- Collegare l'adattatore di alimentazione: Plug the included power adapter into the DC IN port on the back of the docking station and then into a power outlet.
- Connessione al computer: Connect the USB 3.0 cable from the docking station's Micro-B port to an available USB 3.0 (or higher) port on your computer.
- Insert HDD/SSD:
- For 2.5" SSD/HDD: Gently slide the 2.5" drive into the slot until it connects firmly with the SATA connector.
- For 3.5" HDD: Gently slide the 3.5" drive into the slot until it connects firmly with the SATA connector.
Ensure the drive is inserted correctly with the SATA connector facing the correct direction. Do not force the drive.

Image: A 2.5-inch SSD being inserted into the docking station, demonstrating compatibility with smaller drives.
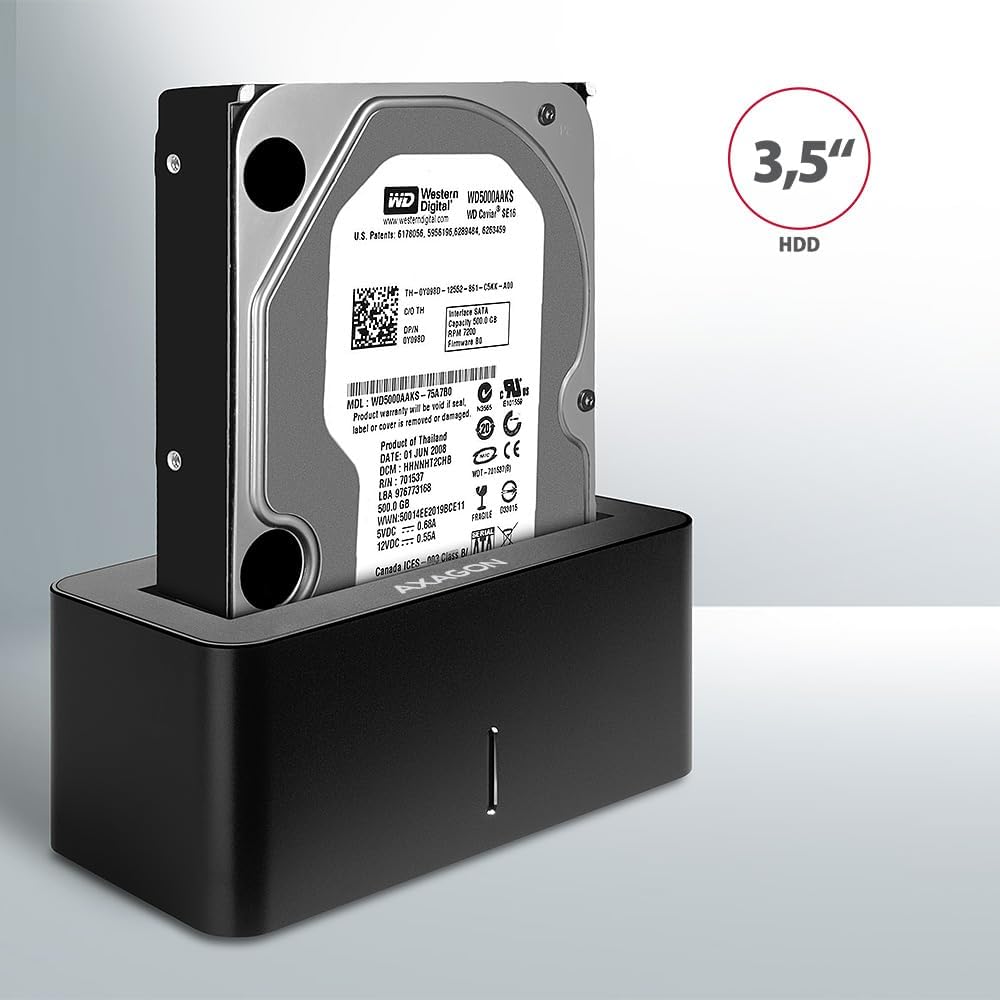
Image: A 3.5-inch HDD being inserted into the docking station, demonstrating compatibility with larger drives.
- Accensione: Press the power button located on the back of the docking station. The LED indicator on the front will illuminate.
Image: The rear panel of the docking station, showing the power button, USB Micro-B port, and power input for connection.
Istruzioni per l'uso
Riconoscimento dell'unità
Once powered on and connected, your operating system should automatically detect the inserted drive. If it's a new drive, you may need to initialize and format it through Disk Management (Windows) or Disk Utility (macOS) before it appears in File Esplora/Cerca.
Indicatore LED
The LED indicator on the front of the docking station provides status information:
- Blu fisso: Power on, drive idle.
- Blu lampeggiante: Drive activity (reading or writing data).
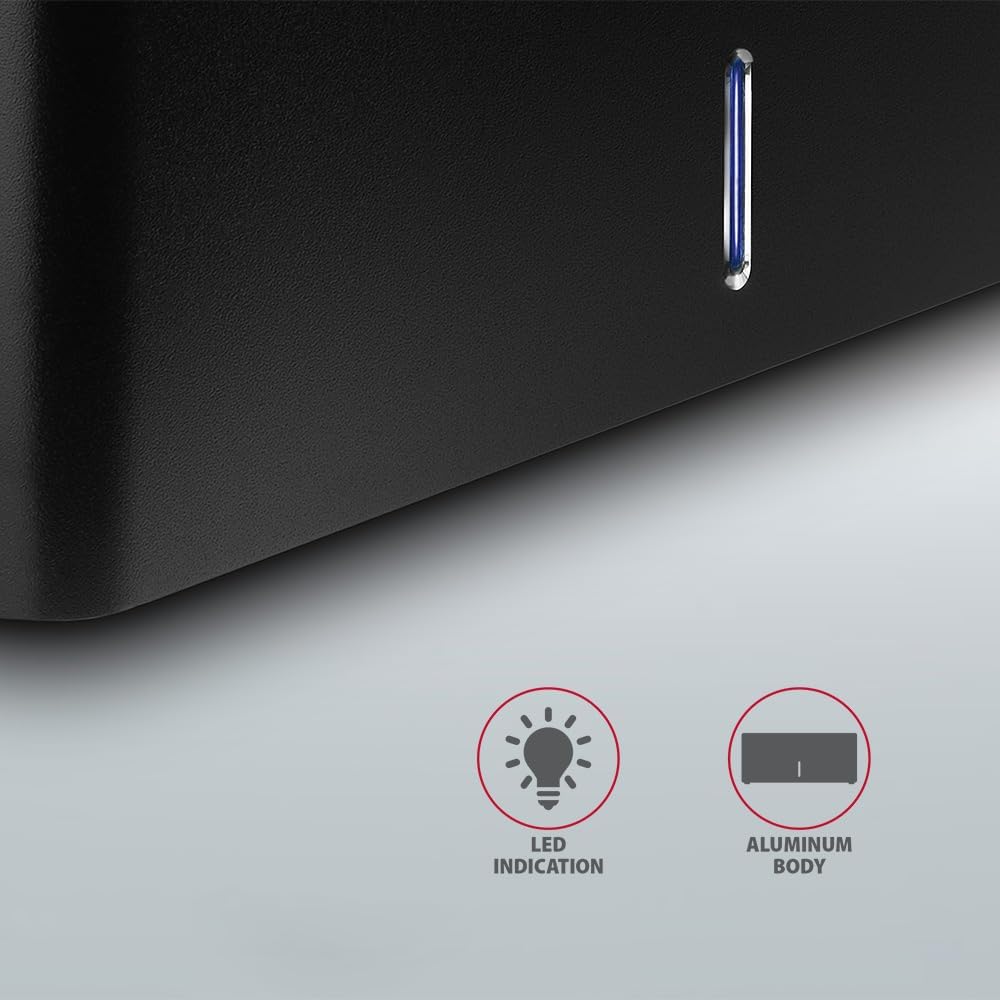
Immagine: un primo piano view of the docking station's front panel, highlighting the LED indicator light.
Removing a Drive
Before removing a drive, always safely eject it from your operating system to prevent data corruption. After ejection, gently pull the drive straight out of the docking station slot.
Arresto automatico dell'HDD
The docking station supports automatic spindown of the HDD when it is idle for a certain period, conserving power and extending drive lifespan. This feature is managed by the operating system or the drive itself.
Manutenzione
- Mantenere la docking station pulita e priva di polvere. Utilizzare un panno morbido e asciutto per la pulizia.
- Evitare di esporre il dispositivo a temperature estreme, umidità o luce solare diretta.
- Non tentare di smontare o riparare il dispositivo da soli. Rivolgersi a personale qualificato.
- Ensure proper ventilation around the docking station during operation.
Risoluzione dei problemi
- Unità non rilevata:
- Assicurarsi che l'adattatore di alimentazione sia collegato saldamente e che la docking station sia accesa.
- Verify the USB cable is properly connected to both the docking station and the computer.
- Prova una porta USB diversa sul tuo computer.
- Ensure the HDD/SSD is fully seated in the docking station's slot.
- Check Disk Management (Windows) or Disk Utility (macOS) to see if the drive is recognized but uninitialized/unformatted.
- Test with a different HDD/SSD to rule out a drive issue.
- Velocità di trasferimento basse:
- Ensure the docking station is connected to a USB 3.0 (or higher) port on your computer. USB 2.0 ports will limit speeds.
- Verifica che il sistema operativo e i driver siano aggiornati.
- The actual speed depends on the drive's performance and your computer's USB controller.
- L'unità si disconnette in modo casuale:
- Controllare tutti i collegamenti dei cavi.
- Assicurarsi che l'adattatore di alimentazione fornisca un'alimentazione stabile.
- Disable USB power saving features in your computer's operating system settings.
Specifiche tecniche
| Caratteristica | Dettaglio |
|---|---|
| Marca | ASSAGONE |
| Numero di modello | ADSA-SN |
| Piattaforma hardware | PC |
| Dispositivi compatibili | Computer portatile, PC desktop |
| Compatibilità unità | 2.5" / 3.5" SATA I/II/III SSD/HDD |
| Interfaccia | USB 3.0 (USB 3.2 generazione 1) |
| Velocità di trasferimento dati | Up to 5 Gbps (USB 3.0), 6 Gbps (SATA III) |
| Porte USB totali | 1 (Micro-B) |
| Numero di alloggiamenti per unità | 1 |
| Colore | Nero |
| Peso dell'articolo | 2.2 libbre (circa 1 kg) |
| Dimensioni del pacco | 3.94 x 0.79 x 0.39 pollici (circa 10 x 2 x 1 cm) |
| Data prima disponibilità | 30 marzo 2021 |
Garanzia e supporto
For warranty information and technical support, please refer to the official AXAGON webo contattare il distributore locale. Conservare la prova d'acquisto per eventuali reclami in garanzia.


