1. Prodotto finitoview
The TrolMaster NFS-1 Aqua-X Controller is an advanced irrigation system controller designed for managing multiple rooms and zones. It offers precise control over up to 30 outputs (24V or 110V) and includes pH, EC, and temperature monitoring capabilities. Users can access a free smartphone app for alerts, historical charts, and data logging.

Figura 1: Fronte view of the Aqua-X Controller, showing the LCD display with sensor readings and control buttons.

Figure 2: The retail packaging for the Aqua-X Controller, highlighting the product's branding and model number.
2. Contenuto della confezione
Verificare che tutti i componenti siano presenti nella confezione:
- TrolMaster NFS-1 Aqua-X Controller Unit
- Water Detector Set
- Adattatore di alimentazione
- Manuale dell'utente (questo documento)
- Hardware di montaggio (se applicabile)
3. Configurazione e installazione
3.1 Installazione fisica
The Aqua-X Controller is designed for indoor use. Choose a dry, secure location away from direct sunlight and excessive heat or moisture.
- Montaggio del controller: Use the provided mounting hardware to secure the controller to a wall or suitable surface. Ensure it is easily accessible for operation and cable management.
- Collegamento dell'alimentazione: Connect the power adapter to the DC 12V input port on the controller and then plug it into a standard electrical outlet.
- Connecting Water Detector: Plug the water detector cable into the designated "WATER DETECTOR" port on the back of the controller. Position the water detector in an area where water leaks are most likely to occur.
- Connessione di rete: Connect an Ethernet cable from your router to the "INTERNET" port on the controller for smartphone app connectivity and data logging.
- Connecting Control Modules: Connect 24V or 110V control modules (sold separately) to the respective "24V CONTROL" or "110V CONTROL" ports as needed for your irrigation setup.
- Collegamento dei sensori: Connect pH, EC, and temperature sensors (sold separately) to the "SENSOR/COMBO" port.

Figura 3: Posteriore view of the Aqua-X Controller, displaying the various input and output ports for power, internet, control modules, sensors, and water detector.
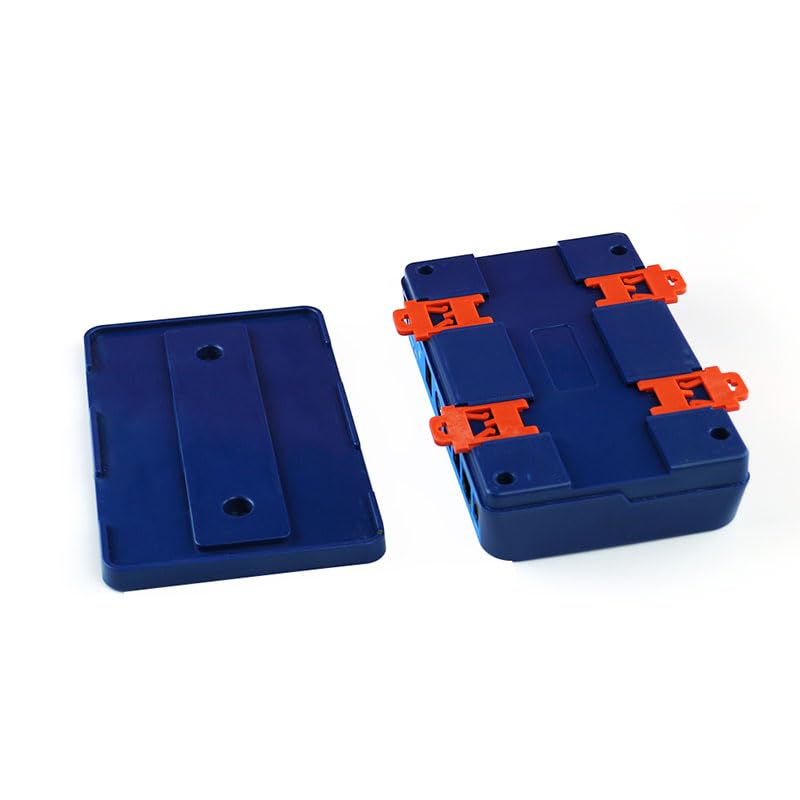
Figure 4: Detached mounting brackets for the Aqua-X Controller, illustrating how the unit can be secured to a surface.
4. Istruzioni per l'uso
4.1 Accensione iniziale e visualizzazione
Once powered on, the LCD display will illuminate, showing current readings for EC, temperature, and pH (if sensors are connected). The date and time will also be displayed.
4.2 Navigazione e impostazioni
Utilizzare i pulsanti di navigazione (UP, GIÙ, SINISTRA, GIUSTO, ENTRARE, INDIETRO) on the front panel to navigate through menus and adjust settings.
- SOTTOSOPRA: Scorrere le opzioni del menu o regolare i valori.
- SINISTRA DESTRA: Move cursor or change selection within a setting.
- ACCEDERE: Conferma la selezione o accedi a un sottomenu.
- INDIETRO: Return to the previous menu or cancel an action.
4.3 Integrazione dell'app per smartphone
Download the official TrolMaster app from your device's app store. Follow the in-app instructions to connect your Aqua-X Controller. The app allows for remote monitoring, setting adjustments, viewing historical data, and receiving alerts.
Note: Ensure your controller is connected to the internet for app functionality.
5. Manutenzione
Regular maintenance ensures optimal performance and longevity of your Aqua-X Controller.
- Pulizia: Pulire periodicamente l'esterno del controller con un panno morbido e asciutto. Non utilizzare detergenti abrasivi o solventi.
- Calibrazione del sensore: Calibrate pH and EC sensors regularly according to their specific instructions to maintain accuracy.
- Aggiornamenti del firmware: Check the TrolMaster website or smartphone app for available firmware updates. Keep your controller's firmware up-to-date for new features and bug fixes.
- Water Detector Check: Periodically test the water detector by placing it in a small amount of water to ensure it triggers an alert.
6. Risoluzione Dei Problemi
| Problema | Possibile causa | Soluzione |
|---|---|---|
| Il controller non si accende. | Nessuna alimentazione; adattatore difettoso. | Check power connection; test outlet; replace adapter if necessary. |
| Nessuna connessione Internet. | Ethernet cable disconnected; router issue; network settings. | Ensure Ethernet cable is securely connected; restart router; check network settings on controller. |
| Letture imprecise dei sensori. | Sensors need calibration; dirty sensors; faulty sensors. | Calibrate sensors according to manufacturer instructions; clean sensors; replace if damaged. |
| Water detector not alarming. | Detector not connected; faulty detector. | Ensure detector is securely plugged in; test detector manually; replace if faulty. |
7. Specifiche
| Caratteristica | Dettaglio |
|---|---|
| Numero di modello | NFS-1 |
| Dimensioni del prodotto | 10.83 x 6.46 x 2.44 pollici |
| Peso | 1.94 libbre |
| Uscite di controllo | Up to 30 (24V or 110V) |
| Monitoraggio | pH, EC, Temperatura |
| Connettività | Ethernet for App/Data Logging |
| Caratteristica speciale | Collega e usa |
| Uso interno/esterno | Al chiuso |
| Codice UPC | 606795352036 |
8. Garanzia e supporto
8.1 Informazioni sulla garanzia
TrolMaster products typically come with a limited manufacturer's warranty covering defects in materials and workmanship. Please refer to the warranty card included with your product or visit the official TrolMaster websito per termini e condizioni di garanzia specifici, inclusi dettagli sulla durata e sulla copertura.
8.2 Assistenza clienti
For technical assistance, troubleshooting, or warranty claims, please contact TrolMaster customer support through their official website or the contact information provided in your product packaging. Have your model number (NFS-1) and purchase details ready when contacting support.
Risorse online: Visit the TrolMaster Store on Amazon per ulteriori informazioni e risorse sul prodotto.


