1. Introduzione
This manual provides essential information for the safe and efficient use of your Outsunny Plastic Film Greenhouse. Designed to extend your growing season, this greenhouse protects plants from adverse weather conditions such as cold, light wind, light rain, and birds. It features multi-level shelving for organized plant display and storage, a convenient roll-up door, and a durable PE cover.
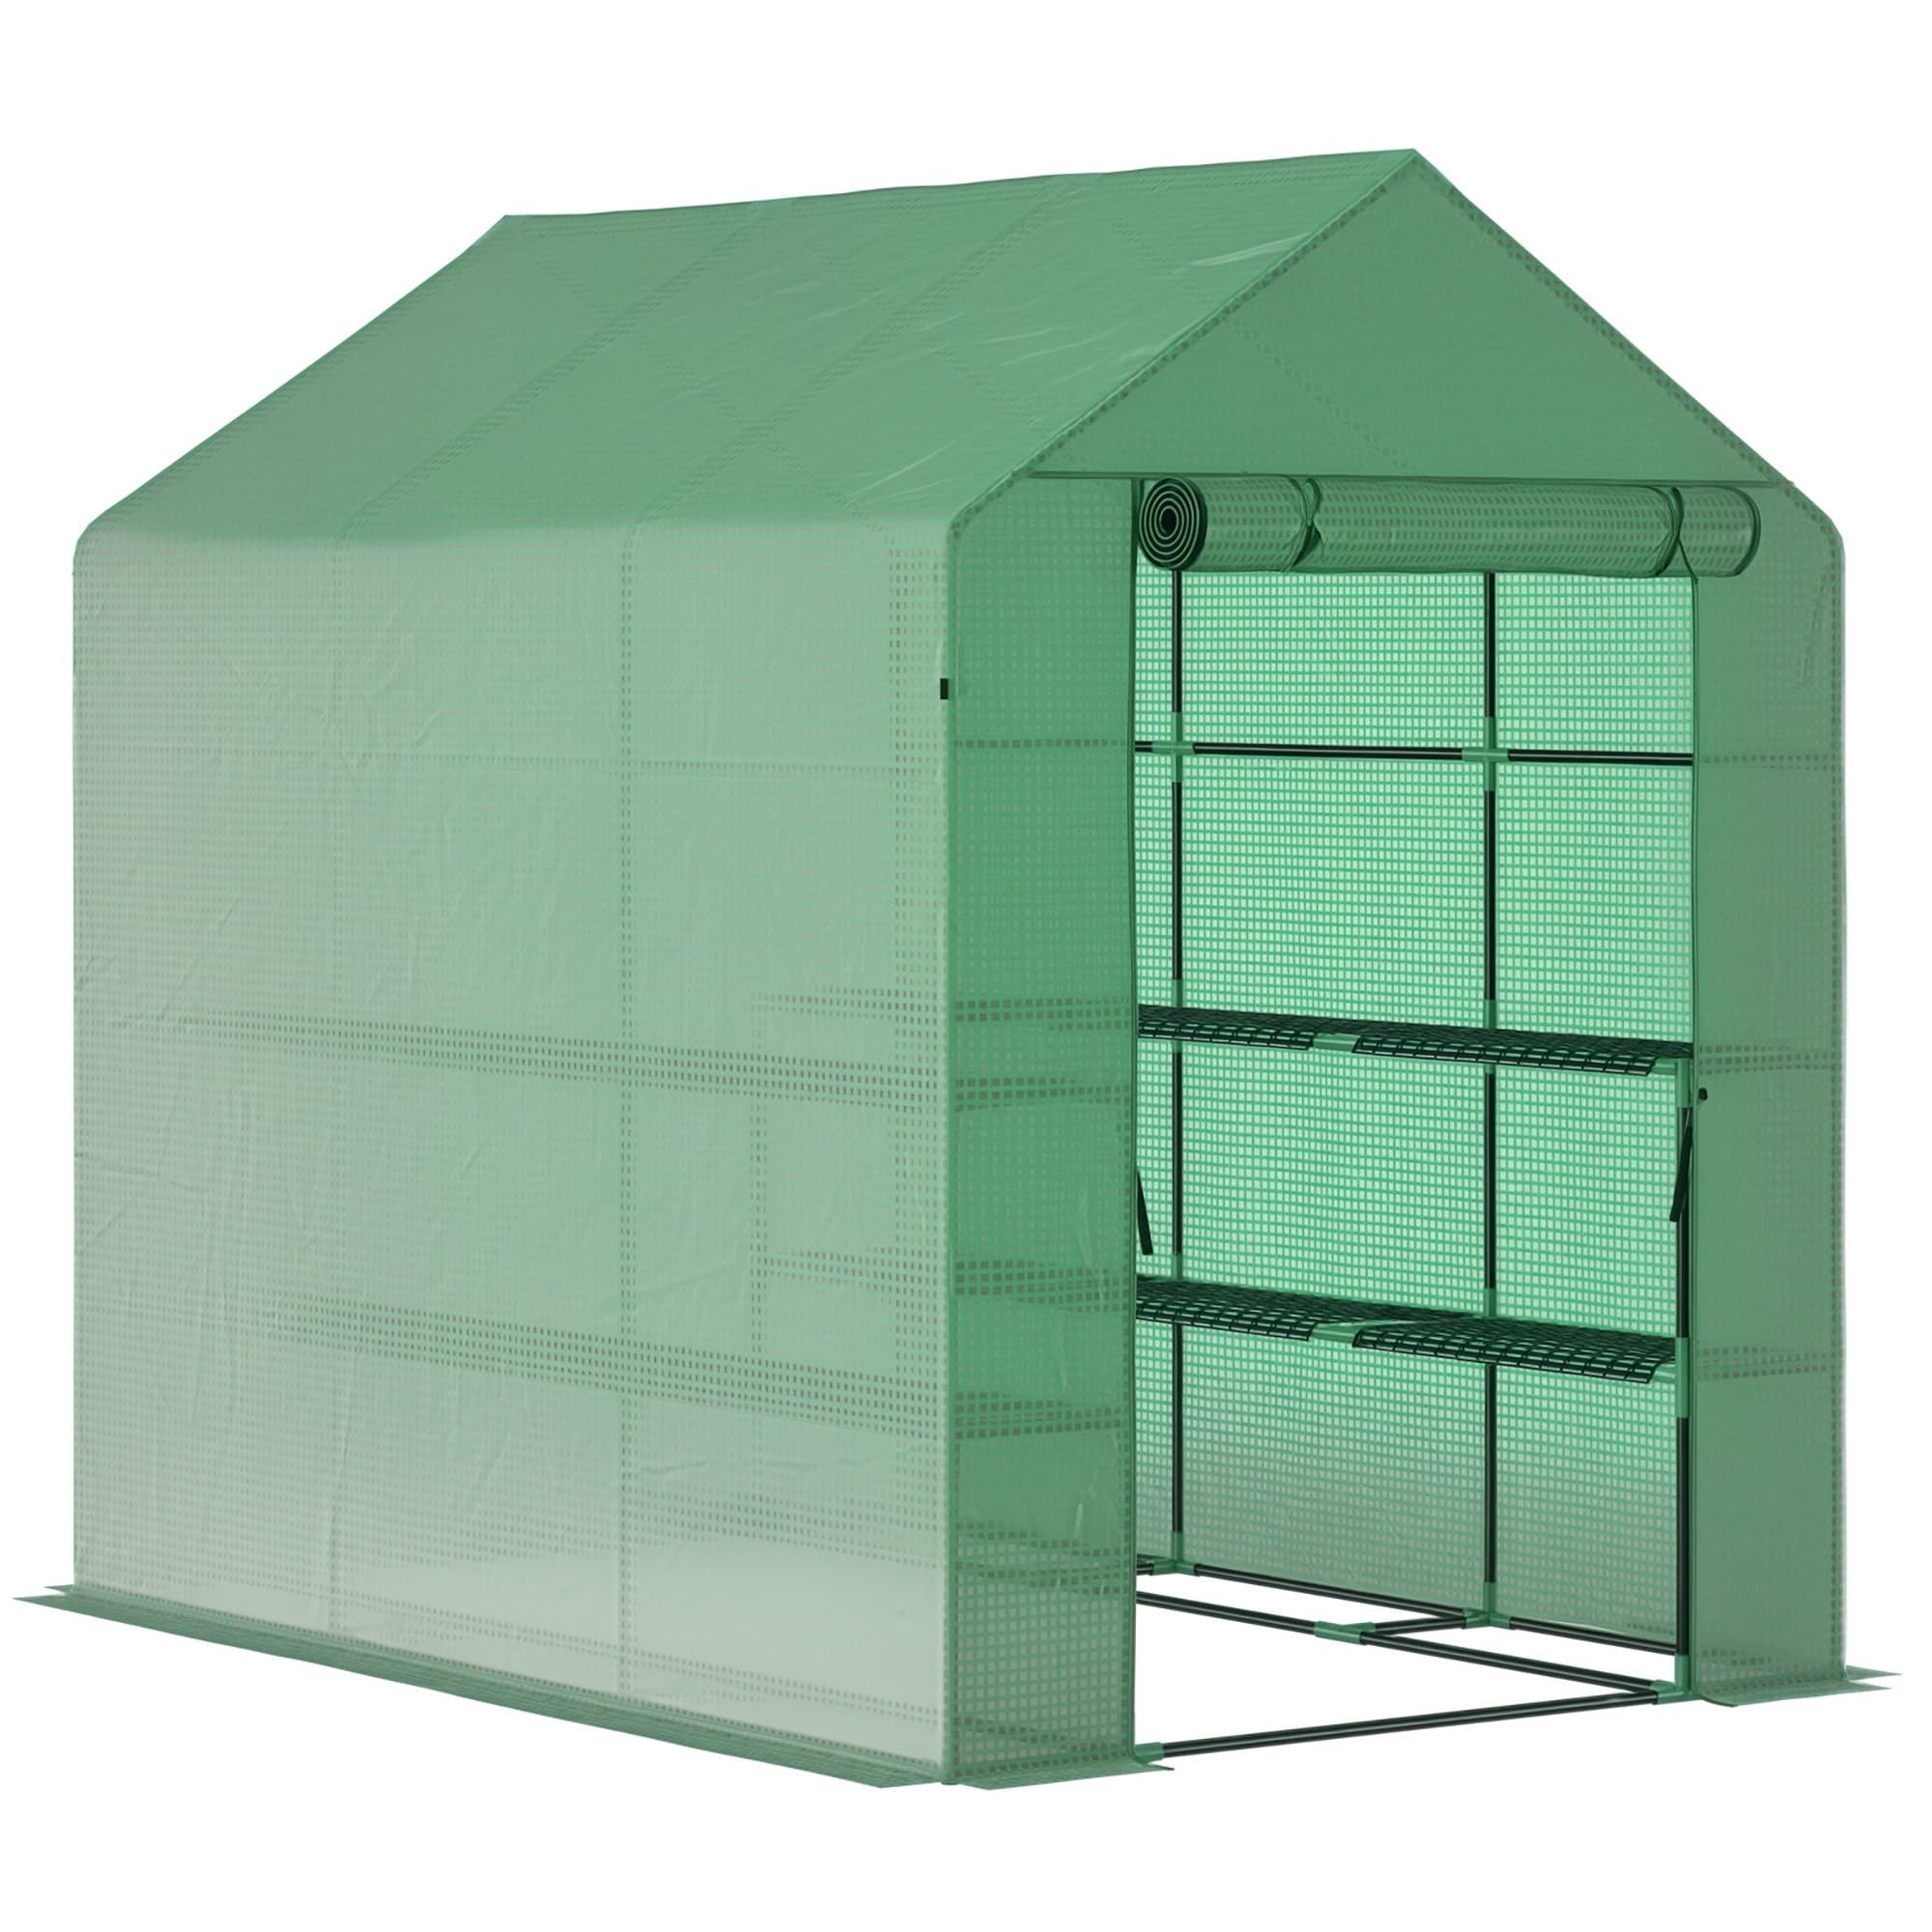
Image 1.1: The Outsunny Plastic Film Greenhouse in a garden environment.
2. Istruzioni di sicurezza
- Condizioni meteo: This greenhouse is not suitable for severe weather conditions. Ensure it is properly anchored and consider disassembling or securing it during strong winds, heavy snow, or other extreme weather.
- Uso di pesticidi: Do not use acidic pesticides inside or on the polyethylene cover. Acidic substances can react chemically with the alkaline polyethylene coating, leading to material degradation and damage.
- Montaggio: Assembly is required. Follow all assembly steps carefully to ensure structural integrity and safety.
- Ancoraggio: Always use the provided guy ropes and ground stakes to secure the greenhouse firmly to the ground. Bury the 10 cm extended edges of the cover deep into the soil to enhance stability and prevent rainwater accumulation.
3. Contenuto della confezione
Prima di iniziare il montaggio, verificare che tutti i componenti siano presenti:
- 1 x Greenhouse structure (steel frame components)
- 1 x Polyethylene (PE) cover
- 4 corde per tiranti
- 4 picchetti da terra
- 1 x Manuale utente
4. Impostazione
Follow these steps for proper assembly of your greenhouse:
- Montare il telaio in acciaio: Connect the powder-coated steel tubes according to the diagrams in the included user manual. Ensure all connections are secure.
- Installare la scaffalatura: Integrate the multi-level shelving units into the frame as directed. These shelves provide ampspazio per le tue piante.
- Coprire la copertura in PE: Carefully place the polyethylene cover over the assembled steel frame. Ensure it is centered and aligned correctly.
- Secure the Cover Edges: The cover features 10 cm extended edges. Bury these edges deep into the ground around the base of the greenhouse. This action reinforces the cover, enhances stability, and prevents rainwater from pooling.
- Anchor with Guy Ropes and Stakes: Attach the four provided guy ropes to the designated points on the greenhouse frame. Stretch these ropes taut and secure them to the ground using the four ground stakes. This provides additional stability against wind.

Image 4.1: Illustration of burying the cover edges and securing the greenhouse with guy ropes and ground stakes for enhanced stability.

Image 4.2: Detail of the robust steel frame connections and wire shelving.
5. Istruzioni per l'uso
5.1. Plant Management and Access
The roll-up door with a zipper allows for complete opening, providing easy access for plant care, watering, and moving plants or tools in and out of the greenhouse.

Image 5.1: The roll-up door provides easy access and ventilation for the greenhouse interior.
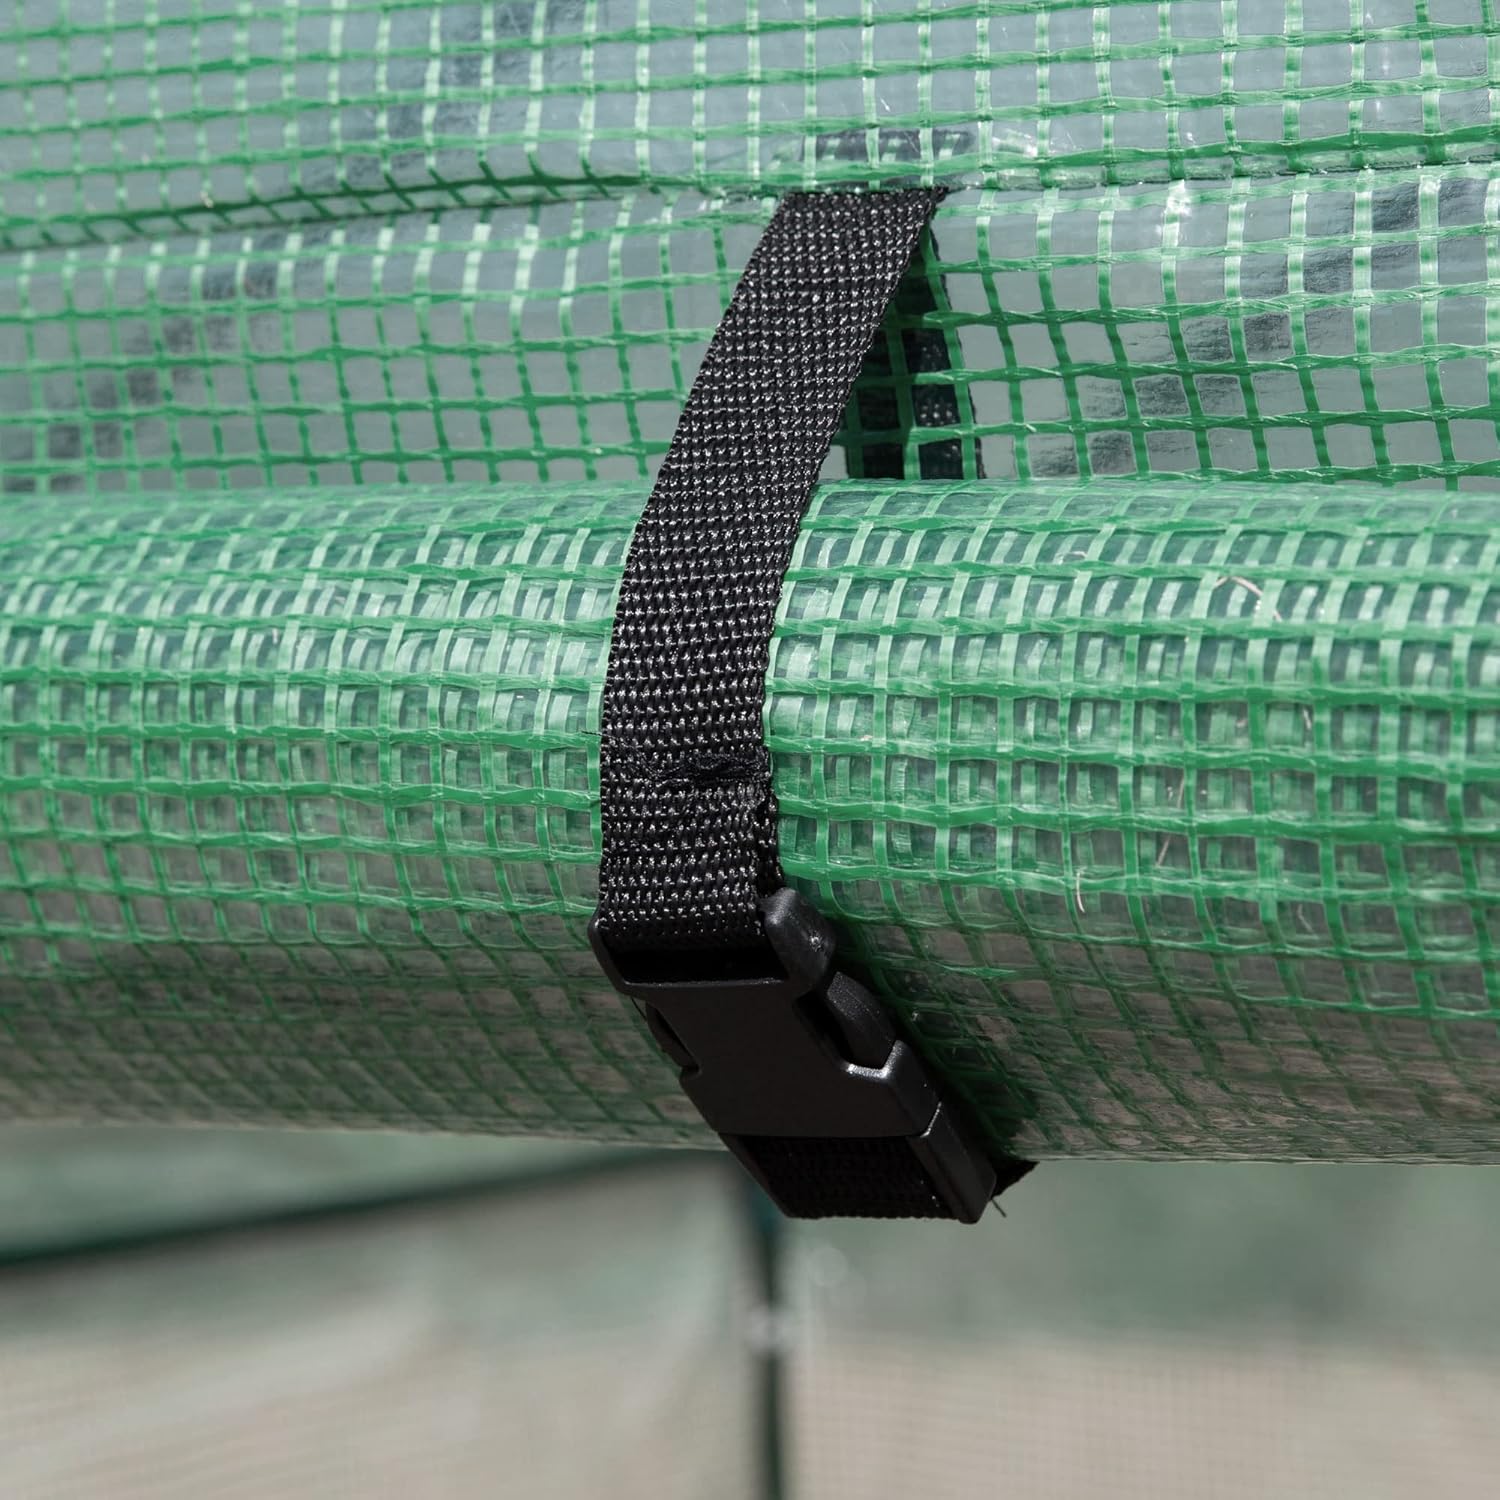
Image 5.2: Detail of the buckle used to secure the roll-up door in the open position.
5.2. Controllo ambientale
The fully enclosed, waterproof, and UV-resistant polyethylene cover helps maintain high humidity levels, which is beneficial for tropical plants. It also allows nourishing sunlight to penetrate, supporting plant growth.
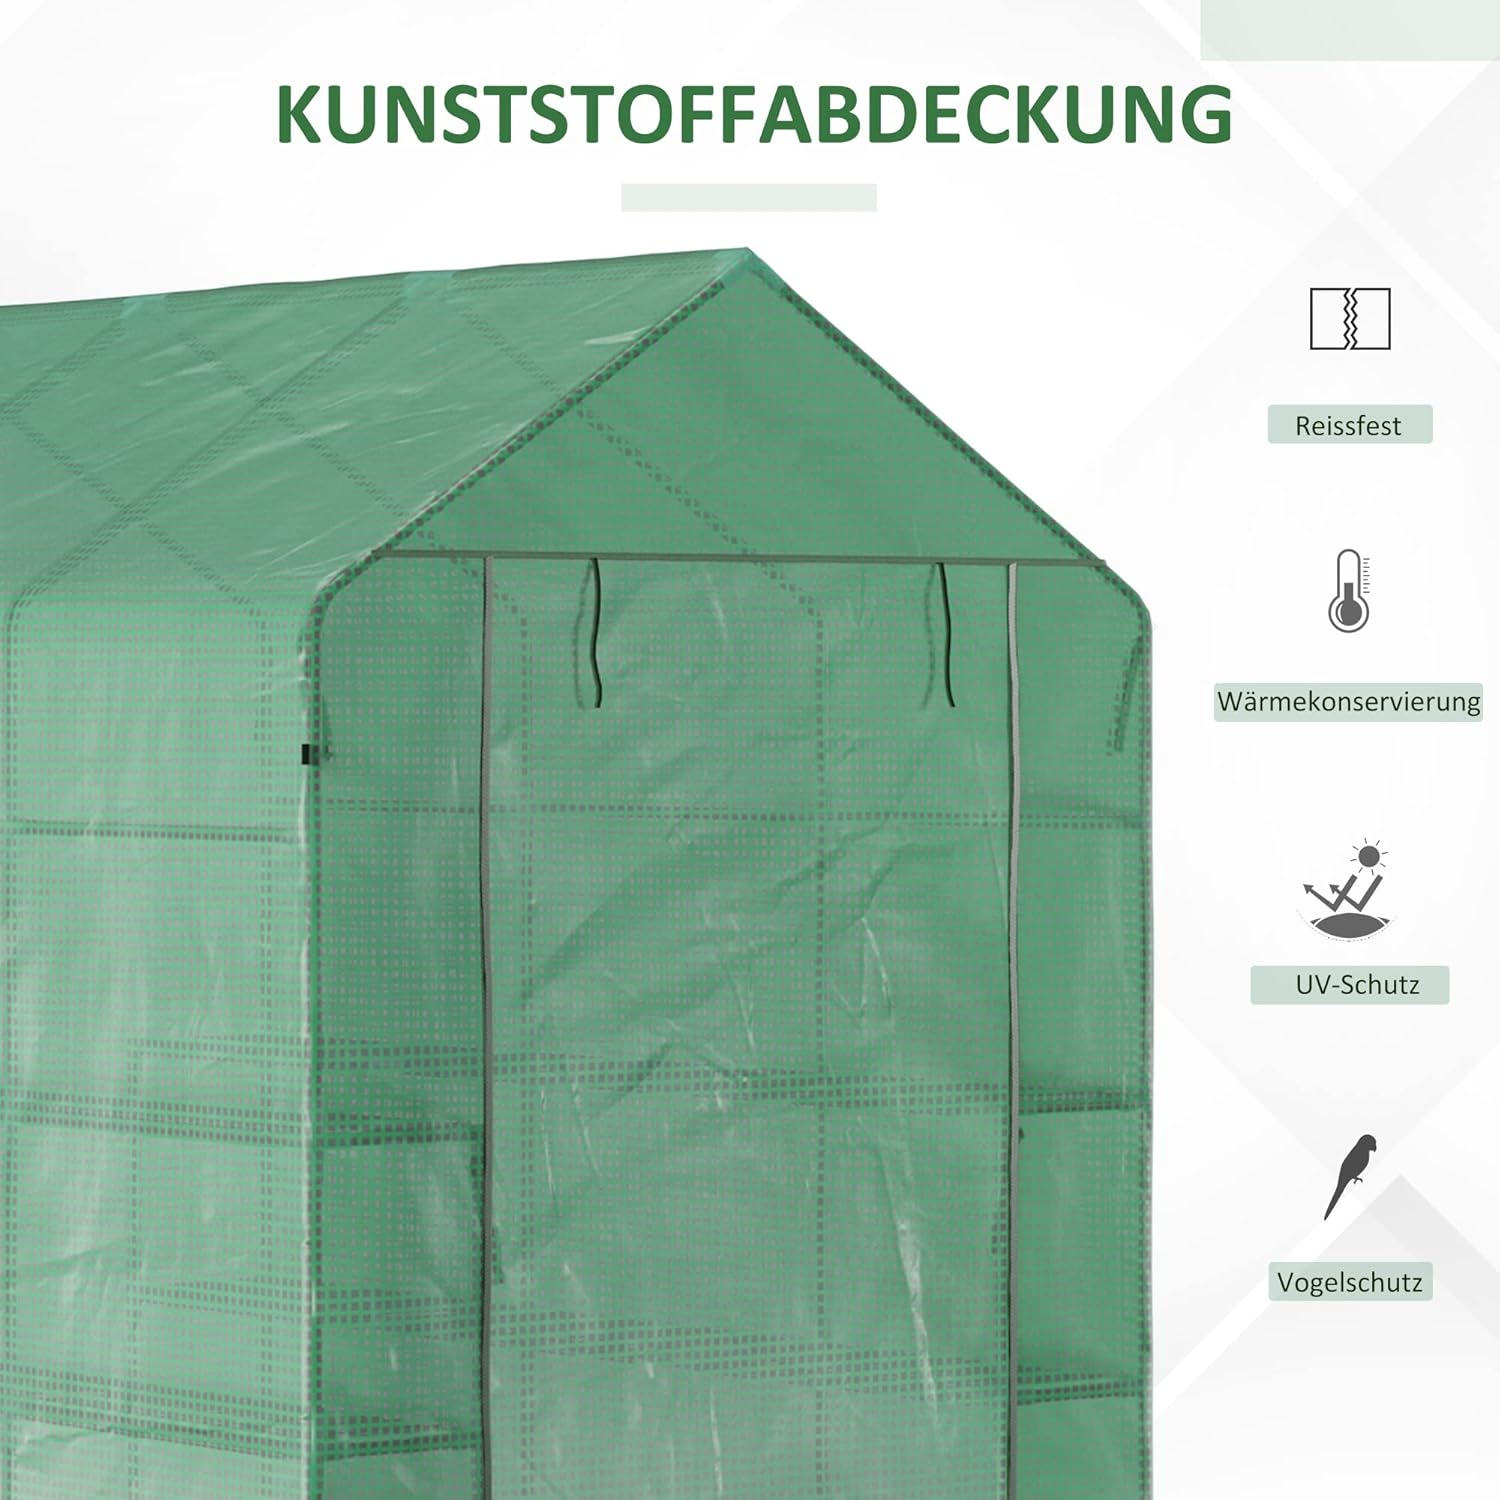
Image 5.3: Key features of the durable plastic cover, including tear resistance, heat retention, UV protection, and bird protection.
5.3. Utilizing Shelves
The greenhouse is equipped with 8 tiers of shelving (4 on each side) to maximize growing space and organize your plants efficiently.

Immagine 5.4: Interno view mostrareasing plants arranged on the multi-tier shelving system.
6. Manutenzione
- Pulizia della copertura: Regularly clean the polyethylene cover with mild soap and water. Avoid abrasive cleaners or brushes that could scratch or damage the material.
- Ispezione del telaio: Periodically check the steel frame for any signs of rust, damage, or loose connections. Tighten any loose bolts or connections as needed.
- Controllo dell'ancoraggio: Ensure the guy ropes remain taut and the ground stakes are firmly in place, especially after strong winds or heavy rain. Re-secure if necessary.
- Controllo dei parassiti: While the cover offers some protection, regularly inspect plants for pests and diseases. Use appropriate, non-acidic treatments if needed.
Image 6.1: The greenhouse is designed for durable use with proper maintenance.

Image 6.2: Regular maintenance ensures the greenhouse remains weather-resistant.
7. Risoluzione Dei Problemi
- Instabilità della serra: If the greenhouse feels unstable, ensure all frame connections are tight, the cover edges are buried, and the guy ropes are taut and securely staked into the ground. Check for strong winds and consider additional anchoring if necessary.
- Accumulo di acqua: If water accumulates around the base, verify that the 10 cm extended edges of the PE cover are properly buried to create a seal with the ground.
- Copertura danni: For minor tears or punctures in the PE cover, use a suitable repair kit designed for polyethylene materials. For significant damage, consider replacing the cover.
- Difficulty Rolling Up Door: Ensure the zipper is clean and free of debris. Check that the fabric is not snagged and the buckles are functioning correctly.
8. Specifiche
| Numero di modello | 845-411V02 |
| Dimensioni (L x P x A) | 214 x 143 x 195 cm (84.3 x 56.3 x 76.8 pollici) |
| Peso | 12 chilogrammi (26.5 libbre) |
| Materiale | Polyethylene (Cover), Steel (Frame) |
| Materiale del telaio | Acciaio legato |
| Colore | Verde |
| Numero di porte | 1 (Arrotolare con cerniera) |
| Caratteristiche speciali | UV Protection, Waterproof, 8-Tier Shelving |
| Utilizzo | All'aperto |

Immagine 8.1: Dimensioni dettagliate della serra.
9. Garanzia e supporto
Information regarding specific warranty terms and spare parts availability for this product is not provided in the general product details. For warranty claims, spare parts, or technical support, please contact your retailer or the manufacturer directly. Keep your purchase receipt as proof of purchase.


