1. Prodotto finitoview
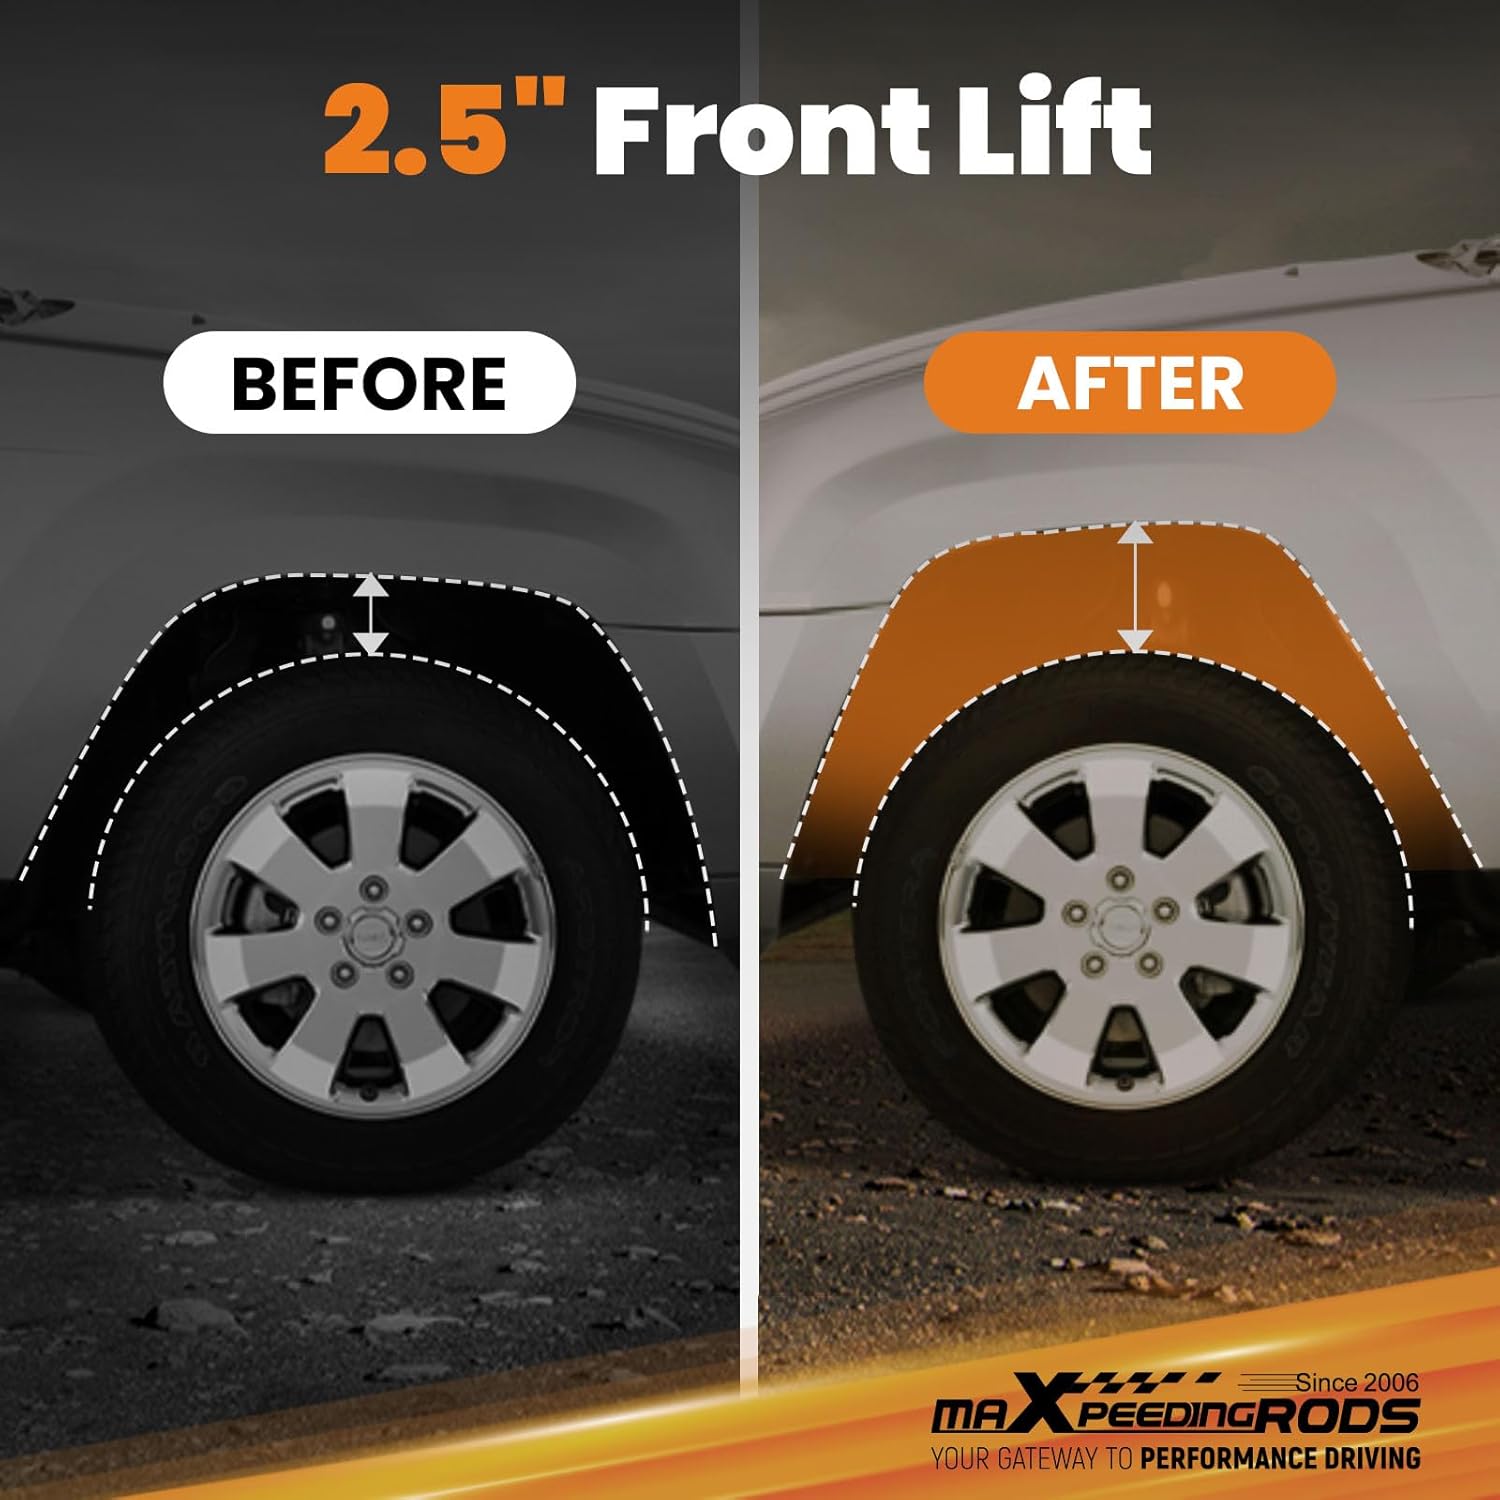
This maXpeedingrods 2.5 inch front leveling lift kit is designed to enhance the appearance and performance of your Ford Super Duty truck. It provides a front lift to level the vehicle's stance, allowing for larger tires and improved ground clearance.
Compatibilità
This kit is compatible with the following vehicles:
| Fare | Modello | Anno |
|---|---|---|
| Guado | F-250 Super Duty (Only 4WD) | 2011-2022 |
| Guado | F-350 Super Duty (Only 4WD) | 2011-2022 |
| Guado | F-450 Super Duty (Only 4WD) | 2011-2022 |
This kit is designed for vehicles with a 3 inch factory rear block.

2. Informazioni importanti sulla sicurezza
Installation of this product requires specialized knowledge and tools. It is highly recommended that installation be performed by a qualified professional technician. Failure to follow proper installation procedures can result in serious injury, vehicle damage, or loss of vehicle control. Always wear appropriate personal protective equipment (PPE) during installation.
- Prima di iniziare qualsiasi lavoro, assicurarsi che il veicolo sia saldamente appoggiato su cavalletti o su un sollevatore.
- Scollegare la batteria prima di lavorare sui componenti elettrici.
- Per le specifiche e le procedure di coppia di serraggio specifiche, fare riferimento al manuale di manutenzione del veicolo.
- After installation, have the vehicle's alignment checked and adjusted by a professional.
- Verify that the vehicle remains compliant with all relevant national and local laws and regulations after installation.
3. Componenti inclusi
Carefully unpack and identify all components before beginning installation. If any parts are missing or damaged, contact customer support immediately.

- 2 x Front Coil Spring Spacers
- 1 x Track Bar Relocation Bracket
- 2 x Bump Stop Extensions
- 2 x Shock Extensions
- 2 x Sway Bar Relocation Brackets
- 2 x Spring Spacer Isolators
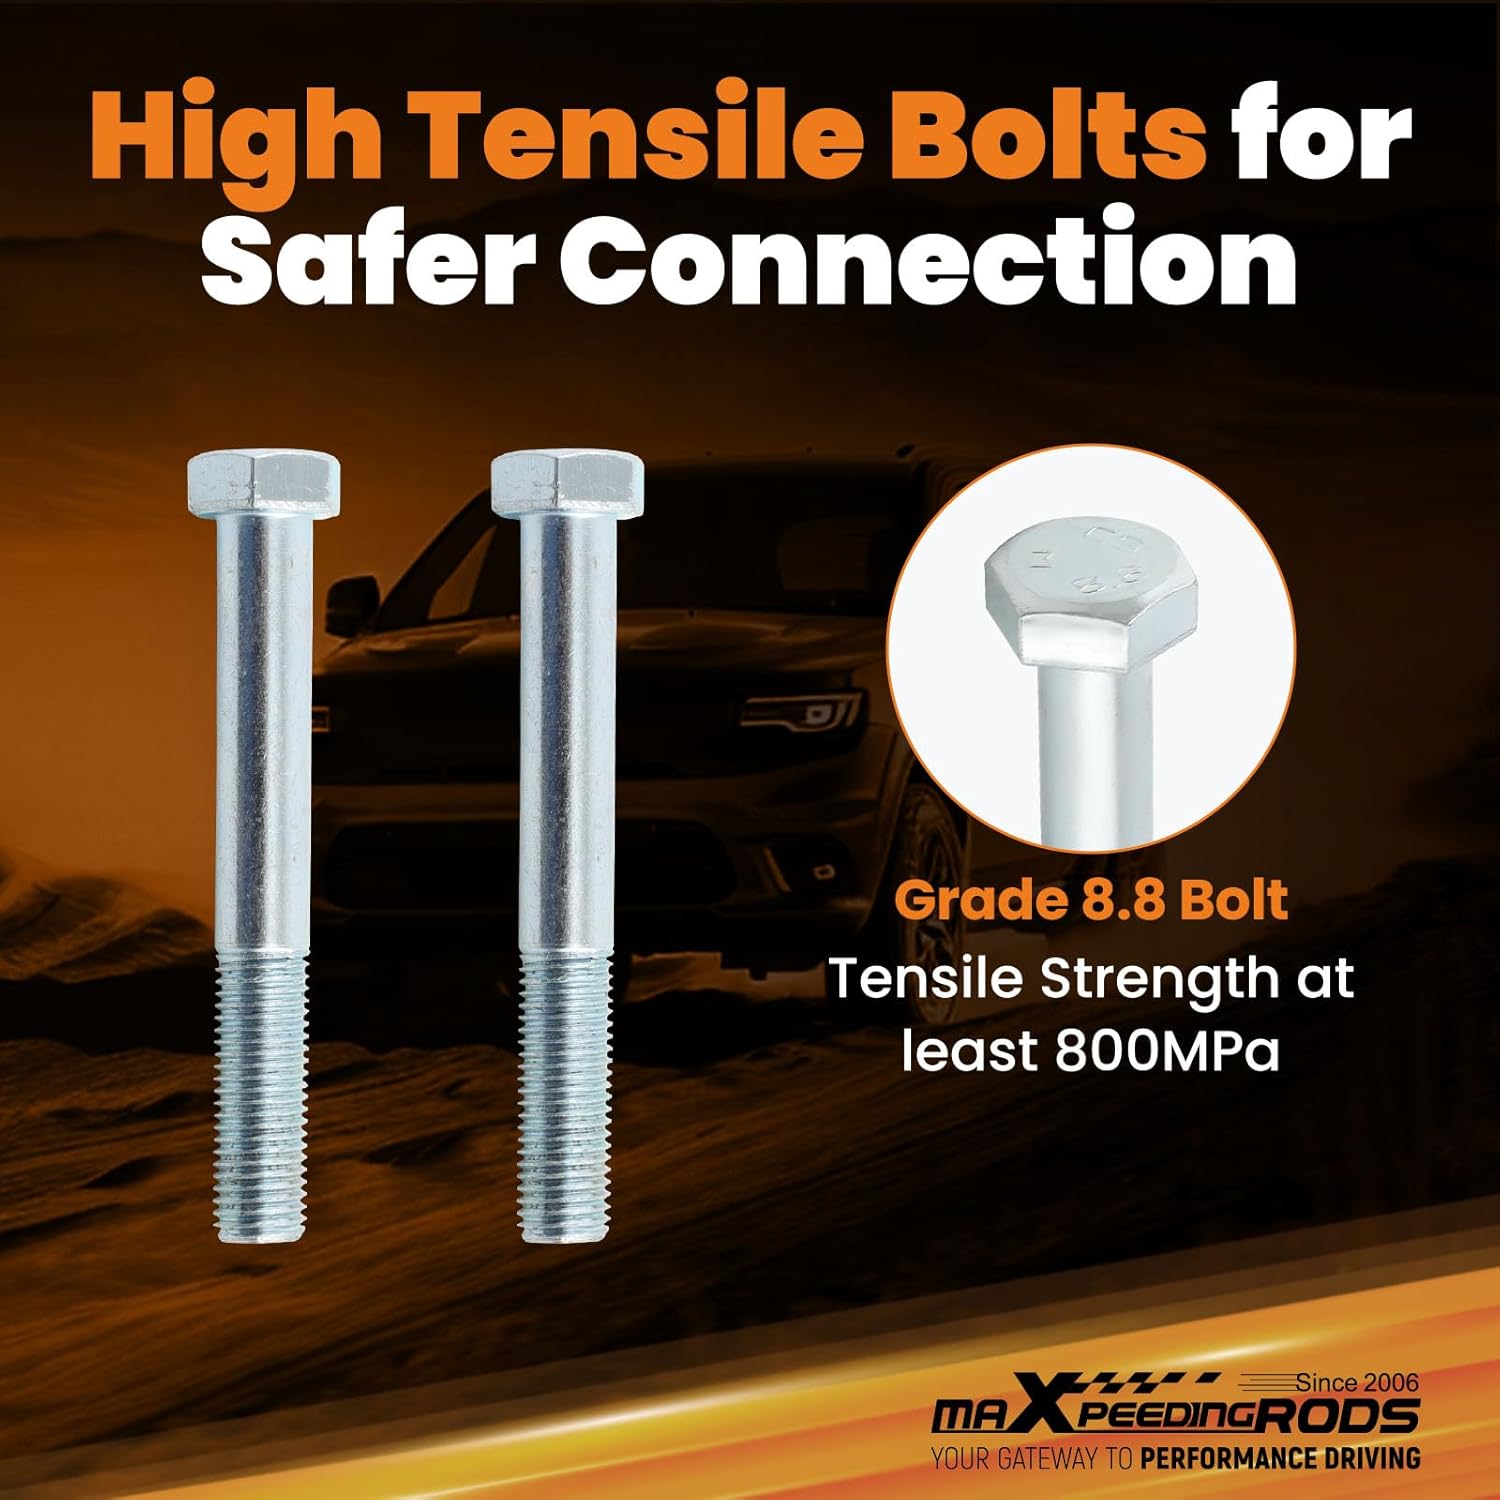
- All Needed Hardware and Washers (High Tensile Grade 8.8 Bolts)


4. Strumenti richiesti
Per l'installazione sono solitamente necessari i seguenti strumenti:
- Jack da pavimento e cavalletti
- Cunei per ruote
- Socket Wrench Set (Metric and/or SAE, depending on vehicle)
- Chiave dinamometrica
- Palanchino
- Spring Compressor (if required for strut disassembly)
- Nastro di misurazione
- Olio penetrante
- Occhiali e guanti di sicurezza
5. Istruzioni per l'installazione
This section provides a general guide. Always refer to your vehicle's specific service manual for detailed procedures and torque specifications.
General Pre-Installation Steps
- Park the vehicle on a flat, level surface.
- Engage the parking brake and chock the rear wheels.
- Loosen the front wheel lug nuts.
- Raise the front of the vehicle using a floor jack and support it securely with jack stands.
- Rimuovere le ruote anteriori.
Specific Component Installation
Proceed with the installation of each component as follows:
- Front Strut Coil Spacer Installation:
Carefully remove the factory front strut assembly. Install the new 2.5 inch front coil spring spacer on top of the strut assembly, ensuring proper orientation. Reinstall the strut assembly into the vehicle, securing all bolts to factory torque specifications.

Image: A single blue front coil spring spacer, designed to provide the 2.5 inch front lift. - Track Bar Relocation Bracket Installation:
Locate the factory track bar mounting point. Install the track bar relocation bracket to correct the track bar angle after lifting the vehicle. Secure with provided hardware and torque to specifications.

Image: A blue track bar relocation bracket, essential for maintaining proper steering geometry after a lift. - Shock Extension Installation:
Install the shock extensions to accommodate the increased suspension travel from the lift kit. This prevents over-extension of the factory shocks.
- Sway Bar Relocation Bracket Installation:
Attach the sway bar relocation brackets to maintain proper sway bar geometry and function after the lift. This helps preserve vehicle stability.

Image: Blue sway bar relocation brackets, designed to correct sway bar positioning after a lift. - Bump Stop Extension Installation:
Install the bump stop extensions to prevent suspension bottoming out and protect components during full compression.
- Spring Spacer Isolator Installation:
Place the spring spacer isolators as directed to reduce noise and vibration, and to protect the coil springs.
Fasi successive all'installazione
- Reinstall the front wheels and torque lug nuts to factory specifications.
- Abbassare completamente il veicolo.
- Bounce the front of the vehicle several times to settle the suspension.
- Re-check all fasteners for proper torque after driving approximately 50-100 miles.
6. Considerazioni operative
After installing the leveling lift kit, your vehicle's driving characteristics will change. It is crucial to understand these changes for safe operation.
- Allineamento delle ruote: A professional wheel alignment is mandatory immediately after installation to prevent premature tire wear and ensure proper handling.
- Dinamica di guida: The vehicle's center of gravity will be higher, which may affect stability during sharp turns or emergency maneuvers. Drive cautiously until you are accustomed to the new handling characteristics.
- Spazio per pneumatici: While the kit allows for larger tires, always verify adequate clearance under all steering and suspension articulation conditions.

7. Programma di manutenzione
Regular inspection and maintenance are essential to ensure the longevity and safe operation of your leveling lift kit.
- Initial Check (50-100 miles): Re-torque all fasteners installed with the kit.
- Controllo mensile: Inspect all visible components for wear, damage, or loose fasteners. Pay close attention to bolts, nuts, and brackets.
- Controllo annuale: Perform a thorough inspection of the entire suspension system, including shocks, springs, and steering components. Check for corrosion on metal parts.
- Pulizia: Regularly clean the kit components, especially after off-road use, to prevent dirt and debris buildup that could lead to corrosion or wear.
8. Risoluzione Dei Problemi
This section addresses common issues that may arise after installing the leveling lift kit.
| Problema | Possibile causa | Soluzione |
|---|---|---|
| Uneven Stance | Improper installation; settling of components | Verify all components are correctly seated and torqued. Allow for settling, then re-measure. |
| Vibrazione o rumore | Loose fasteners; component interference; driveline angle issues | Check all fasteners. Inspect for contact between components. Consult a professional for driveline angle assessment. |
| Poor Handling/Steering | Incorrect alignment; worn steering components | Obtain a professional wheel alignment. Inspect steering and suspension components for wear. |
| Premature Tire Wear | Incorrect alignment; improper tire pressure | Ensure proper wheel alignment and maintain correct tire pressure. |
9. Specifiche del prodotto
- Altezza di sollevamento: 2.5 pollici (anteriore)
- Materiale: Acciaio ad alta resistenza
- Fine: Verniciato a polvere blu
- Posizione: Davanti
- Peso dell'articolo: Circa 32.7 libbre
- Dimensioni del prodotto: Circa 22.83 x 8.66 x 8.27 pollici
- Numero di parte del produttore: GO90QA
10. Garanzia e assistenza clienti
maXpeedingrods provides a Garanzia limitata di 1 anno for quality-related issues from the date of purchase. Additionally, lifetime technical support is available for all customers.
For further information, assistance, or to download the PDF installation manual, please visit the official maXpeedingrods websito o contattare il nostro team di assistenza clienti.


