1. Introduzione
Thank you for choosing the Xigmatek Lux M Micro-ATX Mini Tower PC Case. This manual provides detailed instructions for the installation, operation, and maintenance of your new PC chassis. Please read this manual carefully before beginning the assembly process to ensure proper installation and to maximize the performance and longevity of your system.
The Lux M case is designed to offer a robust and aesthetically pleasing housing for your computer components, featuring a tempered glass side panel, a metallic front panel with a unique cut-out pattern, and pre-installed fixed RGB fans for optimal cooling and visual appeal. It supports Micro-ATX and Mini-ITX motherboards and is compatible with various cooling solutions, including water cooling.
2. Informazioni sulla sicurezza
Durante l'installazione e il funzionamento, osservare le seguenti precauzioni di sicurezza:
- Always disconnect the power supply from the wall outlet before installing or removing any components to prevent electric shock.
- Handle all components with care. Avoid touching circuit boards directly; hold them by their edges.
- Quando si maneggiano componenti elettronici sensibili, indossare un braccialetto antistatico per evitare danni causati da scariche elettrostatiche (ESD).
- Keep the case and components away from liquids, excessive heat, and direct sunlight.
- Assicurare una corretta ventilazione attorno al case del PC per evitare il surriscaldamento.
- Tenere le parti di piccole dimensioni e le viti fuori dalla portata dei bambini.
3. Contenuto della confezione
Verifica che tutti gli articoli siano presenti nel pacco. Se qualche articolo risulta mancante o danneggiato, contatta il rivenditore.
- Xigmatek Lux M Micro-ATX Mini Tower PC Case
- Accessory box (containing screws, standoffs, cable ties, etc.)
- Manuale dell'utente (questo documento)
4. Prodotto finitoview
Familiarize yourself with the various parts of your Xigmatek Lux M PC case.
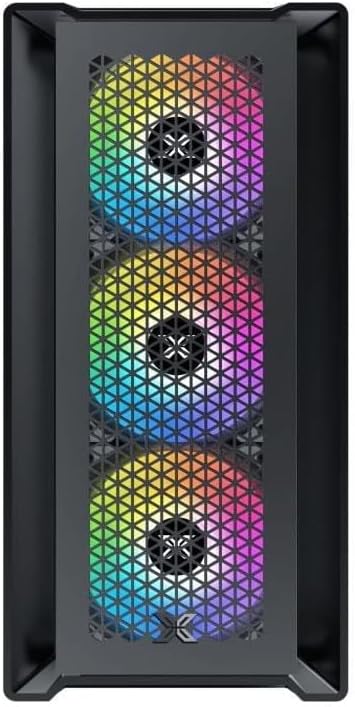
Figura 4.1: Fronte View. This image displays the front of the Xigmatek Lux M case, highlighting the metallic mesh panel with a triangular design and the three pre-installed 120mm fixed RGB fans.

Figure 4.2: Angled Top-Front View. This perspective shows the tempered glass side panel, offering a clear view of the interior, and the top panel with its I/O ports (USB, audio) and power button.
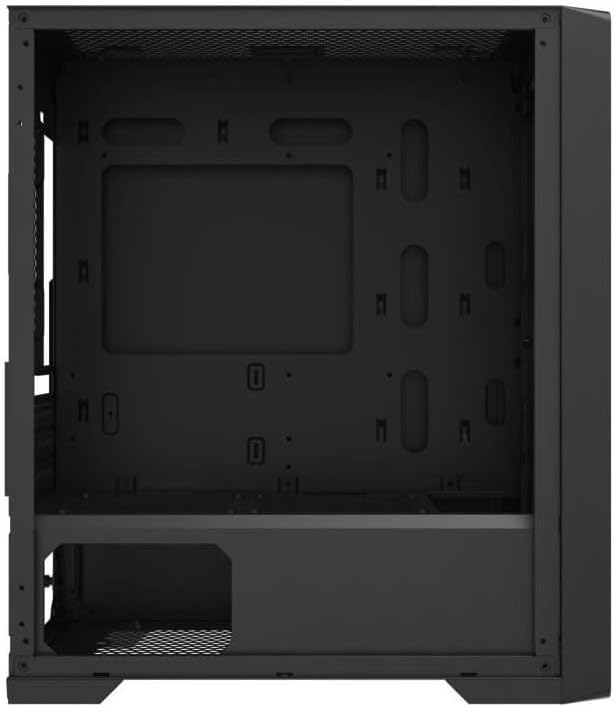
Figure 4.3: Interior Layout. The internal structure of the case, featuring the motherboard mounting tray, cutouts for cable management, and the power supply shroud at the bottom.
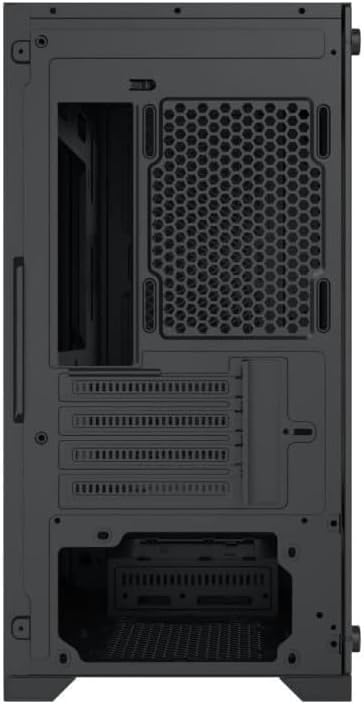
Figura 4.4: Posteriore View. This image illustrates the rear of the case, including the expansion slots for graphics cards and other add-in cards, the rear fan mounting area, and the power supply mounting bracket.
5. Configurazione e installazione
Follow these steps to install your computer components into the Xigmatek Lux M case.
5.1. Preparazione del caso
- Posizionare la custodia su una superficie piana e stabile.
- Remove the tempered glass side panel by unscrewing the thumb screws and carefully lifting it off. Set it aside on a soft, non-abrasive surface.
- Rimuovere il pannello laterale in acciaio opposto svitando le viti a testa zigrinata e facendolo scorrere all'indietro.
5.2. Installazione della scheda madre
The Lux M supports Micro-ATX and Mini-ITX motherboards.
- Installare la schermatura I/O (se non preinstallata sulla scheda madre) nell'apertura posteriore del case.
- Allineare la scheda madre con i distanziatori preinstallati. Assicurarsi che tutti i fori delle viti sulla scheda madre corrispondano ai distanziatori.
- Fissare la scheda madre utilizzando le viti fornite. Non serrare eccessivamente.
5.3. Installazione dell'unità di alimentazione (PSU)
The PSU mounts at the rear bottom of the case.
- Inserire l'alimentatore nell'apposito scomparto dalla parte posteriore del case.
- Align the PSU's screw holes with the holes on the case's rear panel.
- Secure the PSU with the provided screws.
5.4. Storage Drive Installation (2.5"/3.5" Drives)
The case supports 2x 2.5"/3.5" storage drives.
- Locate the drive cage beneath the PSU shroud or dedicated 2.5" mounting points behind the motherboard tray.
- For 3.5" HDDs, slide the drive into a drive tray (if applicable) and secure it with screws.
- For 2.5" SSDs, secure them directly to the mounting points using the provided screws.
5.5. Graphics Card (VGA) and Expansion Card Installation
Il case supporta schede grafiche lunghe fino a 320 mm.
- Rimuovere le coperture degli slot di espansione necessari dalla parte posteriore del case.
- Insert your graphics card or other expansion card into the appropriate PCIe slot on your motherboard.
- Secure the card to the case using the expansion slot screws.
5.6. Installazione del sistema di raffreddamento (facoltativo)
The Lux M comes with 4x 120mm X24F fixed RGB fans. It supports additional cooling options.
- Dissipatore CPU: Max height of 160mm. Install your CPU cooler according to its manufacturer's instructions.
- Supporto per radiatori: The case supports radiators of 360mm, 240mm, or 120mm. Refer to your radiator's manual for installation. Common mounting locations include the front and top panels.
5.7. Gestione dei cavi
Utilizzare i fori per il passaggio dei cavi e i punti di fissaggio dietro il vassoio della scheda madre per organizzare i cavi. Questo migliora il flusso d'aria e l'estetica.
5.8. Assemblaggio finale
- Once all components are installed and cables are managed, reattach the steel side panel and secure it with thumb screws.
- Carefully reattach the tempered glass side panel and secure it with thumb screws.
6. Istruzioni per l'uso
After completing the installation, connect your peripherals (monitor, keyboard, mouse) and power cable to the PC. Press the power button located on the top panel of the case to start your system.
The pre-installed X24F RGB fans feature fixed RGB lighting, which will illuminate automatically upon system power-on. No additional software or controller is required for their basic operation.
Ensure that the case's ventilation is not obstructed to maintain optimal airflow and cooling performance.
7. Manutenzione
Una manutenzione regolare contribuisce a garantire la longevità e le prestazioni ottimali dei componenti del PC.
- Pulizia della polvere: Periodically clean dust filters (if present) and the interior of the case using compressed air or a soft brush. Dust accumulation can hinder airflow and lead to overheating.
- Pulizia esterna: Pulire le superfici esterne con un panno morbido, damp cloth. Avoid harsh chemicals that may damage the finish or tempered glass.
- Vetro temperato: Clean the tempered glass panel with a glass cleaner and a microfiber cloth to avoid scratches and streaks.
8. Risoluzione Dei Problemi
Se riscontri problemi durante o dopo l'installazione, prendi in considerazione i seguenti passaggi comuni per la risoluzione dei problemi:
- Nessun potere:
- Assicurarsi che il cavo di alimentazione sia collegato saldamente sia all'alimentatore che alla presa a muro.
- Check that the PSU switch is in the 'ON' position.
- Verificare che il cavo dell'interruttore di alimentazione del pannello frontale sia collegato correttamente al connettore del pannello frontale della scheda madre.
- Fans Not Spinning / RGB Not Lighting:
- Ensure all fan power cables are securely connected to the motherboard or a fan controller.
- For RGB, confirm that any necessary RGB headers are connected to the motherboard (though the included fans are fixed RGB and should light up with power).
- Nessuna uscita di visualizzazione:
- Verify that your monitor cable is connected to the graphics card (if installed) and not the motherboard's integrated graphics port.
- Reinserire la scheda grafica nel suo slot PCIe.
- Surriscaldamento:
- Assicurarsi che tutte le ventole del case siano in funzione e orientate correttamente per un flusso d'aria ottimale (aspirazione/scarico).
- Pulire eventuali filtri antipolvere e componenti interni.
- Verificare che il dissipatore della CPU sia posizionato correttamente e che faccia un buon contatto con la CPU.
For more complex issues, consult your component manuals or seek assistance from Xigmatek support or a qualified technician.
9. Specifiche
| Caratteristica | Specificazione |
|---|---|
| Marca | Xigmatek |
| Nome del modello | Lux M |
| Numero di modello | EN48540 |
| Tipo di caso | Mini torre |
| Compatibilità della scheda madre | Micro-ATX, Mini-ITX |
| Materiale | Tempered Glass (side panel), Metal (front panel) |
| Colore | Nero |
| Ventole preinstallate | 4 x 120mm X24F Fixed RGB Fans |
| Supporto radiatore | 360mm, 240mm, 120mm |
| Altezza massima del dissipatore della CPU | 160mm |
| Lunghezza massima VGA | 320mm |
| Lunghezza massima dell'alimentatore | 165mm |
| Baie di stoccaggio | 2x 2.5"/3.5" |
| Caratteristiche speciali | RGB Lighting, Triangular Mesh Front Design |
10. Garanzia e supporto
Xigmatek products are manufactured to the highest quality standards. For warranty information and technical support, please refer to the warranty card included with your product or visit the official Xigmatek websito. Conservare la prova d'acquisto per eventuali reclami in garanzia.
For further assistance, you may contact Xigmatek customer support through their official channels.


