1. Introduzione
Thank you for choosing the Prechen 19.5-inch 1600x900 LED Monitor. This monitor is designed to provide a high-quality visual experience for various applications, including office work, multimedia, and gaming. Featuring a 1600x900 resolution TN panel, 60Hz refresh rate, and built-in speakers, it offers a versatile display solution. This manual provides detailed instructions for setup, operation, maintenance, and troubleshooting to ensure optimal performance and longevity of your device.

Figura 1: Fronte view of the Prechen 19.5-inch LED Monitor.
2. Informazioni importanti sulla sicurezza
Please read all safety warnings and instructions carefully before using this monitor to prevent damage or injury.
- Non esporre il monitor alla pioggia o all'umidità per evitare incendi o scosse elettriche.
- Non aprire il monitor casing. All'interno non sono presenti parti riparabili dall'utente. Per qualsiasi intervento di assistenza, rivolgersi a personale qualificato.
- Posizionare il monitor su una superficie stabile e piana per evitare che cada.
- Assicurare una ventilazione adeguata attorno al monitor. Non ostruire le aperture di ventilazione.
- Utilizzare solo l'adattatore di alimentazione fornito con il monitor.
- Scollegare la spina di alimentazione dalla presa se il monitor non verrà utilizzato per un periodo prolungato.
- Avoid placing the monitor near heat sources such as radiators, heat registers, stoves, or other products (including amplificatori) che producono calore.
3. Contenuto della confezione
Si prega di controllare il contenuto della confezione per assicurarsi che tutti gli articoli siano presenti e integri:
- Prechen 19.5-inch LED Monitor
- Adattatore di alimentazione
- Cavo HDMI
- Manuale d'uso

Figure 2: Included accessories: Monitor, Power Adapter, HDMI Cable, and User Manual.
4. Guida all'installazione
4.1 Montaggio del supporto
- Estrarre con cautela il monitor e i componenti del supporto dalla confezione.
- Attach the stand base to the stand neck, securing it with the provided screw (if applicable).
- Align the assembled stand with the mounting slot on the back of the monitor and gently push until it clicks into place or secure with screws as per the stand design.
4.2 Collegamento del monitor
The monitor supports both HDMI and VGA connections.
- Collegamento elettrico: Collegare l'adattatore di alimentazione alla porta DC IN del monitor, quindi collegare l'adattatore a una presa di corrente.
- Connessione video (HDMI): Connect one end of the HDMI cable to the HDMI port on your computer or device, and the other end to the HDMI port on the monitor.
- Connessione video (VGA): Connect one end of the VGA cable to the VGA port on your computer or device, and the other end to the VGA port on the monitor.
- Connessione audio: If using a VGA connection and external speakers, connect an audio cable from your computer's audio output to the monitor's audio input port. The built-in speakers will function automatically with HDMI.

Figure 3: Monitor back panel with input ports and control buttons.

Figure 4: Multiple connection options for the monitor.
5. Istruzioni per l'uso
5.1 Accensione/Spegnimento
Premere il pulsante di accensione situato sul retro del monitor per accenderlo o spegnerlo. La spia di accensione si accende quando il monitor è acceso.
5.2 Utilizzo del menu OSD
The On-Screen Display (OSD) menu allows you to adjust various monitor settings. The control buttons are located on the back of the monitor (refer to Figure 3).
- MENU: Premere per aprire il menu OSD.
- UP/DOWN (Volume Up/Down): Utilizzare per navigare tra le opzioni del menu o per regolare i valori.
- ENTER (Switch): Premere per confermare una selezione o accedere a un sottomenu.
- USCITA (Ritorno): Premere per uscire dal menu corrente o tornare al livello precedente.
5.3 Regolazione delle impostazioni di visualizzazione
Navigare nel menu OSD per regolare impostazioni quali:
- Luminosità/Contrasto: Regola la luminosità e il contrasto complessivi del display.
- Impostazioni colore: Modifica la temperatura del colore, i livelli RGB o seleziona le modalità colore preimpostate.
- Selezione input: Passa manualmente tra le sorgenti di ingresso HDMI e VGA.
- Proporzioni: Choose between 16:9 (widescreen) or 4:3 (standard) display modes.
- Nitidezza: Adjust the clarity of the image.
5.4 Impostazioni audio
The monitor features two built-in speakers. You can adjust the volume using the OSD menu or the dedicated volume buttons on the back of the monitor.
6. Manutenzione e cura
Una cura e una manutenzione adeguate prolungheranno la durata del tuo monitor.
- Pulizia dello schermo: Pulire delicatamente lo schermo con un panno morbido e privo di lanugine. Per macchie ostinate, dampImmergere leggermente il panno in acqua o in un detergente per schermi senza ammoniaca e senza alcol. Non spruzzare mai il detergente direttamente sullo schermo.
- Pulizia del Casing: Utilizzare un panno morbido e asciutto per pulire il monitor casing. Evitare l'uso di detergenti abrasivi o solventi.
- Magazzinaggio: Se si conserva il monitor per un periodo prolungato, scollegarlo dall'alimentazione e conservarlo in un luogo fresco e asciutto, preferibilmente nella confezione originale.
7. Risoluzione Dei Problemi
If you encounter problems with your monitor, please refer to the following table for common issues and solutions.
| Problema | Possibile causa | Soluzione |
|---|---|---|
| Nessun potere | Cavo di alimentazione non collegato; Presa di corrente difettosa; Monitor spento. | Ensure power cable is securely connected. Try a different power outlet. Press the power button on the monitor. |
| Nessun segnale | Cavo video non collegato; Sorgente di ingresso selezionata non corretta; Il computer non emette il segnale. | Check HDMI/VGA cable connection. Select the correct input source via the OSD menu. Ensure your computer is on and outputting video. |
| Nessun suono dagli altoparlanti integrati | Volume too low/muted; Incorrect audio output selected on PC; Audio cable not connected (for VGA). | Increase monitor volume. Check PC audio settings to ensure monitor is selected as output. For VGA, ensure audio cable is connected. |
| L'immagine è sfocata o distorta | Risoluzione errata; problema con il cavo. | Set your computer's display resolution to 1600x900. Try a different video cable. |
8. Specifiche del prodotto
| Caratteristica | Specificazione |
|---|---|
| Marca | Prechen |
| Dimensioni dello schermo | 19.5 pollici |
| Tipo di visualizzazione | GUIDATO |
| Risoluzione massima dello schermo | 1600x900 |
| Frequenza di aggiornamento | Frequenza 60 Hz |
| Tempo di risposta | 5 millisecondi |
| Proporzioni | 16:9 |
| Tecnologia di connettività | HDMI, VGA |
| Caratteristiche speciali | Altoparlanti incorporati |
| Compatibilità montaggio VESA | 100 x 100 millimetri |
9. Montaggio VESA
The Prechen monitor supports VESA standard mounting (100 x 100 mm), allowing you to mount it on a wall or an articulating arm for flexible viewing options. This feature makes the monitor lightweight and easy to install in various setups.
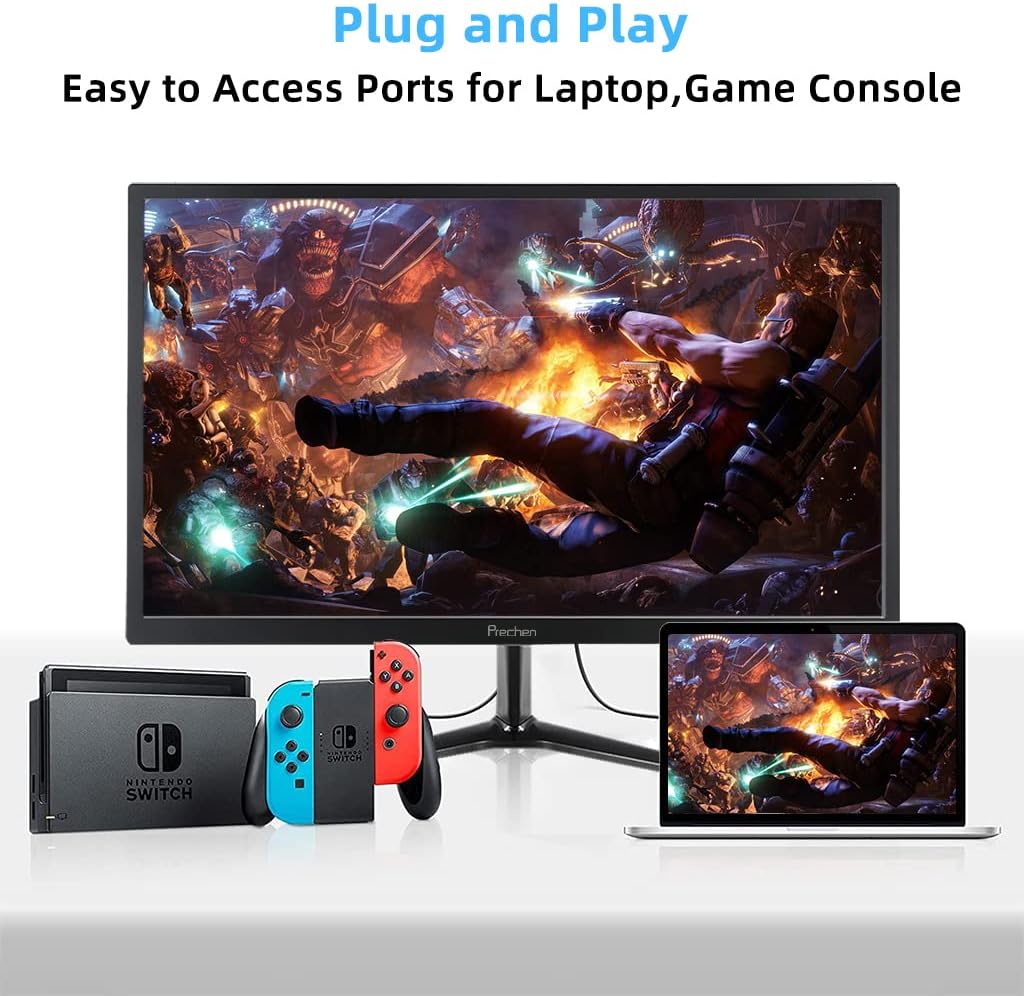
Figure 5: VESA mount dimensions on the monitor back.

Figura 6: Esample of VESA mounting with an articulating arm.
10. Garanzia e supporto
Each Prechen product is covered by a one-year warranty from the date of purchase, which includes a one-month refund and exchange policy. This warranty covers manufacturing defects and issues arising from normal use.
For any questions, technical support, or warranty claims, please contact Prechen customer service. Please have your product model and purchase information ready when contacting support.
Contact information for customer service can typically be found on the product packaging or the official Prechen websito.


