Introduzione
This manual provides detailed instructions for the setup, operation, maintenance, and troubleshooting of your Pokitter Go Pro Mini Portable Projector. Please read this manual thoroughly before using the product to ensure proper functionality and to extend the lifespan of your device.
The Pokitter Go Pro is a compact and powerful portable projector featuring integrated Android TV 10.0, Google Assistant, 200 ANSI lumens brightness, 1080p Full HD resolution with 4K support, dual-band 2.4G/5G WiFi, and a maximum projection size of 120 inches. It is designed for versatile entertainment, offering a cinematic experience on the go.
Contenuto della confezione
Si prega di verificare che tutti gli articoli siano presenti nel pacco:
- Pokitter Go Pro Mini Portable Projector
- Telecomando
- Adattatore di alimentazione
- Manuale dell'utente (questo documento)
- Cinghia per il trasporto

Image: The Pokitter Go Pro Mini Portable Projector, highlighting its compact design and integrated handle for easy portability.
Prodotto finitoview
Davanti View
The front of the projector features the projection lens and ventilation grilles.
Posteriore View
The rear panel typically includes various ports for connectivity.
- Porta HDMI: For connecting external devices like laptops, gaming consoles, or Blu-ray players.
- Porta USB: For connecting USB drives for media playback or external peripherals.
- Uscita audio (jack da 3.5 mm): Per collegare altoparlanti esterni o cuffie.
- Ingresso CC: Porta di ingresso alimentazione.
Superiore View
The top surface may include control buttons or indicators.
Lato View
The sides often feature additional ventilation and a carrying handle.
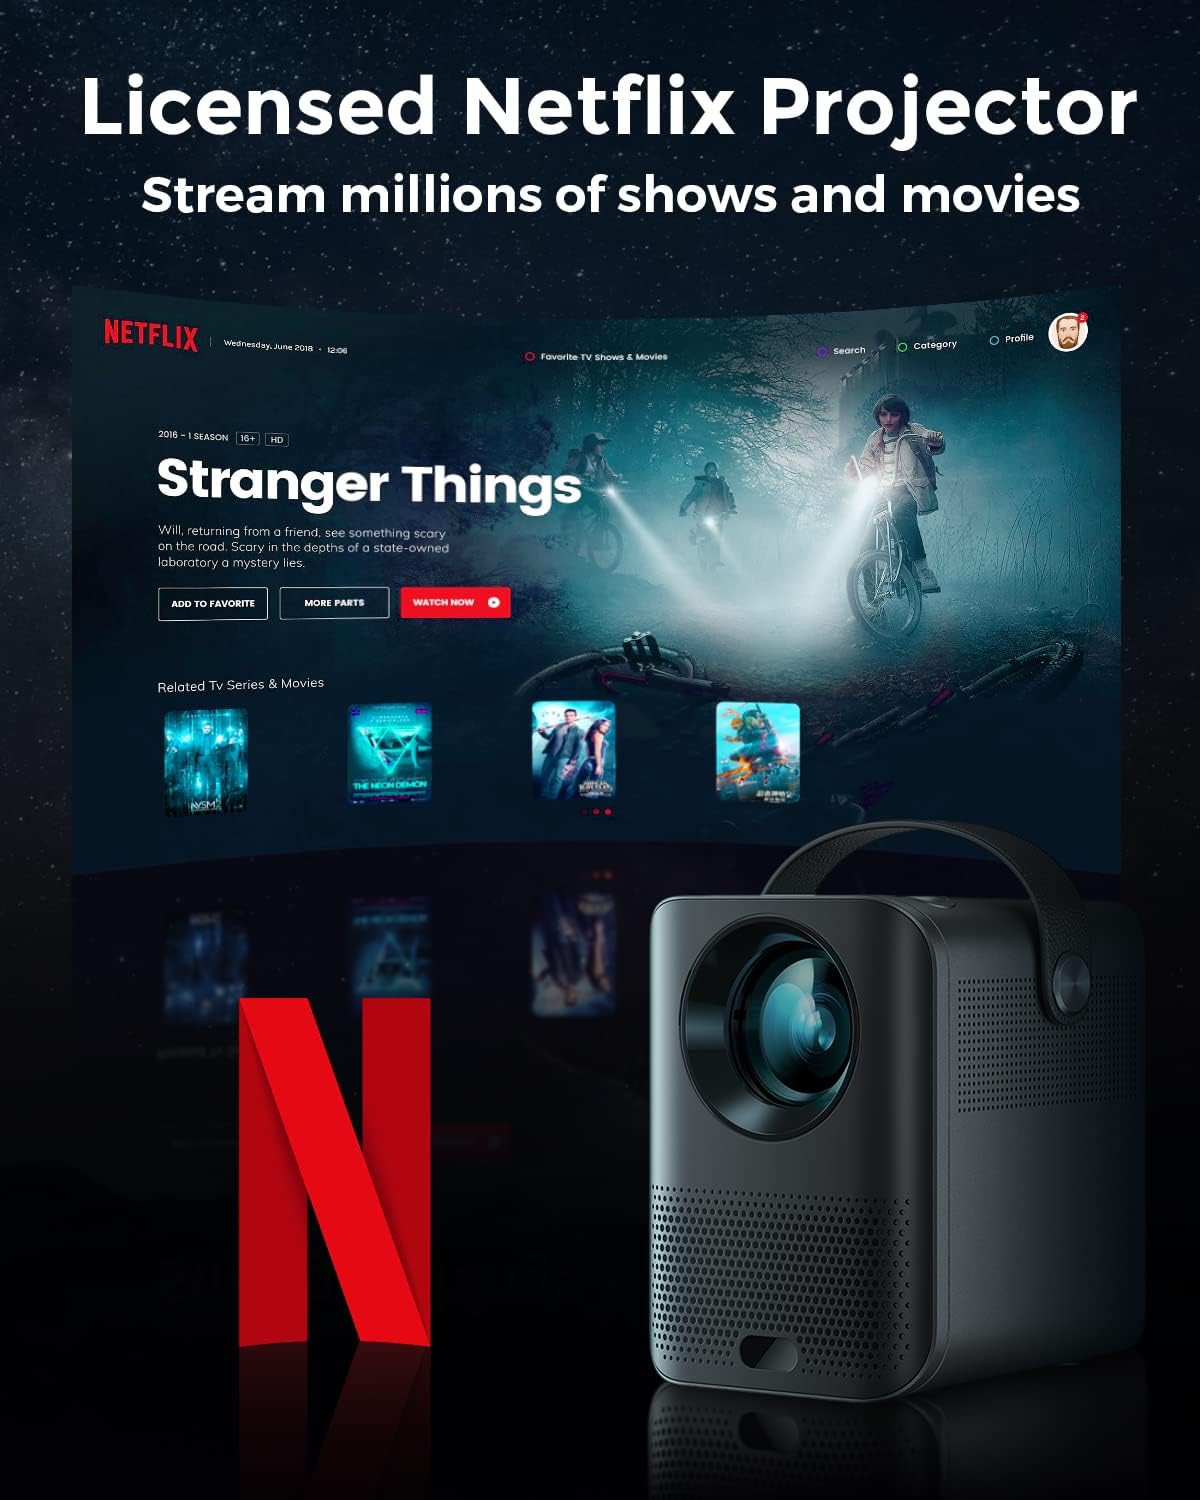
Image: The Pokitter Go Pro projector showcasing its integrated Netflix license and streaming capabilities.

Image: A size comparison of the Pokitter Go Pro projector with a smartphone, illustrating its mini and portable form factor.
Impostare
1. Collegamento elettrico
- Collegare l'adattatore di alimentazione alla porta DC In del proiettore.
- Collegare l'adattatore di corrente a una presa a muro.
- La spia di alimentazione si illuminerà.
2. Accensione iniziale
- Premere il pulsante di accensione sul proiettore o sul telecomando per accendere il dispositivo.
- Allow a few moments for the Android TV system to boot up.
3. Regolazione della messa a fuoco
Use the focus ring (if mechanical) or the remote control's focus buttons to achieve a clear image. The Pokitter Go Pro features automatic vertical keystone correction up to 40 degrees.

Image: Illustration of the automatic keystone correction feature, which adjusts the image for optimal viewing even when the projector is not perfectly aligned.
4. Screen Size Adjustment
Adjust the distance between the projector and the projection surface to achieve the desired screen size. The projector supports a screen size up to 120 inches.

Image: Guide for optimal projection distances to achieve screen sizes of 40, 80, and 120 inches.
5. Connessione di rete (Wi-Fi)
- Navigate to the Wi-Fi settings in the Android TV interface.
- Seleziona la rete Wi-Fi desiderata dall'elenco.
- Se richiesto, immettere la password.
- The projector supports dual-band 2.4G and 5G Wi-Fi for stable and fast transmission.

Image: The Pokitter Go Pro projector demonstrating its 2.4/5GHz WiFi capabilities for seamless wireless screen casting from various devices.
Istruzioni per l'uso
Utilizzo del telecomando
The included remote control allows full navigation and control of the Android TV interface. Key functions include:
- Pulsante di accensione: Accende/spegne il proiettore.
- Pad di navigazione: For moving through menus.
- Pulsante OK: Conferma le selezioni.
- Pulsante Indietro: Ritorna alla schermata precedente.
- Pulsante Home: Ritorna alla schermata iniziale di Android TV.
- Pulsanti del volume: Regola il volume audio.
- Pulsante Assistente Google: Attiva i comandi vocali.
Interfaccia Android TV
The Pokitter Go Pro runs on Android TV 10.0, providing access to a wide range of streaming applications such as Netflix, YouTube, Amazon Prime Video, and Disney+.
- Navigazione dell'app: Use the remote's navigation pad to select and open applications.
- Streaming di contenuti: Log in to your streaming accounts to access content.
- Assistente Google: Press the Google Assistant button on the remote and speak your commands to search for content, control playback, or get information.

Immagine: Un overview of the Pokitter Go Pro's key features, including its Android TV operating system, Google Assistant integration, and display capabilities.
Screen Mirroring (Chromecast Built-in)
The projector features built-in Chromecast for easy screen mirroring from compatible devices (smartphones, tablets, laptops).
- Assicurati che il dispositivo e il proiettore siano connessi alla stessa rete Wi-Fi.
- Open a Chromecast-enabled app on your device (e.g., YouTube, Netflix).
- Tocca l'icona Cast (solitamente un rettangolo con il simbolo Wi-Fi) all'interno dell'app.
- Select your Pokitter Go Pro projector from the list of available devices.
- The content from your device will be mirrored or cast to the projector.

Image: Demonstrating the Chromecast built-in feature, allowing users to stream content from their smartphone to the projector's large display.
Connecting External Devices (HDMI/USB)
- HDMI: Connect an HDMI cable from your external device (e.g., laptop, game console) to the HDMI port on the projector. The projector will automatically switch to the HDMI input or you may need to select it from the input source menu.
- USB: Insert a USB flash drive into the USB port. The Android TV system will typically prompt you to open a file browser to access media files sul disco.
Manutenzione
Pulizia della lente
Utilizzare un panno morbido e privo di lanugine, specificamente progettato per lenti ottiche, per pulire delicatamente la lente del proiettore. Non utilizzare detergenti abrasivi o esercitare una forza eccessiva, poiché potrebbero graffiare la lente.
Cleaning the Projector Body
Pulire l'esterno del proiettore con un panno morbido e asciutto. Per le macchie ostinate, utilizzare un panno leggermenteamp È possibile utilizzare un panno, seguito da un panno asciutto. Evitare che i liquidi penetrino nel proiettore.
Ventilazione
Ensure that the ventilation grilles are not blocked during operation to prevent overheating. The Pokitter Go Pro features a dust-proof design to maintain picture quality.

Image: An internal diagram of the Pokitter Go Pro, illustrating its dust-proof design for long-lasting, flawless picture quality.
Magazzinaggio
When not in use for extended periods, store the projector in a cool, dry place, away from direct sunlight and extreme temperatures. It is recommended to use the original packaging or a protective case.
Risoluzione dei problemi
| Problema | Possibile causa | Soluzione |
|---|---|---|
| Nessun potere | Cavo di alimentazione non collegato; presa di corrente difettosa. | Assicurarsi che il cavo di alimentazione sia collegato saldamente. Provare una presa di corrente diversa. |
| Nessuna immagine / Immagine sfocata | Lens out of focus; Incorrect input source; Obstruction in projection path. | Adjust focus using the remote or focus ring. Select correct input source. Remove any obstructions. |
| Nessun suono | Volume troppo basso; Disattivato; Altoparlanti esterni non collegati correttamente. | Increase volume. Unmute the projector. Check external speaker connections. |
| Problemi di connessione Wi-Fi | Password errata; Router troppo lontano; Interferenza di rete. | Verificare la password Wi-Fi. Avvicinare il proiettore al router. Riavviare il router e il proiettore. |
| Il telecomando non funziona | Batterie scariche; ostruzione tra telecomando e proiettore. | Sostituire le batterie. Assicurarsi che il ricevitore IR del proiettore sia ben visibile. |
Specifiche
- Modello: F1A
- Marca: Pokitter
- Tecnologia di visualizzazione: GUIDATO
- Risoluzione nativa: 1920 x 1080 (Full HD)
- Risoluzione massima supportata: Risoluzione: 3840 x 2160 (4K)
- Luminosità: Fino a 200 ANSI lumen
- Dimensioni della proiezione: Fino a 120 pollici
- Sistema operativo: TV Android 10.0
- Assistente vocale: Assistente Google integrato
- Connettività wireless: 2.4G/5G Dual-band Wi-Fi, Bluetooth 5.1
- Porte di connettività: HDMI, USB, 3.5mm Audio Out, DC In
- Relatori: Integrated (2x5W as per infographic)
- Average Lifespan (Light Source): 50,000 ore
- Fattore di forma: Portatile
- Tipo di montaggio: Montaggio da tavolo

Image: An illustration of the projector's internal speaker system, designed to provide true-to-life sound for a cinematic viewesperienza di acquisizione.
Garanzia e supporto
The Pokitter Go Pro Mini Portable Projector comes with a Garanzia di 2 anno. For any questions or professional assistance regarding this product, please contact Pokitter customer support. We are committed to supporting our customers.
For the latest support information, FAQs, and contact details, please visit the official Pokitter websito o fare riferimento alle informazioni di contatto fornite al momento dell'acquisto.


