Introduzione
This user manual provides detailed instructions for the safe and efficient operation, maintenance, and troubleshooting of your Cecotec Power Matic-ccino 6000 Bianca S super-automatic coffee machine. Please read this manual thoroughly before first use and keep it for future reference.
Importanti istruzioni di sicurezza
- Assicurarsi sempre che la macchina sia collegata a una presa di corrente dotata di messa a terra.
- Non immergere l'apparecchio, il cavo di alimentazione, né collegare l'acqua o altri liquidi.
- Tenere l'apparecchio fuori dalla portata dei bambini.
- Scollegare la macchina prima di pulirla o quando non la si utilizza per lunghi periodi.
- Non utilizzare la macchina se il cavo di alimentazione o la spina sono danneggiati.
- Utilizzare solo acqua fredda e fresca nel serbatoio dell'acqua.
- Never put anything other than coffee beans in the bean hopper.
- Fare attenzione alle superfici calde e al vapore durante il funzionamento.
Prodotto finitoview
The Cecotec Power Matic-ccino 6000 Bianca S is a super-automatic coffee machine designed for preparing espresso and American coffee from freshly ground beans. It features a 19-bar pressure pump, Thermoblock heating system for rapid heating, and an intuitive LCD screen for easy operation.

Figura 1: Fronte view of the Cecotec Power Matic-ccino 6000 Bianca S, showing two espresso shots being dispensed into cups.

Figura 2: dettagliata view of the machine's LCD control panel and function buttons, indicating various coffee options and settings.
Impostare
1. Disimballaggio e posizionamento
- Rimuovere con cautela tutto il materiale di imballaggio.
- Place the machine on a stable, flat, and dry surface, away from heat sources and water splashes.
- Assicurare un'adeguata ventilazione attorno alla macchina.
2. Riempimento del serbatoio dell'acqua
- Rimuovere il serbatoio dell'acqua dal retro della macchina.
- Riempire il serbatoio con acqua fresca e fredda del rubinetto fino all'indicatore di livello MAX.
- Riposizionare saldamente il serbatoio dell'acqua.
3. Filling the Coffee Bean Hopper

Figure 3: Coffee beans being added to the machine's integrated hopper, which feeds the conical grinder.
- Aprire il coperchio del contenitore dei chicchi di caffè situato nella parte superiore della macchina.
- Pour fresh coffee beans into the hopper. The hermetic reservoir has a capacity of 250g.
- Close the lid to maintain the aroma and freshness of the beans.
4. Collegamento elettrico e risciacquo iniziale
- Collegare il cavo di alimentazione a una presa elettrica idonea.
- Accendere la macchina utilizzando il pulsante di accensione.
- The machine will perform an automatic rinse cycle. Place a container under the coffee spout to collect the water.
- Wait for the machine to complete the rinse cycle and indicate it is ready for use.
Istruzioni per l'uso
1. Pannello di controllo finitoview
The intuitive LCD screen and buttons allow for easy selection and customization of your beverages. Refer to Figure 2 for a visual guide to the control panel.
2. Making Espresso and American Coffee

Figure 4: A single espresso shot being dispensed, showcasing the adjustable coffee spout height.
- Place one or two cups under the coffee spout. The spout height is adjustable from 10.5 cm to 15 cm.
- Select your desired coffee type (e.g., Espresso, Americano) from the LCD menu.
- Press the corresponding button to start brewing. The machine will automatically grind the beans and dispense the coffee.
3. Customizing Your Coffee
The machine allows you to customize and memorize the quantity, intensity, and temperature of your coffee.

Figure 5: Visual representation of the machine's customizable settings for coffee preparation.
- Navigate through the menu using the arrow buttons on the control panel.
- Adjust settings such as grind level (using the conical grinder adjustment knob), coffee volume, and temperature according to your preference.
- Salva le tue impostazioni preferite per un uso futuro.
4. Utilizzo del caffè pre-macinato
The machine includes an independent inlet for pre-ground coffee, ideal for decaffeinated options.
- Aprire lo scomparto del caffè pre-macinato.
- Aggiungere un misurino di caffè pre-macinato. Non riempire eccessivamente.
- Select the pre-ground coffee option on the control panel before brewing.
5. Milk Frothing and Hot Water Dispensing

Figure 6: The adjustable steam wand being used to froth milk for lattes and cappuccinos.
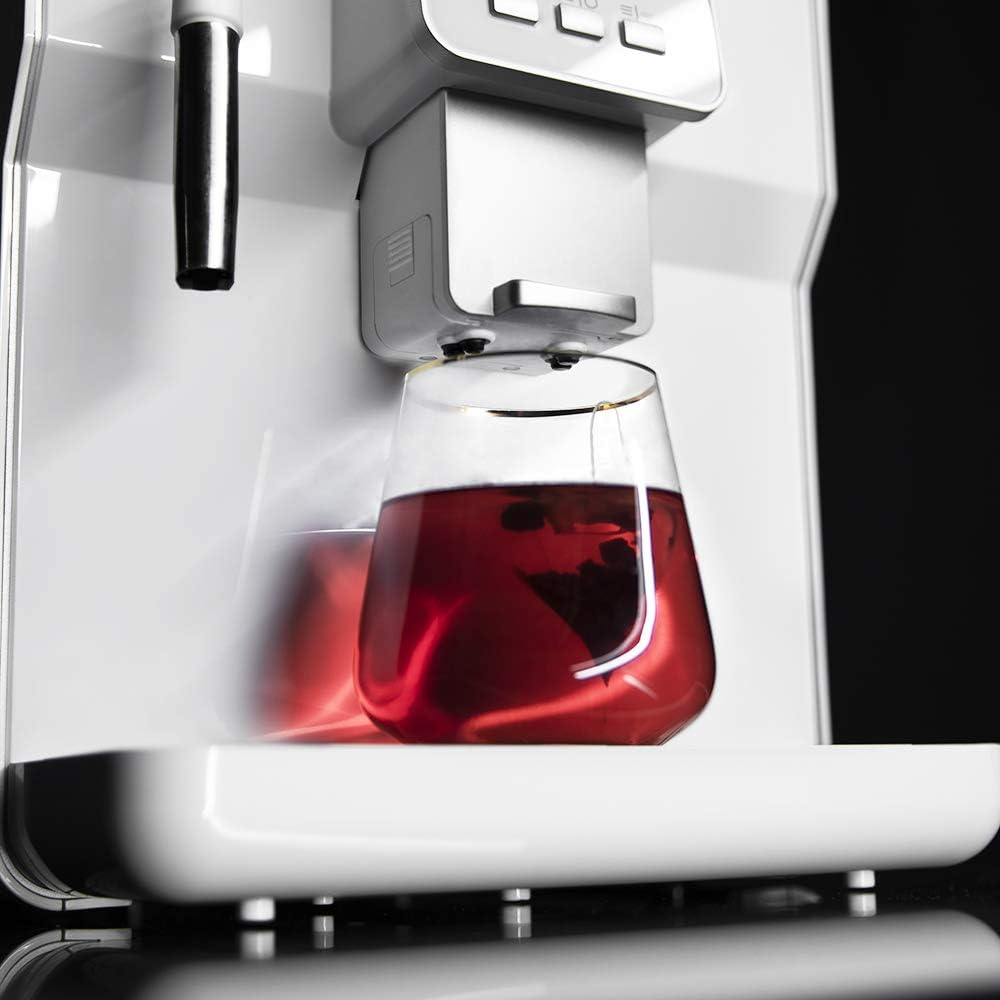
Figure 7: Hot water being dispensed from the machine, suitable for infusions or tea.
- To froth milk, place a pitcher with cold milk under the adjustable steam wand.
- Activate the steam function from the control panel. Move the pitcher to create desired foam.
- To dispense hot water, place a cup under the steam wand and select the hot water function.
- Always clean the steam wand immediately after use to prevent milk residue buildup.
Manutenzione
Regular cleaning and maintenance ensure the longevity and optimal performance of your coffee machine. The machine features an AlwaysClean system for easy maintenance.
1. Pulizia quotidiana
- vassoio antigoccia: Empty and clean the removable drip tray daily. The floating indicator will show when it's full.
- Contenitore per fondi di caffè: Empty and clean the coffee grounds container when prompted by the machine or daily, whichever comes first.
- Serbatoio dell'acqua: Risciacquare regolarmente il serbatoio dell'acqua.
- Beccuccio del caffè: Pulisci il beccuccio del caffè con un pannoamp stoffa.
2. Decalcificazione
Descaling is crucial to remove mineral buildup and maintain machine efficiency. The frequency depends on water hardness and usage.
- Use a descaling solution recommended for coffee machines.
- Follow the instructions provided with the descaling solution and the machine's display prompts for the descaling process.
- Rinse the machine thoroughly after descaling.
3. Pulizia dell'unità di infusione
The brewing unit should be cleaned periodically.
- Spegnere e scollegare la macchina.
- Remove the brewing unit according to the instructions in the full manual (not provided here, but implied by "easily removable").
- Rinse the brewing unit under lukewarm running water. Do not use detergents.
- Lasciarlo asciugare completamente all'aria prima di reinserirlo.
Risoluzione dei problemi
Questa sezione affronta i problemi più comuni che potresti incontrare. Per problemi più complessi, contatta l'assistenza clienti.
| Problema | Possibile causa | Soluzione |
|---|---|---|
| Nessun caffè erogato / La macchina non prepara il caffè | Water tank empty; Coffee beans hopper empty; Brewing unit clogged. | Fill water tank; Fill coffee beans; Clean brewing unit. |
| Il caffè è troppo debole | Grind setting too coarse; Not enough coffee used; Brewing unit dirty. | Adjust grind to finer setting; Increase coffee intensity setting; Clean brewing unit. |
| Il montalatte non produce schiuma | Steam wand clogged; Milk not cold enough; Incorrect milk type. | Clean steam wand thoroughly; Use cold milk (dairy or suitable plant-based); Ensure proper technique. |
| La macchina perde acqua | Water tank not properly seated; Drip tray full; Internal component issue. | Reseat water tank; Empty drip tray; Contact customer support if issue persists. |
| Messaggio di errore sul display LCD | Specific error code indicates problem. | Refer to the machine's display for specific instructions or consult the full manual for error code definitions. |
Specifiche
| Caratteristica | Dettaglio |
|---|---|
| Marca | Cecotec |
| Numero di modello | 01639 |
| Colore | Serie Bianca |
| Dimensioni (L x P x A) | Dimensioni: 47.5 x 33.5 x 42 cm |
| Peso | 10 chilogrammi |
| Capacità del serbatoio dell'acqua | 1.7 litri |
| Energia | 1350 Watt |
| Pompa di pressione | 19 bar (tecnologia ForceAroma) |
| Capacità contenitore caffè in grani | 250g |
| Caratteristiche speciali | Integrated Coffee Grinder, Milk Frother, Automatic Stop Function, Energy Saving System, AlwaysClean System |
| Altezza regolabile del beccuccio del caffè | da 10.5 cm a 15 cm |
| Disponibilità dei pezzi di ricambio | 10 anni |
Garanzia e supporto
Per informazioni sulla garanzia, supporto tecnico o richieste di assistenza, fare riferimento alla scheda di garanzia inclusa con il prodotto o visitare il sito ufficiale Cecotec websito. Conservare la prova d'acquisto per eventuali reclami in garanzia.
Cecotec is committed to providing technology at an honest cost. Spare parts are available for up to 10 years.


