1. Introduzione
Thank you for choosing the DOOMAY Digital Alarm Clock. This compact and modern alarm clock is designed for convenience and reliability, featuring an LCD display, adjustable volume, snooze function, weekend mode, and indoor temperature display. This manual provides detailed instructions to help you set up and operate your new alarm clock effectively.

Figura 1: Fronte view of the DOOMAY Digital Alarm Clock.
2. Contenuto della confezione
- DOOMAY Digital Alarm Clock (1 unit)
- Batterie AAA (2 unità)
- Manuale di istruzioni (questo documento)
3. Impostazione
3.1 Installazione della batteria
The DOOMAY Digital Alarm Clock is powered by two AAA batteries. These batteries are included in the package.
- Individuare il coperchio del vano batterie sul retro della sveglia.
- Per aprire il vano, far scorrere il coperchio verso il basso.
- Inserire due batterie AAA, assicurandosi che la polarità sia corretta (+ e -) come indicato all'interno del vano.
- Richiudere il coperchio del vano batterie facendolo scorrere verso l'alto finché non scatta in posizione.

Figura 2: Indietro view with battery compartment and control buttons.
Nota: When the display flashes '8888' and the clock beeps, it indicates that the batteries are low and need to be replaced.
4. Istruzioni per l'uso
The DOOMAY Digital Alarm Clock offers various functions for timekeeping, alarming, and environmental monitoring. Refer to the buttons on the back of the clock for settings.
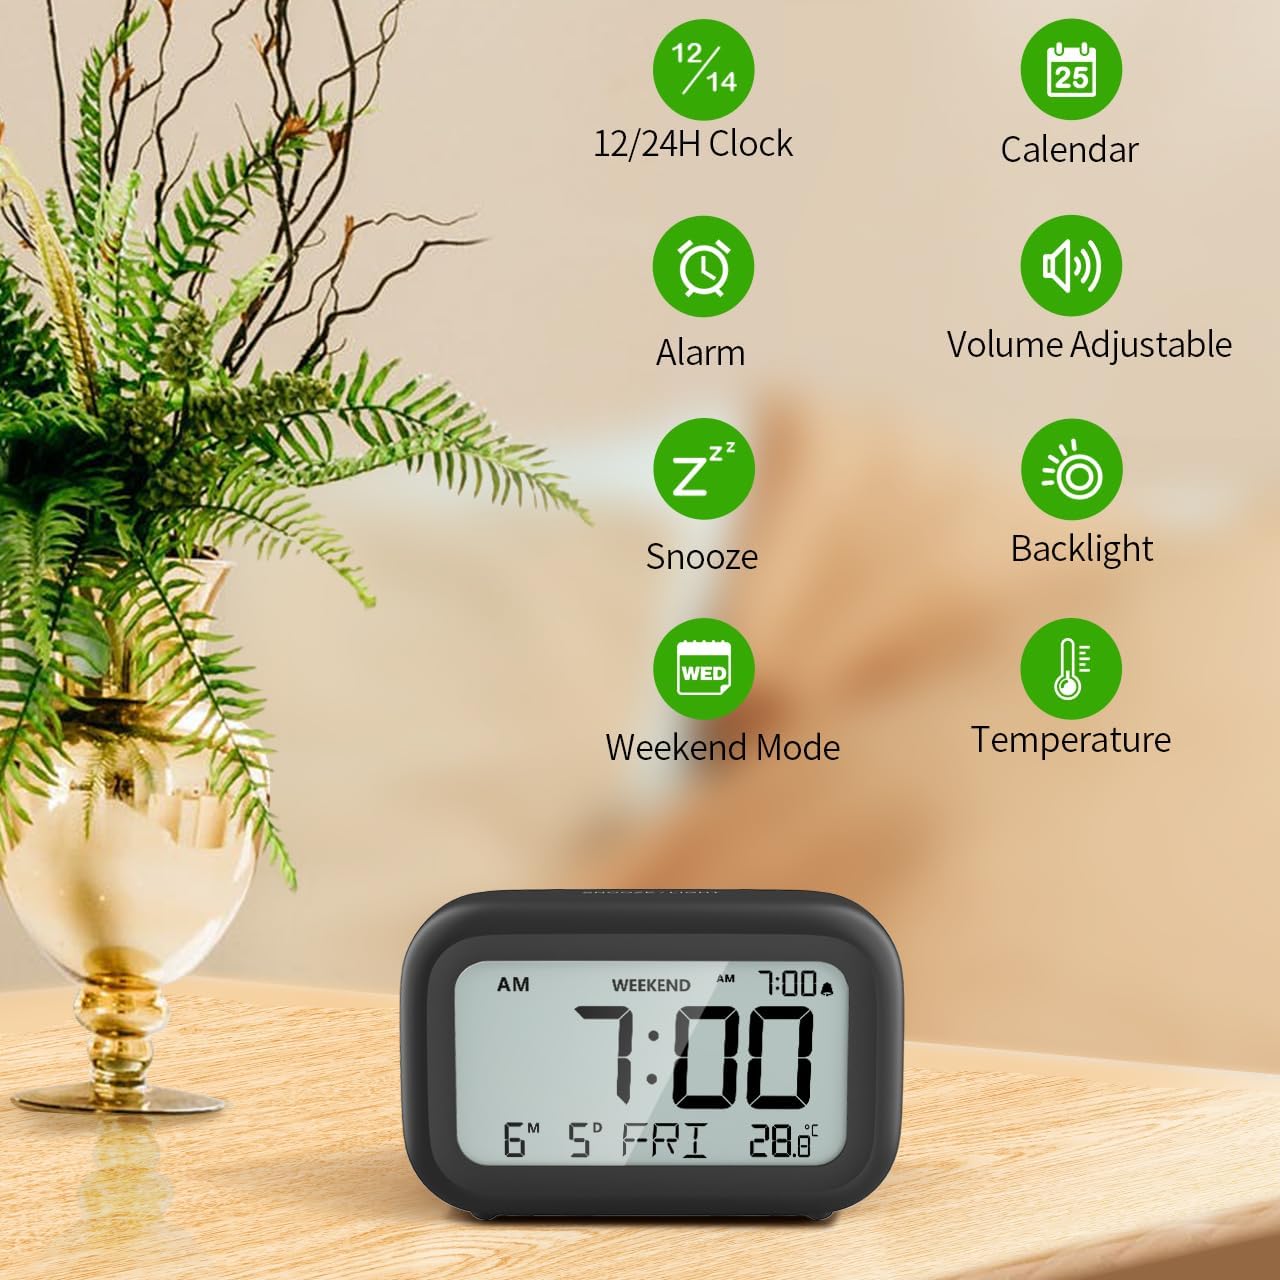
Figura 3: Oltreview of clock features.
4.1 Impostazione dell'ora e della data
Per impostare l'ora e la data correnti:
- Premere e tenere premuto il tasto IMPOSTATO button (usually represented by a clock icon or '12/24H' button) on the back of the clock until the numbers on the display begin to flash.
- Utilizzare il + E - buttons to adjust the flashing value (Year, Month, Day, Hour, Minute).
- Premere il tasto IMPOSTATO button again to confirm the setting and move to the next value.
- Once all values are set, the display will stop flashing. The day of the week will automatically update based on the date.
For a visual guide, refer to the video below, specifically from 0:18 for Date Setting E 0:32 for Time Setting.
4.2 Impostazione dell'allarme
To set your alarm time:
- Premere il tasto ALLARME button (bell icon) on the back of the clock. The alarm time will appear and flash.
- Utilizzare il + E - buttons to adjust the desired alarm hour and minute.
- Premere il tasto ALLARME button again to confirm the alarm setting.
- Per accendere o spegnere la sveglia, premere semplicemente il tasto ALLARME una volta il pulsante. Quando la sveglia è attiva, sul display apparirà l'icona di un allarme.
For a visual guide, refer to the video below, specifically from 0:13 for turning alarm ON/OFF E 0:37 for Alarm Setting.
4.3 Funzione posticipa
When the alarm sounds, gently touch the SNOOZE / LIGHT button located on the top of the clock. This will activate the snooze function, providing an additional 9 minutes of sleep before the alarm sounds again. You can repeat this process multiple times.

Figure 4: Activating the snooze function.
To turn off the alarm completely after it sounds, press any button on the back of the clock.
For a visual guide, refer to the video below, specifically from 0:46 for Snooze function.
4.4 Modalità fine settimana
The Weekend Mode allows you to set the alarm to only sound from Monday to Friday, preventing it from disturbing you on weekends.
- Premere il tasto FINE SETTIMANA button (calendar icon) on the back of the clock to toggle Weekend Mode ON or OFF.
- When Weekend Mode is active, 'WEEKEND' will be displayed on the screen, and the alarm will be automatically disabled on Saturday and Sunday.

Figure 5: Weekend Mode and Alarm Volume Levels.
For a visual guide, refer to the video below, specifically from 0:50 for Weekend Mode ON/OFF.
4.5 Funzione di retroilluminazione
L'orologio è dotato di una comoda retroilluminazione a richiesta di 5 secondi per viewmisurazione dell'ora in condizioni di scarsa illuminazione.
- Simply touch the SNOOZE / LIGHT button on the top of the clock to activate the backlight.
- La retroilluminazione si accenderà per circa 5 secondi e poi si spegnerà automaticamente per preservare la durata della batteria.

Figure 6: Backlight in use.
For a visual guide, refer to the video below, specifically from 0:54 for 5 Seconds Backlight.
4.6 Visualizzazione della temperatura
The clock displays the indoor temperature. You can switch between Celsius (°C) and Fahrenheit (°F) units.
- Premere il tasto ° C / ° F button on the back of the clock to toggle between Celsius and Fahrenheit.

Figura 7: Visualizzazione della temperatura interna.
4.7 Formato orario 12/24 ore
You can switch the time display between 12-hour (with AM/PM indicator) and 24-hour formats.
- Premere il tasto 12/24H button on the back of the clock to switch between the two formats.
For a visual guide, refer to the video below, specifically from 0:58 for 12/24Hr Time Format Switchable.
4.8 Regolazione del volume dell'allarme
The alarm clock offers two volume levels for the alarm sound: LOW (70dB) and HIGH (85dB).
- While setting the alarm, or when the alarm is sounding, you can cycle through the volume levels by pressing the appropriate button (often the + or - button, or a dedicated volume button if available). Refer to the icons on the back of your clock.
For a visual guide, refer to the video below, specifically from 0:42 for 2 Levels of Volume Adjustable.
Operating Instructions Video Guide
Video 1: Comprehensive guide on setting up and operating the DOOMAY Digital Alarm Clock. This video demonstrates battery installation, setting time and date, alarm functions, snooze, weekend mode, backlight, and volume adjustment.
5. Manutenzione
- Pulizia: Pulire l'orologio con un panno morbido e asciutto. Non utilizzare detergenti abrasivi o solventi.
- Sostituzione della batteria: Replace batteries when the low battery indicator appears (flashing '8888' and beeping). Always use new AAA batteries.
- Magazzinaggio: Se si conserva l'orologio per un periodo prolungato, rimuovere le batterie per evitare perdite.
6. Risoluzione Dei Problemi
| Problema | Possibile causa | Soluzione |
|---|---|---|
| Il display dell'orologio è vuoto o poco luminoso. | Le batterie sono scariche o installate in modo errato. | Sostituire le batterie con nuove batterie AAA, assicurandosi della corretta polarità. |
| L'allarme non suona. | Alarm is not activated or Weekend Mode is ON. | Press the ALARM button to activate. Check if Weekend Mode is active and disable if necessary. |
| L'ora/data non è corretta. | Non impostato correttamente o le batterie sono state rimosse. | Per reimpostare l'ora e la data, seguire le istruzioni nella Sezione 4.1. |
| La retroilluminazione non rimane accesa. | Questo è il normale funzionamento. | The backlight is designed to illuminate for 5 seconds to conserve battery life. It is not a continuous backlight. |
7. Specifiche
- Modello: 5293B
- Tipo di visualizzazione: LCD digitale
- Fonte di energia: 2 batterie AAA (incluse)
- Dimensioni del prodotto: 4.29"L x 2.72"A (circa 10.9 cm x 6.9 cm)
- Materiale: Acrilonitrile Butadiene Stirene (ABS)
- Caratteristiche: Alarm, Snooze, Weekend Mode, Indoor Temperature (°C/°F), 12/24H Time Format, 5-second Backlight
- Volume allarme: 2 livelli (70dB, 85dB)
- Peso dell'articolo: 4.48 once (circa 127 g)
8. Garanzia e supporto
DOOMAY products are manufactured with high-quality materials and craftsmanship. For any questions, concerns, or technical support regarding your DOOMAY Digital Alarm Clock, please contact the seller or refer to the product listing on the platform where it was purchased. Please retain your proof of purchase for warranty claims.


