Introduzione
This manual provides essential instructions for the safe operation, setup, maintenance, and troubleshooting of your BLACK+DECKER BCD003C1 18V Cordless Variable Speed Hammer Drill Machine. Please read this manual thoroughly before using the tool to ensure proper and safe usage. Keep this manual for future reference.
Informazioni generali sulla sicurezza
AVVERTIMENTO: Leggere tutte le avvertenze di sicurezza, le istruzioni, le illustrazioni e le specifiche fornite con questo elettroutensile. La mancata osservanza di tutte le istruzioni elencate di seguito può causare scosse elettriche, incendi e/o lesioni gravi.
- Indossare sempre protezioni per gli occhi e per l'udito quando si utilizzano utensili elettrici.
- Mantieni la tua area di lavoro pulita e ben illuminata. Le aree disordinate o scure provocano incidenti.
- Non utilizzare utensili elettrici in atmosfere esplosive, ad esempio in presenza di liquidi, gas o polveri infiammabili.
- Tenere lontani i bambini e gli astanti durante l'utilizzo di un elettroutensile.
- Vestiti in modo appropriato. Non indossare abiti larghi o gioielli. Tieni i capelli e gli abiti lontani dalle parti in movimento.
- Evitare l'avvio accidentale. Assicurarsi che l'interruttore sia in posizione di spegnimento prima di collegare la batteria, sollevare o trasportare l'utensile.
- Usa l'utensile elettrico corretto per la tua applicazione.
- Scollegare il pacco batteria dall'utensile elettrico prima di effettuare qualsiasi regolazione, sostituire gli accessori o riporre gli utensili elettrici.
- Mantieni gli utensili elettrici e gli accessori. Controlla eventuali disallineamenti o inceppamenti delle parti mobili, rotture di parti e qualsiasi altra condizione che possa influire sul funzionamento dell'utensile elettrico.
- Utilizzare l'utensile elettrico, gli accessori e le punte dell'utensile in conformità con queste istruzioni, tenendo conto delle condizioni di lavoro e del lavoro da eseguire.
Prodotto finitoview
Familiarize yourself with the components of your BLACK+DECKER BCD003C1 Cordless Hammer Drill.

Figura 1: Fronte view of the BLACK+DECKER BCD003C1 Cordless Hammer Drill, showing the chuck, clutch, and battery attached.
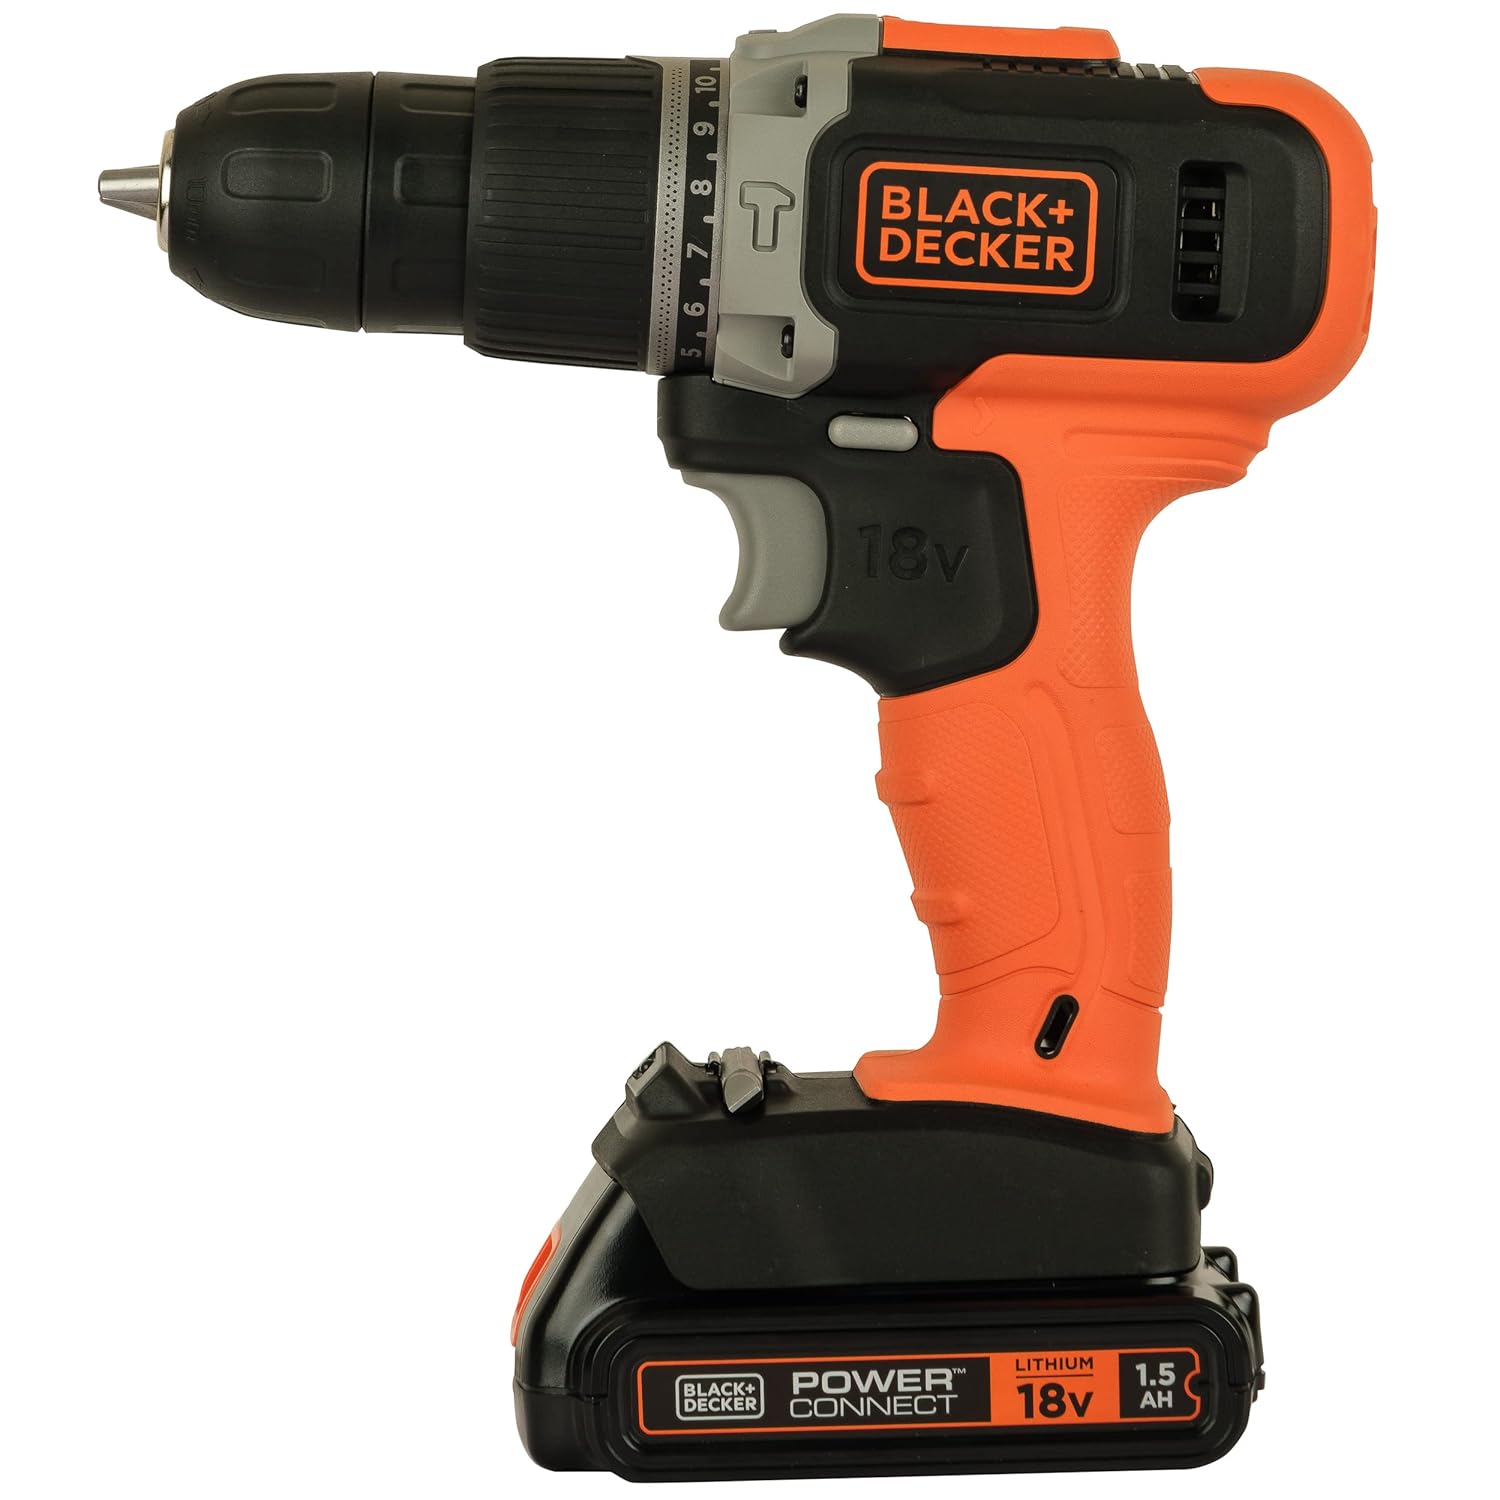
Figura 2: lato view of the BLACK+DECKER BCD003C1 Cordless Hammer Drill, highlighting the variable speed trigger and forward/reverse switch.

Figure 3: A user demonstrating the ergonomic grip of the BLACK+DECKER BCD003C1 Cordless Hammer Drill.
Componenti chiave:
- Mandrino: Contiene punte da trapano e punte da cacciavite.
- Clutch Collar: Adjusts torque settings for screwdriving and selects drill/hammer drill mode.
- Trigger a velocità variabile: Controls the rotational speed of the chuck.
- Interruttore avanti/indietro: Cambia il senso di rotazione.
- Batteria: Fornisce energia al trapano.
- Anti-slip Soft Grip: Migliora il comfort e il controllo dell'utente.
Impostare
1. Carica della batteria
Before first use, fully charge the 18V Li-Ion battery pack. Refer to the separate battery charger manual for detailed charging instructions. Ensure the charger is compatible with the 1.5Ah Li-Ion battery.
2. Installazione e rimozione della batteria
- Per installare: Align the battery pack with the receptacle on the bottom of the drill handle. Slide the battery pack into the handle until it clicks securely into place.
- Per rimuovere: Premere il pulsante di rilascio della batteria (solitamente situato sulla parte anteriore o sui lati del pacco batteria) ed estrarre il pacco batteria dall'impugnatura.
3. Installazione e rimozione di punte/accessori per trapano
- Per installare: Rotate the chuck collar counter-clockwise until the chuck jaws are open wide enough to insert the bit. Insert the bit fully into the chuck. Rotate the chuck collar clockwise to tighten the jaws firmly around the bit. For best results, hand-tighten the chuck, then use the drill's power to give it a final tighten by briefly pressing the trigger.
- Per rimuovere: Ruotare il collare del mandrino in senso antiorario per allentare le ganasce e rimuovere la punta.
Istruzioni per l'uso
1. Accensione/spegnimento e controllo della velocità variabile
The drill is equipped with a variable speed trigger. To start the drill, press the trigger. To stop, release the trigger. The speed of rotation is controlled by the amount of pressure applied to the trigger; pressing harder increases the speed (0-650 RPM).
2. Interruttore avanti/indietro
The forward/reverse switch is located above the trigger. Push the switch to the left for forward rotation (drilling/screwing in) and to the right for reverse rotation (removing screws). Ensure the switch is in the center position to lock the trigger and prevent accidental starting when not in use.
3. Clutch Settings and Modes
The clutch collar allows you to select the appropriate torque setting for screwdriving or switch to drilling/hammer drilling modes. The 10-position clutch provides precise control.
- Avvitatura: Rotate the clutch collar to one of the numbered settings (1-10). Lower numbers are for smaller screws and softer materials, higher numbers for larger screws and harder materials. This prevents over-driving screws and stripping screw heads.
- Perforazione: Rotate the clutch collar to the drill symbol. This bypasses the clutch for continuous power, ideal for drilling into wood or metal.
- Perforazione a martello: Rotate the clutch collar to the hammer drill symbol. This mode combines rotary action with a hammering action, suitable for drilling into masonry or concrete.
Massima capacità di perforazione:
- Legno: 25mm
- Acciaio: 10 mm
Coppia massima: 30 Nm.
Manutenzione
Una manutenzione regolare garantisce la longevità e le prestazioni ottimali del trapano.
1. Pulizia
- Mantenere pulite le fessure di ventilazione dell'utensile per evitare il surriscaldamento.
- Use a soft brush or dry cloth to remove dust and debris from the tool. Do not use water or chemical cleaners.
- Pulire regolarmente le ganasce del mandrino per garantire una presa corretta sulle punte.
2. Cura della batteria
- Conservare le batterie in un luogo fresco e asciutto, lontano dalla luce solare diretta e da temperature estreme.
- Non conservare le batterie scariche per periodi prolungati. Caricarle periodicamente.
- Non tentare di aprire o modificare il pacco batteria.
3. Conservazione
When not in use, store the drill and its accessories in a secure, dry place, out of reach of children. Ensure the forward/reverse switch is in the center (locked) position.
Risoluzione dei problemi
Se riscontri problemi con il trapano, fai riferimento ai seguenti problemi comuni e alle relative soluzioni:
| Problema | Possibile causa | Soluzione |
|---|---|---|
| Il trapano non si avvia. | La batteria non è carica o non è installata correttamente. L'interruttore avanti/indietro è in posizione centrale (bloccato). | Ensure battery is fully charged and securely installed. Move the forward/reverse switch to the left or right. |
| Potenza o prestazioni ridotte. | Battery charge is low. Bit is dull or incorrect for the material. | Recharge the battery. Replace or sharpen the bit. Ensure the correct clutch setting or mode is selected. |
| Il mandrino non tiene saldamente la punta. | Le ganasce del mandrino sono sporche o usurate. Il gambo della punta è danneggiato. | Clean chuck jaws. Replace damaged bits. Ensure chuck is tightened properly. |
| Surriscaldamento durante l'uso. | Ventilation slots are blocked. Excessive load on the motor. | Clear ventilation slots. Reduce pressure on the drill. Allow the tool to cool down. |
If you experience issues that cannot be resolved with the above steps, or if you require replacement parts, please contact BLACK+DECKER customer service. Note that availability of spare parts, such as chargers, may vary by region and product model. It is advisable to check with authorized service centers for specific part availability.
Specifiche
| Caratteristica | Dettaglio |
|---|---|
| Marca | NERO+DECKER |
| Modello | BCD003C1 |
| Fonte di alimentazione | Alimentato a batteria |
| Voltage | 18 Volt |
| Amprabbia | 1.5 Amps |
| Massima velocità di rotazione | 650 giri al minuto |
| Dimensione massima del mandrino | 10 millimetri |
| Caratteristica speciale | Velocità variabile |
| Materiale (impugnatura) | Plastica |
| Coppia massima | 30 Newton Metri |
| Numero di velocità | 1 |
| Tipo di trapano | Trapano a percussione |
| Capacità di perforazione (legno) | 25 millimetri |
| Capacità di perforazione (metallo) | 10 millimetri |
Garanzia e supporto
Informazioni sulla garanzia
BLACK+DECKER products are manufactured to high-quality standards and are guaranteed against manufacturing defects. For specific warranty terms and conditions applicable to your region and product, please refer to the warranty card included with your purchase or visit the official BLACK+DECKER websito. Conservare la prova d'acquisto per eventuali reclami in garanzia.
Assistenza clienti
For technical assistance, service, or to locate an authorized service center, please visit the official BLACK+DECKER websito o contattare il servizio clienti. I dettagli di contatto sono in genere reperibili sulla confezione del prodotto o sul sito ufficiale websito.
Official BLACK+DECKER Websito: www.blackanddecker.com


