1. Introduzione
Thank you for choosing the Commax CMV-70S 7-inch LED Intercom System. This manual provides essential information for the safe and efficient installation, operation, and maintenance of your new intercom system. Please read this manual thoroughly before use and keep it for future reference.
2. Informazioni sulla sicurezza
- Ensure all electrical connections are made by a qualified professional to prevent electric shock or fire.
- Non esporre l'unità ad acqua, umidità o temperature estreme.
- Do not attempt to open or repair the unit yourself. Refer all servicing to authorized personnel.
- Use only the specified power supply (AC 100V - 240V).
- Tenere l'unità lontana dalla luce solare diretta e da fonti di calore.
3. Contenuto della confezione
Verifica che tutti gli articoli elencati di seguito siano inclusi nella confezione. Se alcuni articoli risultano mancanti o danneggiati, contatta il rivenditore.
- Commax CMV-70S Monitor Unit
- Staffa di fissaggio
- Manuale d'uso
- Screws (T)4 x 18mm (4 pcs)
- Screw (M)3 x 6mm (1 pc)
- Connection Cables (2P(1EA), 4P(3EA))
- Door Camera (if included in your specific kit)

Figura 3.1: Contenuto della confezione
4. Prodotto finitoview
The Commax CMV-70S features a 7-inch LED screen and intuitive touch controls for visitor communication and door access. Familiarize yourself with the components of the monitor unit:
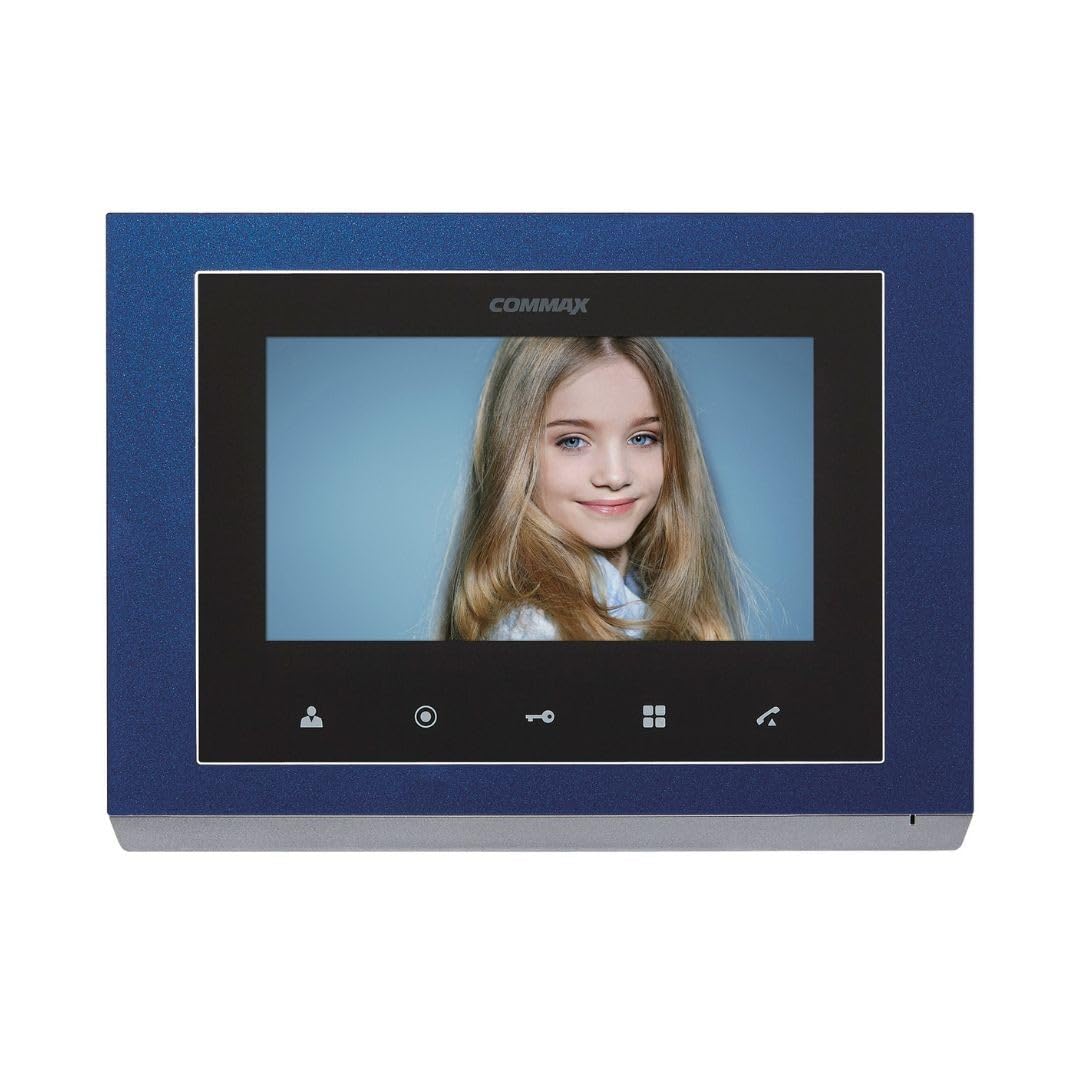
Figura 4.1: Componenti del pannello frontale
Componenti del pannello frontale
| NO. | Nome della parte | NO. | Nome della parte | NO. | Nome della parte |
|---|---|---|---|---|---|
| 1 | 7" TFTLCD | 2 | Oratore | 3 | Pulsante di monitoraggio |
| 4 | Guard and interphone button | 5 | Pulsante apriporta | 6 | Menu button (touch) |
| 7 | Pulsante Parla | 8 | C-MIC | 9 | Menu button (side) |
| 10 | Pulsante Invio | 11 | pulsante △ | 12 | ▽ button |
| 13 | Accensione/spegnimento | 14 | Terminali di collegamento |
5. Impostazione
5.1 Montaggio del monitor
- Choose a suitable location for the monitor, typically near the main entrance or a central area.
- Fissare la staffa di montaggio alla parete utilizzando le viti in dotazione. Assicurarsi che sia in piano e saldamente fissata.
- Connect all necessary wiring to the monitor's connecting terminals (refer to Section 5.2).
- Carefully attach the monitor unit to the mounting bracket.
5.2 Collegamenti di cablaggio
The CMV-70S system requires professional hardwire installation. Refer to the diagram below for terminal connections. Ensure power is disconnected before making any wiring connections.

Figure 5.1: Connecting Terminals (Rear View)
- Collegamento elettrico: Connect the AC 100V - 240V power supply to the designated power terminals.
- Collegamento della telecamera della porta: Connect the door camera to the 'CAM' terminals. The system supports up to two door cameras.
- Intercom Connection: For multi-unit setups or additional indoor phones, connect them to the 'INTER' terminals.
- Apertura serratura porta: Connect the electronic door lock to the appropriate terminals for remote release functionality.
This system is expandable up to two screens, two door cameras, and two indoor phones, especially when utilizing Fine View technology for single-house applications.
6. Istruzioni per l'uso
The Commax CMV-70S is designed for ease of use with its touch-sensitive buttons.
6.1 Funzioni di base
- Risposta a una chiamata: When a visitor presses the call button on the door camera, the monitor will ring and display the visitor's image. Press the Talk button (7) to communicate.
- Monitoraggio: Premere il tasto Monitoring button (3) A view the outside area through the door camera at any time.
- Apertura porta: Durante una chiamata o durante il monitoraggio, premere il tasto Door release button (5) per sbloccare la porta.
- Intercom/Guard Call: Premere il tasto Guard and interphone button (4) to initiate a call to another indoor unit or the guard station (if configured).
6.2 Navigazione nel menu
The CMV-70S features both touch and side menu buttons for system settings.
- Premere il tasto Menu button (touch) (6) or Menu button (side) (9) per accedere alle impostazioni di sistema.
- Utilizzare il △ button (11) E ▽ button (12) per navigare tra le opzioni del menu.
- Premere il tasto Enter button (10) per selezionare un'opzione o confermare un'impostazione.
- IL Power ON/OFF button (13) controls the unit's power.
7. Manutenzione
- Pulizia: Wipe the monitor screen and body with a soft, dry cloth. Do not use abrasive cleaners or solvents.
- Ciclo di alimentazione: If the unit is unresponsive, try turning it off using the Power ON/OFF button (13), waiting a few seconds, and then turning it back on.
- Controlli regolari: Controllare periodicamente tutti i collegamenti elettrici per accertarsi che siano sicuri.
8. Risoluzione Dei Problemi
If you encounter issues with your Commax CMV-70S, refer to the following common problems and solutions:
| Problema | Possibile causa | Soluzione |
|---|---|---|
| Nessuna immagine sullo schermo | Power off; Loose connection; Faulty camera | Check power (13); Verify wiring (14); Test camera connection. |
| Nessun suono durante la chiamata | Volume too low; Faulty speaker/microphone; Loose connection | Adjust volume in menu; Check wiring; Contact support. |
| La serratura della porta non si sbloccaasing | Incorrect wiring; Faulty lock; Insufficient power | Verify lock wiring; Test lock independently; Ensure adequate power supply. |
| Monitor unresponsive | Software glitch; Power issue | Perform a power cycle (13); Check power connection. |
If the problem persists after trying these solutions, please contact Commax customer support or a qualified technician.
9. Specifiche
| Caratteristica | Specificazione |
|---|---|
| Produttore | Commax |
| Numero di modello | CMV-70S |
| Dimensioni dello schermo | LED da 7 pollici |
| Fonte di alimentazione | Corded Electric (AC 100V - 240V) |
| Consumo energetico | 6 Watt |
| Tecnologia di connettività | Cablato |
| Metodo di installazione | Professional Hardwire |
| Dispositivi compatibili | Apartment complex, single house |
| Espandibilità | Up to 2 screens, 2 door cameras, 2 indoor phones (Fine View technology for single house) |
| Componenti inclusi | Security screen, door camera |
| Peso dell'articolo | 1.2 chilogrammi |
| Dimensioni del pacco | Dimensioni: 30.4 x 24.8 x 6.9 cm |
| Materiale | Plastica |
| Colore | Blu |
| Tipo di avviso | Solo movimento |
| Batterie richieste | NO |
10. Garanzia e supporto
Commax products are designed for reliability and performance. For warranty information, technical support, or service inquiries, please refer to the warranty card included with your product or visit the official Commax websito. Conservare la ricevuta d'acquisto come prova d'acquisto per eventuali reclami in garanzia.


