Introduzione
This manual provides detailed instructions for the safe and proper installation, operation, and maintenance of your SANUS Preferred SLF428-B1 Full-Motion TV Mount. Please read all instructions carefully before beginning installation. If you have any questions, contact SANUS customer support.
This mount is designed to fit most 37-inch to 90-inch flat-panel TVs weighing up to 135 lbs (61.2 kg).
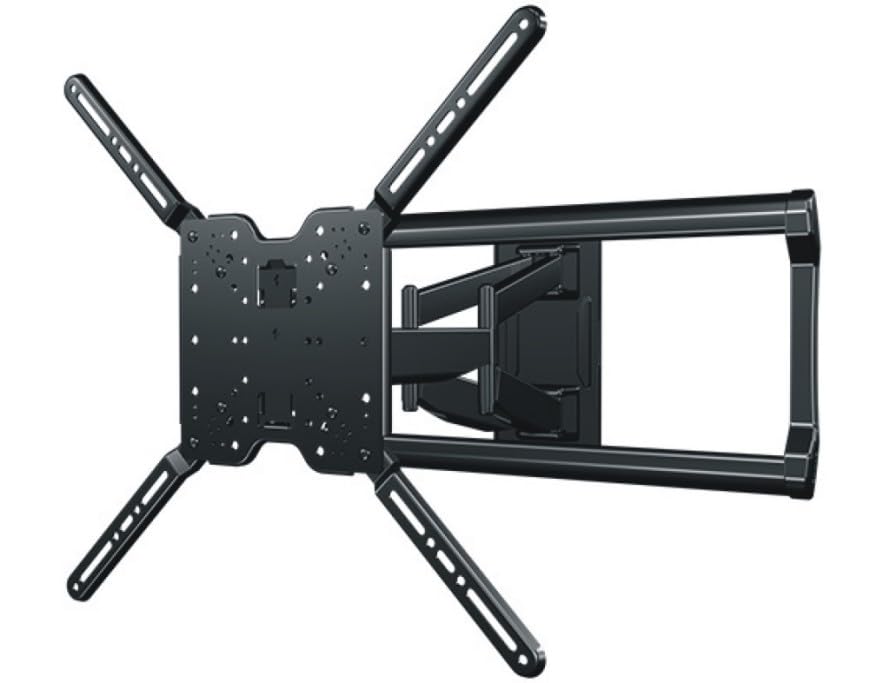
Image: The SANUS Preferred SLF428-B1 Full-Motion TV Mount, showing its articulating arm and wall plate components.
Importanti istruzioni di sicurezza
AVVERTIMENTO: Failure to read and follow these instructions can result in serious personal injury, property damage, or voiding of your warranty. If you do not understand these instructions or have doubts about the safety of the installation, contact SANUS customer support or a qualified installer.
- Do not install this product on walls that are not structurally sound. Ensure the mounting surface can safely support the combined weight of the mount and the TV.
- Questo supporto è progettato per l'uso con TV fino a 61.2 kg di peso. Il superamento di questo limite di peso può causare instabilità e potenziali lesioni.
- Always use an assistant for lifting and positioning the TV.
- Tighten all screws firmly, but do not overtighten. Overtightening can damage screws and components.
- Assicurarsi che tutti i cavi siano instradati in modo sicuro e non interferiscano con il movimento del supporto.
Contenuto della confezione
Verify that all components are present and undamaged before installation. If any parts are missing or damaged, contact SANUS customer support.
- Montaggio piastra a parete
- TV Bracket Set (Left and Right)
- Hardware Kit (various screws, washers, spacers for TV and wall mounting)
- Clip di gestione dei cavi
- Manuale di istruzioni (questo documento)
Strumenti necessari (non inclusi)
- Trova stud
- Matita
- Drill with appropriate drill bits (e.g., 7/32" for wood studs, 1/2" for concrete)
- Livello
- Nastro di misurazione
- Cacciavite con testa Phillips
- Socket Wrench (typically 1/2" or 13mm)
Configurazione e installazione
Follow these steps carefully to ensure a secure and correct installation.
Passaggio 1: controllo pre-installazione
- Determine Wall Type: Use a stud finder to locate the center of wood studs. For concrete or brick walls, ensure you have appropriate anchors (sold separately if not included).
- Verifica la compatibilità TV: Check your TV's VESA mounting pattern and weight against the mount's specifications.
- Scegli la posizione di montaggio: Considerare viewing height, glare, and proximity to power outlets and cable access.
Passaggio 2: installare la piastra a muro
This step involves securing the main wall plate to your chosen wall location.

Image: Illustrative image showing the wall plate being mounted to a wall, with drill holes marked and screws being tightened. (Placeholder image)
- Position the wall plate at the desired height and use a pencil to mark the pilot hole locations. Use a level to ensure it is straight.
- Drill pilot holes at the marked locations. For wood studs, use a 7/32" (5.5 mm) drill bit. For concrete/brick, use a 1/2" (13 mm) drill bit and insert concrete anchors (if applicable).
- Attach the wall plate to the wall using the provided lag bolts and washers. Tighten securely with a socket wrench. Do not overtighten.
Passaggio 3: collegare le staffe TV alla TV
Prepare your TV by attaching the vertical mounting brackets.

Image: Illustrative image showing the TV brackets being attached to the VESA mounting holes on the back of a television. (Placeholder image)
- Posizionare con cautela il televisore a faccia in giù su una superficie morbida e pulita per evitare di danneggiare lo schermo.
- Select the correct diameter and length screws from the hardware kit that fit your TV's VESA mounting holes. Use spacers if the TV back is uneven or if cables need clearance.
- Attach the left and right TV brackets to the back of your TV using the selected screws and washers. Ensure the brackets are centered and level. Tighten firmly with a Phillips head screwdriver.
Fase 4: montare la TV sulla piastra a muro
With assistance, lift and secure the TV onto the wall plate.

Image: Illustrative image showing two people carefully lifting a television and hooking its attached brackets onto the wall plate. (Placeholder image)
- With an assistant, carefully lift the TV and hook the TV brackets onto the wall plate. Ensure the brackets are fully seated on the wall plate's arms.
- Locate the safety screws or locking mechanisms on the bottom of the TV brackets. Tighten these to secure the TV to the mount and prevent accidental dislodging.
Fase 5: Gestione dei cavi
Organize and conceal cables for a clean appearance and safe operation.

Image: Illustrative image showing cables being routed through the integrated cable channels or secured with clips along the mount's articulating arm. (Placeholder image)
- Route all necessary cables (power, HDMI, etc.) through the integrated cable channels on the mount's arm or use the provided cable management clips.
- Ensure cables have enough slack to allow for full range of motion of the TV without being stretched or pinched.
Funzionamento del supporto
The SANUS Preferred SLF428-B1 mount offers various adjustments for optimal viewing.
- Estendi/Ritrai: Gently pull or push the TV to extend or retract the articulating arm. The mount extends up to 28 inches (71.1 cm) from the wall.
- Girevole: Ruota la TV a sinistra o a destra per ottenere l'orientamento desiderato viewangolo di ing.
- Inclinazione: Loosen the tilt adjustment knobs (if present, refer to specific mount design) on the TV brackets, adjust the TV to the desired vertical angle, and then retighten the knobs to secure. The mount allows for tilting to reduce glare.
- Regolazione del livello: Some mounts allow for post-installation leveling. If your TV appears slightly unlevel, consult the specific instructions for minor rotational adjustments.
Manutenzione
Una manutenzione regolare garantisce la longevità e il funzionamento sicuro del supporto TV.
- Controlli periodici: Every few months, check all mounting screws and bolts to ensure they remain tight. Retighten if necessary, but do not overtighten.
- Pulizia: Dust the mount with a soft, dry cloth. Avoid using abrasive cleaners or solvents that could damage the finish.
- Lubrificazione: The mount's moving parts are designed for smooth operation and typically do not require lubrication. If movement becomes stiff, contact SANUS customer support.
Risoluzione dei problemi
- La TV non è in piano:
- Ensure the wall plate was installed level. If not, minor adjustments may be possible with the TV brackets (refer to specific bracket design).
- Check if the TV brackets are securely tightened to the TV and the mount. - Il supporto sembra allentato o instabile:
- Immediately remove the TV from the mount.
- Recheck all wall mounting bolts and TV bracket screws for tightness. Ensure they are properly seated in the wall studs or anchors.
- Verify that the wall structure is sound and can support the weight. - Difficulty adjusting the TV (tilt, swivel, extension):
- Ensure no cables are snagged or preventing movement.
- Check for any overtightened bolts that might restrict movement. Some joints may have adjustable tension screws.
Specifiche
| Numero di modello | SLF428-B1 |
| Gamma di dimensioni della TV | 37" - 90" |
| Peso massimo TV | 135 libbre (61.2 kg) |
| Tipo di montaggio | Montaggio a parete |
| Tipo di movimento | Articolato, Inclinabile, Girevole |
| Estensione da parete | Fino a 28" (71.1 cm) |
| Basso Profile Progetto | 2.4" (6.1 cm) from wall when retracted |
| Dimensioni del prodotto | 15 x 6 x 5 pollici (confezione) |
| Peso dell'articolo | 31.4 libbre (14.2 kg) |
| Materiale | Plastic (components), Metal (main structure) |
| Colore | Nero |
| Codice UPC | 793795535856 |
Garanzia e assistenza clienti
For warranty information or technical assistance, please contact SANUS customer support. Details regarding specific warranty periods and terms can typically be found on the official SANUS website or included warranty card.
SANUS Customer Support: Visita www.sanus.com/support for contact information, FAQs, and additional resources.
Video ufficiali dei prodotti
No official seller videos were found for this product in the provided data. Please refer to the written instructions and diagrams for installation and operation guidance.


