1. Importanti misure di sicurezza
Quando si utilizza il ferro da stiro, è necessario seguire sempre le precauzioni di sicurezza di base, incluse le seguenti:
- Leggere tutte le istruzioni prima di utilizzare il ferro.
- Utilizzare il ferro solo per l'uso previsto.
- Per proteggersi dal rischio di scosse elettriche, non immergere il ferro in acqua o altri liquidi.
- Always turn the iron to OFF before plugging or unplugging from outlet. Never yank cord to disconnect from outlet; instead, grasp plug and pull to disconnect.
- Non consentire al cavo di toccare le superfici calde. Lascia raffreddare completamente il ferro prima di riporlo. Avvolgere liberamente il cavo intorno al ferro durante la conservazione.
- Scollegare sempre il ferro dalla presa elettrica durante il riempimento con acqua o lo svuotamento e quando non è in uso.
- Non utilizzare il ferro da stiro con un cavo danneggiato o se il ferro è caduto o è danneggiato. Per evitare il rischio di scosse elettriche, non smontare il ferro da stiro; portarlo da un tecnico qualificato per un controllo e una riparazione. Un rimontaggio non corretto può causare il rischio di scosse elettriche durante l'uso del ferro da stiro.
- È necessaria un'attenta supervisione per qualsiasi apparecchio utilizzato da o vicino a bambini. Non lasciare il ferro incustodito mentre è collegato o su un asse da stiro.
- Possono verificarsi ustioni toccando parti metalliche calde, acqua calda o vapore. Prestare attenzione quando si capovolge un ferro da stiro a vapore: potrebbe esserci acqua calda nel serbatoio.
- Questo apparecchio è destinato esclusivamente all'uso domestico.
2. Prodotto finitoview
The BLACK+DECKER One Step Steam Iron is designed for efficient and effective garment care. It features an EvenSteam Stainless Soleplate for uniform steam distribution and Smart Steam Controls that automatically adjust steam levels based on temperature settings.

Figura 2.1: Davanti view of the BLACK+DECKER One Step Steam Iron, showcasing its sleek blue and white design.

Figura 2.2: Lato view of the iron, highlighting its ergonomic handle and water tank.
Caratteristiche principali:
- EvenSteam Stainless Soleplate: Ensures even steam distribution from tip to heel, effectively taming wrinkles across all garment areas.
- Smart Steam Control: An easy-to-read control automatically regulates and optimizes steam levels based on your selected temperature setting for different fabric types.
- Spray Mist and Steam Burst Buttons: Conveniently located side-by-side buttons provide total moisture control, allowing for a powerful burst of steam or a gentle spray mist.
- Easy-fill Water Tank: Designed for simple and quick filling, featuring a large capacity to minimize refills.
- Precision Point Soleplate: The pointed tip of the soleplate allows for easy navigation around intricate details like buttons, collars, and creases.
- 3-way Automatic Shutoff: Per una maggiore sicurezza, il ferro si spegne automaticamente se lasciato incustodito.
- Sistema di pulizia automatica: Helps maintain the iron's performance by preventing mineral buildup.
- Vapore verticale: Allows for steaming hanging garments and drapes.
3. Impostazione
3.1 Riempimento del serbatoio dell'acqua
- Ensure the iron is unplugged from the electrical outlet and the temperature dial is set to OFF.
- Open the water tank cover located at the top of the iron.
- Using a measuring cup, carefully pour tap water into the water tank up to the "MAX" fill line. Distilled water is recommended to prevent mineral buildup.
- Chiudere saldamente il coperchio del serbatoio dell'acqua.
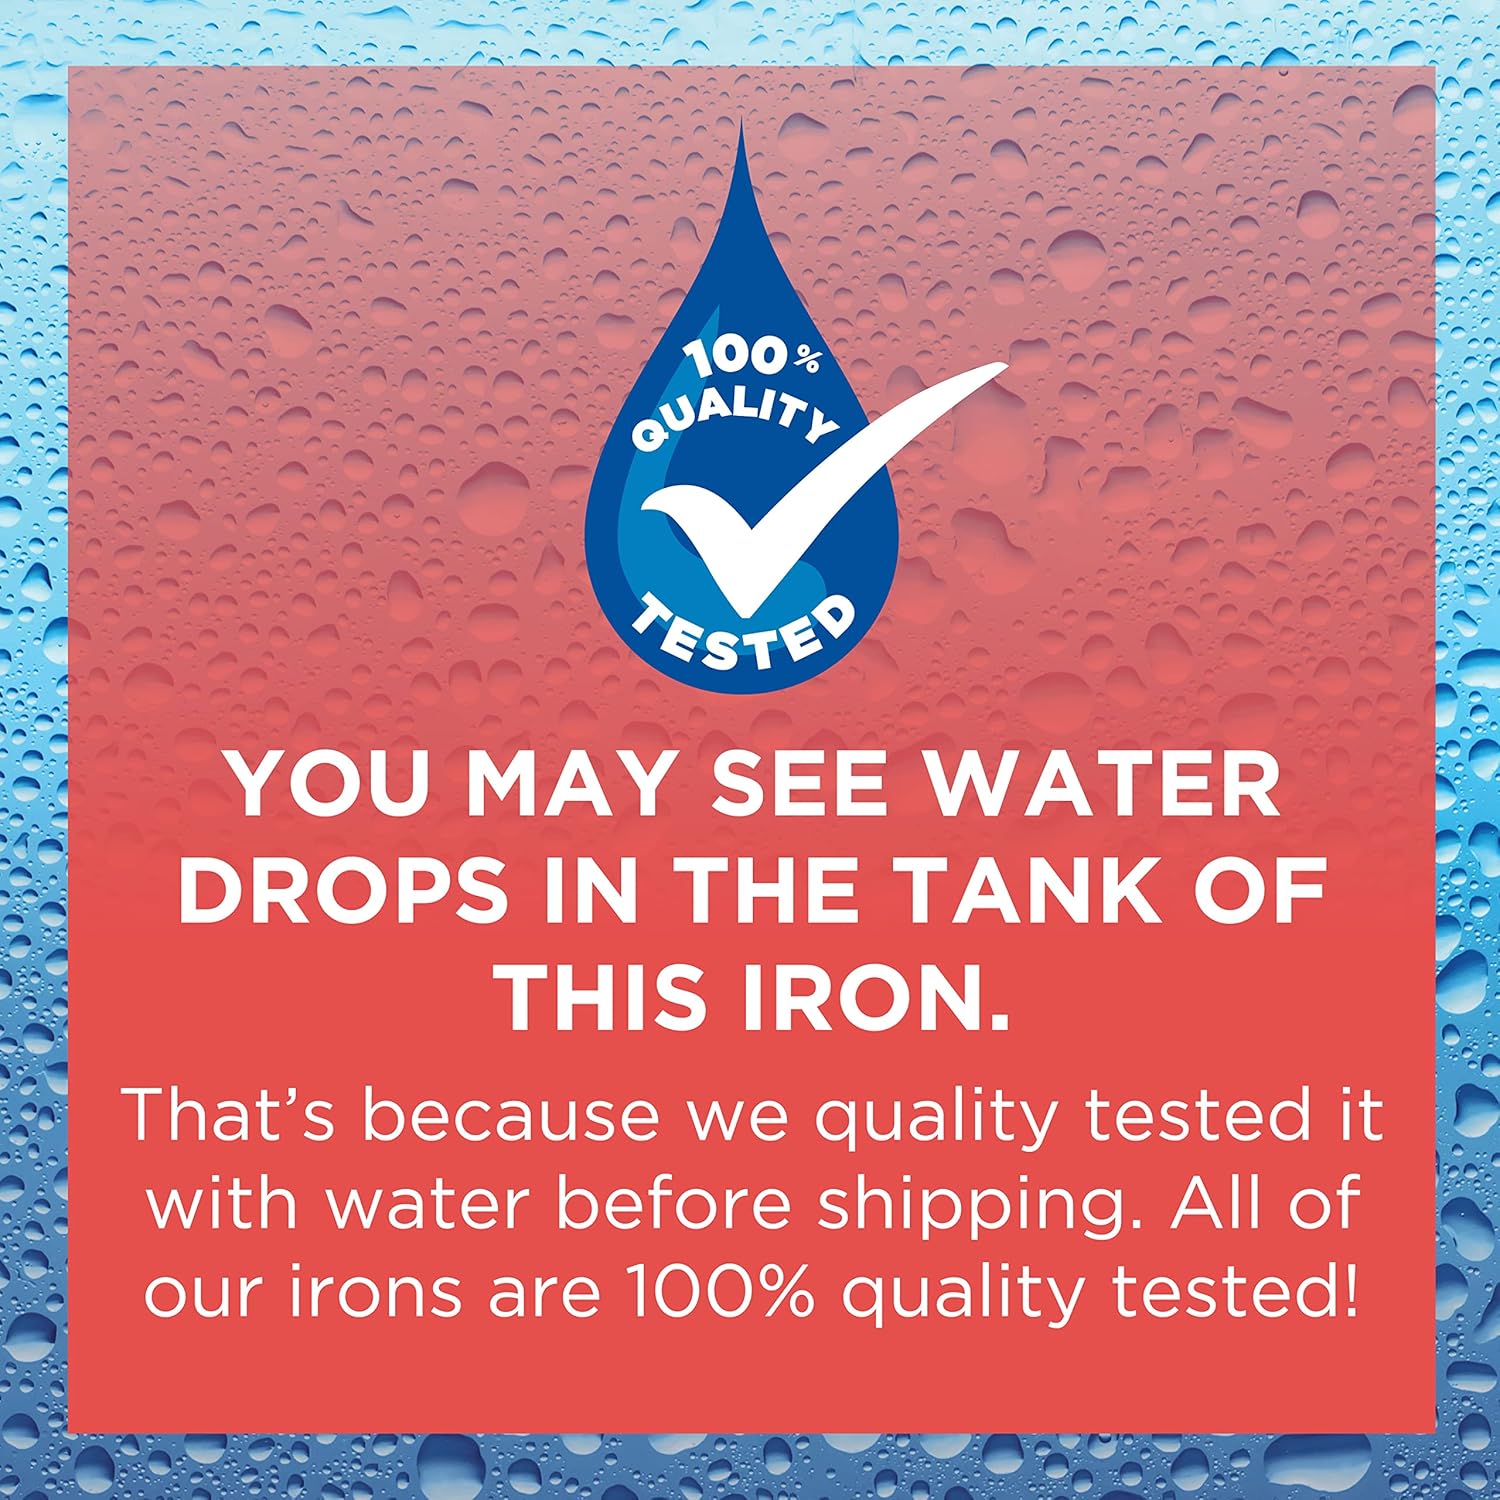
Figura 3.1: Illustrates the process of filling the easy-fill water tank. Ensure water is poured carefully to avoid spills.
3.2 Uso iniziale
Before first use, it is recommended to iron an old piece of fabric (such as a towel) to ensure any manufacturing residues are removed from the soleplate.
4. Istruzioni per l'uso
4.1 Impostazione della temperatura e del vapore
- Plug the iron into a standard electrical outlet. The indicator light will illuminate.
- Rotate the Smart Steam Control dial to the desired fabric setting (e.g., Cotton, Wool Blend, Poly, Nylon, Silk, Synthetics). The iron will begin to heat up.
- Attendere che la spia si spenga, indicando che il ferro ha raggiunto la temperatura impostata.
- For steam ironing, ensure the water tank is filled. The Smart Steam Control automatically adjusts steam output based on the temperature setting.
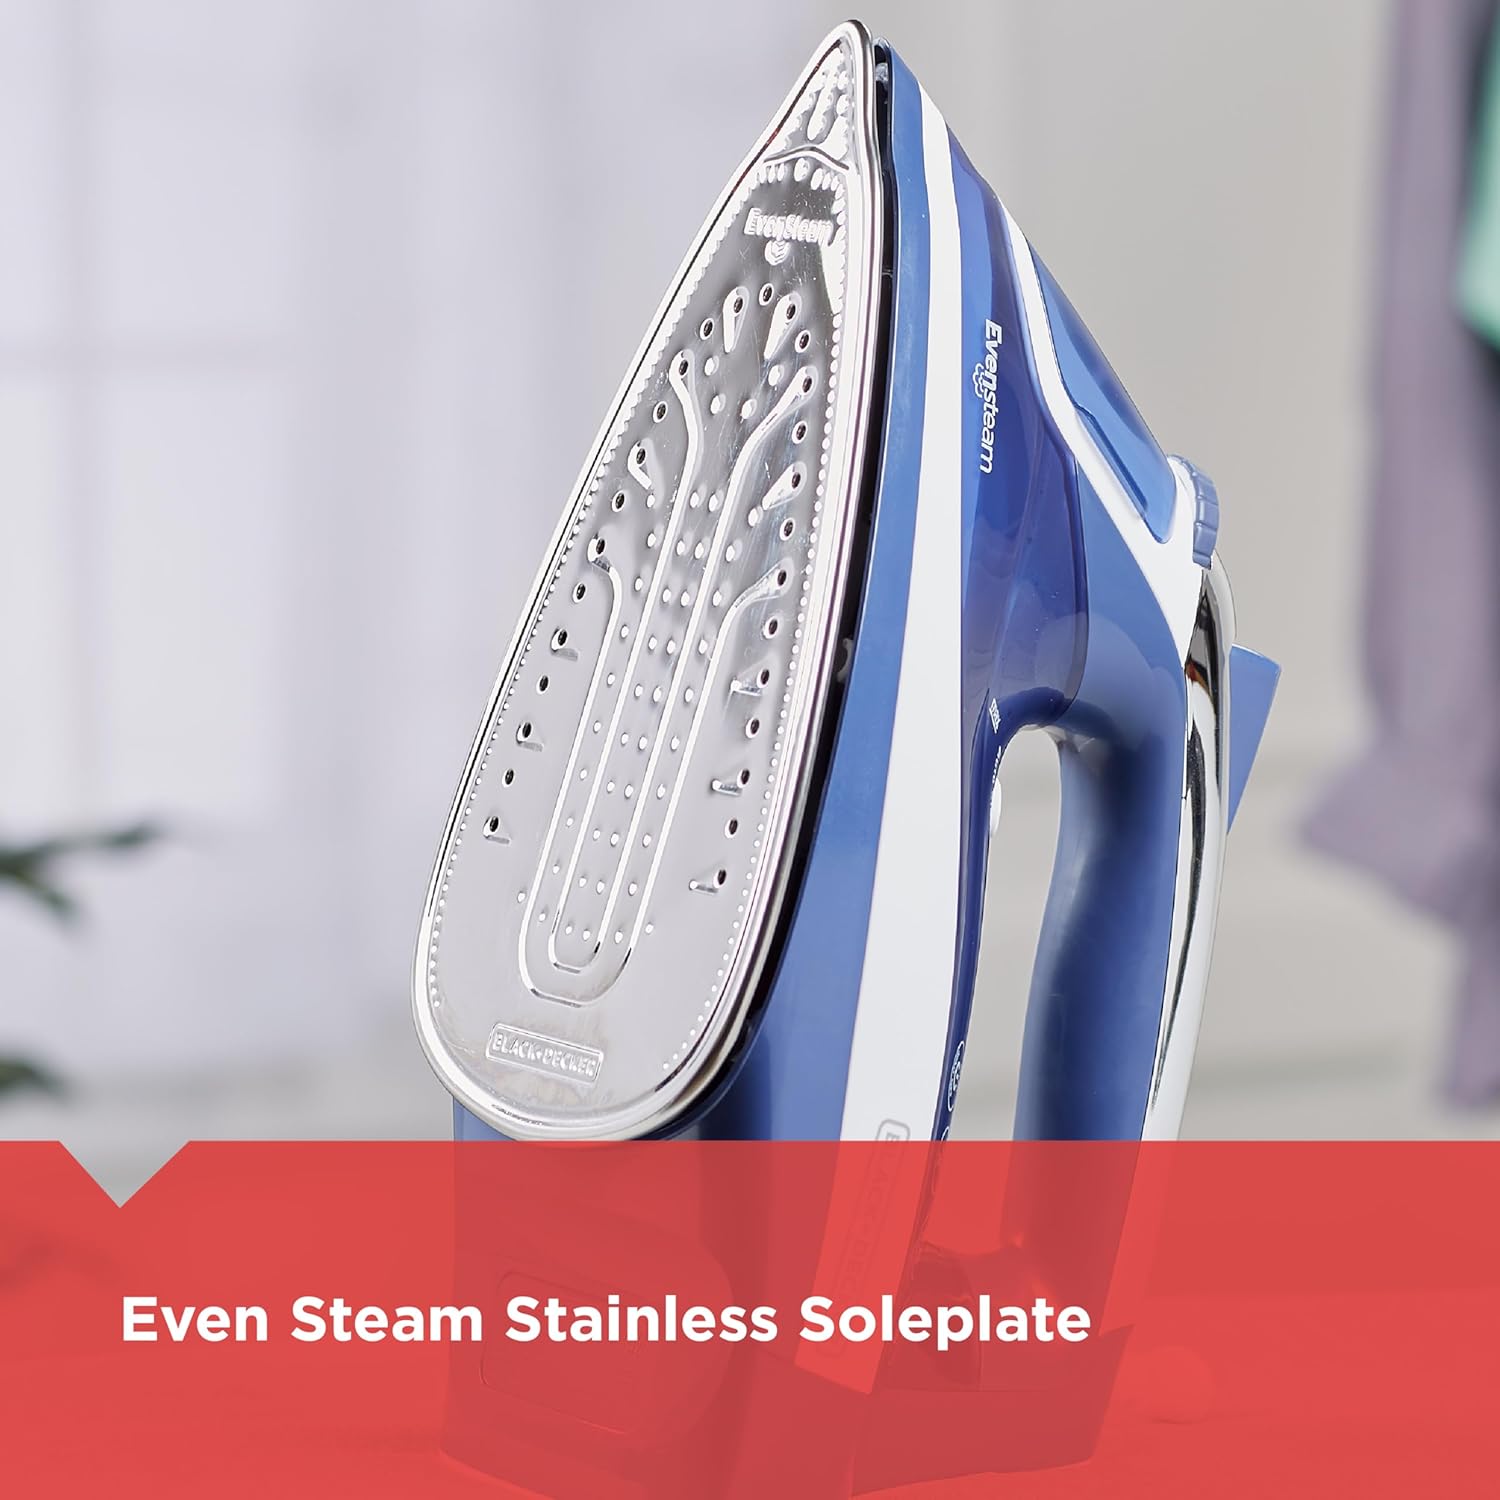
Figura 4.1: Detail of the Smart Steam Control dial, showing various fabric settings for optimal ironing.
4.2 Using Spray Mist and Steam Burst
- Nebbia spray: Press the spray mist button (typically marked with a water droplet icon) to lightly dampen fabric for easier wrinkle removal.
- Scoppio di vapore: Press the steam burst button (typically marked with a steam cloud icon) for an extra surge of steam to tackle stubborn wrinkles. This feature is most effective at higher temperature settings.

Figura 4.2: The ergonomic mist and steam burst buttons, designed for easy access during ironing.
4.3 Cottura a vapore verticale
The iron can be used for vertical steaming of hanging garments, drapes, or upholstery. Hold the iron upright, close to the fabric, and press the steam burst button repeatedly. Do not allow the soleplate to touch the fabric.

Figura 4.3: Demonstrates the iron's high steam rate, suitable for vertical steaming of hanging clothes.
5. Manutenzione
5.1 Auto Clean System
The Auto Clean system helps to flush out mineral deposits from the steam chamber. Regular use of this feature will prolong the life of your iron.
- Riempire il serbatoio dell'acqua fino alla linea "MAX".
- Set the temperature dial to the highest setting (e.g., Linen/Cotton) and allow the iron to heat up until the indicator light turns off.
- Scollega il ferro e tienilo su un lavandino in orizzontale.
- Press and hold the Auto Clean button (usually located near the temperature dial) while gently shaking the iron back and forth. Hot water and steam will flush out from the soleplate.
- Continuare finché il serbatoio dell'acqua non è vuoto.
- Ricollegare il ferro, riscaldarlo e stirare un vecchio panno per asciugare la piastra.
5.2 Pulizia della piastra
Per pulire la piastra, strofinarla con un pannoamp cloth and a non-abrasive cleaner. Do not use harsh scouring pads or metallic cleaners as they can scratch the soleplate.
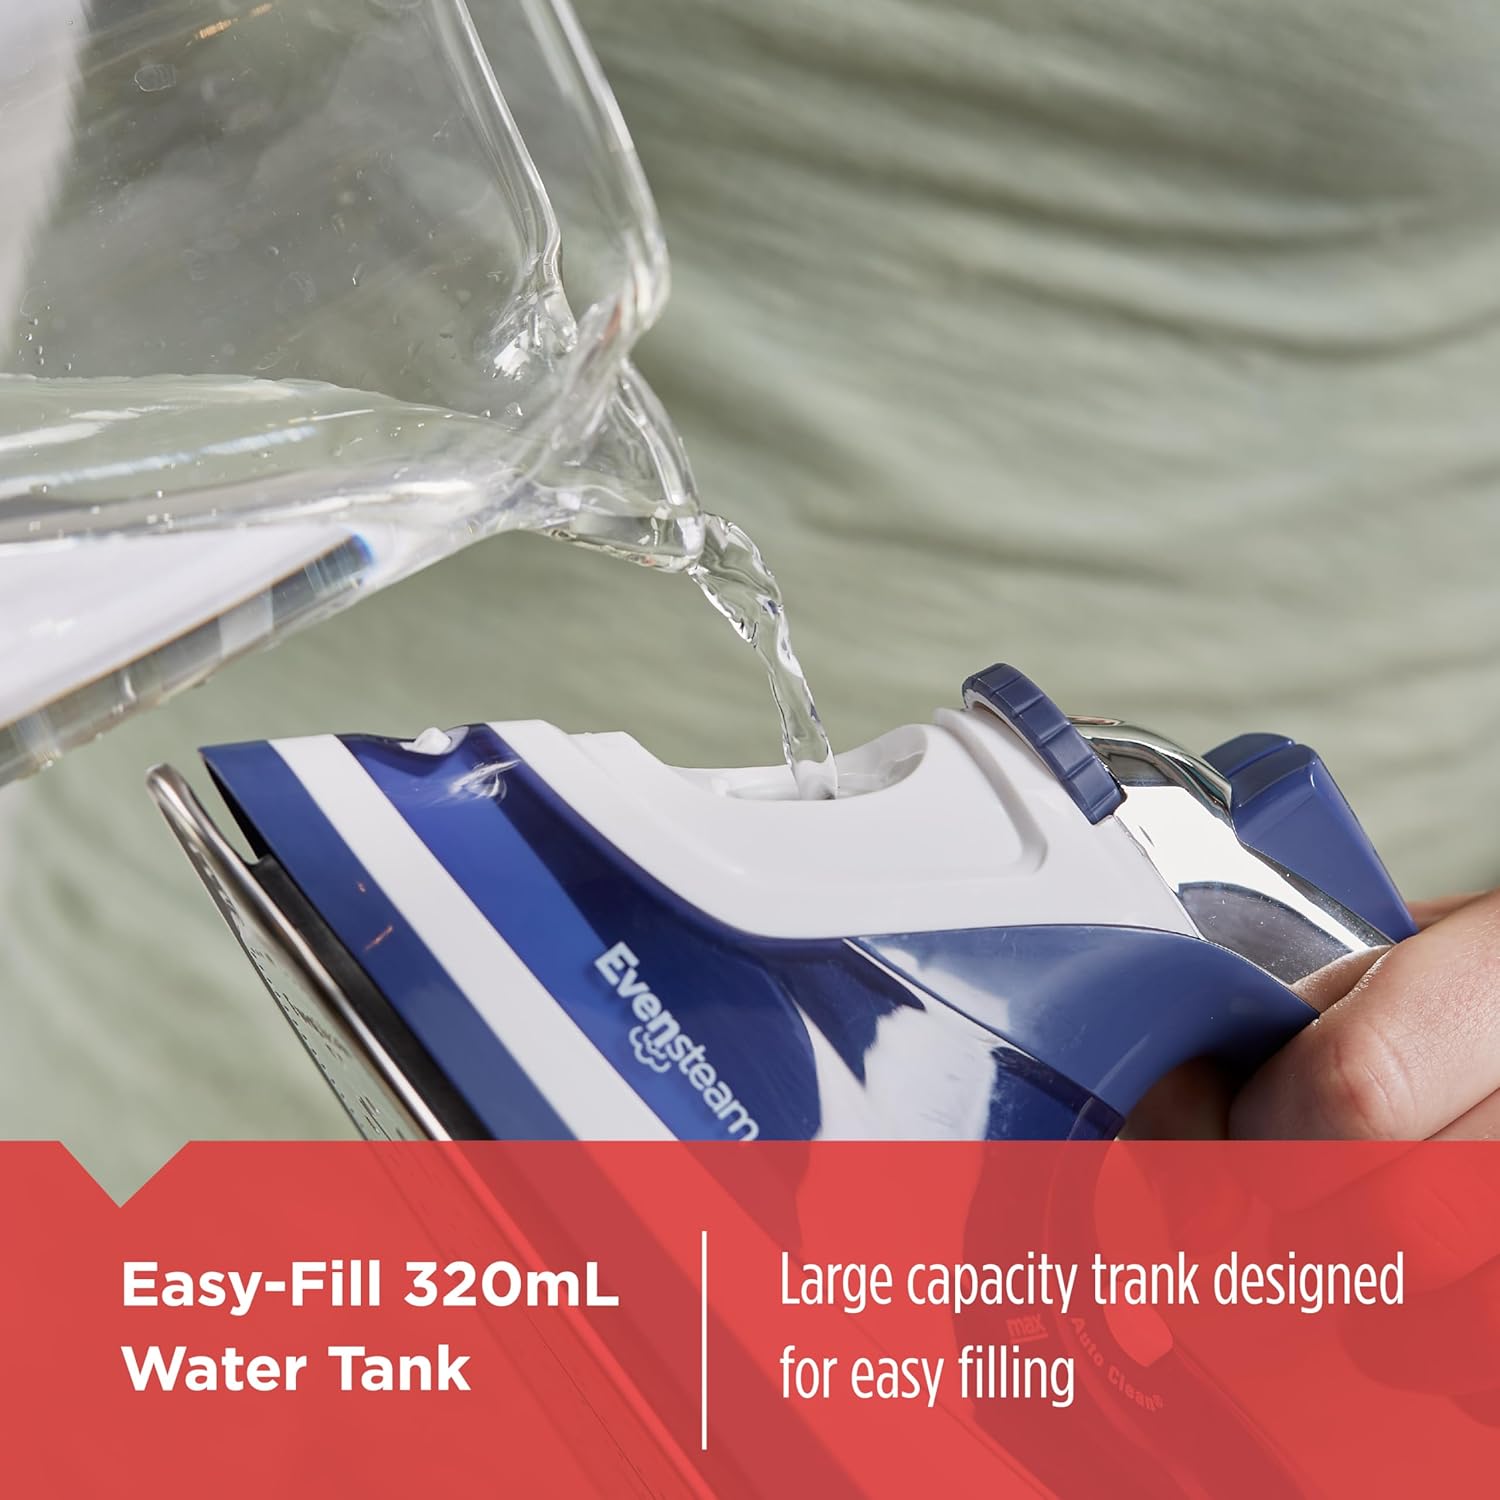
Figura 5.1: The EvenSteam Stainless Soleplate, designed for smooth gliding and even heat distribution.
5.3 Conservazione
Always allow the iron to cool completely before storing. Empty any remaining water from the tank. Store the iron upright on its heel rest to prevent soleplate damage.
6. Risoluzione Dei Problemi
| Problema | Possibile causa | Soluzione |
|---|---|---|
| Il ferro non si riscalda. | Not plugged in; power outlet not working; temperature dial set to OFF. | Ensure iron is securely plugged in; check power outlet; turn temperature dial to a fabric setting. |
| Assenza di vapore o vapore insufficiente. | Serbatoio dell'acqua vuoto; temperatura troppo bassa per il vapore; sfiati del vapore ostruiti. | Fill water tank; set temperature to a steam-appropriate setting (e.g., Cotton, Linen); perform Auto Clean cycle. |
| Perdite d'acqua dalla piastra. | Water tank overfilled; temperature too low for steam; iron not hot enough for steam. | Do not overfill water tank; ensure temperature is set to a steam-appropriate setting and iron is fully heated. |
| Fiocchi o residui bianchi sui vestiti. | Mineral buildup in water tank or steam vents. | Perform Auto Clean cycle; use distilled water. |
7. Specifiche
- Marca: NERO+DECKER
- Nome modello: Ferro a vapore a un passo
- Numero modello: IR18XS-RF
- Colore: Blu
- Materiale di base: Acciaio inossidabile
- Caratteristiche speciali: Auto Shutoff, Lightweight, Water Spray Function, Smart Steam Control
- Dimensioni del prodotto: 11.1 x 12 x 5.6 pollici
- Peso dell'articolo: 2.44 libbre
- Codice UPC: 050875822474

Figura 7.1: Visual representation of the iron's dimensions: 11.1 inches in length and 5.6 inches in width.
8. Garanzia e supporto
For warranty information, technical support, or customer service inquiries, please refer to the warranty card included with your product or visit the official BLACK+DECKER webluogo. Conserva la ricevuta di acquisto per eventuali richieste di garanzia.
Per ulteriori risorse e per la registrazione del prodotto, visitare: www.blackanddecker.com


