1. Introduzione
This manual provides comprehensive instructions for the installation, operation, and maintenance of your Vivotek ND9426P Network Video Recorder (NVR). The ND9426P is a 16-channel, 2-bay embedded NVR with Power over Ethernet (PoE) capabilities and integrated Artificial Intelligence (AI) features, designed for robust surveillance applications. Please read this manual thoroughly before using the device to ensure proper setup and functionality.
2. Informazioni sulla sicurezza
- Ensure the NVR is installed in a well-ventilated area to prevent overheating.
- Utilizzare solo l'alimentatore fornito con il dispositivo.
- Do not expose the NVR to water, moisture, or extreme temperatures.
- Avoid placing heavy objects on top of the NVR.
- Scollegare l'alimentazione prima di eseguire qualsiasi procedura di manutenzione o installazione.
- Affidare qualsiasi intervento di manutenzione a personale qualificato.
3. Contenuto della confezione
Verifica che tutti gli articoli elencati di seguito siano inclusi nel pacco. Se alcuni articoli risultano mancanti o danneggiati, contatta immediatamente il fornitore.
- Vivotek ND9426P NVR Unit
- Adattatore di alimentazione
- Mouse USB
- Guida di installazione rapida
- Viti di montaggio HDD
4. Fisico oltreview
Familiarize yourself with the front and rear panels of the Vivotek ND9426P NVR.
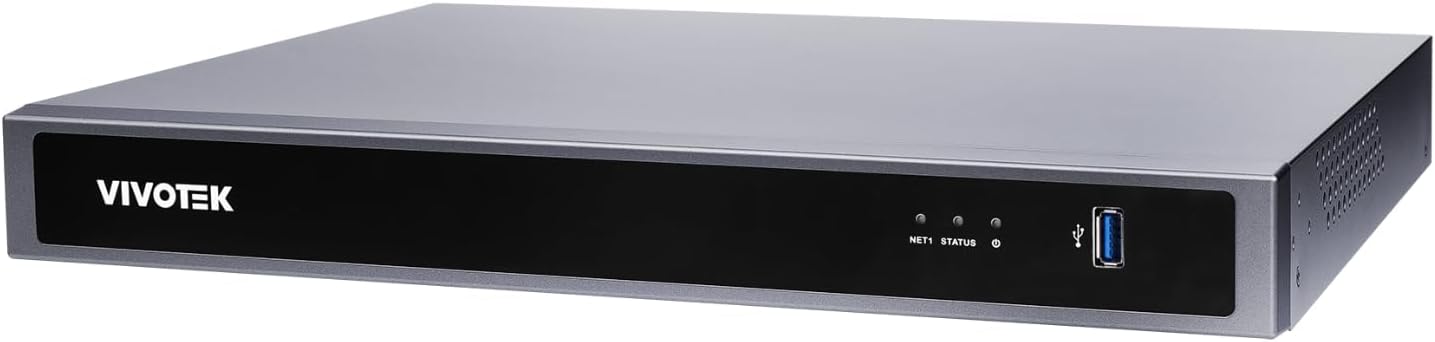
Figure 1: Front Panel of Vivotek ND9426P NVR. This image displays the front of the NVR unit, featuring the VIVOTEK brand logo on the left, two small indicator LEDs labeled "NET1" and "STATUS" in the center, and a blue USB 3.0 port on the right. The overall casing is a dark gray metallic finish.
4.1 Pannello frontale
- VIVOTEK Logo: Indica il marchio.
- NET1 LED: Network activity indicator for LAN port 1.
- LED DI STATO: Indicatore di stato del sistema.
- Porta USB 3.0: For connecting a USB mouse, keyboard, or external storage devices.
4.2 Pannello posteriore (configurazione tipica)
While not pictured, the rear panel typically includes the following ports:
- PoE Ports (x16): RJ-45 ports for connecting IP cameras and providing power.
- Porta LAN: RJ-45 port for connecting the NVR to your local network.
- Uscita HDMI: Per il collegamento a un monitor o a un display.
- Uscita VGA: Per il collegamento a un monitor o a un display.
- Ingresso/uscita audio: Per collegare dispositivi audio esterni.
- Porte USB: 2.0 Porte USB aggiuntive per periferiche.
- Potenza in ingresso: Per collegare l'adattatore di alimentazione.
- Terminale di messa a terra: Per una messa a terra di sicurezza.
5. Impostazione
5.1 Installazione hardware
- Installazione del disco rigido:
Svitare l'NVR casing to access the internal bays. Mount up to two 3.5-inch SATA hard drives using the provided screws. Reattach the casing in modo sicuro.
- Collegare le telecamere IP:
Connect your PoE-enabled IP cameras to the NVR's PoE ports using Ethernet cables. The NVR will provide power and data connectivity.
- Connect Display and Mouse:
Connect a monitor to the NVR's HDMI or VGA output port. Connect the USB mouse to one of the NVR's USB ports.
- Connessione di rete:
Collegare la porta LAN dell'NVR al router o allo switch di rete tramite un cavo Ethernet.
- Accensione:
Collegare l'adattatore di alimentazione all'ingresso di alimentazione dell'NVR e quindi collegarlo a una presa di corrente. L'NVR si accenderà automaticamente.
5.2 Configurazione iniziale
- Upon first boot, the NVR will guide you through a setup wizard. Follow the on-screen instructions.
- Set a strong password for the administrator account. This is crucial for security.
- Configurare le impostazioni di rete (DHCP o IP statico).
- Scan for and add connected IP cameras.
- Imposta data, ora e fuso orario.
6. Funzionamento dell'NVR
6.1 Navigazione dell'interfaccia utente
- Vivere View: Access real-time video feeds from all connected cameras. Use the mouse to select camera views and layouts.
- Riproduzione: Review registrato footage. Navigate through timelines, search by date/time, and export video clips.
- Impostazioni di registrazione: Configure recording schedules (continuous, motion-triggered, event-based) and video quality for each camera.
- Gestione eventi: Set up alerts for motion detection, tampering, or AI-triggered events. Configure notification methods (e.g., email, push notifications).
- Impostazioni di sistema: Manage user accounts, network configurations, storage, and system logs.
6.2 Funzionalità AI
The Vivotek ND9426P integrates advanced AI capabilities to enhance surveillance efficiency. These features may include:
- Smart Motion Detection: Differentiates between human/vehicle movement and environmental factors to reduce false alarms.
- Rilevamento delle intrusioni: Defines specific areas for monitoring and triggers alerts upon unauthorized entry.
- Rilevamento attraversamento linea: Detects when an object crosses a predefined virtual line.
- Refer to the NVR's on-screen interface or the detailed software manual for specific AI feature configuration.
7. Manutenzione
- Aggiornamenti del firmware: Regularly check the VIVOTEK websito per gli aggiornamenti del firmware per garantire prestazioni e sicurezza ottimali. Seguire attentamente le istruzioni fornite per l'aggiornamento.
- Backup dei dati: Eseguire periodicamente il backup dei dati importanti registratitage su dispositivi di archiviazione esterni (ad esempio, unità USB, archiviazione di rete) per evitare la perdita di dati.
- Registri di sistema: Review system logs regularly for any error messages or unusual activity that may indicate a problem.
- Pulizia: Keep the NVR unit clean and free from dust. Use a soft, dry cloth. Do not use liquid cleaners or aerosols. Ensure ventilation openings are not obstructed.
8. Risoluzione Dei Problemi
| Problema | Possibile causa | Soluzione |
|---|---|---|
| Nessuna uscita video sul monitor | Collegamento del cavo allentato, sorgente di ingresso errata sul monitor, NVR non acceso. | Check HDMI/VGA cable connections. Ensure monitor is set to correct input. Verify NVR power. |
| Le telecamere non visualizzano | Camera not powered, network issue, incorrect camera settings. | Check camera power and Ethernet cables. Verify network connectivity. Ensure cameras are added and configured correctly in NVR settings. |
| Impossibile accedere all'NVR tramite la rete | Network cable disconnected, incorrect IP address, firewall blocking access. | Check LAN cable. Verify NVR's IP address and network settings. Adjust firewall rules if necessary. |
| La registrazione non funziona | Hard drive not installed/initialized, recording schedule not set, insufficient storage. | Ensure HDD is installed and formatted. Check recording schedules. Verify available storage space. |
9. Specifiche
| Modello | ND9426P |
| Marca | VIVOTEK |
| Numero di canali | 16 |
| Alloggiamenti HDD | 2 (3.5" SATA) |
| Porte PoE | 16 |
| Tecnologia di connettività | Ethernet, USB |
| Peso dell'articolo | 1 chilogrammi (2.2 libbre) |
| Dimensioni del pacco | 0.39 x 0.39 x 0.39 pollici (L x L x A) |
Note: Specifications are subject to change without notice. For the most current information, please refer to the official VIVOTEK product page.
10. Garanzia e supporto
I prodotti VIVOTEK sono coperti da garanzia limitata. Per i termini e le condizioni di garanzia dettagliate, consultare la scheda di garanzia inclusa con il prodotto o visitare il sito ufficiale VIVOTEK. websito.
For technical support, product inquiries, or service requests, please contact your local VIVOTEK dealer or visit the VIVOTEK support portal online. Have your product model and serial number ready when contacting support.
- VIVOTEK Ufficiale Websito: www.vivotek.com
- Portale di supporto: Fare riferimento al websito per i contatti di supporto regionale.


