1. Introduzione
This manual provides detailed instructions for the installation, operation, and maintenance of your ABSOSO Single Din Car Radio Receiver. Please read this manual thoroughly before using the product to ensure proper function and to prevent damage. Keep this manual for future reference.
2. Cosa c'è nella scatola
- Single Din Car Audio Unit
- Telecomando IR senza fili
- Mounting Kits & Harness
- Manuale dell'utente (questo documento)
3. Caratteristiche del prodotto
The ABSOSO Single Din Car Radio Receiver offers a range of features designed to enhance your in-car audio experience:
- Bluetooth Audio & Calling: Connect your smartphone for hands-free calls and music streaming from apps like Spotify and Pandora.
- Radio AM/FM: Tune into 30 preset AM/FM radio stations with automatic and manual search options for news, weather, and music.
- Uscita ad alta potenza: Delivers 4 channels x 75 watts (300W total) built-in power audio amplifier for robust sound.
- LCD Display & Physical Buttons: Features an HD digital LCD screen and illuminated buttons/knob for comfortable viewcontrollo facile e intuitivo.
- Multiple Music Modes Input: Supports 3.5mm AUX-input, SD card, and dual USB ports (one for up to 64GB flash drive, the other for 2.1A quick charge).
- Supporto per i formati audio: Compatible with MP3, WAV, and WMA music formats.
- ID3 Tag Display: Shows additional data like title and artist for audio files.
- Preset EQ Configuration: Access various music styles such as Rock, POP, and Jazz for high-quality sound.
4. Configurazione e installazione
Una corretta installazione è fondamentale per prestazioni ottimali. Si consiglia di far installare questa unità da un professionista qualificato.
4.1. Schema elettrico
Refer to the diagram below for correct power and speaker connections. Ensure all connections are secure to prevent short circuits or damage to the unit and vehicle's electrical system.

Figure 4.1: Wire Connection Diagram. This diagram illustrates the power cable connections (A) including +12V Constant Power Supply, Ground Wire, +12V Ignition Switch, and Antenna. It also shows the speaker cable connections (B) for 4-channel speaker output, including Rear Right, Front Right, Front Left, and Rear Left speakers. The rear panel of the unit is shown with Radio Antenna, SUB, Audio RCA, External Mic, Fuse (15A), and Power port.
4.2. Montaggio
The unit is designed for a standard single DIN opening. Secure the unit using the provided mounting kits. Ensure adequate ventilation around the unit to prevent overheating.

Figure 4.2: Rear Panel with RCA Outputs. This image displays the rear of the car radio, showing the various ports including RCA outputs for subwoofer (SUB-1, SUB-2), rear left (R-L), rear right (R-R), front left (F-L), and front right (F-R) channels, indicating its 300W high power and pre-amp capacità.
5. Istruzioni per l'uso
5.1. Controlli generali
The front panel features an LCD display, a rotary knob, and various buttons for control. The rotary knob typically controls volume and can be pressed for menu selections. Buttons are illuminated for visibility.

Figure 5.1: LCD Display and Rotary Knob. This image highlights the digital LCD screen and the central rotary knob, which features dynamic color-changing illumination, providing a comfortable viewing experience and matching various car interior styles.
5.2. Accoppiamento Bluetooth
Per connettere il tuo dispositivo mobile tramite Bluetooth:
- Assicurati che il Bluetooth sia abilitato sul tuo dispositivo mobile.
- Select the Bluetooth source on the car radio. The display will show 'BT'.
- Cercare available devices on your mobile phone and select 'ABSOSO Car Audio' (or similar name).
- Una volta effettuato l'abbinamento, è possibile effettuare chiamate in vivavoce e riprodurre l'audio in streaming.

Figure 5.2: Hands-Free Calling & Wireless Streaming. This image shows the car radio installed in a dashboard, with a smartphone displaying music playback, illustrating the seamless Bluetooth connectivity for hands-free calls and wireless music streaming.
5.3. Funzionamento della radio AM/FM
Press the 'BAND' button to switch between AM and FM bands. Use the seek buttons to automatically search for stations or manually tune using the rotary knob.
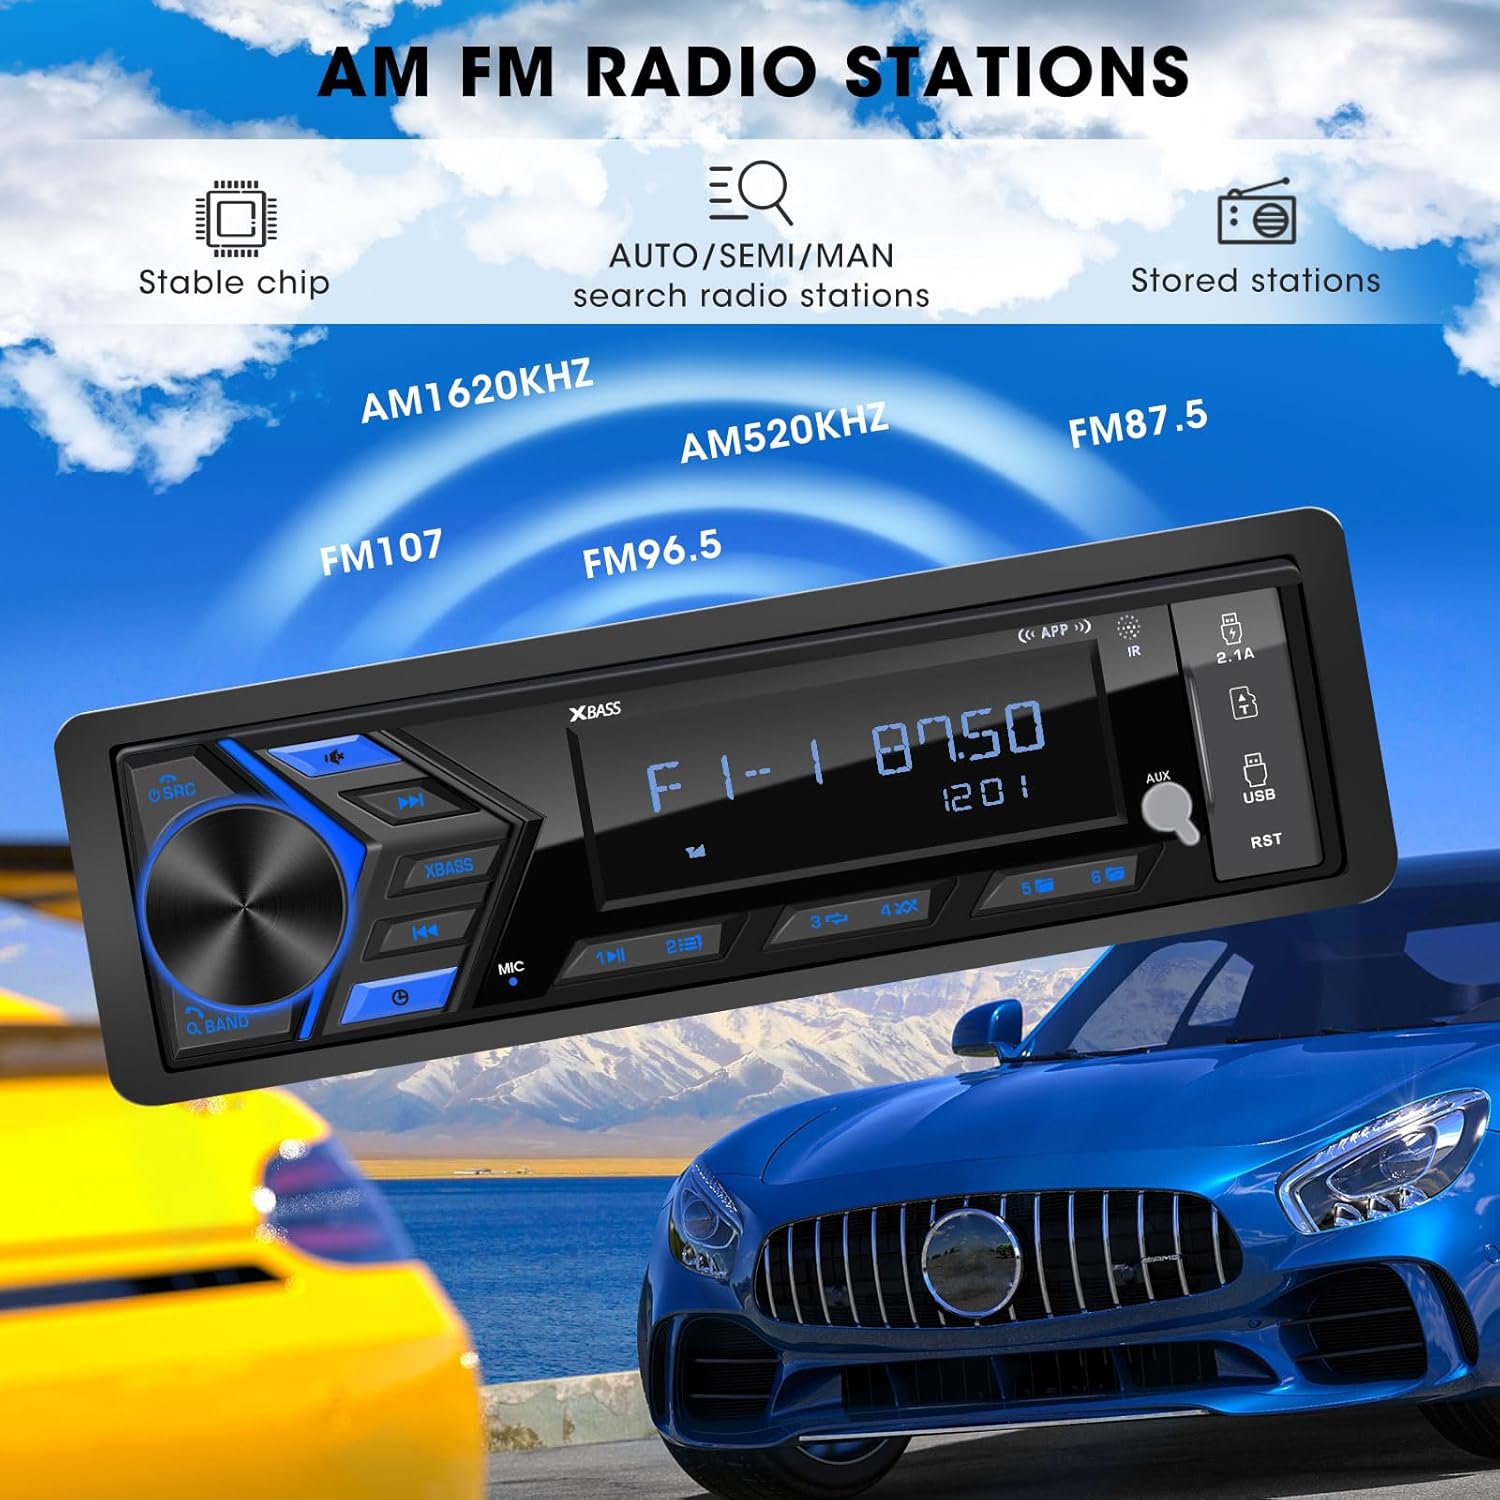
Figure 5.3: AM/FM Radio Stations. This image shows the car radio displaying a radio frequency (FM 87.50), with visual cues indicating its capability to receive AM (520KHz, 1620KHz) and FM (96.5, 107) radio stations, supported by a stable chip for auto/semi/manual search and stored stations.
5.4. Riproduzione multimediale (USB, SD, AUX)
Insert a USB flash drive or SD card into the respective ports. The unit will automatically switch to the corresponding mode and begin playback. Connect external audio devices via the 3.5mm AUX-input.

Figure 5.4: SD USB AUX-IN for Media Play. This image focuses on the front panel of the car radio, clearly labeling the 3.5mm Aux-in, 32GB SD Port, 64GB USB Flash Drive port, and a 2.1A Fast Charge USB port, indicating support for MP3/WAV/WMA music formats.
5.5. Impostazioni audio (EQ)
Access the equalizer settings through the menu to adjust audio output. Choose from preset EQ modes (Rock, POP, Jazz) or customize bass and treble levels to your preference.

Figure 5.5: Customizable EQ. This image shows the car radio's display with 'X-BASS ON' and 'BASS' settings, accompanied by a vibrant graphic of equalizer bars, illustrating the customizable sound settings available.
6. Manutenzione
Per garantire la longevità e le prestazioni ottimali della tua autoradio, segui queste linee guida per la manutenzione:
- Pulizia: Utilizzare un panno morbido e asciutto per pulire la superficie dell'unità. Per lo sporco ostinato, leggermente dampLavare il panno con acqua. Evitare l'uso di prodotti chimici aggressivi, solventi o detergenti abrasivi.
- Prevenzione della polvere: Keep the unit free from dust and debris, especially around the ports and ventilation areas.
- Temperatura: Evitare di esporre l'unità a temperature estreme, alla luce solare diretta per periodi prolungati o a elevata umidità.
- Connessioni: Controllare periodicamente tutti i collegamenti elettrici per accertarsi che siano saldi e privi di corrosione.
7. Risoluzione Dei Problemi
If you encounter issues with your ABSOSO Car Radio Receiver, refer to the table below for common problems and their solutions:
| Problema | Possibile causa | Soluzione |
|---|---|---|
| Nessun potere | Fusibile bruciato; Cablaggio errato; Collegamento elettrico allentato. | Check and replace fuse (15A); Verify wiring according to diagram; Secure power connections. |
| Nessun suono | Volume too low; Mute function active; Incorrect speaker wiring; Faulty speakers. | Aumentare il volume; Disattivare l'audio; Controllare i collegamenti degli altoparlanti; Eseguire una prova con altoparlanti diversi. |
| Il Bluetooth non si connette | Bluetooth not enabled on device; Unit not in pairing mode; Interference. | Ensure Bluetooth is on; Put unit in pairing mode; Move closer to unit; Restart both devices. |
| Ricezione radio scarsa | Antenna non collegata; Area con segnale debole; Interferenza. | Check antenna connection; Try in a different location; Avoid strong electromagnetic fields. |
| USB/SD non in riproduzione | Non supportato file formato; Supporto danneggiato; Inserito in modo errato. | Garantire files are MP3/WAV/WMA; Try different media; Reinsert or reformat media. |
8. Specifiche
| Caratteristica | Specificazione |
|---|---|
| Dimensioni del prodotto | 4.8 x 18.8 x 11.4 cm (1.9"P x 7.4"L x 4.5"A) |
| Peso dell'articolo | 1.28 libbre (0.58 kg) |
| Potenza di uscita | 300 Watt (massimo) |
| Configurazione del canale audio surround | 4 canali |
| Modalità di uscita audio | Stereo |
| Tecnologia di connettività | Ausiliario, Bluetooth, USB |
| Dispositivi compatibili | Amplifier, MP3, Smartphone, Speaker |
| Numero modello articolo | Single Din Car Radio Receiver |
| Produttore | ASSOSO |
9. Garanzia e supporto
For warranty information and technical support, please refer to the documentation included with your purchase or contact ABSOSO customer service through the retailer where the product was purchased. Keep your proof of purchase for warranty claims.


