1. Introduzione
The BRINKS Keyless Entry Electronic Deadbolt Lock provides enhanced security and convenient keyless access for your home or office. This deadbolt features a programmable keypad, allowing for multiple user codes, and includes traditional key access as a backup. Designed for durability and ease of use, it integrates advanced security features to protect against common entry methods.

Le caratteristiche principali includono:
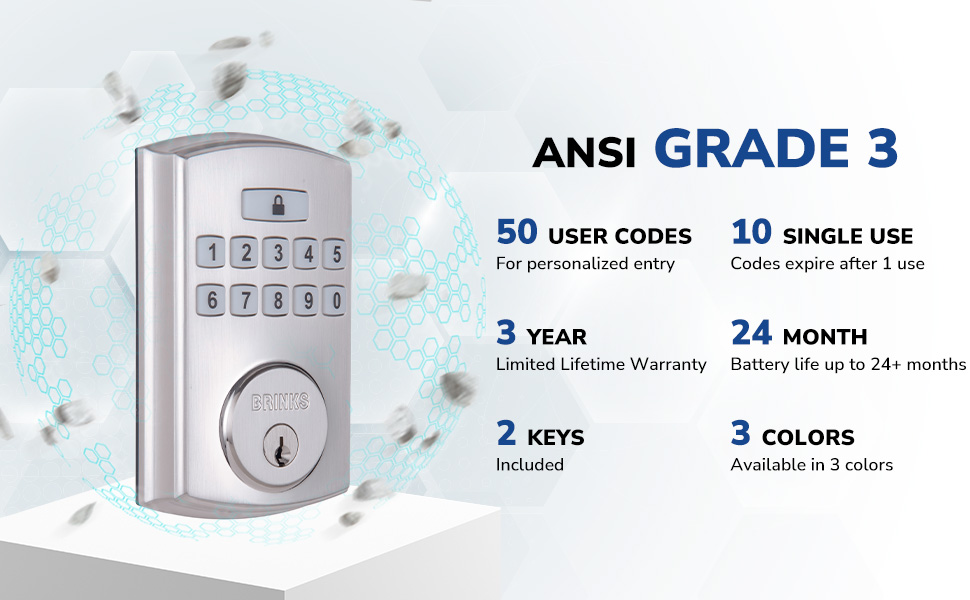
- Up to 50 customizable user codes.
- Optional auto-locking functionality.
- One-touch locking for quick security.
- PRO-GUARD security features: anti-tamper alarm, anti-pry shield, pick/bump/drill resistant keyway.
- Hardened steel anti-saw pin in the deadbolt latch.

2. Informazioni sulla sicurezza
Please read and understand all instructions before installing and using this product. Failure to follow these instructions may result in product malfunction, property damage, or injury.
- Non tentare di smontare o modificare la serratura se non seguendo le istruzioni fornite.
- Use only the specified battery type (4 AA alkaline batteries). Do not mix old and new batteries or different battery types.
- Conservare le chiavi in un luogo sicuro, lontano dalla serratura.
- Assicurarsi che tutti i componenti siano fissati saldamente durante l'installazione.
- Avoid exposing the lock to excessive moisture or extreme temperatures.
3. Contenuto della confezione
Verify that all parts are present before beginning installation. If any parts are missing or damaged, contact BRINKS customer support.
- Gruppo tastiera esterna
- Montaggio interno
- Chiavistello a catenaccio
- Piastra di montaggio
- Piastra d'urto
- Piastra di rinforzo
- Viti di montaggio
- 2 Traditional Keys
- Hardware di installazione

4. Installazione
Installation of the BRINKS Electronic Deadbolt Lock is designed to be straightforward, requiring only a Phillips head screwdriver. No additional wiring is necessary.
4.1 Controlli pre-installazione
- Spessore della porta: Assicurati che lo spessore della porta sia compreso tra 1.375 pollici (35 mm) e 1.75 pollici (44 mm).
- Entrata: The deadbolt is compatible with both 2-3/8 inches (60mm) and 2-3/4 inches (70mm) backsets. Adjust the latch as needed.
- Consegna della porta: The lock is universally compatible with both right-handed and left-handed doors.

4.2 Passaggi di installazione
- Installa la chiusura a catenaccio: Insert the deadbolt latch into the door edge. Ensure the 'UP' arrow on the latch is pointing upwards. Secure with screws.
- Installare la tastiera esterna: Feed the cable from the exterior keypad through the hole in the door. Position the keypad flush against the door.
- Installare la piastra di montaggio: Route the cable through the mounting plate. Secure the mounting plate to the door using the provided screws, ensuring it is aligned correctly.
- Collegare i cavi: Collegare il cavo dalla tastiera esterna al gruppo interno.
- Installa il gruppo interno: Mount the interior assembly onto the mounting plate, ensuring the thumb turn operates smoothly. Secure with screws.
- Installare la piastra di battuta: Install the strike plate and reinforcement plate on the door frame, aligning them with the deadbolt latch.
- Inserire le batterie: Open the battery cover on the interior assembly and insert 4 AA alkaline batteries. Close the cover.

5. Configurazione e programmazione
After installation, you will need to program your lock with a Master Code and user codes.
5.1 Impostazione del codice master
The Master Code is used to program the lock and should be kept confidential. It cannot be used to unlock the door.
- Press the 'Program' button on the interior assembly.
- Inserisci un nuovo codice master da 4 a 8 cifre.
- Press the 'Lock' button.
- Re-enter the new Master Code.
- Press the 'Lock' button to confirm.
5.2 Aggiunta di codici utente
You can program up to 50 unique user codes for regular entry.
- Press the 'Program' button.
- Inserisci il tuo codice Master.
- Press the 'Lock' button.
- Immettere un nuovo codice utente composto da 4-8 cifre.
- Press the 'Lock' button to confirm.
5.3 Adding Single-Use Codes
Up to 10 single-use codes can be created, which expire after one use.
- Press the 'Program' button.
- Inserisci il tuo codice Master.
- Press the 'Lock' button twice.
- Enter a new 4-8 digit Single-Use Code.
- Press the 'Lock' button to confirm.
5.4 Setting Auto-Locking Feature
The auto-locking feature automatically locks the deadbolt after a set period (1-99 seconds) once unlocked.
- Press the 'Program' button.
- Inserisci il tuo codice Master.
- Press the 'Lock' button three times.
- Enter the desired auto-lock delay in seconds (e.g., '10' for 10 seconds).
- Press the 'Lock' button to confirm.

6. Istruzioni per l'uso
6.1 Apertura della porta
- Utilizzo di un codice utente: Enter your 4-8 digit user code on the keypad. The deadbolt will retract, and the door can be opened.
- Using a Key: Insert the traditional key into the keyway and turn to unlock.
6.2 Chiusura della porta
- Blocco con un solo tocco: Press the 'Lock' button on the keypad. The deadbolt will extend.
- Blocco automatico: If enabled, the deadbolt will automatically extend after the set delay once the door is closed and unlocked.
- Using a Key: Insert the traditional key into the keyway and turn to lock.
The keypad is illuminated for visibility in low-light conditions.
7. Manutenzione
7.1 Sostituzione della batteria
The lock is powered by 4 AA alkaline batteries. A low battery indicator will alert you when batteries need replacement. Battery life is approximately 24 months or longer.
- Rimuovere il coperchio della batteria dall'assemblaggio interno.
- Rimuovere le vecchie batterie.
- Inserire 4 nuove batterie alcaline AA, assicurandosi della corretta polarità.
- Riposizionare il coperchio della batteria.
7.2 Pulizia
Pulisci l'esterno della serratura con un panno morbido eamp panno. Evitare detergenti abrasivi o solventi, poiché potrebbero danneggiare la finitura o i componenti elettronici.
8. Risoluzione Dei Problemi
- Il lucchetto non risponde: Check battery levels. Replace batteries if necessary. Ensure the cable connection between the exterior and interior assemblies is secure.
- Codici non funzionanti: Verify that the correct Master Code is being used for programming. Re-enter user codes carefully. Ensure the lock is not in programming mode when attempting to unlock.
- Il catenaccio non si estende/retrae completamente: Check for obstructions in the door frame or latch area. Ensure the deadbolt latch is installed correctly and aligned with the strike plate.
- Keypad not illuminating: Controllare i livelli della batteria.
9. Specifiche
| Caratteristica | Specificazione |
|---|---|
| Nome del modello | 4390-122 |
| Tipo di blocco | catenaccio |
| Materiale | Nichel |
| Colore | Satin Nickel (other finishes available) |
| Dimensioni (L x P x A) | 7.87 x 3.54 x 5.51 pollici |
| Peso dell'articolo | 2.94 libbre |
| Codici utente | Fino a 50 |
| Single-Use Codes | Fino a 10 |
| Auto-Locking Delay | 1-99 seconds (customizable) |
| Fonte di alimentazione | 4 batterie alcaline AA (non incluse) |
| Durata della batteria | 24+ mesi |
| Classificazione di sicurezza | Grado ANSI 3 |
| Caratteristiche speciali | Anti-Bump, Anti-Tamper Alarm, Anti-Pry Shield, Illuminated Keypad |
10. Garanzia e supporto
10.1 Informazioni sulla garanzia
This BRINKS Electronic Deadbolt Lock comes with a Garanzia a vita limitata di 3 anni. Please refer to the warranty card included with your product for full terms and conditions. The warranty covers defects in material and workmanship under normal use.
10.2 Assistenza clienti
For technical assistance, troubleshooting, or warranty claims, please contact BRINKS customer support. Contact information can typically be found on the BRINKS official websito o sulla confezione del prodotto.


