1. Introduzione
The Blaupunkt BPA-E1001 is a 1-channel Class D monoblock amplifier designed to enhance the low-frequency output of your car audio system. This amplifier delivers powerful and clear bass, making it suitable for driving subwoofers. Its Class D architecture ensures high efficiency and compact design, allowing for flexible installation in various vehicle environments.
This manual provides essential information for the proper installation, operation, and maintenance of your BPA-E1001 amplifier. Please read it thoroughly before attempting installation or use.
Immagine 1.1: In alto view of the Blaupunkt BPA-E1001 Monoblock Amplifier, che mostra il logo del marchio e il numero del modello.
2. Informazioni sulla sicurezza
Durante l'installazione e il funzionamento, osservare sempre le seguenti precauzioni di sicurezza:
- Disconnect the vehicle's battery negative terminal before any electrical work to prevent short circuits.
- Ensure all wiring is properly insulated to prevent damage and electrical hazards.
- Montare il amplificatore in modo sicuro in un luogo che consenta un'adeguata ventilazione e sia protetto dall'umidità e dal calore eccessivo.
- Utilizzare cavi di calibro appropriato per i collegamenti di alimentazione, messa a terra e altoparlanti, come specificato nel presente manuale.
- Non azionare il amplifier if it is damaged or malfunctioning. Refer servicing to qualified personnel.
3. Contenuto della confezione
Verificare che tutti gli articoli siano presenti nel pacco:
- Blaupunkt BPA-E1001 Monoblock Amppiù vivace
- Remote Bass Control Unit
- Viti di montaggio
- Fuses (spare or pre-installed)
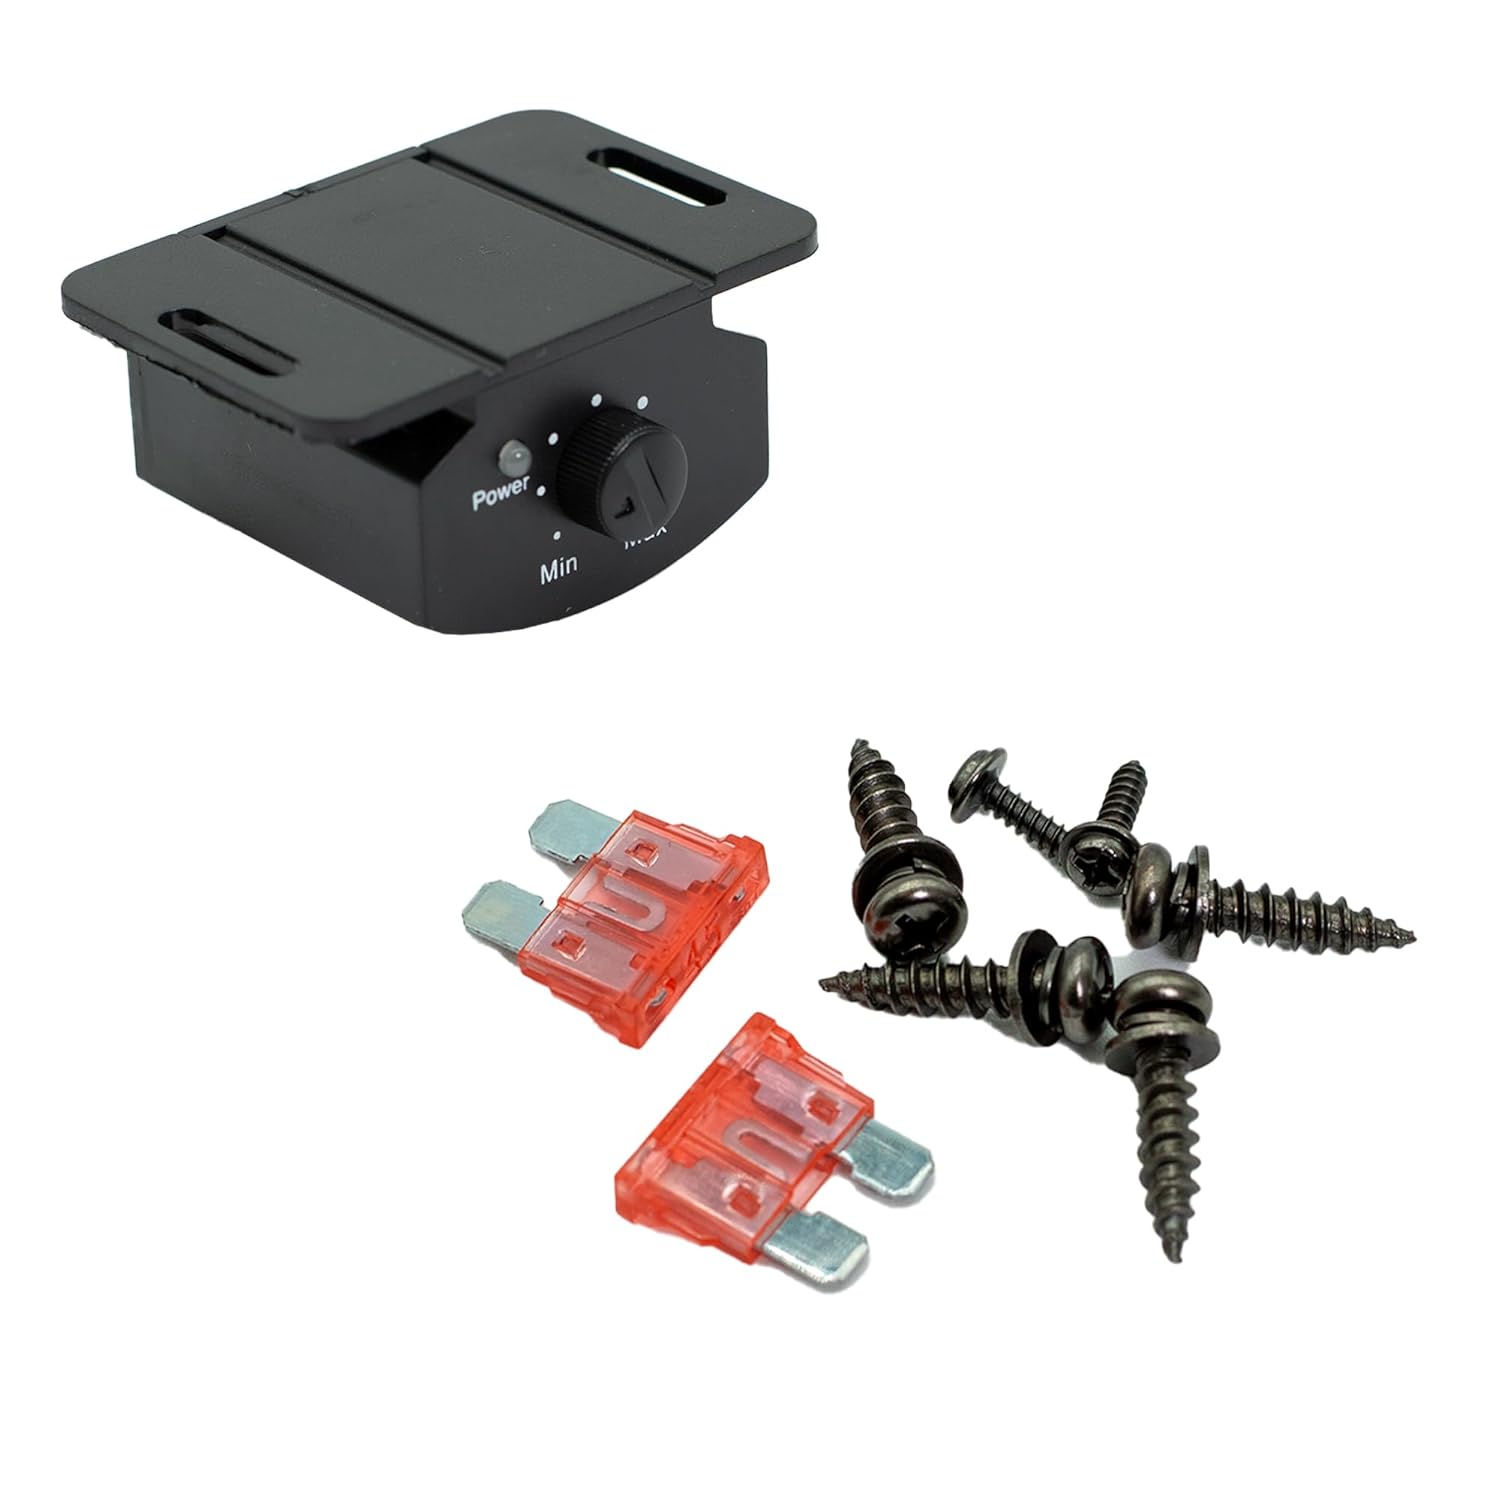
Image 3.1: Included accessories: remote bass control unit, fuses, and mounting screws.
4. Configurazione e installazione
Un'installazione corretta è fondamentale per prestazioni e sicurezza ottimali. In caso di dubbi su alcuni passaggi, consultare un installatore professionista.
4.1 Amplayout lifier

Image 4.1: Control panel side of the amplifier, detailing input and adjustment controls.
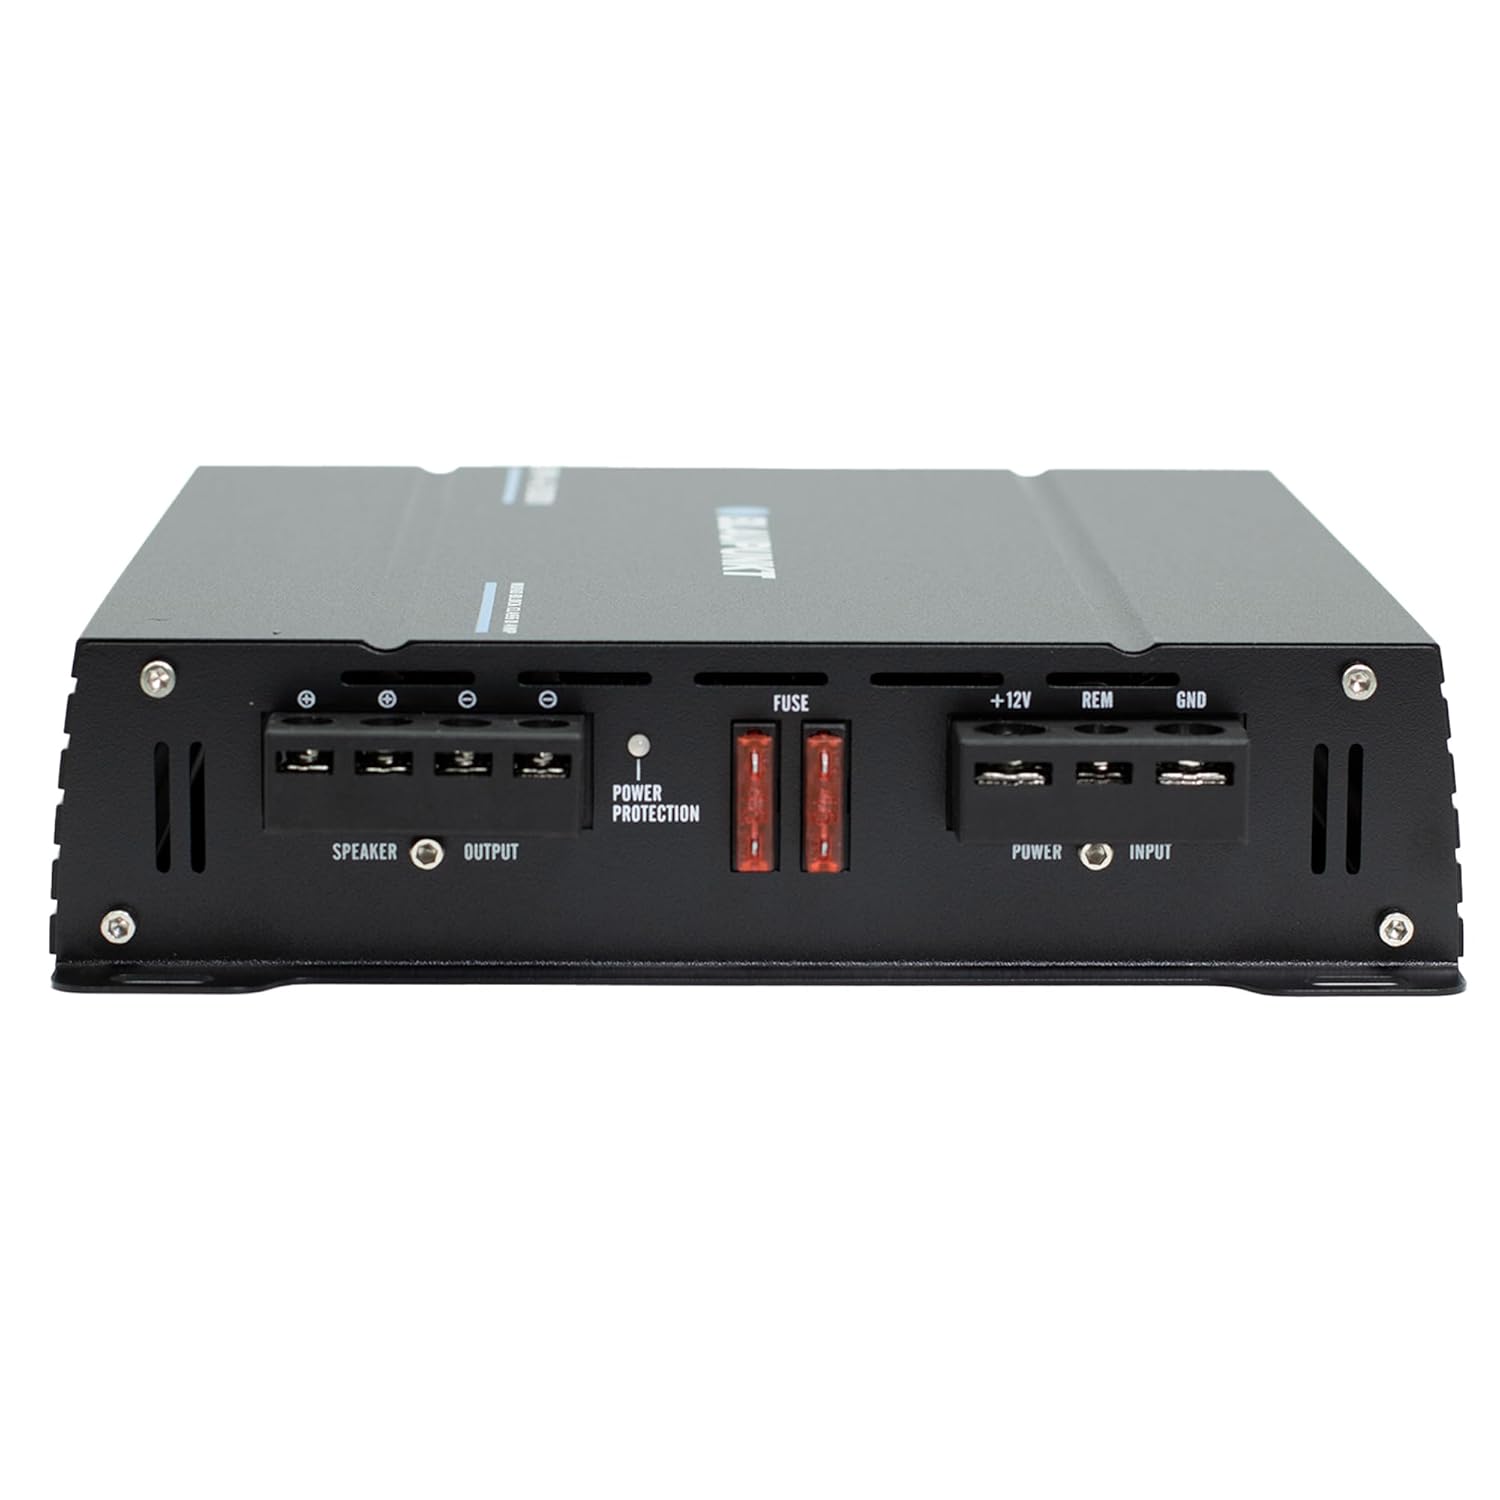
Image 4.2: Power and speaker terminal side of the amplifier, showing power input, remote, ground, and speaker output connections.
4.2 Collegamenti di cablaggio
- Connessione di alimentazione (+12V): Connect a heavy-gauge power cable (e.g., 4-gauge) from the vehicle's positive battery terminal to the +12V terminal on the amplifier. Install an in-line fuse holder with an appropriate fuse (refer to specifications) within 18 inches of the battery.
- Collegamento a terra (GND): Connect a heavy-gauge ground cable of the same length as the power cable from the GND terminal on the amplifier to a clean, unpainted metal surface on the vehicle chassis. Ensure a good electrical connection.
- Accensione remota (REM): Collegare un cavo di accensione remota dall'uscita remota dell'unità principale al terminale REM sul amplificatore. Questo filo trasforma il amplifier acceso e spento con l'unità principale.
- Audio Input (LINE INPUT): Connect RCA cables from your head unit's subwoofer or full-range RCA outputs to the LINE INPUT (L and R) on the amppiù vivace.
- Uscita altoparlante (USCITA ALTOPARLANTE): Connect your subwoofer(s) to the SPEAKER OUTPUT terminals. Ensure correct polarity (+ to + and - to -). Refer to your subwoofer's impedance rating and the amplifier's specifications for compatible loads.
4.3 Montaggio
Montare il amplifier securely using the provided screws. Choose a location that is dry, well-ventilated, and away from direct sunlight or heat sources. Ensure sufficient space around the amplificatore per la circolazione dell'aria.
5. Istruzioni per l'uso
Una volta installato, regolare il ampimpostazioni del filtro per prestazioni audio ottimali.
5.1 Regolazioni del pannello di controllo
- GUADAGNO: Questo controllo corrisponde al amplifier's input sensitivity to the output of your head unit. Start with the gain at minimum and slowly increase it until you hear distortion, then back off slightly. Do not use the gain control as a volume knob.
- FASE (0°/180°): Adjust this switch to match the phase of the subwoofer with the rest of your audio system. Listen for the strongest bass response.
- SUBSONICO (10Hz-50Hz): This is a high-pass filter for subwoofers, removing extremely low frequencies that are inaudible and can cause damage to the subwoofer. Set it slightly below your subwoofer's resonant frequency.
- POTENZIAMENTO DEI BASSI (0dB-12dB): This control provides a boost at a specific low frequency. Use sparingly to avoid distortion and potential speaker damage.
- LOW PASS (50Hz-250Hz): This is a low-pass filter that allows only frequencies below the set point to pass to the subwoofer. Adjust it to blend smoothly with your main speakers.
5.2 Controllo remoto dei bassi
The included remote bass control unit connects to the 'REMOTE' port on the amplifier. This allows you to conveniently adjust the subwoofer output level from the driver's seat.
6. Manutenzione
Per garantire la longevità e le prestazioni del tuo amplificatore:
- Controllare periodicamente tutti i collegamenti elettrici per verificarne la tenuta e la corrosione.
- Mantieni il amplificatore pulito e privo di polvere e detriti. Utilizzare un panno morbido e asciutto per la pulizia.
- Assicurarsi che il amplifier's cooling fins are not obstructed to maintain proper heat dissipation.
7. Risoluzione Dei Problemi
Se riscontri problemi con il tuo amplifier, fare riferimento ai seguenti passaggi comuni per la risoluzione dei problemi:
- Nessun potere: Controllare il fusibile in linea vicino alla batteria e i fusibili sulla amplifier. Verify all power and ground connections are secure. Ensure the remote turn-on wire is receiving +12V when the head unit is on.
- Nessun suono: Check RCA input connections from the head unit. Verify speaker wire connections and ensure correct polarity. Check head unit settings for subwoofer output.
- Suono distorto: Reduce the GAIN setting. Check for proper impedance matching between the amplifier and subwoofer(s). Ensure speaker wires are not shorted.
- AmpSurriscaldamento del lifier: Assicurare una ventilazione adeguata attorno all' amplifier. Check for proper impedance load on the speaker outputs.
If problems persist after following these steps, contact customer support or a qualified technician.
8. Specifiche
The following are the technical specifications for the Blaupunkt BPA-E1001 Monoblock Amplificatore:
| Caratteristica | Specificazione |
|---|---|
| Marca | BLAUPUNKT |
| Numero di modello | BPA-E1001 |
| Numero di canali | 1 |
| Potenza di uscita (massima) | 2000 Watt |
| Potenza RMS (4 Ohm) | 420W |
| Potenza RMS (2 Ohm) | 720W |
| Potenza RMS (1 Ohm) | 1000W |
| Risposta in frequenza | Da 10 Hz a 250 Hz |
| Ampclasse lifier | Classe D |
| Dimensioni del pacco | 12.5 x 9 x 3 pollici |
| Peso dell'articolo | 4.84 libbre |
| Codice UPC | 850053034848 |
| Specifica Met | Commissione federale delle comunicazioni |
9. Garanzia e supporto
Blaupunkt products are designed and manufactured to the highest quality standards. For warranty information and customer support, please refer to the documentation included with your purchase or visit the official Blaupunkt websito. Conservare la prova d'acquisto per eventuali reclami in garanzia.


