1. Introduzione
Thank you for choosing the goobay Digital Timer. This device is designed to help you manage power consumption and enhance home security by automatically switching electrical appliances on and off. It features up to 16 programmable settings (8 ON/OFF pairs), a random mode for anti-burglary protection, and an integrated backup battery to retain settings during power outages.
Please read this manual carefully before use to ensure proper operation and safety.
2. Istruzioni di sicurezza
- Solo per uso interno. Non esporre a umidità o temperature estreme.
- Do not exceed the maximum load of 3680 W (230 V AC, 16 A).
- Non smontare o tentare di riparare il dispositivo. Per qualsiasi intervento di assistenza, rivolgersi a personale qualificato.
- Assicurarsi che il timer sia collegato saldamente a una presa di corrente con messa a terra.
- Tenere fuori dalla portata dei bambini.
- Scollegare il timer dalla presa a muro prima di pulirlo. Pulire solo con un panno asciutto.
- Do not connect appliances that generate a lot of heat, such as heaters, without supervision.
3. Prodotto finitoview
The goobay Digital Timer is a compact and efficient device for controlling your electrical appliances.
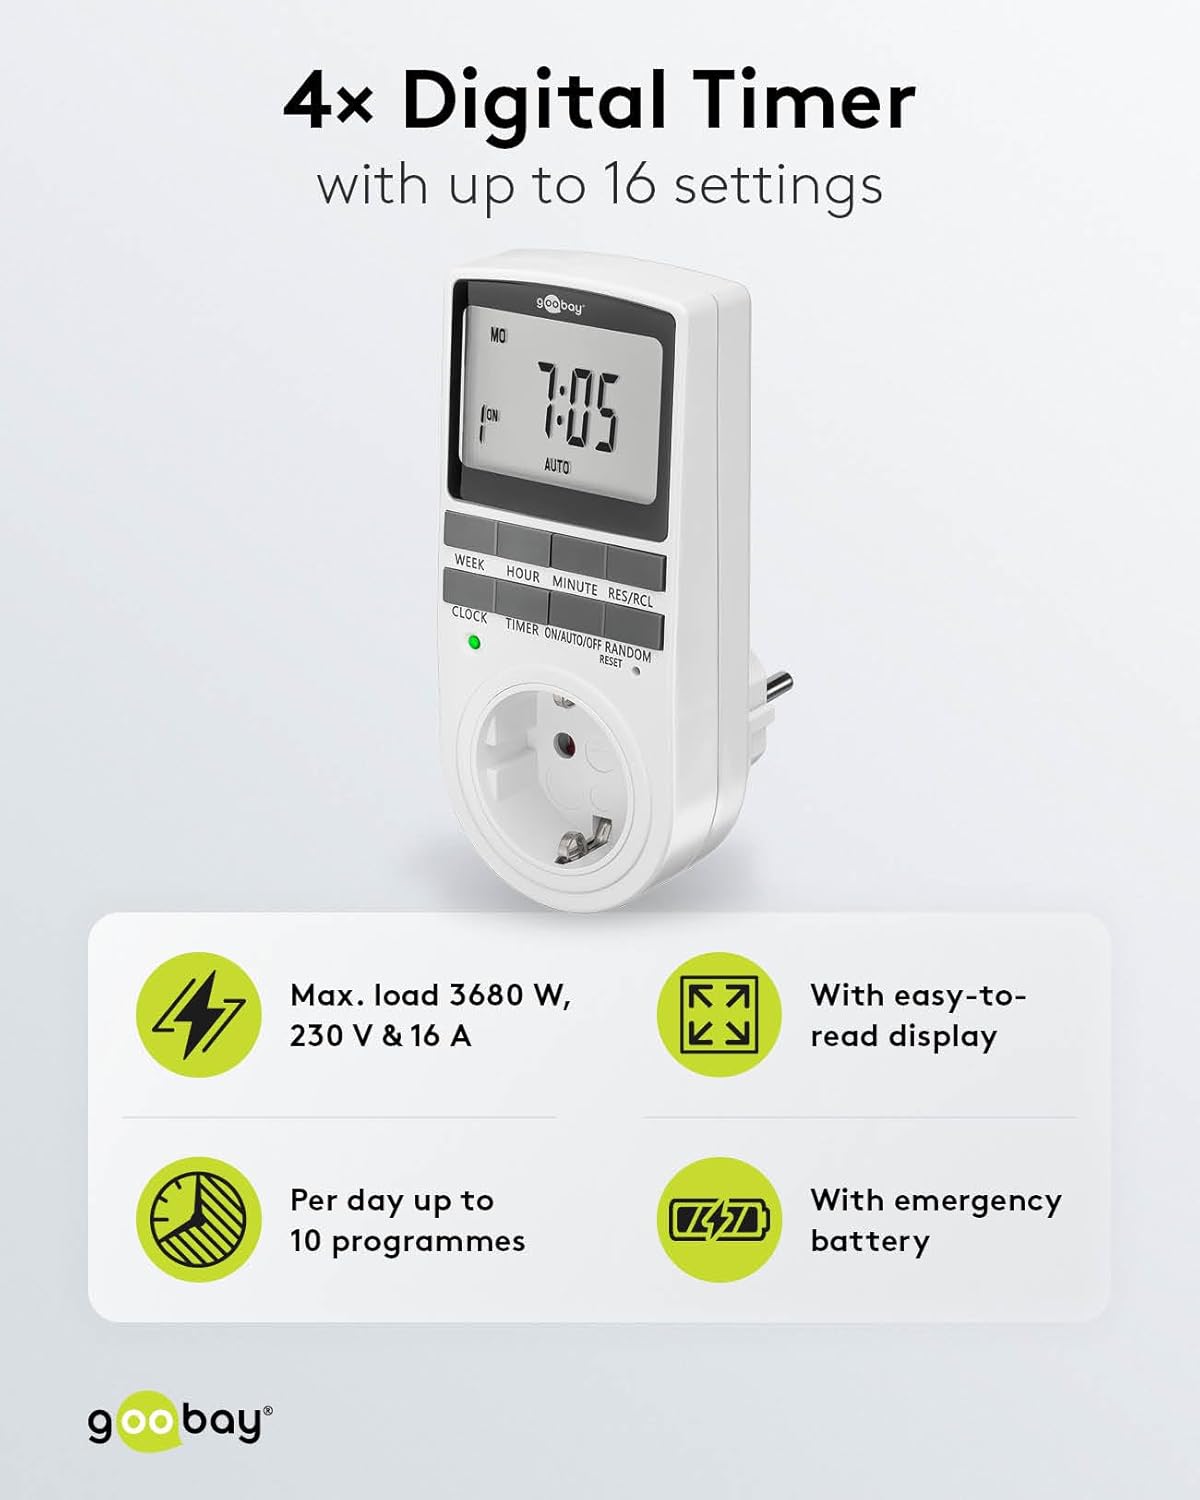
Image: goobay Digital Timer highlighting its features: Max. load 3680 W, 230 V & 16 A; Easy-to-read display; Up to 10 programs per day; Emergency backup battery.
Le caratteristiche principali includono:
- Carico massimo: 3680 W, 230 V & 16 A
- Impostazioni programmabili: Up to 8 ON/OFF program pairs (16 individual settings).
- Modalità casuale: Simulates presence for enhanced security.
- Batteria di backup: Retains settings for over 100 days during power outages.
- Risparmio energetico: Interrupts standby mode of connected devices.
- Design compatto: Space-saving installation.

Immagine: Lato view of the goobay Digital Timer showing its compact dimensions: 135 mm height, 60 mm width, 38 mm depth, and 155g weight.
4. Impostazione
4.1 Carica iniziale
Before first use, plug the timer into a wall outlet for approximately 5-10 minutes to charge the internal backup battery. This ensures the display functions and settings can be retained even when unplugged.
4.2 Ripristino del dispositivo
If the display is blank or unresponsive, or if you wish to clear all previous settings, press the RESET button using a small, non-metallic pointed object (e.g., a toothpick or the included reset tool). This will clear all programs and reset the clock.

Image: The goobay Digital Timer showing the LED status display, Reset function (with reset tool), Safety plug (Type F, CEE 7/4, 230V, 16A, 3680W), and Safety socket (Type F, CEE 7/3, 6A, 250V output).
4.3 Impostazione dell'ora corrente
- Premere il tasto OROLOGIO pulsante.
- Premere il tasto SETTIMANA button to select the current day of the week (MO, TU, WE, TH, FR, SA, SU).
- Premere il tasto ORA button to set the current hour (0-23).
- Premere il tasto MINUTO button to set the current minute (0-59).
- Premere il tasto OROLOGIO nuovamente il pulsante per confermare e uscire dalla modalità di impostazione dell'ora.

Image: Close-up of the goobay Digital Timer's display, indicating Weekday, Selected time setting (1-10), Time of day, and Operating mode (On/Auto/Off).
5. Istruzioni per l'uso
5.1 Programmazione degli orari di accensione/spegnimento
The timer allows for up to 8 ON/OFF program pairs (16 individual settings).
- Premere il tasto TIMER button to enter programming mode. The display will show "1 ON".
- Premere SETTIMANA to select the day(s) for this program. Options include:
- Giorni singoli (LU, MA, ME, GI, VE, SA, DO)
- Groups of days (MO TU WE TH FR SA SU, MO TU WE TH FR, SA SU, MO TU WE TH FR SA, MO WE FR, TU TH SA, MO TU WE, TH FR SA)
- Premere ORA per impostare l'ora di accensione desiderata.
- Premere MINUTO per impostare il minuto di accensione desiderato.
- Premere TIMER di nuovo. Il display mostrerà "1 OFF".
- Repeat steps 2-4 to set the desired OFF time for the same program.
- Continua a premere TIMER to cycle through program settings 2 ON, 2 OFF, up to 8 ON, 8 OFF, setting each as needed.
- Dopo aver impostato tutti i programmi desiderati, premere il tasto OROLOGIO pulsante per uscire dalla modalità di programmazione e tornare alla visualizzazione dell'ora corrente.

Image: Diagram illustrating the functions of the goobay Digital Timer's buttons: WEEK (Set weekday), HOUR (Set hours), MINUTE (Set minutes), RES/RCL (Delete or restore setting), CLOCK (Set different times of day), TIMER (Switch set times), ON/AUTO/OFF (Manual or automatic mode), RANDOM (Random mode).
5.2 Operating Modes (ON/AUTO/OFF)
Premere il tasto ACCESO/AUTOMATICO/SPENTO pulsante per scorrere le modalità operative:
- SOPRA: L'apparecchio collegato rimarrà costantemente ACCESO, ignorando tutte le impostazioni programmate.
- AUTO: The connected appliance will operate according to the programmed ON/OFF times. This is the standard operating mode for scheduled tasks.
- OFF: L'apparecchio collegato rimarrà costantemente SPENTO, ignorando tutte le impostazioni programmate.
5.3 Modalità casuale
The random mode is designed to simulate presence for security purposes. When activated, the timer will switch ON and OFF at random intervals between 6:00 PM and 5:30 AM.
- Assicurarsi che il timer sia in AUTO modalità.
- Premere il tasto CASUALE button to activate or deactivate this mode. An "R" will appear on the display when random mode is active.
5.4 Ora legale (DST)
To adjust for Daylight Saving Time, press the ORA E MINUTO buttons simultaneously while in OROLOGIO mode. The time will advance or rewind by one hour. Repeat to revert.
6. Manutenzione
- Pulizia: Unplug the timer from the wall outlet before cleaning. Wipe the exterior with a soft, dry cloth. Do not use liquid cleaners or sprays.
- Magazzinaggio: If storing the timer for an extended period, ensure the backup battery is charged periodically to maintain its functionality.
- Batteria di backup: The integrated backup battery is designed to retain settings for over 100 days. No user maintenance is required for the battery.
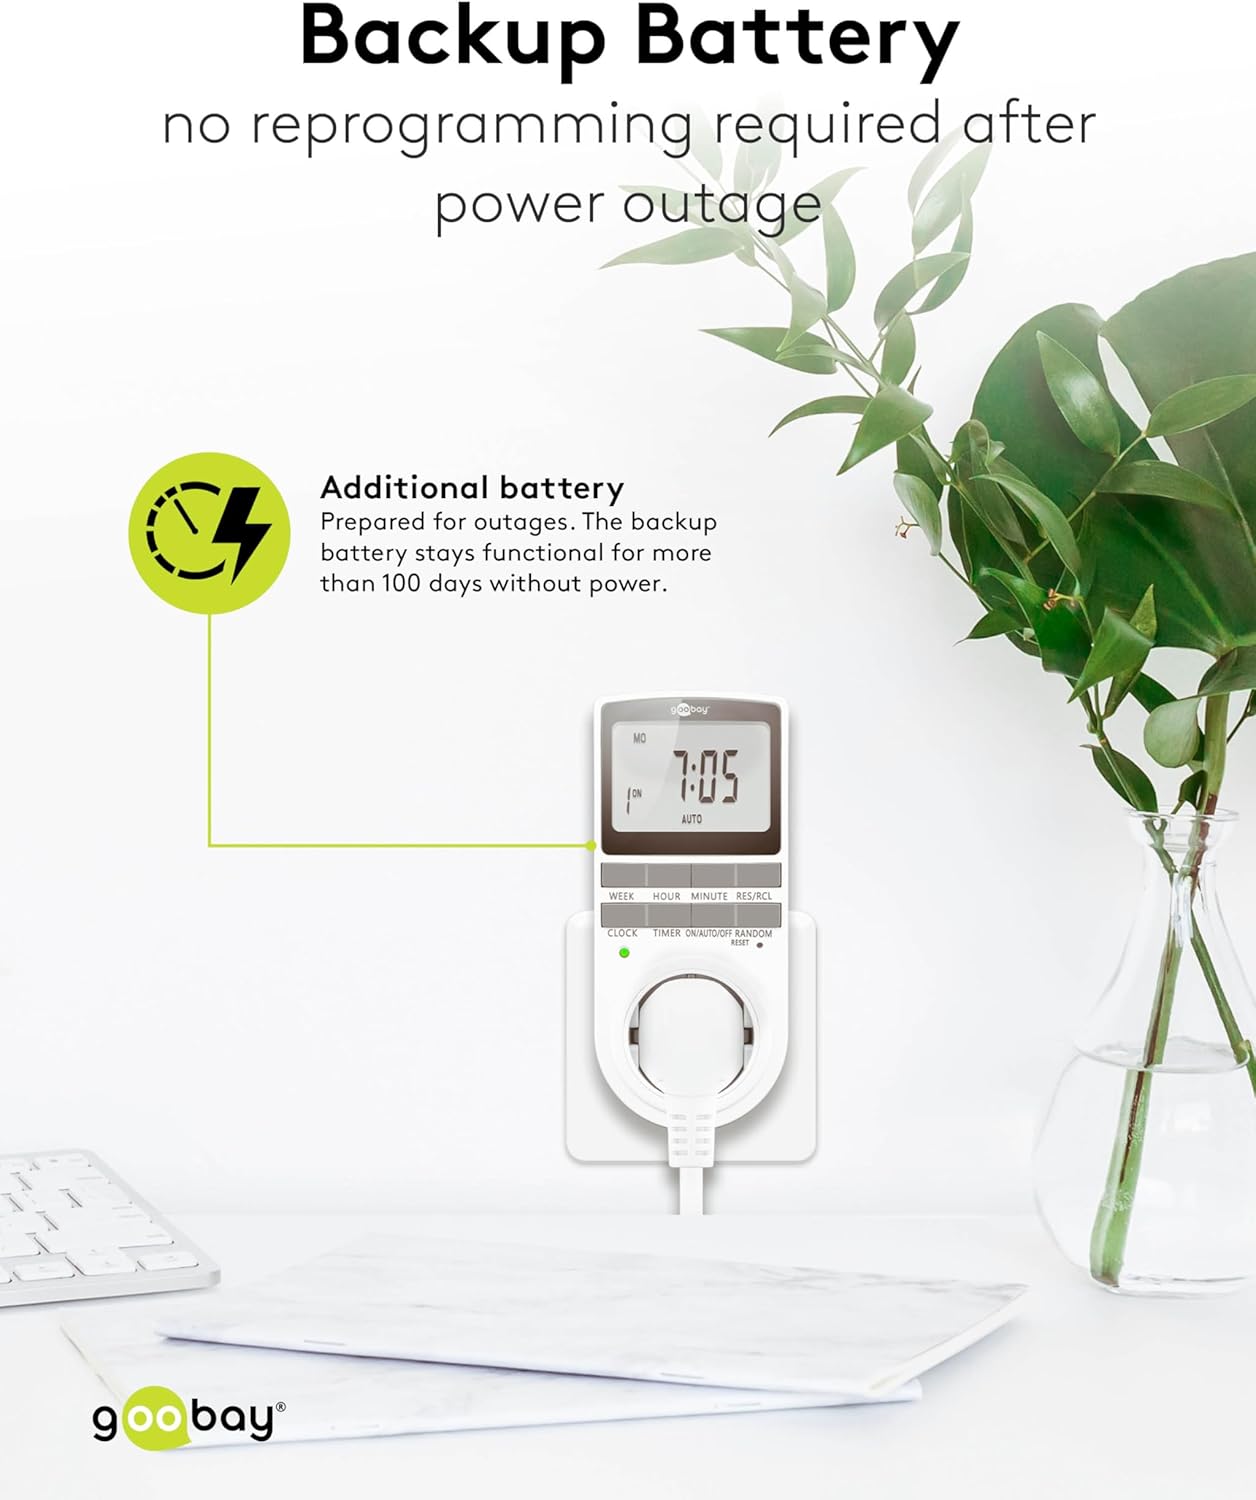
Image: The goobay Digital Timer plugged into an outlet, illustrating the backup battery feature which prevents reprogramming after a power outage.
7. Risoluzione Dei Problemi
| Problema | Possibile causa | Soluzione |
|---|---|---|
| Il display è vuoto o non risponde. | Backup battery is depleted or device needs reset. | Plug the timer into a live outlet for 5-10 minutes to charge the battery. If still unresponsive, press the RESET pulsante. |
| L'apparecchio non si accende/spegne agli orari programmati. | Timer is not in AUTO mode, programs are incorrect, or appliance is faulty. | Assicurarsi che il timer sia impostato su AUTO mode. Verify programmed ON/OFF times. Check if the connected appliance works when plugged directly into the wall outlet. |
| Random mode is not working. | Timer is not in AUTO mode or random mode is not activated. | Assicurarsi che il timer sia in AUTO modalità. premi il CASUALE button to activate it (an "R" should appear on the display). |
| Time is incorrect after a power outage. | Backup battery is depleted or was not charged sufficiently. | Plug the timer into a live outlet for at least 10 minutes to fully charge the backup battery. Reset and reprogram if necessary. |
8. Specifiche
| Marca: | goobay |
| Numero modello: | 74217 |
| Colore: | Bianco |
| Materiale: | Plastica acrilonitrile-butadiene-stirene |
| Dimensioni del prodotto (L x P x A): | Dimensioni: 7.6 x 6 x 13.5 cm |
| Peso dell'articolo: | 155 grammi |
| Volume di fornituratage: | 230 V (CA) |
| Max. Potenza di commutazione: | 3680 L |
| Corrente massima: | 16.0 A |
| Numero di impostazioni: | 16 (8 ON/OFF program pairs) |
| Grado di protezione: | Grado di protezione IP20 |
| Classe di protezione: | I |
| Paese di origine: | Cina |
9. Garanzia e supporto
Specific warranty information is not provided within this manual. For details regarding warranty coverage, technical support, or service, please refer to the official goobay websito o contattare il rivenditore.
Spesso è possibile trovare risorse aggiuntive e informazioni di contatto sul sito web del produttore websito: www.goobay.com


