1. Introduzione
This manual provides comprehensive instructions for the assembly, operation, and maintenance of your sweeek INATDRES5SH Cane and Wood Effect Wardrobe. Please read all instructions carefully before beginning assembly and retain this manual for future reference. Proper assembly and care will ensure the longevity and safe use of your furniture.

The sweeek wardrobe, featuring a cane and wood effect design, provides elegant storage. Its single door and five internal shelves make it suitable for various items in a bedroom or living space.
2. Caratteristiche del prodotto
The sweeek INATDRES5SH wardrobe is designed to offer both aesthetic appeal and practical storage solutions. Key features include:
- Ideal for a bedroom: Perfectly sized and styled for bedroom environments.
- Pine wood handle: Un prodotto durevole ed esteticamente gradevoleasing handle made from pine wood.
- Five shelves: Fornisce ample space for organized storage of clothing, accessories, and personal items.
- Porta reversibile: The single door can be installed to open from either the left or right side, offering flexibility for room layout.
- Cane and wood effect design: Adds a touch of sophistication and natural ambiance to any interior.
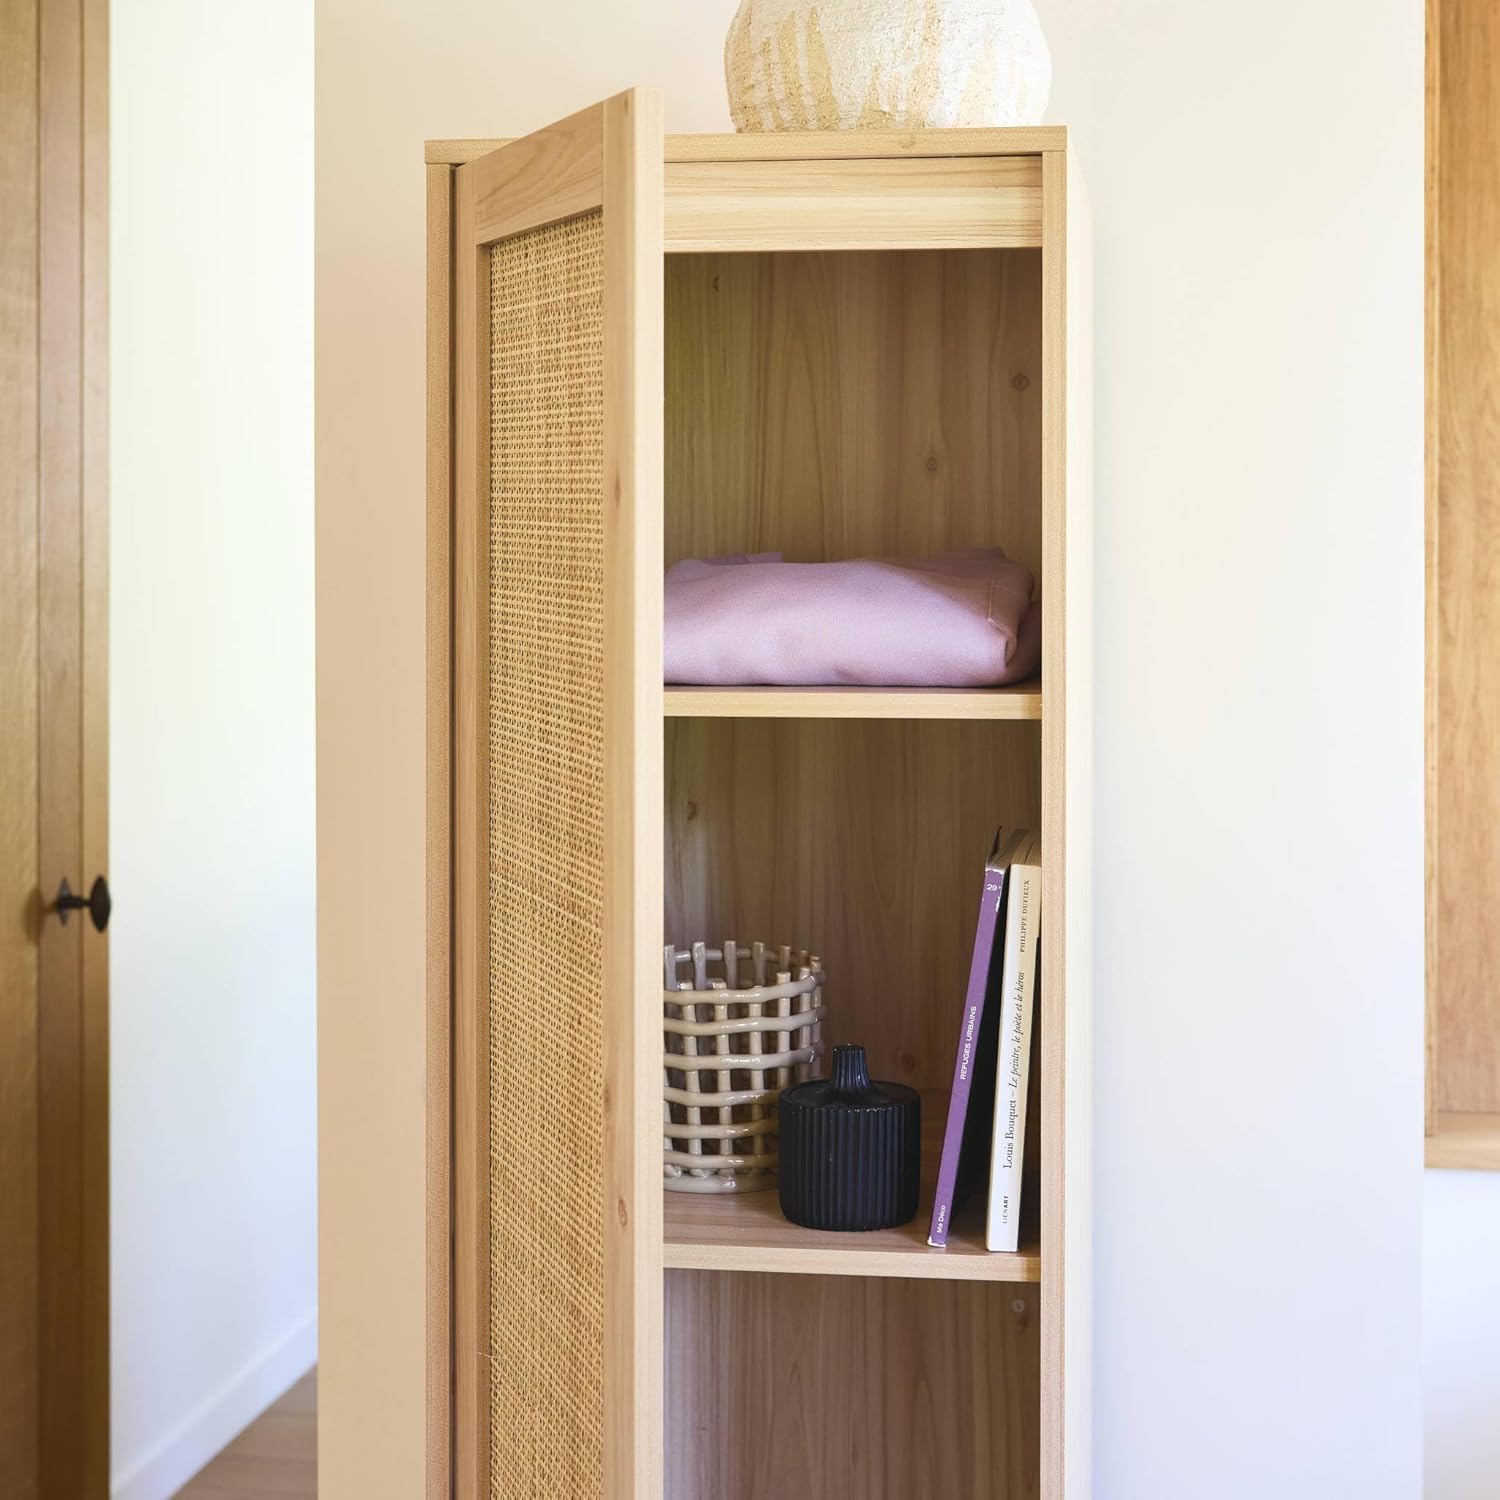
The wardrobe interior features five spacious shelves, ideal for organizing clothes, accessories, or other personal items. The door opens to reveal the full storage capacity.

Questa immagine fornisce un'alternativa view of the wardrobe's open interior, showcasing the depth and arrangement of the five fixed shelves, designed for efficient storage.

A collage showing close-ups of the wardrobe's construction details, including a metal hinge, a corner joint, the wooden handle, and the intricate pattern of the cane material on the door.
3. Informazioni sulla sicurezza
AVVERTIMENTO:
- Do not exceed the maximum supported weight of 50 kg for the entire unit.
- Assemble with care, strictly following the provided instructions.
- Place the furniture on a stable, level surface to prevent tipping or injury.
- Ensure all fasteners are securely tightened during assembly and periodically check for looseness.
- Durante il montaggio, tenere le parti di piccole dimensioni lontano dalla portata dei bambini per evitare rischi di soffocamento.
4. Istruzioni per l'installazione e il montaggio
Please ensure you have all components and tools before starting assembly. It is recommended to assemble the wardrobe on a soft, clean surface to prevent scratches. Two people are recommended for assembly.
Strumenti richiesti (non inclusi):
- Cacciavite con testa a croce
- Martello (facoltativo, per i tasselli)
Fasi di assemblaggio:
- Disimballare e identificare i componenti: Carefully unpack all parts and hardware. Refer to the included parts list to ensure all items are present.
- Fissare i piedi: Secure the wardrobe feet to the bottom panel using the provided screws.
- Assemblare i pannelli laterali: Connect the side panels to the bottom and top panels using dowels and cam locks/screws. Ensure they are aligned correctly.
- Installa scaffali: Insert the five shelves into the pre-drilled holes on the side panels. Ensure they are level and secure.
- Fissare il pannello posteriore: Carefully align and attach the back panel to the assembled frame using small nails or screws. This adds stability.
- Installare le cerniere della porta: Attach the hinges to the door and the side panel of the wardrobe. Decide on the desired door opening direction (left or right) before attaching.
- Porta di montaggio: Carefully lift and attach the door to the hinges. Adjust the hinges as needed to ensure the door closes smoothly and aligns properly.
- Attacca la maniglia: Secure the pine wood handle to the door.
- Controllo finale: Verify that all screws and fasteners are tight and the wardrobe is stable.
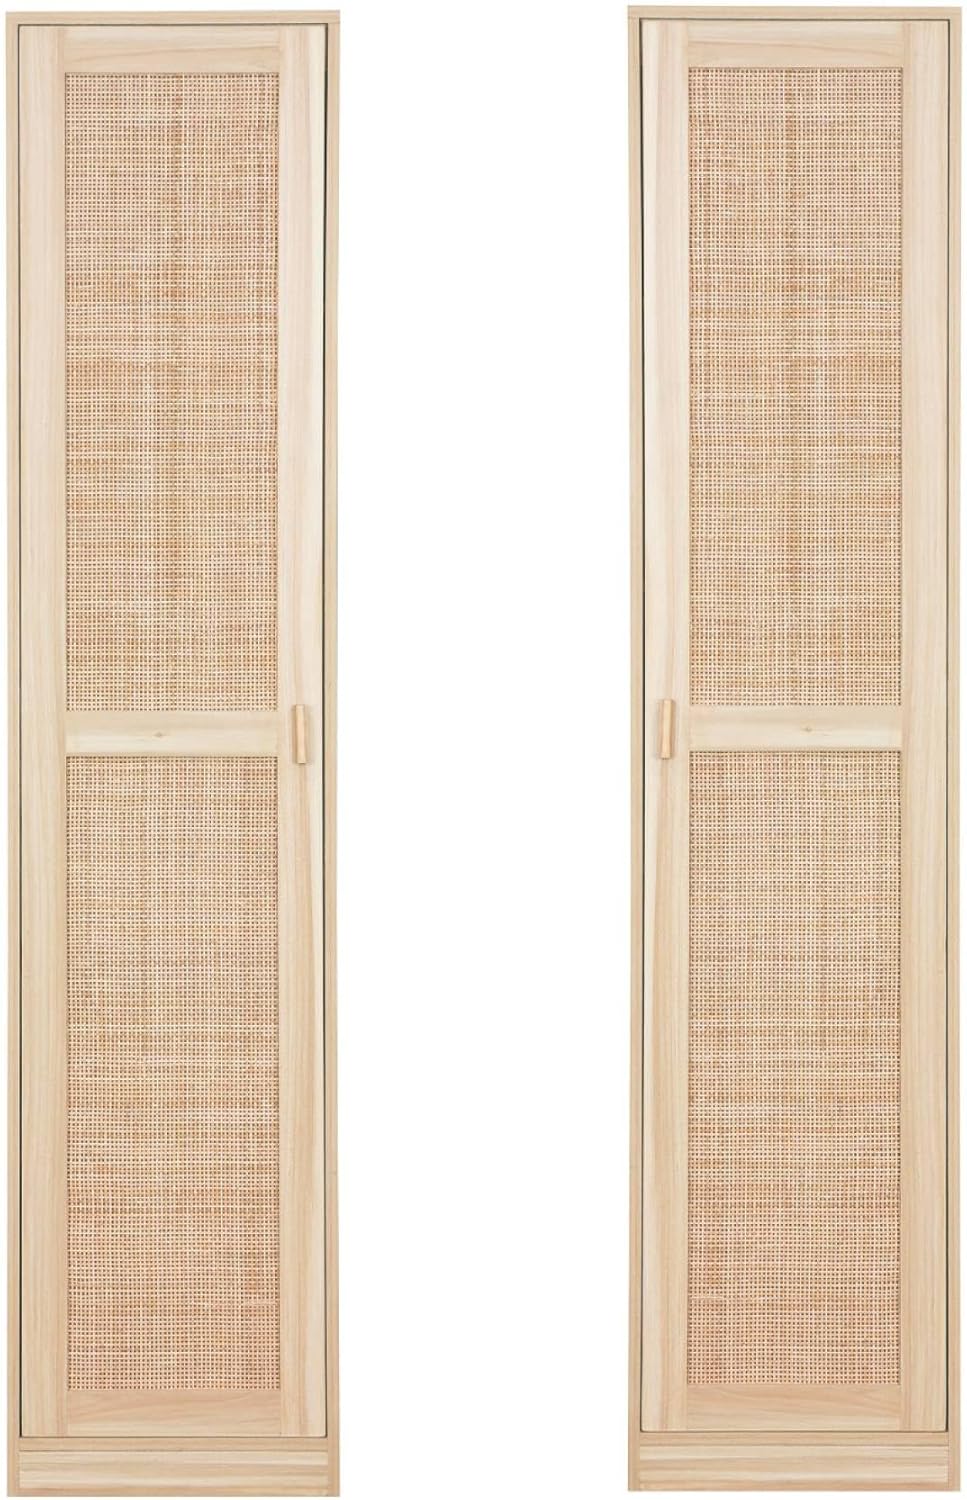
Un dettagliato view of the wardrobe's doors, highlighting the natural cane weaving and the light wood effect finish. The doors are designed to be reversible during assembly.
5. Istruzioni per l'uso
Using your sweeek wardrobe is straightforward:
- Apertura/Chiusura della Porta: Gently pull or push the pine wood handle to open or close the door. Avoid forcing the door to prevent damage to hinges or the frame.
- Utilizzo degli scaffali: Place items evenly across the shelves. Do not overload any single shelf or the entire unit beyond the specified weight limits.
- Distribuzione del peso: Distribute weight evenly across the shelves and within the wardrobe to maintain stability. Heavier items should ideally be placed on lower shelves.
6. Manutenzione
To keep your wardrobe in optimal condition, follow these maintenance guidelines:
- Pulizia: Pulire le superfici con un panno morbido, damp cloth. Avoid abrasive cleaners or harsh chemicals that could damage the wood effect finish or cane material.
- Spolverare: Spolverare regolarmente l'armadio con un panno asciutto e morbido per evitare l'accumulo di polvere.
- Cane Care: For the cane panels, use a soft brush or vacuum cleaner with a brush attachment to gently remove dust. Avoid excessive moisture.
- Ispezione: Controllare periodicamente tutte le viti e gli elementi di fissaggio per assicurarsi che siano ben serrati. Serrarli nuovamente se necessario per preservare l'integrità strutturale.
- Evitare la luce solare diretta: Prolonged exposure to direct sunlight can cause fading or discoloration of the wood effect and cane.
- Controllo dell'umidità: Mantenere un livello di umidità stabile nella stanza per evitare che il legno si deformi o si screpoli.
7. Risoluzione Dei Problemi
Se riscontri problemi con il tuo guardaroba, prendi in considerazione le seguenti soluzioni comuni:
- Armadio traballante: Ensure the wardrobe is placed on a level surface. Check all assembly screws and tighten any that are loose.
- La porta non si chiude correttamente: Check the hinge alignment. Adjust the hinge screws to ensure the door is properly aligned and closes smoothly. Ensure no items inside are obstructing the door.
- Graffi o danni minori: For minor scratches on the wood effect, a furniture repair pen or wax stick matching the color may be used.
Se i problemi persistono, contattare l'assistenza clienti.
8. Specifiche
Detailed specifications for the sweeek INATDRES5SH Wardrobe:
| Attributo | Valore |
|---|---|
| Marca | dolce |
| Numero di modello | INATDRES5SH |
| Colore | Beige |
| Materiale | Legno ingegnerizzato |
| Dimensioni del prodotto (L x P x A) | Dimensioni: 40 x 48 x 180 cm |
| Peso netto | 33 chilogrammi |
| Capacità massima di peso totale | 50 chilogrammi |
| Capacità massima di peso dello scaffale | 10 chilogrammi per scaffale |
| Spessore del pannello | 1.5 centimetri |
| Dimensioni dello scaffale (L x P) | 37 x 46 cm (x5) |
| Altezza tra i ripiani | 33 centimetri |
| Altezza del piede | 7 centimetri |
| Caratteristica speciale | Cane design |
| Tipo di montaggio | Montaggio a pavimento |
| Uso consigliato | Deposito di vestiti |

This diagram illustrates the key dimensions of the sweeek wardrobe: Height 180 cm, Width 40 cm, Depth 48 cm. Internal shelf dimensions are also shown.
9. Garanzia e supporto
Your sweeek INATDRES5SH wardrobe is covered by standard legal guarantees. For specific warranty details, please refer to your purchase documentation or contact the retailer.
For technical assistance, missing parts, or any other inquiries, please contact sweeek customer support through their official website or the point of purchase. Please have your model number (INATDRES5SH) and purchase date ready when contacting support.


