1. Introduzione
Thank you for choosing the ELECTROPRIME Zealot H20 TWS Bluetooth Earphones. This manual provides detailed instructions for the proper use, setup, and maintenance of your new wireless earbuds. Please read this manual thoroughly before use to ensure optimal performance and longevity of your device.
The Zealot H20 offers a true wireless stereo experience with Bluetooth 5.0 connectivity, ensuring stable and low-latency audio. Featuring a 10mm dynamic ring speaker, these earphones deliver clear and rich sound. The magnetic charging box provides convenient storage and charging, while the touch controls offer intuitive operation.
2. Contenuto della confezione
Si prega di controllare la confezione per verificare la presenza dei seguenti elementi:
- ELECTROPRIME Zealot H20 TWS Bluetooth Earphones (Left and Right)
- Magnetic Charging Box
- Cavo di ricarica USB
- Manuale d'uso
3. Prodotto finitoview
Familiarize yourself with the components of your ELECTROPRIME Zealot H20 TWS Earphones.
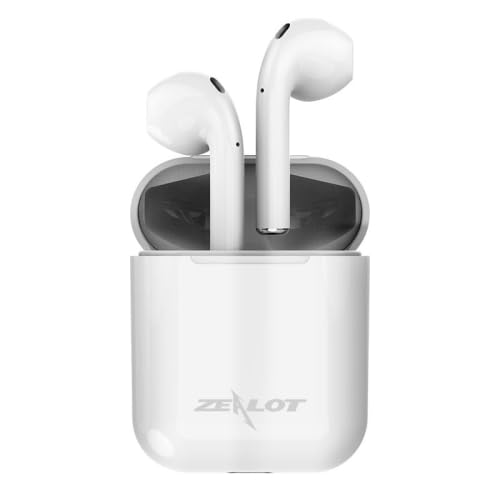
The ELECTROPRIME Zealot H20 TWS Bluetooth Earphones are shown in their white magnetic charging case. The earbuds are seated upright within the case, indicating their charging position.

This image illustrates the dimensions of the ELECTROPRIME Zealot H20 TWS Earbuds charging case. The case measures 54mm in height, 43mm in width, and 20mm in depth. The earbuds are shown inside the case.
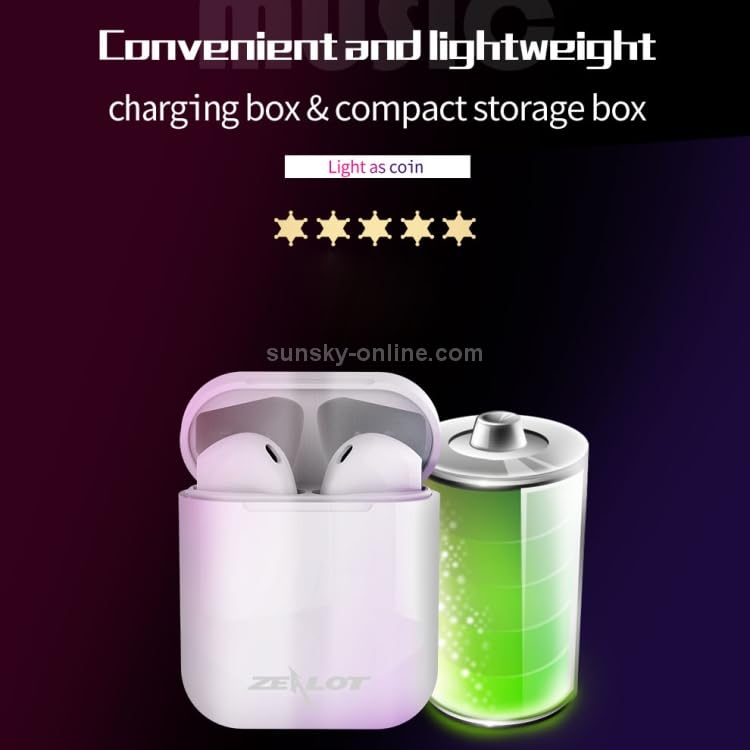
The ELECTROPRIME Zealot H20 TWS Earbuds charging case is depicted alongside a large battery icon, emphasizing its compact and lightweight design for portability.
4. Impostazione
4.1. Charging the Earphones and Charging Box
Before first use, ensure both the earphones and the charging box are fully charged.
- Place the earphones into the charging box. They will magnetically snap into place and begin charging automatically.
- Connect the USB charging cable to the charging port on the charging box and plug the other end into a DC 5V power source (e.g., a USB wall adapter, computer USB port).
- The indicator light on the charging box will show charging status. Once fully charged, the indicator will change or turn off.
A full charge allows the earphones to stand by for approximately one month.
4.2. Associazione con un dispositivo Bluetooth
The earphones utilize Bluetooth 5.0 for a stable connection.
- Open the charging box and take out both earphones. They will automatically power on and enter pairing mode. You may hear a voice prompt indicating they are ready to pair.
- Sul tuo dispositivo (smartphone, tablet, ecc.), vai alle impostazioni Bluetooth e assicurati che il Bluetooth sia abilitato.
- Cercare available devices. You should see "Zealot H20" or a similar name appear in the list.
- Select "Zealot H20" to connect. Once connected, you will hear a confirmation voice prompt.
- If pairing fails, place the earphones back into the charging box, close the lid, wait a few seconds, and then repeat the steps.
5. Istruzioni per l'uso
The Zealot H20 earphones feature intuitive touch controls.
5.1. Controlli touch di base
- Riproduci/Pausa: Un singolo tocco su uno degli auricolari.
- Traccia successiva: Tocca due volte l'auricolare destro.
- Traccia precedente: Tocca due volte l'auricolare sinistro.
- Rispondi/Termina chiamata: Un singolo tocco su uno degli auricolari durante una chiamata in arrivo.
- Rifiuta chiamata: Durante una chiamata in arrivo, tenere premuto uno degli auricolari per 2 secondi.
- Attiva l'assistente vocale: Triple tap on either earphone (if supported by your device).
- Accensione: Estrarre gli auricolari dalla custodia di ricarica.
- Spegni: Place earphones back into the charging case.
5.2. Funzioni di chiamata
The earphones support stereo calls with automatic noise reduction for clearer conversations.
- Ensure both earphones are connected for stereo call functionality.
- The built-in microphone and noise reduction algorithm help shield environmental noise.
5.3. Display di potenza
For iOS system devices, the earphone's power level can be displayed in real-time on your device's screen.
6. Manutenzione
Una cura adeguata garantisce la longevità e le prestazioni degli auricolari.
- Pulizia: Utilizzare un panno morbido, asciutto e privo di lanugine per pulire gli auricolari e la custodia di ricarica. Non utilizzare prodotti chimici aggressivi o materiali abrasivi.
- Magazzinaggio: Quando non li usi, conservali nella loro custodia di ricarica per proteggerli da polvere e danni. Conservali in un luogo fresco e asciutto, lontano da temperature estreme.
- Esposizione all'acqua: Avoid exposing the earphones to water or excessive moisture. They are not waterproof.
- Ricarica: Utilizzare solo il cavo di ricarica fornito o un equivalente certificato. Evitare di sovraccaricare.
7. Risoluzione Dei Problemi
Se riscontri problemi, prova le seguenti soluzioni:
| Problema | Possibile soluzione |
|---|---|
| Gli auricolari non si accoppiano |
|
| Funziona solo un auricolare |
|
| Nessun suono |
|
| Problemi di ricarica |
|
8. Specifiche
Detailed technical specifications for the ELECTROPRIME Zealot H20 TWS Earphones:
- Versione Bluetooth: Versione 5.0+EDR
- Distanza di trasmissione: 10 metri
- Capacità della batteria della scatola di ricarica: 300mAh
- Capacità della batteria delle cuffie: 25mAh
- Volume di caricatage: CC 5V
- Impedenza dell'altoparlante: 32 ohm
- Risposta in frequenza: Da 100 Hz a 20 kHz
- Potenza di uscita: 10 mW
- Rapporto segnale/rumore: ≥ 80 dB
- Volume di lavorotage: 3.7V
- Distorsione: 1%
- Weight (including charging compartment): 31g
- Size (Charging Box): 43mm (W) x 20mm (D) x 54mm (H)
- Progetto: Semi-auricolare
- Materiale: ABS shell with UV high-gloss process
9. Garanzia e supporto
ELECTROPRIME products are manufactured to high standards and are backed by a warranty. For specific warranty details, please refer to the warranty card included in your package or visit the official ELECTROPRIME websito.
If you require technical assistance or have questions regarding your ELECTROPRIME Zealot H20 TWS Earphones, please contact our customer support team through the contact information provided on your purchase receipt or the ELECTROPRIME official websito.
Conservare la prova d'acquisto per eventuali richieste di garanzia.