1. Introduzione
Thank you for choosing the ONEVAN Cordless Impact Wrench. This manual provides essential information for the safe and efficient operation, maintenance, and troubleshooting of your tool. Please read this manual thoroughly before first use and keep it for future reference.
This powerful 20V brushless impact wrench delivers up to 700 N.m of torque and features a high-efficiency motor, multiple speed settings, and an integrated LED light, making it suitable for various heavy-duty applications.
2. Importanti istruzioni di sicurezza
Seguire sempre le precauzioni di sicurezza di base per ridurre il rischio di incendio, scosse elettriche e lesioni personali.
- Sicurezza dell'area di lavoro: Mantenere l'area di lavoro pulita e ben illuminata. Non utilizzare utensili elettrici in atmosfere esplosive, ad esempio in presenza di liquidi, gas o polveri infiammabili.
- Sicurezza elettrica: Evitare il contatto del corpo con superfici messe a terra. Non esporre gli elettroutensili alla pioggia o all'umidità.
- Sicurezza personale: Indossare sempre protezioni per gli occhi, protezioni per l'udito e guanti da lavoro adeguati. Vestirsi in modo adeguato; evitare abiti larghi o gioielli.
- Uso e cura dello strumento: Non forzare l'utensile elettrico. Utilizzare l'utensile corretto per l'applicazione. Scollegare la batteria dall'utensile prima di effettuare qualsiasi regolazione, sostituire accessori o riporre l'utensile elettrico.
- Uso e cura della batteria: Ricaricare solo con il caricabatterie specificato dal produttore. Non utilizzare le batterie con altri utensili elettrici. Non bruciare la batteria, anche se gravemente danneggiata.
3. Prodotto finitoview
The ONEVAN Cordless Impact Wrench is designed for efficient fastening and loosening of nuts and bolts. It features a robust brushless motor for extended tool life and performance.

Figura 1: ONEVAN Cordless Impact Wrench with included batteries and charger.
Componenti chiave:
- Impact Wrench Body
- 20V Lithium-ion Battery Pack (2x 3.0Ah)
- Caricabatterie
- Incudine quadrata
- Interruttore avanti/indietro
- Speed Selector / Mode Button
- grilletto
- Luce di lavoro a LED integrata
Tecnologia motore brushless:

Figura 2: Benefits of the high-efficiency brushless motor, including extended lifespan and reduced noise.
The brushless motor provides increased efficiency, longer tool life, and reduced maintenance compared to traditional brushed motors. It also contributes to higher power output and lower noise levels.
4. Impostazione
4.1 Ricarica della batteria
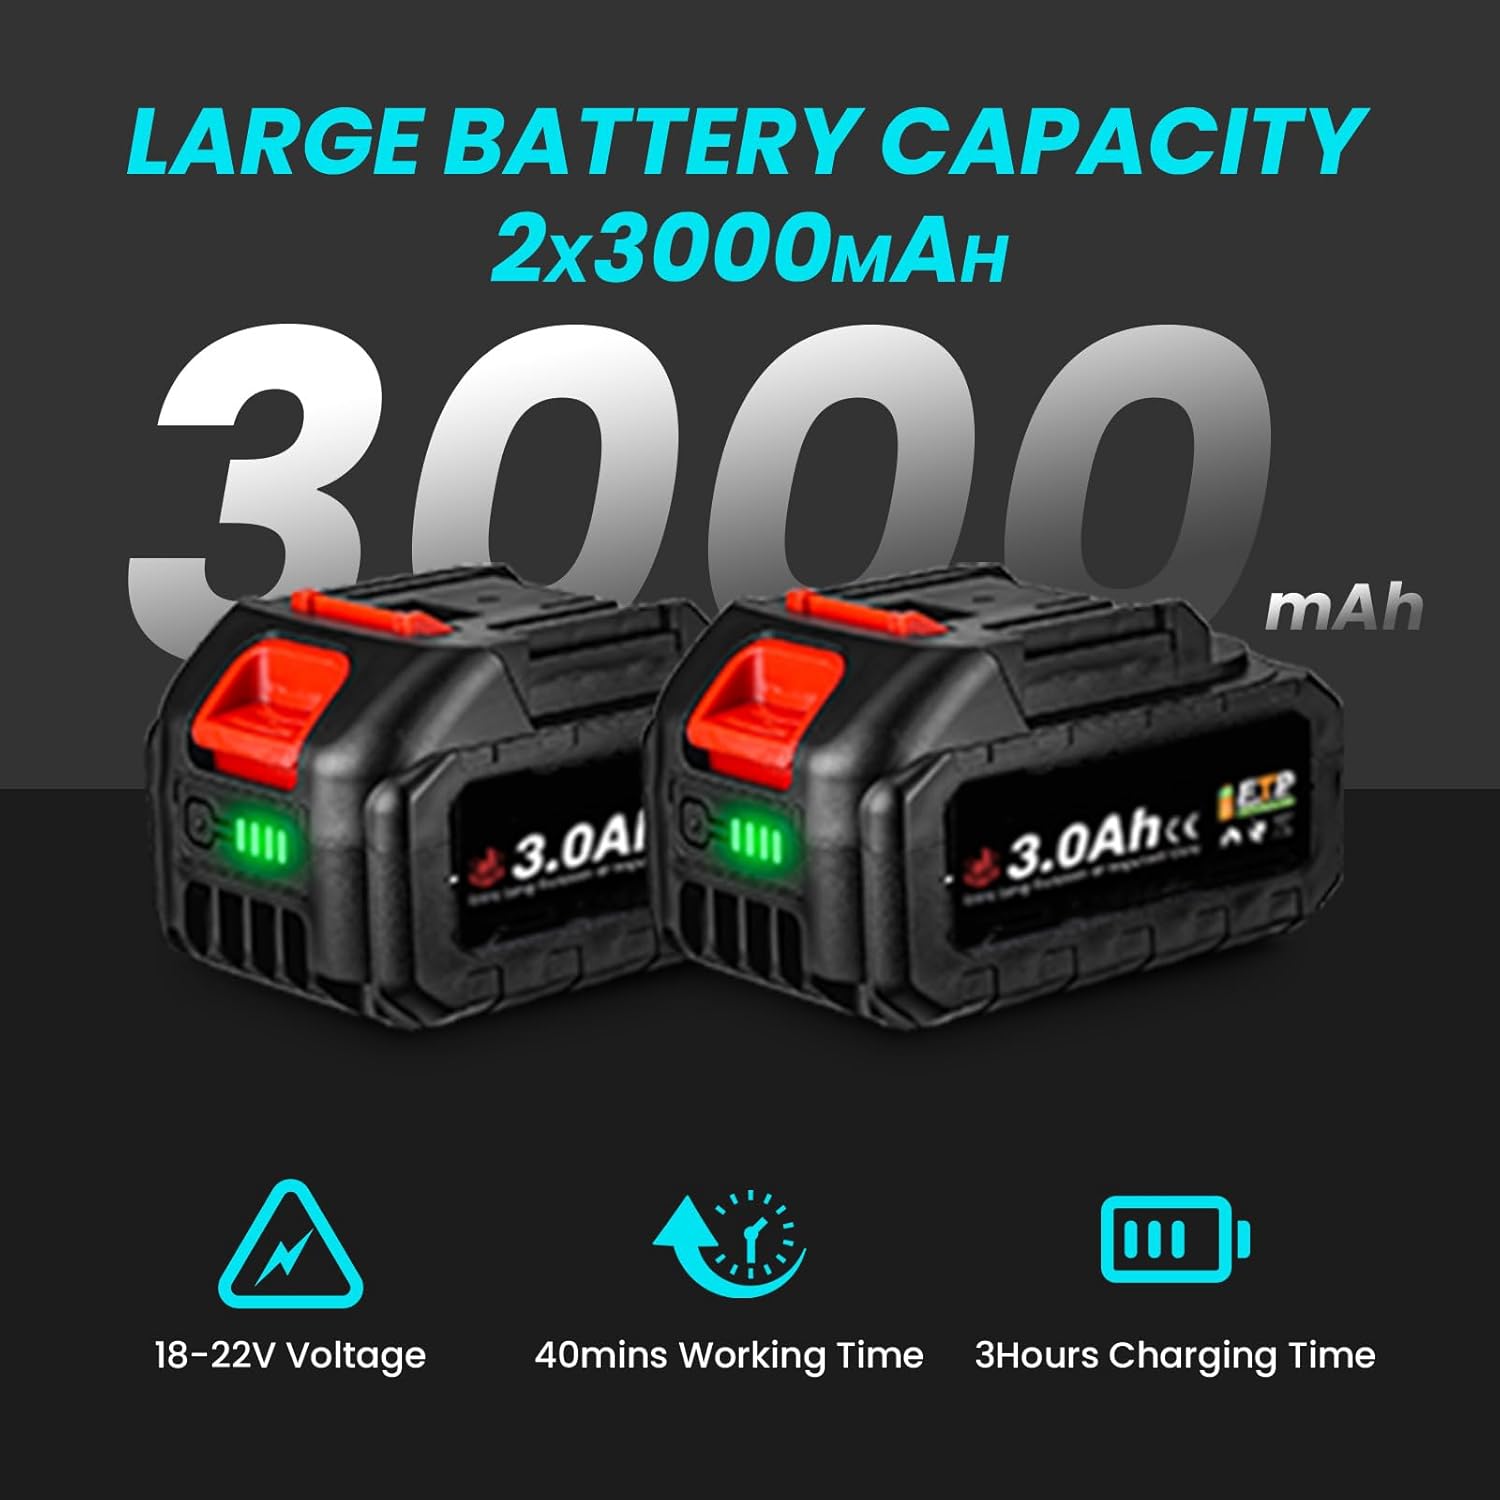
Figura 3: Two 3.0Ah Lithium-ion battery packs, indicating their large capacity and charge status.
- Assicurarsi che la batteria sia inserita saldamente nel caricabatterie.
- Collegare il caricabatterie a una presa di corrente standard.
- The charging indicator on the charger will show the charging status. A full charge typically takes approximately 3 hours for a 3.0Ah battery.
- Una volta completata la carica, scollegare il caricabatterie dalla presa di corrente e rimuovere la batteria.
4.2 Installazione e rimozione della batteria
- Per installare: Align the battery pack with the receptacle on the tool handle and slide it in until it clicks into place.
- Per rimuovere: Press the battery release button (if present) and slide the battery pack out of the tool handle.
4.3 Fissaggio degli accessori (prese)
- Assicurarsi che l'utensile sia spento e che la batteria sia stata rimossa.
- Push the desired impact socket onto the square drive anvil until it locks securely.
- Per rimuoverlo, tirare con decisione la presa dall'incudine.
5. Istruzioni per l'uso
5.1 Accensione/Spegnimento
- Per accendere: Premere il grilletto. L'utensile inizierà a funzionare.
- Per spegnere: Rilasciare l'interruttore del grilletto.
5.2 Rotazione avanti/indietro

Figura 4: The forward and reverse switch mechanism for tightening and loosening.
The tool features a forward/reverse switch located above the trigger. This switch also acts as a lock-off button.
- Forward Rotation (Tightening): Spingere l'interruttore verso sinistra (quando viewed dalla parte posteriore dell'utensile).
- Reverse Rotation (Loosening): Push the switch to the right.
- Bloccare: Position the switch in the center to prevent accidental starting.
5.3 Speed Settings (4 Gears)

Figura 5: The 4-gear speed indicator and mode button for adjusting RPM.
This impact wrench offers 4 adjustable speed settings (0-2300 RPM) to match the application requirements. Press the 'MODE' button to cycle through the speed settings. The selected speed will be indicated by the LED lights on the tool.
5.4 Brake Stop Function (Reverse Mode)

Figura 6: The premium brake stop feature, designed to prevent nuts or bolts from falling off once loosened.
When operating in reverse mode, the brake stop function automatically activates once the nut or bolt is loosened. This feature reduces the speed and torque, preventing the fastener from flying off or getting lost.
5.5 Luce di lavoro a LED integrata

Figura 7: The integrated LED light enhances visibility in dimly lit working conditions.
The integrated LED light automatically illuminates the work area when the trigger is pressed, improving visibility in dark or confined spaces.
5.6 Applicazioni

Figura 8: The ONEVAN impact wrench is suitable for a variety of applications, including automotive, construction, and DIY projects.
This impact wrench is designed for heavy-duty tasks such as:
- Riparazioni automobilistiche (ad esempio, rimozione pneumatici, lavori al motore)
- Loosening rusted bolts
- Assembly of agricultural machinery
- Construction and DIY projects requiring high torque
6. Manutenzione
6.1 Pulizia
- Mantenere pulite le aperture di ventilazione dell'utensile per evitare il surriscaldamento.
- Pulisci l'utensile con un panno morbido,amp stoffa. Non utilizzare prodotti chimici aggressivi o detergenti abrasivi.
6.2 Cura della batteria
- Conservare le batterie in un luogo fresco e asciutto, lontano dalla luce solare diretta e da temperature estreme.
- Non conservare le batterie scariche per periodi prolungati. Ricaricarle periodicamente se non vengono utilizzate.
6.3 Conservazione
- Store the tool and accessories in a secure, dry place, out of reach of children.
- Prima di riporre l'utensile, assicurarsi che la batteria sia stata rimossa.
7. Risoluzione Dei Problemi
| Problema | Possibile causa | Soluzione |
|---|---|---|
| Lo strumento non si avvia | Battery not charged or improperly installed; Forward/Reverse switch in lock position. | Charge battery; Reinstall battery correctly; Move switch to forward or reverse position. |
| Potenza/coppia ridotta | Batteria scarica; impostazione della velocità errata. | Recharge battery; Select a higher speed setting. |
| L'utensile si ferma durante il funzionamento | Overload protection activated; Battery overheated or discharged. | Reduce load; Allow tool/battery to cool; Recharge battery. |
8. Specifiche
| Caratteristica | Specificazione |
|---|---|
| Numero di modello | codice sku005304 |
| Marca | ONEVAN |
| Voltage | 20 Volt |
| Coppia massima | 700 Newton-metri |
| Velocità massima | 2300 RPM (up to 3000 RPM for impact) |
| Energia | 420 Watt |
| Tipo di batteria | Agli ioni di litio |
| Capacità della batteria | 3.0 Ampere-hours (each) |
| Numero di batterie | 2 |
| Tipo di testa | Quadrato fisso |
| Materiale | Metallo |
| Peso | 4.1 chilogrammi |
| Caratteristiche speciali | Brushless Motor, 4 Speed Settings, LED Work Light, Brake Stop Function |
9. Garanzia e supporto
For warranty information or technical support, please refer to the documentation included with your purchase or contact ONEVAN customer service through your retailer. Keep your proof of purchase for warranty claims.