1. Introduzione
This manual provides essential instructions for the safe and effective operation, setup, maintenance, and troubleshooting of your HARDELL 16-Inch Auto Release Rivet Nut Tool Kit. Please read this manual thoroughly before using the tool to ensure proper function and to prevent injury or damage.

Figure 1: HARDELL 16-Inch Auto Release Rivet Nut Tool Kit
2. Componenti del prodotto
The HARDELL 16-Inch Auto Release Rivet Nut Tool Kit is designed for versatile riveting applications. The kit includes the following main components:
- 16-Inch Rivet Nut Tool: Features a long handle for increased leverage and an ergonomic design for comfortable use.
- 13 Interchangeable Mandrels: Includes both Metric (M3, M4, M5, M6, M8, M10, M12) and SAE (8-32, 10-24, 1/4-20, 5/16-18, 3/8-16, 1/2-13) sizes.
- 186 Rivet Nuts: An assortment of nutsert fasteners in various sizes to match the included mandrels.
- Rugged Carrying Case: A durable case for organized storage and easy portability of all tools and accessories.

Figura 2: dettagliata view of the 13 mandrels and 186 rivet nuts included in the kit.
3. Istruzioni per l'installazione
Proper setup is crucial for efficient and safe operation. Follow these steps to prepare your rivet nut tool:
- Select the Correct Mandrel and Rivet Nut: Choose the mandrel and corresponding rivet nut size that matches your application. Each mandrel size is typically stored in a separate plastic box within the carrying case.
- Change the Mandrel (Quick Change Head):
- Unscrew the current mandrel from the tool's head.
- Insert the desired mandrel into the tool head.
- Tighten the mandrel by hand until it is securely seated. No additional tools are required for this step.

Figure 3: Quick and toolless mandrel change mechanism.
- Attach the Rivet Nut: Screw the selected rivet nut onto the end of the installed mandrel until it is snug.
Video: HARDELL 14" Rivet Nut Tool Overview e funzionamento
Video 1: This video demonstrates the general operation and mandrel changing process for a HARDELL rivet nut tool, which is similar to the 16-inch model.
4. Istruzioni per l'uso
Once the tool is set up with the correct mandrel and rivet nut, proceed with the riveting process:
- Insert the Rivet Nut: Insert the rivet nut, which is already screwed onto the mandrel, into the pre-drilled hole in your workpiece.
- Posizionare lo strumento: Ensure the tool is held firmly and perpendicular to the workpiece surface.
- Compress the Handles: Squeeze the handles of the rivet nut tool together with firm, steady pressure. The tool's 16-inch handles provide ample leverage to reduce effort. Continue squeezing until you feel the rivet nut fully set and expand in the material.
- Automatic Nut Retraction: The HARDELL tool features an innovative automatic nut retraction design. After setting the rivet nut, simply open the handles, and the tool will automatically disengage from the set nut without manual loosening. This saves time and effort.

Figure 4: Automatic disengagement design for efficient operation.

Figure 5: Visual guide for the riveting process.
- Ripetere: For multiple rivet nuts, repeat the process.
Suggerimento importante:
For smaller mandrels (e.g., M3, M4, M5, 8-32, 10-24), avoid excessive force during compression to prevent jamming or damage to the nut. Apply steady, controlled pressure.

Figure 6: Caution regarding smaller mandrels.
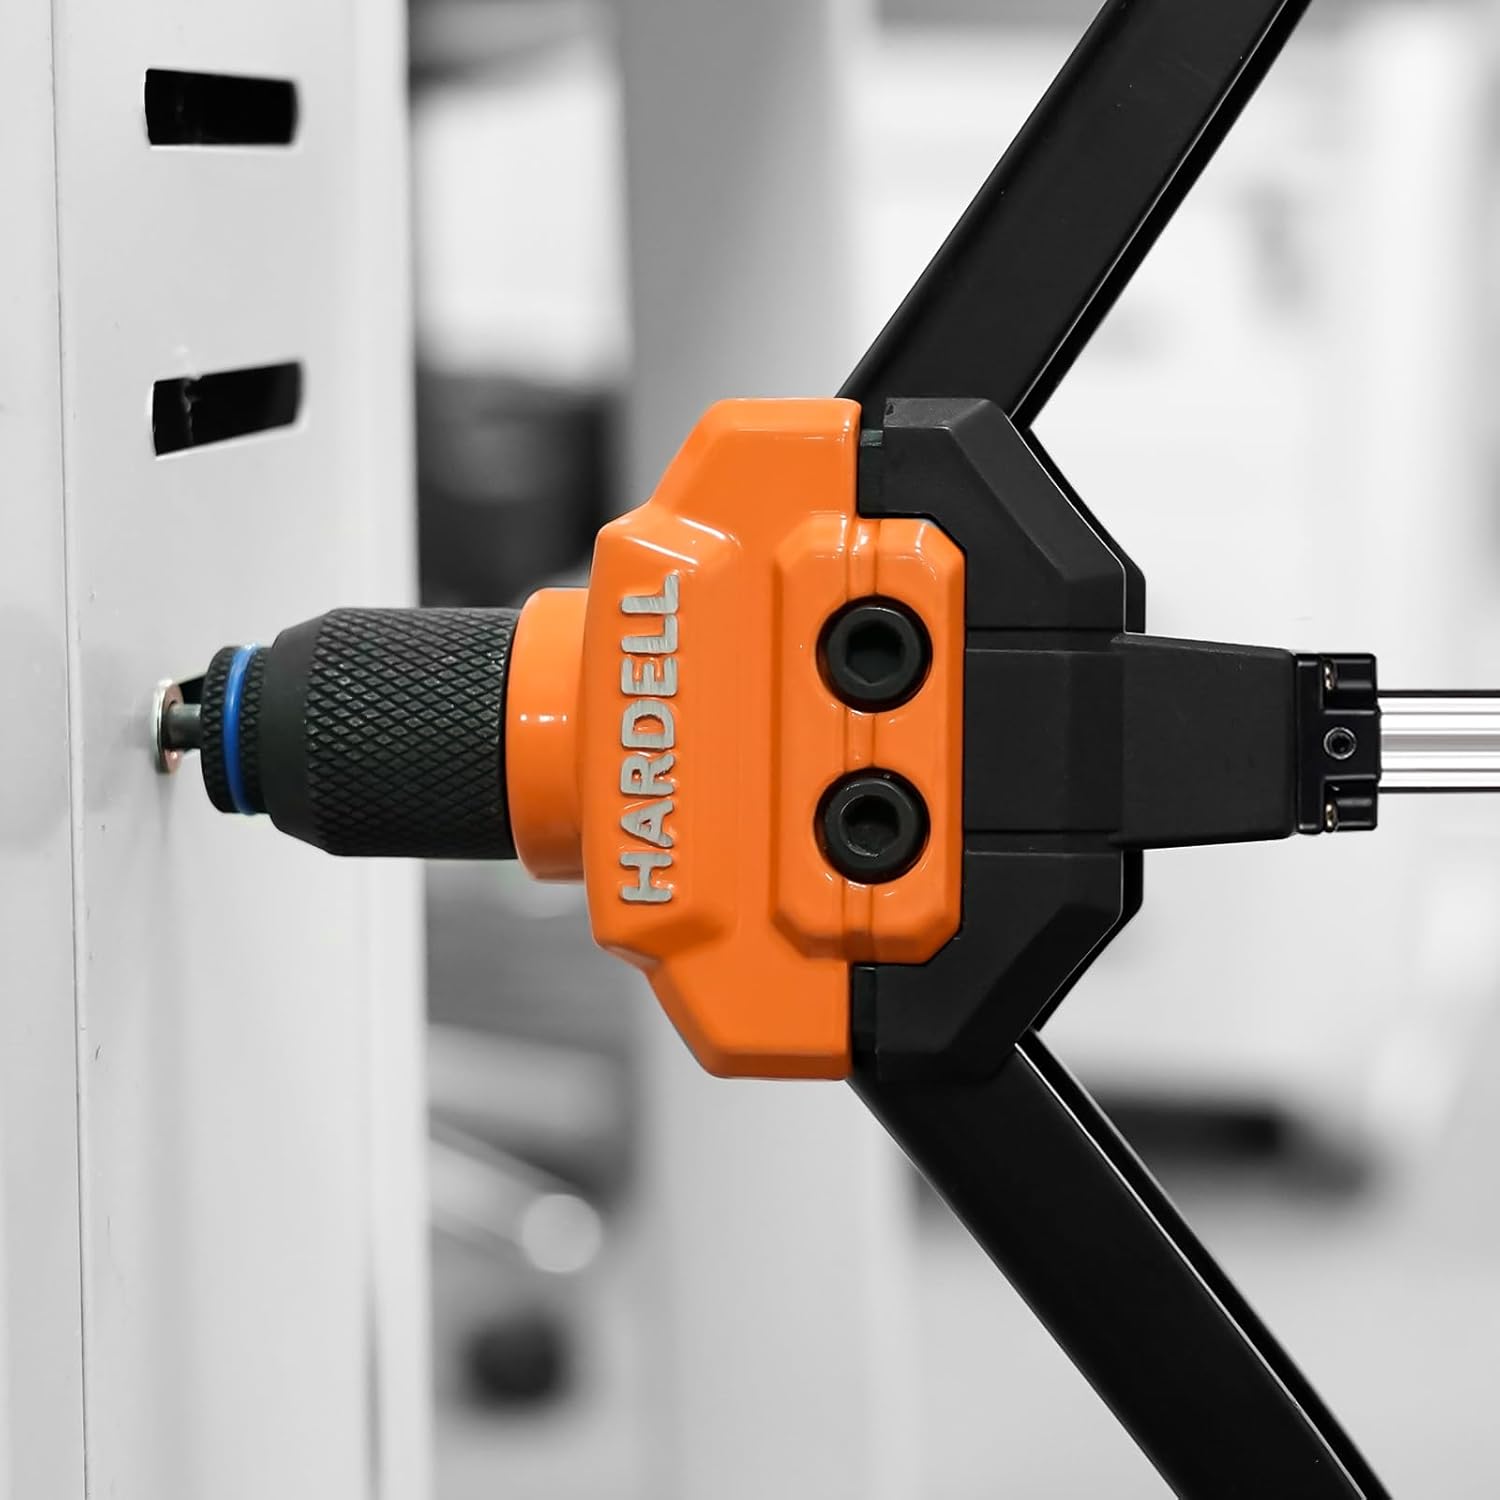
Figure 7: Rivet nut tool in use.
5. Manutenzione
To ensure the longevity and optimal performance of your HARDELL Rivet Nut Tool, regular maintenance is recommended:
- Pulizia: Dopo ogni utilizzo, pulire l'utensile con un panno pulito e asciutto per rimuovere polvere, detriti o trucioli metallici.
- Lubrificazione: Periodically apply a light machine oil to the moving parts and pivot points of the tool to ensure smooth operation and prevent rust.
- Ispezione: Regularly inspect mandrels for wear or damage. Replace any worn or damaged mandrels to maintain proper riveting performance. Check the tool body for any signs of damage or loose fasteners.
- Magazzinaggio: Store the tool and all accessories in the provided rugged carrying case in a dry, clean environment to protect them from moisture and impact.
6. Risoluzione Dei Problemi
If you encounter issues with your rivet nut tool, refer to the following common troubleshooting tips:
- Dado rivetto non fissato correttamente:
- Assicurarsi che venga utilizzata la dimensione corretta del mandrino per il dado del rivetto.
- Verify the rivet nut is fully screwed onto the mandrel before insertion.
- Quando si comprimono le maniglie, esercitare una pressione sufficiente e costante.
- Check the workpiece material thickness against the rivet nut's grip range.
- Mandrel Jamming or Breaking:
- Avoid excessive force, especially with smaller mandrels.
- Ensure the mandrel is clean and free of debris.
- Confirm the mandrel is correctly installed and tightened in the tool head.
- Difficulty with Automatic Release:
- Ensure the handles are fully opened after setting the nut.
- Check for any obstructions or debris in the retraction mechanism.
- Apply a small amount of lubricant to the moving parts if resistance is felt.
7. Specifiche
| Caratteristica | Specificazione |
|---|---|
| Marca | HARDELL |
| Modello | 16-Inch Auto Release Rivet Nut Tool |
| Peso dell'articolo | 3.61 kg |
| Materiale | Acciaio inossidabile |
| Fine | Incompiuto |
| Tipo di fonte di alimentazione | Alimentato a mano |
| Numero di pezzi | 199 (Tool + 13 Mandrels + 186 Rivet Nuts) |
| Componenti inclusi | 16" Rivet Nut Tool, 13 Mandrels, 186 Rivet Nuts, Carrying Case |
| Dimensione filettatura interna | M3, M4, M5, M6, M8, M10, M12, 8-32, 10-24, 1/4-20, 5/16-18, 3/8-16, 1/2-13 |
8. Garanzia e supporto
Specific warranty information for this product is not provided in the available data. For warranty claims, technical support, or replacement parts, please contact HARDELL customer service directly or refer to the product packaging for detailed contact information.


