1. Introduzione
The Y&H MPPT 20A Solar Charge Controller is designed to efficiently manage power flow from your solar panels to your battery bank. Utilizing advanced Maximum Power Point Tracking (MPPT) technology, it optimizes charging for 12V, 24V, 36V, and 48V battery systems, ensuring maximum energy harvest from your solar array. This controller is compatible with various battery types, including flooded, gel, and lithium batteries (excluding ternary lithium). It features a smart three-stage charging mode to prolong battery life and includes multiple protection functions for reliable operation.
2. Istruzioni di sicurezza
- Ensure all connections are correct and secure before operation. Incorrect wiring can cause damage to the controller or batteries.
- Non tentare di smontare o riparare il controller da soli. Contattare personale qualificato per l'assistenza.
- Installare il controller in un'area ben ventilata, lontano da materiali infiammabili e dalla luce solare diretta.
- Wear appropriate personal protective equipment (PPE) when working with batteries and solar panels.
- Tenere i bambini lontani dai componenti dell'impianto solare.
- Assicurarsi che la batteria voltage corrisponde al volume di sistematage setting of the controller.
3. Prodotto finitoview
3.1 Caratteristiche principali
- Advanced MPPT Technology: Up to 99% tracking accuracy and 97% conversion efficiency.
- Volume del sistema automaticotage Identification: Supports 12V, 24V, 36V, and 48V battery systems.
- Smart Three-Stage Charging: Optimizes battery performance and extends lifespan for flooded, gel, and lithium batteries.
- Comprehensive Protection: Includes PV overcurrent, PV short circuit, PV reverse polarity, battery over-discharge, load overcurrent, load short circuit, battery overvoltage, e protezione da sovratemperatura.
- Efficient Heat Dissipation Design.
- Multiple Load Control Modes: 24-hour working mode, light control mode, and light and time control mode.
- LCD Display: Provides real-time system information.
3.2 Componenti
The Y&H MPPT 20A Solar Charge Controller includes the main control unit with an LCD display and connection terminals for solar panels, batteries, and loads.
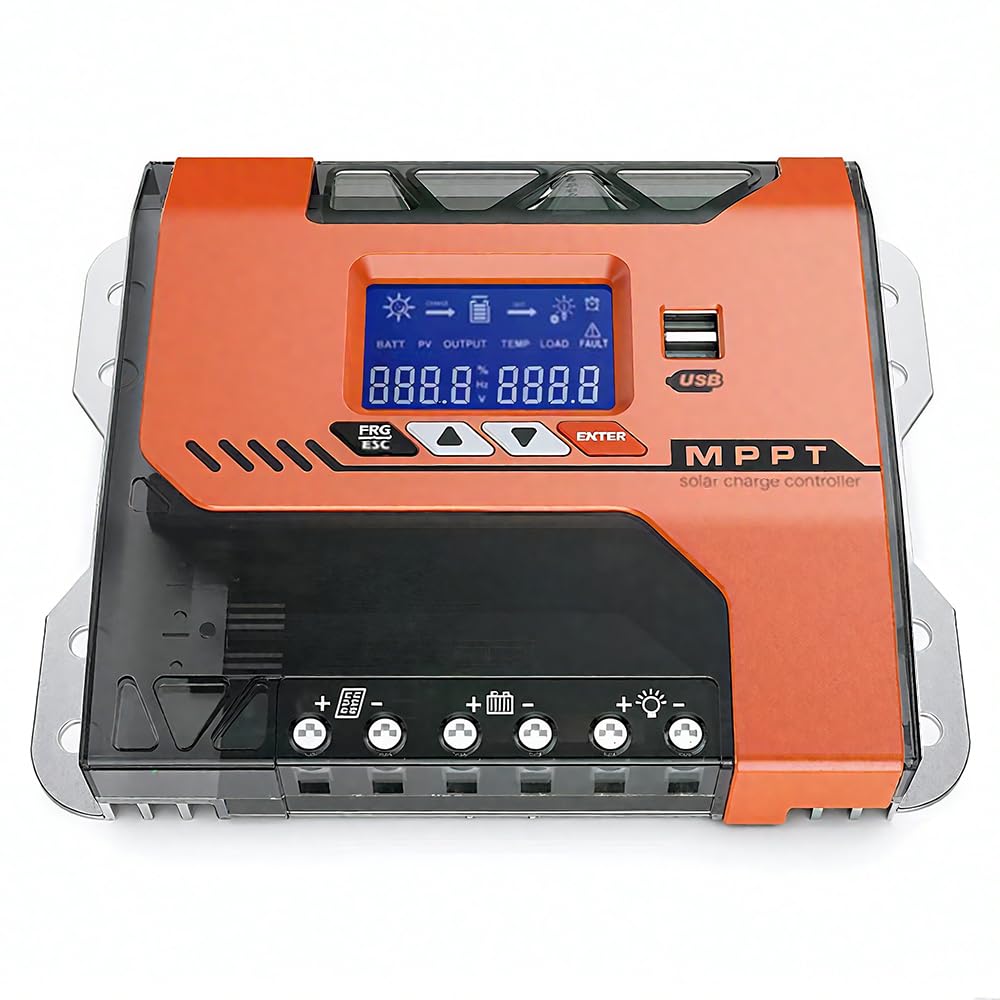
Figura 1: Fronte view of the Y&H MPPT 20A Solar Charge Controller.

Figura 2: Oltreview of the 8 all-around protection features, including PV overcurrent, PV short circuit, PV reverse polarity, battery over-discharge, load overcurrent, load short circuit, battery overvoltage, e protezione da sovratemperatura.

Figure 3: Advanced MPPT Technology with high tracking and conversion efficiency, compatible with FLD, SLD, GEL, LI, AGM, and USER defined battery types.
4. Configurazione e installazione
Follow these steps for proper installation of your Y&H MPPT 20A Solar Charge Controller:
- Collegare le batterie: Ensure the battery bank is connected to the controller first.
- Connect the solar panel: After connecting the batteries, connect the solar panels to the controller.
- Connect loads: Finally, connect your DC loads to the controller.
- Controllo finale: Verify all connections are tight and secure. Remove any debris around the controller, leaving a space of approximately 5.91 inches for proper ventilation.
Refer to the wiring diagram below for visual guidance:

Figure 4: Easy Connections diagram showing the solar panel, battery bank (12/24/36/48V), inverter, and DC load connected to the MPPT solar charge controller. Max PV Input 150VDC. Max Solar Input Power: 12V system: 240W (20V-80V DC), 24V system: 480W (37-105V DC), 36V system: 720W (50-160V DC), 48V system: 960W (72-160V DC).
4.1 Cable and Breaker Recommendations

Figure 5: Dimensions of the controller (22cm x 16cm x 7.5cm) and a table with cable specifications. For MPPT-20A, recommended copper wire is 6mm² (10AWG) and air circuit breaker is 43A. For MPPT-30A and MPPT-40A, connect one wire to PV+ and another wire to PV-.
5. Istruzioni per l'uso
The controller features an LCD screen and three buttons for operation: RESET (Up/Increase), MENU (Select/Confirm), and ON/OFF (Down/Decrease).
5.1 Screen Interface Cycle
The LCD screen cycles through various parameters. You can manually cycle through them by pressing the MENU button briefly.

Figure 6: Screen interface cycle displaying battery voltage, solar current, temperature, and various settings like battery type, discharge cut-off voltage, charging cut-off voltage, float volumetage, and load operating mode.
5.2 Impostazione dei parametri
To adjust settings such as high voltage disconnection protection or low voltage:
- Press and hold the "RESET" (Up) button for 5 seconds to enter the high voltage disconnection protection setting.
- Briefly press "RESET" (Up) or "ON/OFF" (Down) to adjust the value.
- Press and hold the "ON/OFF" (Down) button for 5 seconds to enter the low voltage disconnection protection setting.
- Briefly press "RESET" (Up) or "ON/OFF" (Down) to adjust the value.
To change the load control mode (e.g., 24-hour, light control, light and time control):
- Press the "MENU" button. The current control mode will flash.
- Press "RESET" (Up) or "ON/OFF" (Down) to select the desired control mode.
- Press "MENU" to confirm your selection.
For a visual guide on setting parameters, please watch the following video:
Video 1: Demonstration of setting parameters on a Y&H MPPT Solar Charge Controller, including high voltage disconnessione, basso volumetage disconnection, and load control modes.
6. Manutenzione
Una manutenzione regolare garantisce prestazioni ottimali e longevità del tuo regolatore di carica solare:
- Ispezionare le connessioni: Controllare periodicamente tutti i collegamenti elettrici per verificarne la tenuta e la corrosione. Collegamenti allentati possono causare perdite di potenza o surriscaldamento.
- Pulisci il controller: Mantenere il controller pulito e privo di polvere e detriti. Utilizzare un panno asciutto per pulire l'esterno. Assicurarsi che le aperture di ventilazione non siano ostruite.
- Prestazioni del monitor: Regularly check the LCD display for normal operation and parameter readings. Note any unusual readings or error messages.
- Stato della batteria: Ensure your batteries are well-maintained according to their manufacturer's guidelines. The controller's smart charging helps, but battery health is crucial for overall system performance.
- Condizioni ambientali: Assicurarsi che l'ambiente di installazione rimanga entro gli intervalli di temperatura e umidità consigliati.
7. Risoluzione Dei Problemi
Se riscontri problemi con il tuo regolatore di carica solare, tieni presente quanto segue:
- Fluctuating PV or Battery Readings: If the reading data of the PV or Battery is constantly changing, this is normal. The controller is actively finding the Maximum Power Point (MPP). However, if the PV input power or voltage is consistently insufficient, this can also cause fluctuations. Ensure your solar panels are receiving adequate sunlight and are correctly sized for your system.
- Nessuna potenza da caricare: Check the load connections and ensure the load control mode is set correctly (e.g., 24-hour mode if continuous power is needed). Verify the battery has sufficient charge.
- Batteria non in carica: Check solar panel connections and ensure they are producing voltage. Verify battery connections are secure. Check for any error codes on the LCD display.
- Avviso di sovratemperatura: Ensure the controller is installed in a well-ventilated area and its heat sinks are not obstructed. Reduce load if necessary.
For persistent issues or if you require further assistance, please contact our technical support team.
8. Specifiche
| Parametro | Valore |
|---|---|
| Modello | TM-20A-SA |
| Marca | Y&H |
| Corrente nominale | 20 Amp |
| Volume di sistematage | 12V/24V/36V/48V automatico |
| Max ingresso PV Voltage | 150V CC |
| Potenza massima di ingresso solare (12 V) | 240W |
| Potenza massima di ingresso solare (24 V) | 480W |
| Potenza massima di ingresso solare (36 V) | 720W |
| Potenza massima di ingresso solare (48 V) | 960W |
| Tipo di visualizzazione | LCD |
| Dimensioni (L x P x A) | 22 cm x 16 cm x 7 cm |
| Componenti inclusi | Regolatore di carica solare |
| Paese di origine | Cina |
| Codice UPC | 704334854949 |
| Colore | Arancia |
9. Garanzia e supporto
For warranty information or technical support, please refer to the documentation provided with your purchase or contact the seller directly. Ensure you have your model number (TM-20A-SA) and purchase details available when seeking support.