1. Introduzione
This manual provides essential instructions for the safe and efficient operation, setup, and maintenance of your Furvveerr High-Precision DTF Oven. Please read this manual thoroughly before using the device to ensure optimal performance and safety.

Figure 1: Furvveerr High-Precision DTF Oven with its lid open, showcasing the heating plate and control panel.
2. Informazioni sulla sicurezza
Per evitare lesioni o danni al dispositivo, osservare sempre le seguenti precauzioni di sicurezza:
- Ensure the oven is placed on a stable, heat-resistant surface.
- Do not touch the heating plate or internal surfaces during or immediately after operation, as they will be hot. Use protective gloves.
- Tenere i materiali infiammabili lontano dal forno.
- Garantire un'adeguata ventilazione nell'area di lavoro.
- Non utilizzare il forno se il cavo di alimentazione o la spina sono danneggiati.
- Scollegare il dispositivo quando non è in uso o prima di pulirlo.
- This appliance is equipped with power overload protection.
3. Prodotto finitoview
The Furvveerr High-Precision DTF Oven is designed for curing PET film used in Direct-to-Film (DTF) heat transfer printing. It features precise time and temperature control for consistent results.
Caratteristiche principali:
- Enhanced Baking Efficiency: Provides stable temperature control for faster curing of PET film, resulting in vibrant colors and reduced baking time.
- Compatibilità versatile: Accommodates PET film sizes A3+, A3, A4, and A5, with a maximum curing size of 13.8" x 19.3" (35cm x 49cm).
- Precise Time Control: Integrated timer function allows customization of time and temperature settings. A buzzer indicates when the countdown is complete.
- Distribuzione uniforme del calore: Ensures thorough curing of powder ink across various substrates.
- Safety and Ease of Use: Includes power overload protection, an easy-to-read display, and hydraulic rod control for safe and reliable operation.

Figure 2: Key components and features of the DTF Oven, including its durable metal design, heating plate, control panel, and power switch with fuse.

Figura 3: dettagliata view of the digital control panel for setting temperature and time.
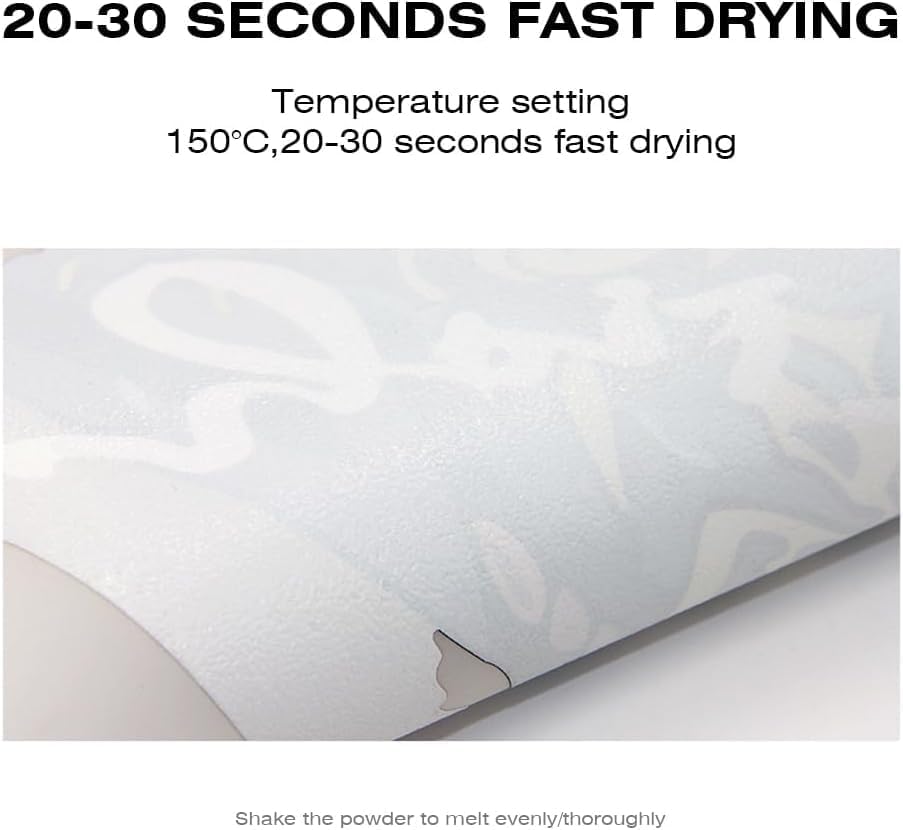
Figure 4: Adjustable exhaust vents on the oven, allowing control over ventilation.
4. Specifiche
| Specificazione | Valore |
|---|---|
| Numero di modello | 8THSDKX0000V1 |
| Dimensioni del prodotto | 18.5 x 20.67 x 5.91 pollici |
| Peso dell'articolo | 25.4 libbre |
| Voltage | 110V |
| Energia | 1000W |
| Intervallo di temperatura | 0-300℃ |
| Impostazione dell'ora | 0-999 secondi |
| Dimensioni di pellicola compatibili | A3+, A3, A4, A5 |
| Dimensione massima di polimerizzazione | 13.8" x 19.3" (35 cm x 49 cm) |
| Produttore | Furvveerr |

Figure 5: Product dimensions of the DTF Oven.
5. Impostazione
Before operating your DTF Oven, ensure proper setup:
- Disimballaggio: Carefully remove all packaging materials and inspect the oven for any damage.
- Posizionamento: Position the oven on a flat, stable, and heat-resistant surface with adequate clearance for ventilation.
- Collegamento elettrico: Connect the power cord to a grounded electrical outlet matching the specified voltage (110 V).
- Ventilazione: Ensure the adjustable exhaust vents are clear and can be rotated as needed for proper air circulation.
- Accensione iniziale: Turn on the oven and familiarize yourself with the control panel for temperature and time settings.

Figure 6: Included components for initial setup.
6. Operating Instructions (DTF Process)
Follow these steps for the DTF printing and curing process:
- Preparare i materiali: Ensure you have DTF film, DTF ink, DTF powder, and a DTF printer ready.
- Design and Print: Create your design on a computer and print the image onto the PET film using a DTF printer.
- Apply DTF Powder: Evenly spread DTF powder over the wet ink on the printed PET film and shake off any excess.
- Set Oven Parameters: Power on the DTF Oven. Use the control panel to set the desired temperature and time. A recommended setting is 150℃ for 20-30 seconds.
- Cure the Film: Once the oven reaches the set temperature, carefully place the powdered PET film onto the heating plate. Close the lid. The timer will begin.
- Monitorare la polimerizzazione: The oven will bake until the hot melt powder melts. An alarm will sound when the countdown is complete. For sheets with large images or heavy ink coverage, it is recommended to open the cover, rotate the sheet 180°, and heat for an additional 20 seconds.
- Rimuovere la pellicola: Carefully remove the cured PET film from the oven using protective gloves.
- Pressa a caldo: Proceed to heat press your design onto the desired garment or substrate using a heat press machine.

Figura 7: Oltreview of the DTF printing and curing process.
Video 1: Demonstration of setting temperature and time on the DTF Oven, placing a powdered film inside, and the resulting cured film.
7. Manutenzione
Regular maintenance ensures the longevity and optimal performance of your DTF Oven:
- Pulizia: After each use, allow the oven to cool completely. Wipe down the heating plate and interior surfaces with a soft, dry cloth to remove any powder residue. Do not use abrasive cleaners or solvents.
- Pulizia esterna: Pulisci l'esterno con adamp stoffa.
- Ventilazione: Periodically check and clean the exhaust vents to ensure they are free from obstructions.
- Magazzinaggio: Store the oven in a dry, dust-free environment when not in use.
8. Risoluzione Dei Problemi
If you encounter issues with your DTF Oven, refer to the following common problems and solutions:
| Problema | Possibile causa | Soluzione |
|---|---|---|
| Oven does not power on | No power supply, power cord loose, power overload protection triggered. | Check power connection, ensure outlet is functional. Reset power overload protection if applicable. |
| Inconsistent curing results | Incorrect temperature/time settings, uneven powder application, film not flat. | Verify settings (e.g., 150℃ for 20-30s). Ensure powder is evenly applied. Place film flat on the heating plate. |
| Oven not reaching set temperature | Heating element issue, sensor malfunction. | Contattare l'assistenza clienti per ricevere assistenza. |
| Il cicalino non suona | Malfunzionamento del cicalino. | Contattare l'assistenza clienti per ricevere assistenza. |
If the problem persists after attempting these solutions, please contact Furvveerr customer support.
9. Garanzia e supporto
Furvveerr is committed to providing quality products and customer satisfaction. While specific warranty details are not provided in this manual, our company integrates research and development, production, agency representation, and sales, maintaining solid relationships with numerous corporations globally. We operate overseas warehouses in Europe, the U.S., and Australia to support our customers.
For any inquiries, technical assistance, or support needs, please refer to the contact information provided at the point of purchase or visit the official Furvveerr websito.