1. Introduzione
Thank you for choosing the JMBricklayer Pearl Pirate Ship Model Kit 40002. This kit offers a detailed and engaging building experience, culminating in a magnificent pirate ship model featuring integrated LED lighting. This manual provides step-by-step instructions to ensure a successful assembly and proper operation of the lighting system. Please read all instructions carefully before beginning assembly.
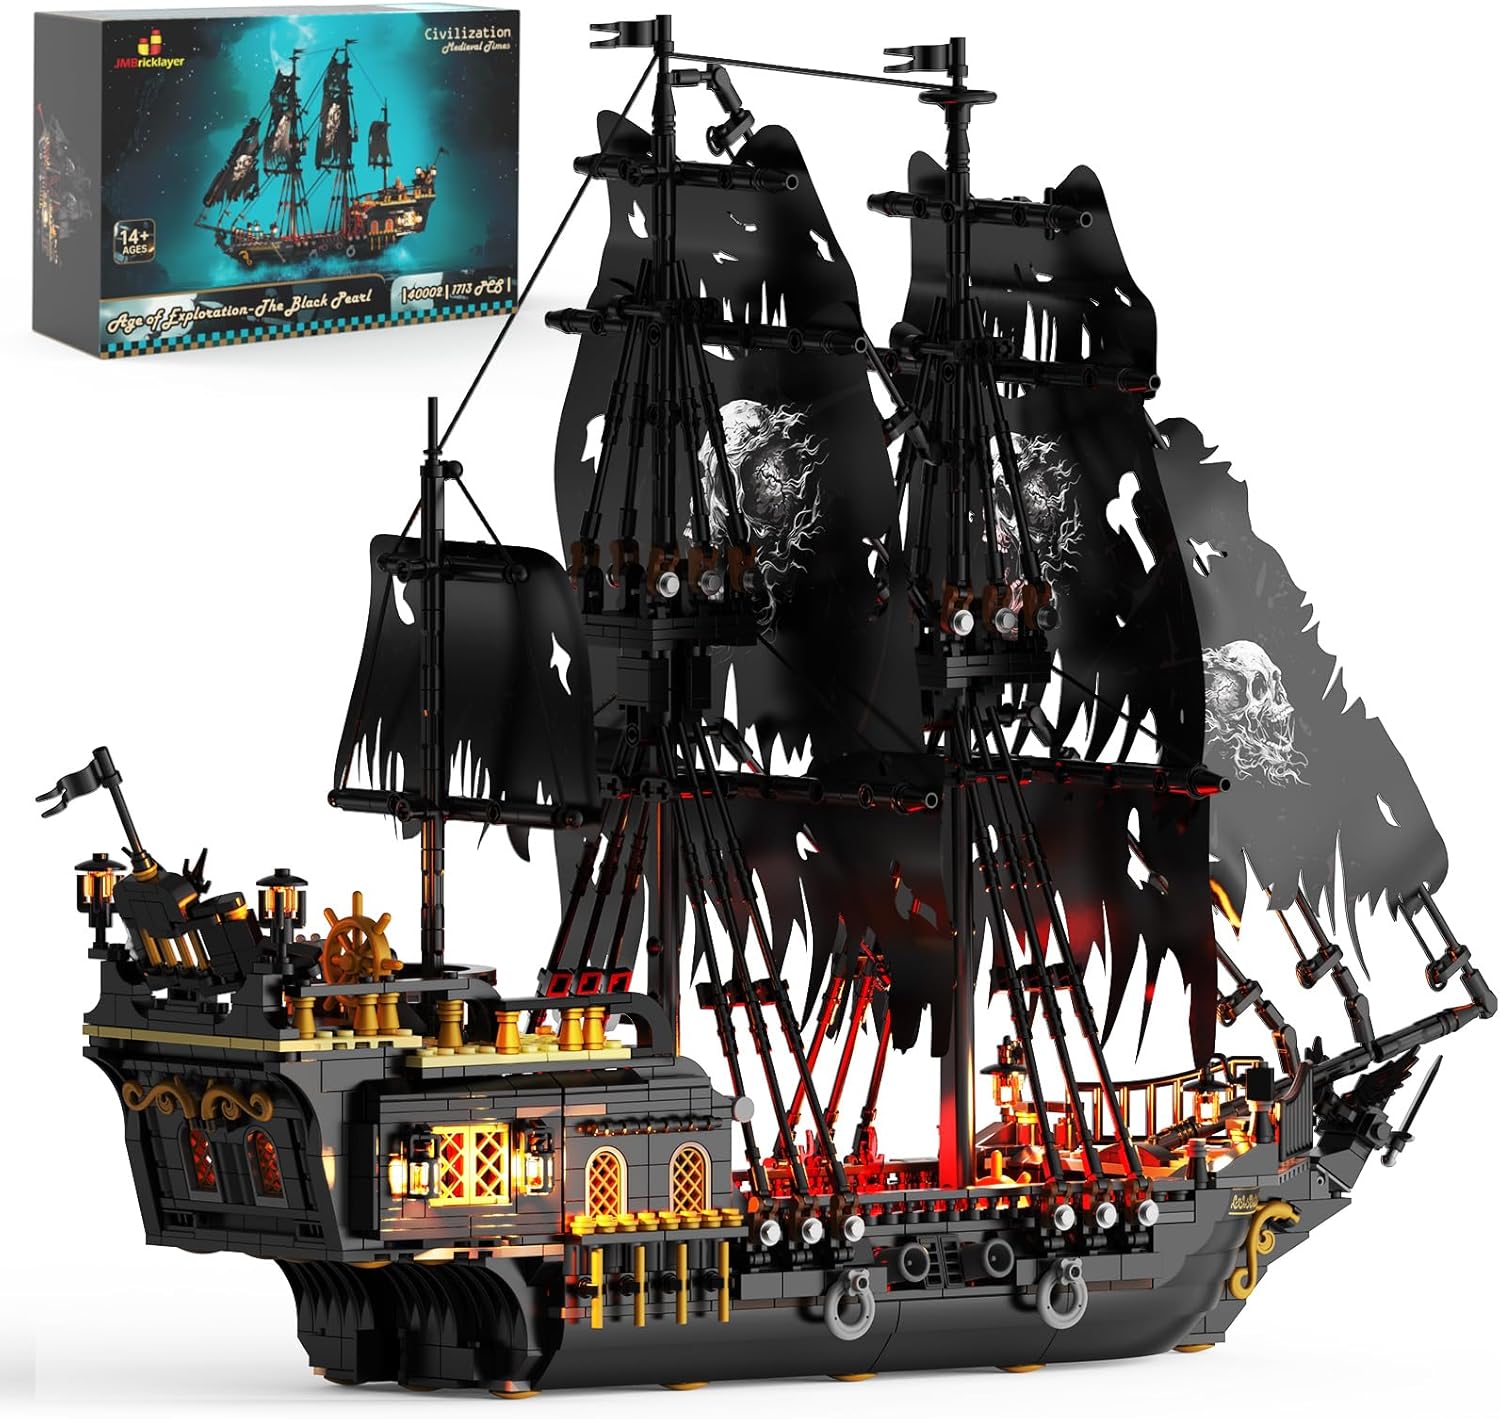
The fully assembled JMBricklayer Pearl Pirate Ship Model Kit 40002, showcasing its intricate design and integrated lighting.
2. Informazioni sulla sicurezza
This product is recommended for ages 14 years and up. It contains small parts which may pose a choking hazard for younger children. Adult supervision is advised during assembly, especially when handling small components and electrical wiring. No specific safety warnings beyond general toy safety are provided by the manufacturer.
3. Cosa c'è nella scatola
Your JMBricklayer Pearl Pirate Ship Model Kit 40002 includes:
- 1713 blocchi di costruzione di alta qualità
- Manuale di istruzioni
- LED lighting kit with battery box (3 AA batteries required, not included)
- Fabric sails with printed designs
- Various accessories for detailed ship construction
The building blocks are organized into numbered bags to facilitate phased assembly. Please ensure all components are present before starting.

Sopraview of the kit contents, including the instruction manual, numbered bags of building blocks, and the lighting accessories.
4. Istruzioni di montaggio
Follow the detailed, step-by-step instructions provided in the included manual. The assembly is divided into phases, with blocks organized in numbered bags corresponding to each phase. Pay close attention to the diagrams and part counts for each step.
4.1. General Building Tips
- Sort blocks by color and type for easier access.
- Assicurarsi che ogni pezzo sia saldamente collegato per evitare che il modello diventi instabile.
- Per il posizionamento preciso di ciascun blocco, fare riferimento agli schemi del manuale.
4.2. Integrating the LED Lighting System
The LED lighting system is integrated during the main assembly process. The instruction manual provides specific steps for routing and connecting the delicate wires. Extreme care is required to avoid damaging the wires or connectors.
- Instradamento dei fili: Follow the manual's diagrams precisely for routing wires through the model's structure. Ensure wires are not pinched or excessively bent.
- Connector Sockets: Check that connectors are correctly installed and that the internal pins of the connector sockets are straight and properly working.
- Nastro biadesivo: Some lighting components may require double-sided tape for secure placement. Ensure the tape is applied to the component before peeling off the protective film.

Dettagliato view of the ship's sections, highlighting the placement of the LED lights.

Interior details of the ship, illuminated by red LED lights, showcasing cannons and other features.

The ship's stern featuring openable hatches and illuminated interior details.
4.3. Sail Attachment
The fabric sails are designed to give a weathered appearance. Attach them to the masts as indicated in the manual. Ensure the rigging is tied securely but not overly tight to avoid stress on the plastic components.

The assembled ship with its distinctive tattered sails, illuminated against a dark background.
Official product video demonstrating the assembly process and the illuminated features of the JMBricklayer Pirate Ship Building Set 40002.
5. Funzionamento delle luci LED
Once the model is fully assembled and the lighting wires are connected, insert 3 AA batteries (not included) into the battery box. Locate the switch on the battery box and turn it to the 'ON' position to activate the 11 LED lights. The lights will emit a warm glow, enhancing the model's display.
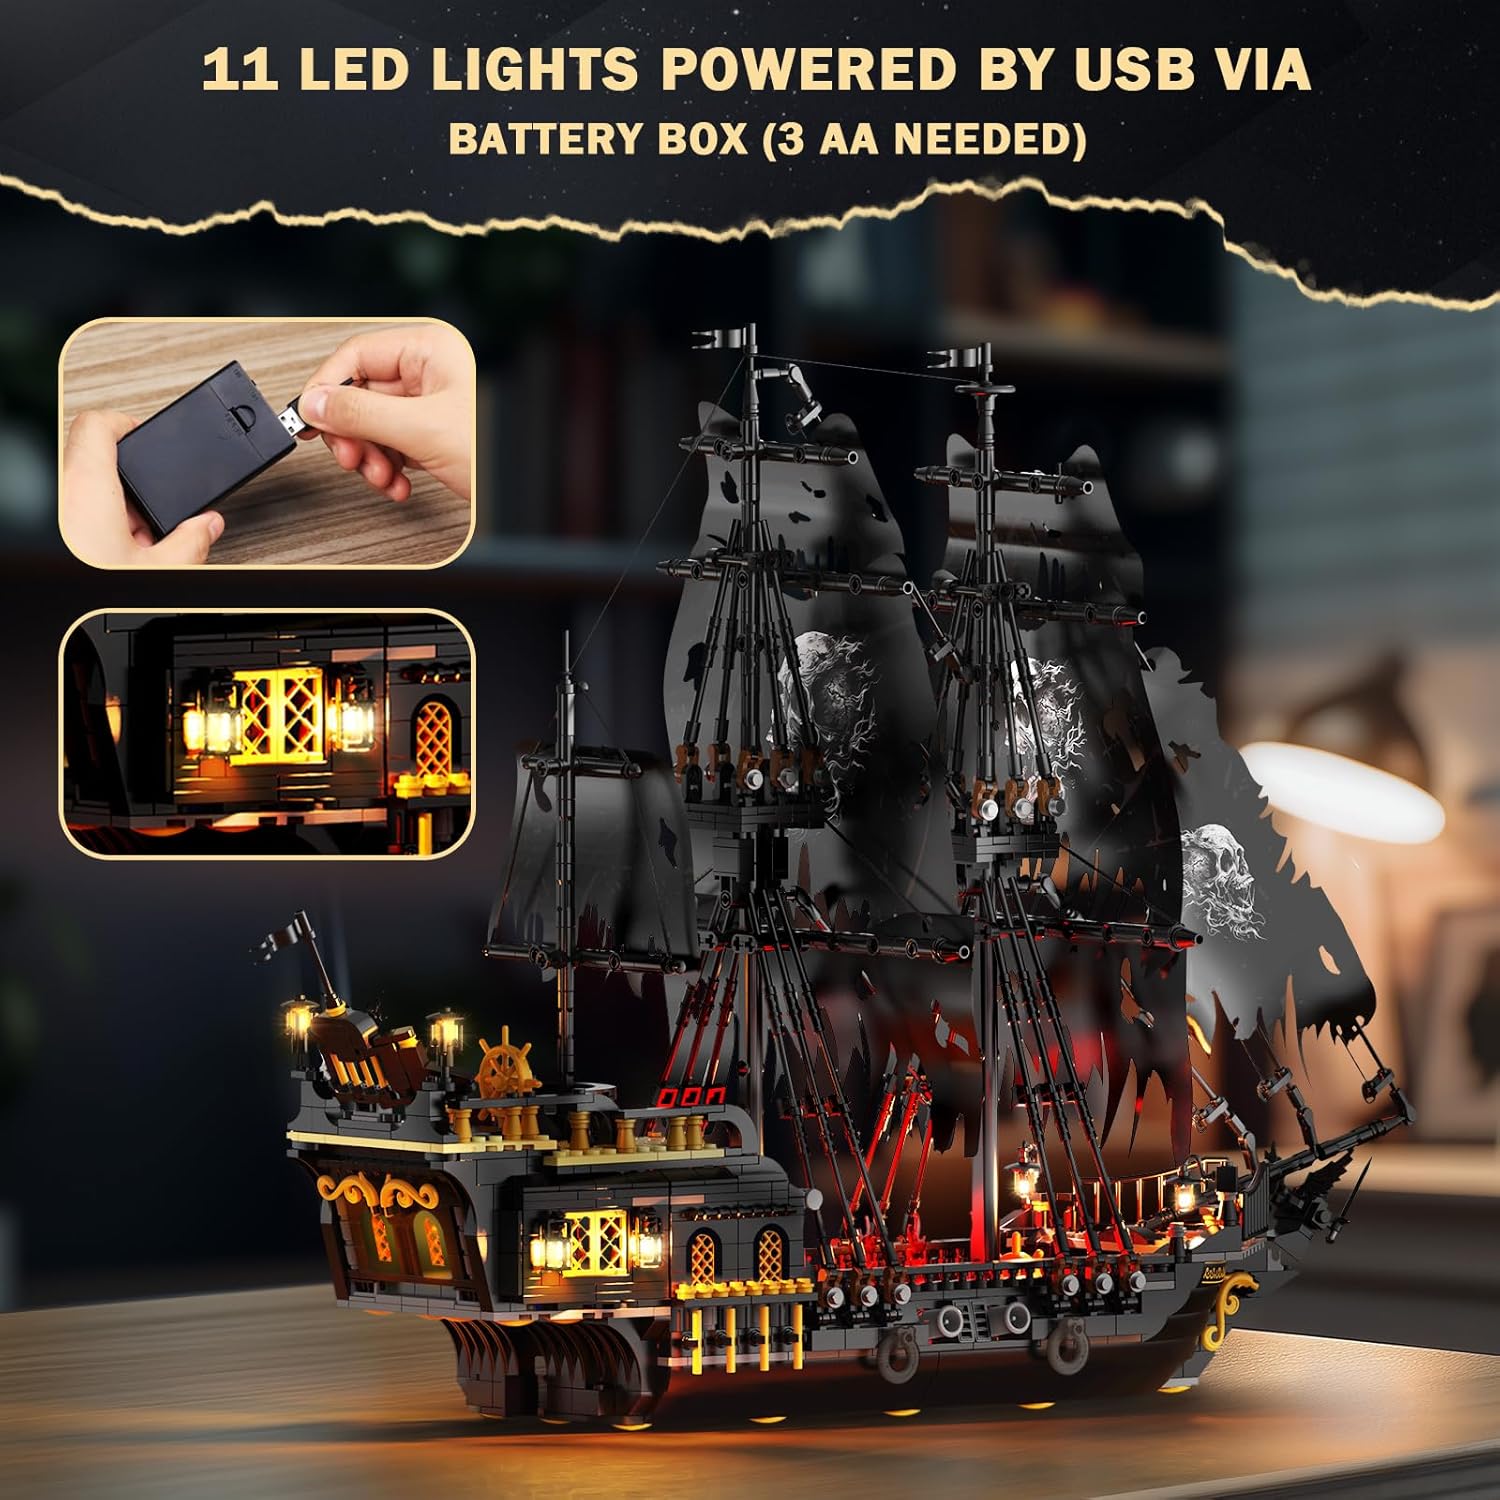
Connecting the lighting system to the battery box for power.

Dettagliato view of the USB connection to the battery box.
6. Manutenzione
To maintain the appearance and longevity of your JMBricklayer Pearl Pirate Ship Model Kit:
- Pulizia: Dust the model regularly with a soft, dry cloth or a soft brush. Avoid using water or cleaning solutions, as these may damage the blocks or electrical components.
- Magazzinaggio: Conservare il modello in un luogo fresco e asciutto, lontano dalla luce solare diretta, per evitare che la plastica si scolorisca o si deformi.
- Gestione: Handle the model with care, especially the masts and rigging, to avoid accidental damage.
7. Troubleshooting the Lighting System
Due to the small size of the lighting accessories, they are easily damaged by improper installation. The following are common causes of failure and troubleshooting steps:
- Le luci non si accendono:
- Ensure all lighting accessories are correctly installed onto the expansion board.
- Verify the power supply (battery box) is connected and switched ON.
- Check that the connectors are correctly installed as shown in the picture.
- Luci individuali non funzionanti:
- Check the internal pins of the connector sockets. A bent or improperly seated pin can be a fault.
- Ensure that the wires are not disconnected or broken from the solder joints.
If you have checked each string of lights according to the guide above and the lights still do not light up, please contact customer service for assistance.
8. Specifiche
- Numero modello: 40002
- Numero di pezzi: 1713
- Dimensioni del prodotto: 21.65 x 7.87 x 16.14 pollici (55 x 20 x 41 cm)
- Peso dell'articolo: 3.89 libbre (1.76 kg)
- Età consigliata dal produttore: 14 anni e oltre
- Fonte di alimentazione per le luci: 3 batterie AA (non incluse)

Dimensionale oltreview of the assembled pirate ship model.
9. Garanzia e supporto
JMBricklayer strives to ensure every set is complete and meets strict quality standards. If you encounter any issues, such as missing pieces or problems with the lighting system, please contact JMBricklayer customer service. Missing parts will be sent free of charge.

JMBricklayer's commitment to quality and customer support for missing parts.


