1. Introduzione
This manual provides detailed instructions for the installation, operation, and maintenance of your Idatalink Momento M8 (MD-8000) Dash Camera. Please read this manual thoroughly before using the product to ensure proper functionality and safety. The Momento M8 is a 3-channel Full HD dash camera designed to record your driving experiences with advanced clarity and connectivity features.
2. Contenuto della confezione
Verifica che tutti gli articoli elencati di seguito siano inclusi nella confezione del prodotto:
- Momento M8 Front FHD Dash Camera with built-in Dual 5.0GHz Wi-Fi + GPS
- Hardwire Installation Harness
- 32GB Micro SD Card with SD Card Adapter
- Montare
- Manuale dell'utente (questo documento)

Image: The Momento M8 dash camera shown alongside its retail packaging, highlighting its compact design and key features like Wi-Fi and GPS.
3. Prodotto finitoview
The Momento M8 dash camera features a sleek, compact design for discreet installation. It is equipped with a high-quality lens, integrated Wi-Fi, and GPS for comprehensive recording and data logging.

Immagine: Frontale view of the Momento M8 dash camera, showcasing the main lens and indicator light.

Immagine: Lato view of the Momento M8 dash camera, illustrating the microSD card slot for storage expansion.
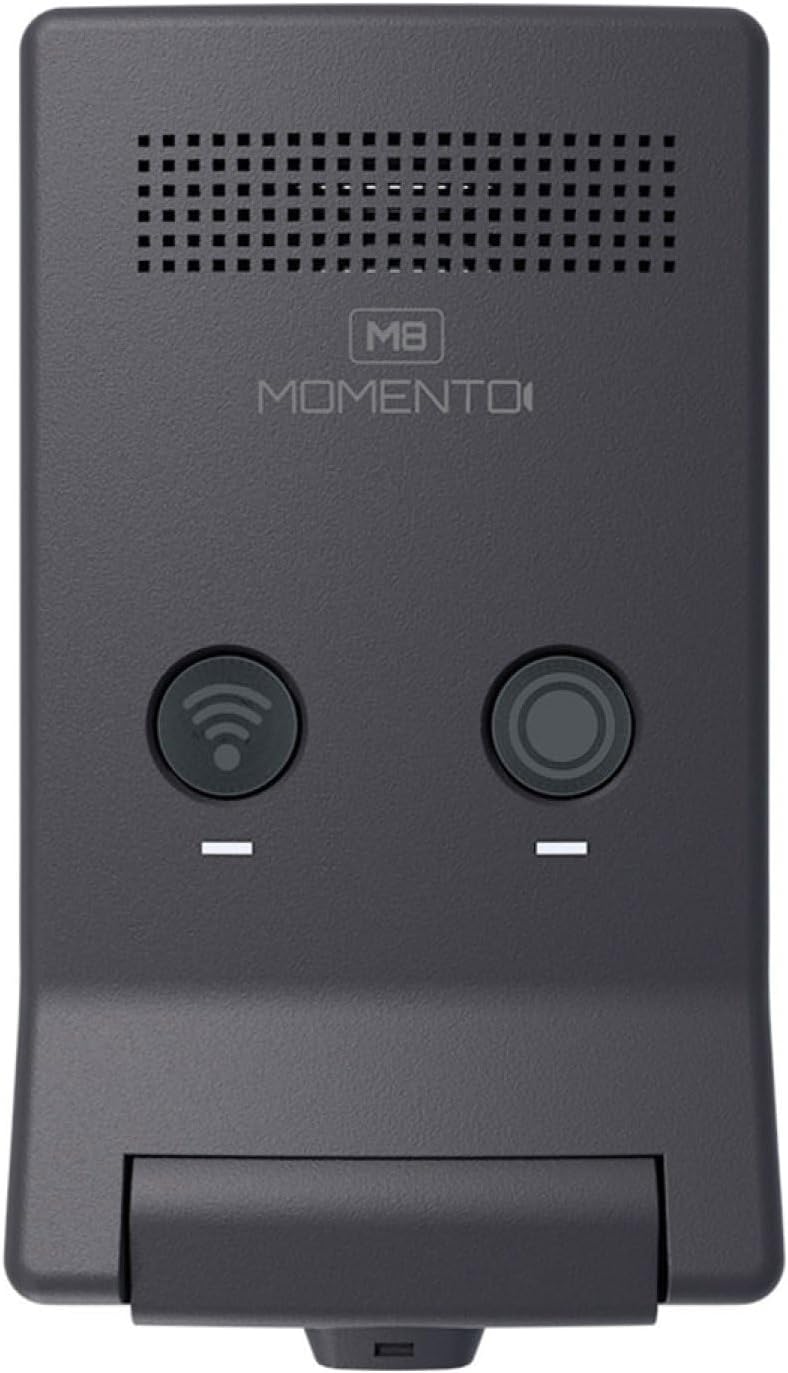
Immagine: in alto view of the Momento M8 dash camera, showing the Wi-Fi and record buttons.

Immagine: un primo piano view of the Momento M8 dash camera's lens, highlighting its optical components.
4. Configurazione e installazione
- Montaggio della telecamera: Securely attach the camera mount to your vehicle's windshield, ensuring it does not obstruct your view. The camera should be positioned to capture a clear view della strada da percorrere.
- Inserimento della scheda MicroSD: Insert the included 32GB MicroSD card into the designated slot on the camera. Ensure it is inserted correctly until it clicks into place. The camera supports cards up to 256GB.
- Collegamento elettrico: Connect the hardwire installation harness to your vehicle's power supply according to the provided wiring diagram. This ensures continuous power for recording, including parking mode functionality. Consult a professional for hardwire installation if you are unsure.
- Accensione iniziale: Once connected, the camera will power on automatically when the vehicle starts. Follow any on-screen prompts or app instructions for initial setup.
5. Istruzioni per l'uso
5.1. Registrazione automatica
The Momento M8 dash camera begins recording automatically when the vehicle's ignition is turned on. Recordings are saved in segments to the MicroSD card. In the event of an impact or sudden braking, the G-sensor will trigger emergency recording, protecting the footage venga sovrascritto.
5.2. Manual Recording
Press the designated record button on the camera (refer to Product Overview for button location) to manually initiate an emergency recording. This footage will also be protected from overwriting.
5.3. Accensione/spegnimento
The camera powers on and off with your vehicle's ignition. To manually power off, disconnect the power supply or refer to the app settings for a shutdown option.
6. Connettività Wi-Fi e utilizzo delle app
The Momento M8 features Dual 5.0GHz Wi-Fi for seamless connection to your smartphone or tablet via the Momento App.
- Scarica l'App: Cercare "Momento App" in your device's app store and install it.
- Connettiti al Wi-Fi: Turn on the dash camera. On your smartphone, go to Wi-Fi settings and connect to the Momento M8's Wi-Fi network. The network name and password can typically be found on the camera or in the camera's initial setup instructions.
- Funzionalità di accesso: Open the Momento App. You can now view cibo vivotage, sfoglia i video registrati, scarica files to your device, and adjust camera settings.

Image: A smartphone screen displaying the Momento M8 dash camera application interface, showing options for live view, gallery, saved videos, and settings.
7. ECO Parking Mode
The ECO Parking Mode provides surveillance when your vehicle is parked. This mode utilizes an advanced sensor to detect impacts or motion, initiating recording to capture incidents even when the vehicle is off. This feature helps conserve battery life by only recording when an event is detected. Ensure the camera is hardwired for continuous power to utilize this feature effectively.
8. Archiviazione espandibile
The Momento M8 dash camera includes a 32GB MicroSD card, providing ample storage for recordings. The camera supports MicroSD cards up to 256GB, allowing for extended recording times. It is recommended to use high-endurance MicroSD cards designed for dash camera use to ensure reliable performance.
Image: A Momento branded 32GB MicroSD card, indicating its storage capacity and class rating.
9. Manutenzione
- Pulizia della lente: Utilizzare un panno morbido e privo di lanugine per pulire delicatamente l'obiettivo della fotocamera. Evitare materiali abrasivi o sostanze chimiche aggressive.
- Gestione della scheda MicroSD: Regularly format the MicroSD card (at least once a month) using the camera's settings or the app to maintain optimal performance and prevent data corruption. Back up important footage prima della formattazione.
- Aggiornamenti del firmware: Check the Momento App or the official Idatalink website periodically for firmware updates. Keeping your camera's firmware updated ensures access to the latest features and performance improvements.
10. Risoluzione Dei Problemi
| Problema | Possibile causa/soluzione |
|---|---|
| La fotocamera non si accende. | Check power connection. Ensure the hardwire harness is correctly installed and receiving power. |
| Problemi di registrazione (ad esempio, danneggiati files, interrompe la registrazione). | Format the MicroSD card. Ensure the card is a high-endurance type. Replace the MicroSD card if the issue persists. |
| Connessione Wi-Fi instabile o impossibile da stabilire. | Ensure you are within range of the camera. Restart both the camera and your smartphone. Verify the correct Wi-Fi network and password. |
| Il GPS non acquisisce il segnale. | Assicurarsi che la fotocamera abbia una visuale chiara view del cielo. Spostare il veicolo in un'area aperta, lontano da edifici alti o gallerie. |
| Scarsa nitidezza dell'immagine. | Clean the camera lens. Ensure the windshield area in front of the camera is clean. |
11. Specifiche
| Caratteristica | Dettaglio |
|---|---|
| Nome del modello | Momento M8 MD-8000 |
| Risoluzione di acquisizione video | 1080p Full-HD (30fps) |
| Sensore di immagine | Sony IMX Image Sensor |
| Tecnologia di connettività | Dual 5.0GHz Wi-Fi, GPS, Smartphone Connectivity (Momento App) |
| Caratteristiche speciali | ECO Parking Mode, Voice Control, Advanced Image Sensor |
| Spazio di archiviazione incluso | 32GB Micro-SD Card |
| Max. Storage Support | Scheda MicroSD fino a 256 GB |
| Tipo di montaggio | Supporto per parabrezza |
| Dimensioni del prodotto | 3 x 3 x 2 pollici |
| Peso dell'articolo | 12.8 once |
| Colore | Nero |
| Tipo di servizio del veicolo | Car, Minivan, RV, SUV, Truck |
12. Garanzia e supporto
The Momento M8 (MD-8000) Dash Camera comes with a 2-Year Warranty from the date of purchase. This warranty covers manufacturing defects and ensures reliable operation of your device.
For technical support, warranty claims, or further assistance, please contact Idatalink customer service. Refer to the official Idatalink websito per le informazioni di contatto e le risorse di supporto più aggiornate.
Risorse online: www.idatalink.com


