1. Introduzione e oltreview
This manual provides detailed instructions for the assembly, operation, and maintenance of your AMERLIFE 10x12x7 FT Outdoor Storage Shed, Model YSS017. This metal garden shed is designed to offer a spacious and secure storage solution for your backyard or garden. It features a robust galvanized steel construction, hinged double doors for easy access, two transparent roof panels for natural light, two side windows, and four vents for optimal airflow.
Si prega di leggere attentamente tutte le istruzioni prima di iniziare il montaggio e di conservare il presente manuale per riferimento futuro.
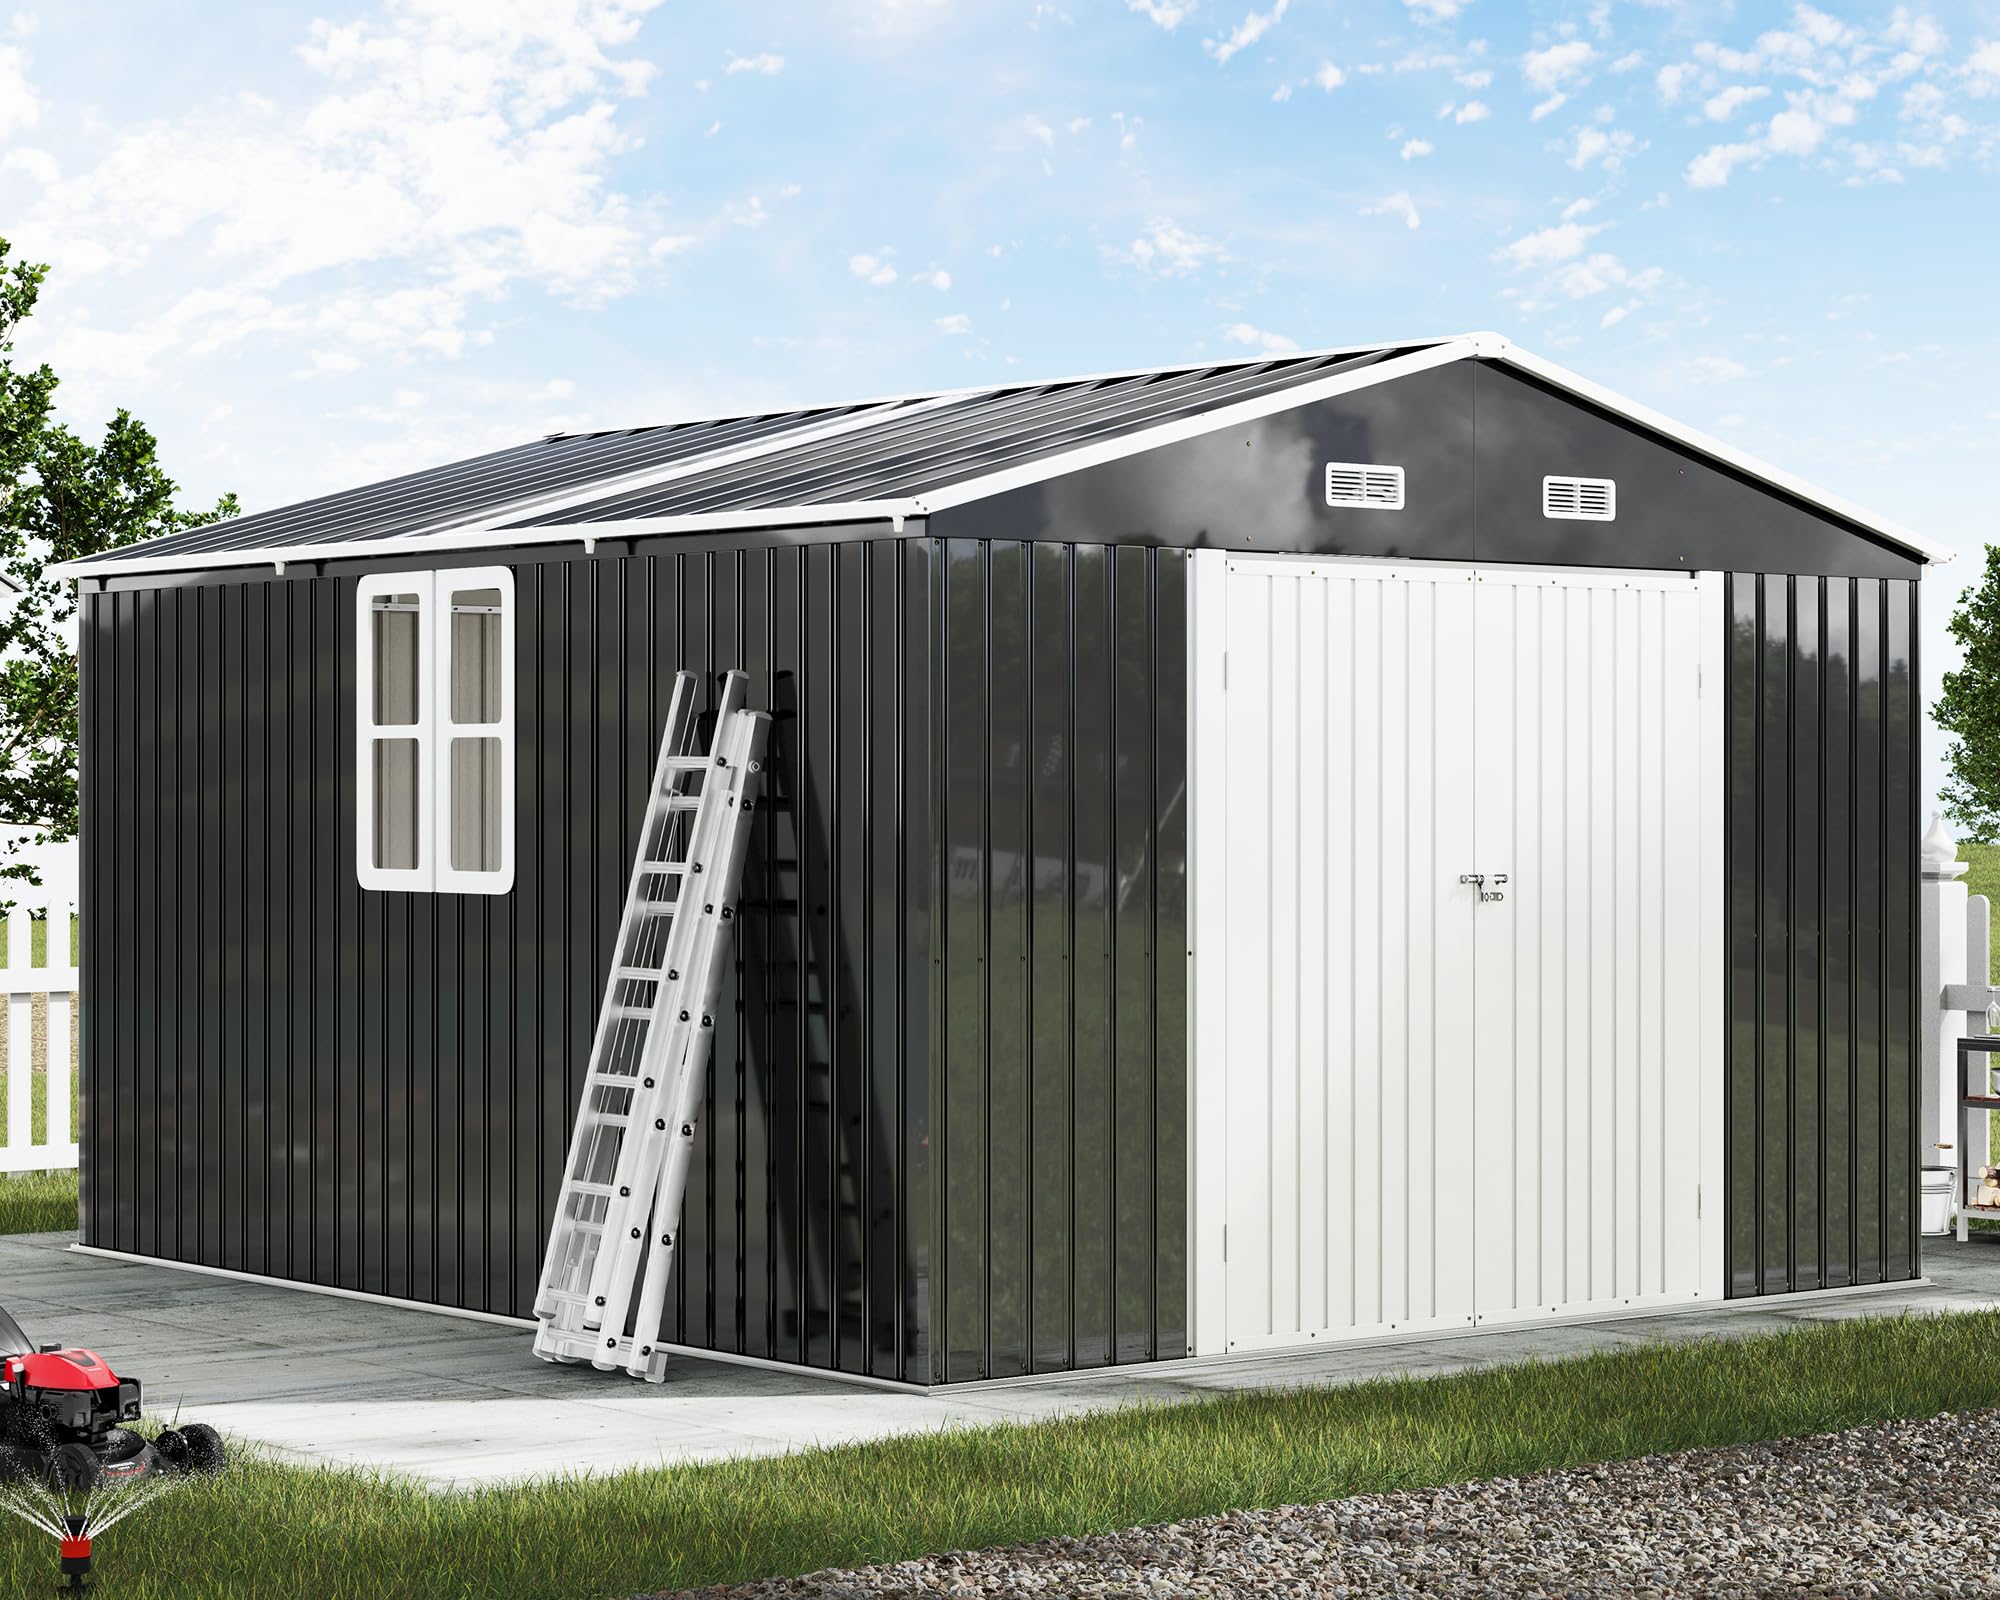
Image 1.1: The AMERLIFE 10x12x7 FT Outdoor Storage Shed, showcasing its dark gray finish, hinged double doors, and side window.
2. Informazioni sulla sicurezza
Your safety is paramount. Adhere to the following safety guidelines during assembly and use:
- Leggi le istruzioni: Always read and understand all instructions and warnings before assembly and use.
- Personale richiesto: Assembly requires a minimum of three (3) people due to the size and weight of components.
- Equipaggiamento protettivo: Wear appropriate personal protective equipment, including gloves and eye protection, during all assembly stages.
- Fondamenta stabili: Ensure the shed is built on a level, stable, and adequately sized foundation (recommended 11x13 FT).
- Condizioni meteo: Do not attempt assembly in strong winds, heavy rain, or other adverse weather conditions.
- Bambini e animali domestici: Per evitare incidenti, tenere bambini e animali domestici lontani dall'area di montaggio.
- Ancoraggio sicuro: After assembly, securely anchor the shed to the ground or foundation to prevent displacement by wind.
- Peso componente: Be aware that some components are heavy. Lift with care and proper technique to avoid injury.
3. Contenuto della confezione
The AMERLIFE 10x12x7 FT Outdoor Storage Shed is typically shipped in multiple packages (usually three). These packages may arrive at different times. Upon receipt, carefully unpack all components and verify them against the parts list provided in your physical manual (not included here). Ensure all parts are present and undamaged before beginning assembly.
Key Components Include:
- Pannelli murali in acciaio zincato
- Reinforced Steel Frame Components (beams, supports)
- Porte doppie incernierate
- Transparent Roof Panels
- Pannelli per finestre
- Vent Copertine
- Ferramenta di montaggio (viti, bulloni, rondelle, dadi)

Image 3.1: Diagram illustrating the shed's dimensions and indicating that it ships in three separate packages.
4. Istruzioni per l'installazione e il montaggio
Careful preparation and adherence to instructions are crucial for successful assembly. It is highly recommended to have at least three people for assembly, which typically takes around 7 hours.
4.1 Preparazione del sito
- Fondazione: Construct a level and stable foundation measuring approximately 11x13 FT. A concrete slab or treated wood frame is recommended. The floor is not included with the shed.
- Area libera: Ensure the assembly area is clear of obstructions and debris.
4.2 Fasi di assemblaggio (guida generale)
Refer to your physical instruction manual for detailed, step-by-step diagrams and part numbers.
- Organizza le parti: Unpack and sort all components. Lay out the pieces according to their labels and organize hardware.
- Montaggio del telaio di base: Assemble the base frame on your prepared foundation. Ensure the frame is perfectly square and level before proceeding. This is critical for proper alignment of wall and roof panels.
- Installazione del pannello a parete: Attach the galvanized steel wall panels to the base frame. Work systematically around the perimeter, securing panels with the provided hardware.
- Telaio della porta e installazione della porta: Assemble and install the door frames, then attach the hinged double doors. Ensure they open and close smoothly.
- Struttura di supporto del tetto: Install the internal roof support beams and trusses.
- Installazione del pannello del tetto: Carefully attach the roof panels, including the transparent panels. Ensure proper overlap and alignment to facilitate water drainage.
- Installazione di finestre e prese d'aria: Install the side windows and the four vent covers.
- Waterproofing (Optional but Recommended): For enhanced waterproofing, consider applying a silicone sealant or caulk to all roof panel joints and where the shed meets the foundation.
- Ancoraggio: Securely anchor the shed to your foundation using appropriate anchoring hardware (not included).
Video 4.1: An assembly guide for a similar AMERLIFE shed, demonstrating key steps and techniques. (Duration: 3:50)
5. Istruzioni per l'uso
Operating your AMERLIFE storage shed is straightforward, focusing on access, ventilation, and security.
5.1 Funzionamento della porta
- Apertura: Unlatch the internal door lock and any external padlock. Gently pull the hinged double doors open.
- Chiusura: Push the doors closed until they meet. Engage the internal door lock and secure with an external padlock (not included) for security.
5.2 Ventilazione e illuminazione
- Vents: The four integrated vents ensure optimized airflow, reducing dampness and heat buildup. Keep these vents clear of obstructions.
- Luce naturale: The two transparent roof panels and two side windows provide ample natural light, reducing the need for artificial lighting during the day. Keep these surfaces clean for maximum light transmission.

Image 5.1: The shed interior with wide-open double doors, highlighting the spaciousness, ventilation, and accessibility for various items.

Image 5.2: The shed's interior demonstrating excellent natural light provided by the transparent roof panels and side windows.
6. Manutenzione
Una manutenzione regolare prolungherà la durata e l'aspetto del tuo capannone.
- Controllo del dispositivo di fissaggio: Periodically inspect all screws, bolts, and fasteners. Tighten any that have become loose due to vibration or weather changes.
- Pulizia: Clean the exterior surfaces with a mild soap and water solution. Avoid using abrasive cleaners or harsh chemicals that could damage the galvanized finish. Rinse thoroughly.
- Drenaggio: Ensure the roof and drainage holes are clear of leaves, debris, and snow to prevent water accumulation and potential leaks.
- Ispezione della corrosione: Regularly check for any signs of rust or corrosion, especially in areas where the paint may have chipped. Touch up with rust-inhibiting paint if necessary.
- Ferramenta per porte: Lubricate door hinges and latches annually to ensure smooth operation.
- Foundation and Anchoring: Inspect the shed's foundation and anchoring points for stability and integrity, especially after severe weather.

Image 6.1: Detail of the sloped roof design, highlighting self-contained drainage holes and galvanized metal construction for durability.
7. Risoluzione Dei Problemi
Questa sezione affronta i problemi più comuni che potresti riscontrare con il tuo capannone.
- Issue: Water Leaks
Possibile causa: Improperly sealed roof panels, loose fasteners, or inadequate foundation sealing.
Soluzione: Check all roof panel overlaps and ensure all screws are tightened. Apply a high-quality silicone sealant or caulk to any visible gaps or joints, especially on the roof and where the shed meets the foundation. Ensure drainage holes are clear. - Issue: Door Alignment Problems
Possibile causa: The shed's base is not perfectly square or level, or hinges are misaligned.
Soluzione: Verify that the shed's foundation is level and the base frame is square. Minor adjustments to door hinges may resolve slight misalignment. - Problema: parti mancanti o danneggiate
Possibile causa: Errore di spedizione o difetto di fabbricazione.
Soluzione: If any parts are missing or damaged upon arrival, do not proceed with assembly. Contact AMERLIFE customer support immediately with your model number (YSS017) and a description of the missing or damaged parts. - Issue: Difficulty Assembling Panels
Possibile causa: Panels are not aligned correctly, or the base is not square.
Soluzione: Re-check the squareness of your base frame. Ensure panels are oriented correctly according to the manual's diagrams. Do not force components; gentle persuasion and proper alignment are key.
8. Specifiche
| Marca | AMERLIFE |
| Numero di modello | YSS017 |
| Dimensioni del prodotto (L x P x A) | 144"D x 120"W x 84"H (10 x 12 x 7 FT) |
| Superficie del pavimento | 120 piedi quadrati |
| Materiale | Acciaio zincato, acciaio legato |
| Colore | Grigio scuro |
| Peso dell'articolo | 289 libbre |
| Limite di peso | 299 Pounds (typically refers to internal shelving capacity) |
| Stile della porta | Porte doppie incernierate |
| Larghezza della porta | 60 pollici |
| Altezza della porta | 67.2 pollici |
| Caratteristiche speciali | 2 Transparent Roof Panels, 2 Windows, 4 Vents, Reinforced Steel Frame, Drainage Holes, Waterproof |
| Assemblaggio richiesto | Yes (Recommended 3 people, approx. 7 hours) |

Image 8.1: Illustration of the shed's upgraded wall height, providing more interior space compared to standard models.
9. Garanzia e supporto
For warranty information, please refer to the documentation included with your purchase or contact the retailer directly. AMERLIFE is committed to customer satisfaction.
Assistenza clienti:
If you encounter any issues, have questions about assembly, or require replacement parts, please contact AMERLIFE customer support. Have your model number (YSS017) and purchase details ready to expedite assistance.
- Metodo di contatto: Refer to your purchase documentation or the AMERLIFE official websito per le informazioni di contatto più aggiornate (telefono, e-mail o portale di supporto online).
- Resi: This product typically includes a 30-day easy return policy. Consult your retailer for specific return procedures.


