Introduzione
This manual provides essential instructions for the safe installation, operation, and maintenance of your Durastar DRWHC232XNA1 Window Air Conditioner with Supplemental Heating. Please read this manual thoroughly before using the appliance and retain it for future reference.
Informazioni importanti sulla sicurezza
AVVERTENZA: Per ridurre il rischio di incendi, scosse elettriche o lesioni, osservare le seguenti precauzioni di sicurezza:
- This unit requires a dedicated 30 Amp, 230 Volt circuit breaker for proper operation. Ensure your electrical system can support these requirements.
- The appliance uses an LCDI 6-30P plug. Do not modify the plug or use an adapter. Ensure the wall receptacle matches the plug type.
- Scollegare sempre l'alimentazione prima di pulire o effettuare la manutenzione dell'unità.
- Non utilizzare l'unità con un cavo di alimentazione o una spina danneggiati.
- Tenere i materiali di imballaggio fuori dalla portata dei bambini.
- Non ostruire le prese d'aria o le uscite.
- Ensure the unit is securely installed in a window according to installation instructions to prevent falling.

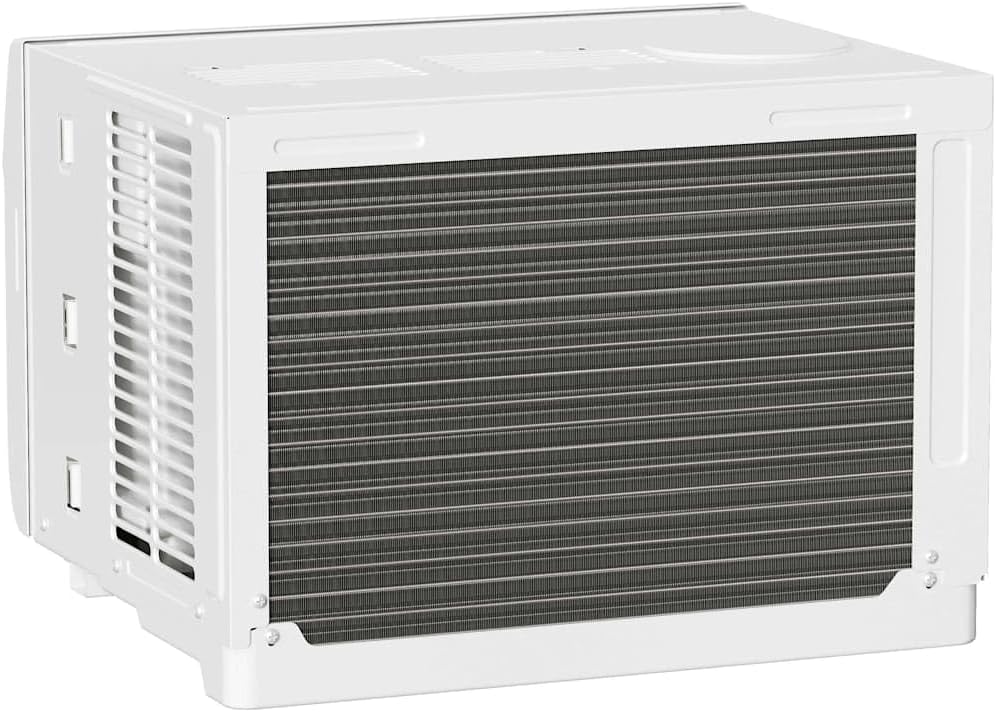
Prodotto finitoview
The Durastar DRWHC232XNA1 is a window-mounted air conditioner designed to provide both cooling and supplemental heating for your space. It features multiple operating modes, fan speeds, and a remote control for convenient operation.

Configurazione e installazione
Disimballaggio e componenti inclusi
Carefully remove the air conditioner from its packaging. Inspect for any shipping damage. The package should contain the following items:
- Unità di condizionamento dell'aria da finestra
- Telecomando
- Window Mounting Kit (Side Panels, Foam Seal)
- Manuale dell'utente (questo documento)

Requisiti della finestra
This unit is designed for installation in standard double-hung windows. Ensure your window meets the following dimensions:
- Minimum Window Width: 28 pollici
- Maximum Window Width: 40.5 pollici
- Altezza minima della finestra: 18.5 pollici
Important: The electrical requirements for this unit are 230 Volts and a dedicated 30 Amp circuit. Verify your electrical outlet and circuit breaker are compatible before installation.

Fasi di installazione (riepilogo)
- Prepare the window by cleaning the sill and frame.
- Attach the side panels to the air conditioner unit.
- Carefully lift and place the unit into the window opening, ensuring it is centered and level or slightly tilted outwards for drainage.
- Estendere i pannelli laterali per riempire l'apertura della finestra e fissarli.
- Install the top and side locking brackets and foam seals to ensure a tight fit and prevent air leakage.
- Plug the unit into the appropriate 230V, 30 Amp presa.
Refer to the detailed installation guide provided with your unit for complete step-by-step instructions and diagrams.
Istruzioni per l'uso
Pannello di controllo
The unit can be operated using the control panel on the front of the unit or the remote control.

- Pulsante di accensione: Accende o spegne l'unità.
- Pulsante Modalità: Passa attraverso le modalità di funzionamento: Auto, Raffreddamento, Deumidificazione, Riscaldamento, Ventilatore.
- Pulsante velocità ventola: Regola la velocità della ventola: Bassa, Media, Alta.
- Pulsanti di aumento/diminuzione della temperatura: Regola l'impostazione della temperatura desiderata.
- Pulsante Timer: Imposta il timer di accensione/spegnimento di 24 ore.
- Risparmio energetico: Attiva o disattiva la modalità di risparmio energetico.
- Display a LED: Mostra la temperatura impostata o le impostazioni del timer.
Telecomando
Il telecomando garantisce la piena funzionalità a distanza.

- AUTO: Seleziona automaticamente il raffreddamento o il riscaldamento in base alla temperatura ambiente.
- FREDDO: Fornisce raffreddamento.
- ASCIUTTO: Deumidifica la stanza.
- CALORE: Fornisce riscaldamento supplementare.
- FAN: Operates as a fan only, circulating air.
- TEMP ▲/▼: Regola la temperatura desiderata.
- DIREZIONI: Passa attraverso le modalità operative.
- ACCESO/SPENTO: Accende o spegne l'unità.
- VELOCITÀ DELLA VENTOLA: Selects fan speed (High, Med, Low).
- SEGUIMI: Activates a feature where the remote control acts as a thermostat, sensing the temperature at its location.
- SONNO: Regola la temperatura e la velocità della ventola per un sonno confortevole.
- ACCENSIONE/SPEGNIMENTO TIMER: Programs the unit to turn on or off at a set time.
- °C/°F: Alterna la visualizzazione della temperatura tra Celsius e Fahrenheit.
- DISPLAY A LED: Turns the unit's LED display on or off.
- RISPARMIO ENERGETICO: Attiva o disattiva la modalità di risparmio energetico.
Direzione dell'aria
The unit features 4-way air directional louvers. Adjust these manually to direct airflow as desired for optimal comfort.
Manutenzione
Prima di effettuare qualsiasi intervento di manutenzione, scollegare sempre l'unità dalla presa di corrente.
Pulizia del filtro dell'aria
The air filter should be cleaned regularly, typically every two weeks, or more often depending on usage and air quality. A dirty filter can reduce efficiency and airflow.
- Aprire il pannello frontale dell'unità.
- Rimuovere con cautela il filtro dell'aria.
- Lavare il filtro con acqua calda e sapone. Risciacquare abbondantemente.
- Lasciare asciugare completamente il filtro all'aria prima di reinstallarlo. Non esporre alla luce solare diretta o a fonti di calore elevate.
- Reinserire il filtro asciutto e chiudere il pannello frontale.
Pulizia esterna
Pulire l'esterno dell'unità con un panno morbido, damp panno. Non utilizzare prodotti chimici aggressivi, abrasivi o solventi, poiché potrebbero danneggiare la superficie.
Deposito stagionale
If storing the unit for an extended period, clean the air filter and exterior. Cover the unit to protect it from dust and store it in a dry, safe location.
Risoluzione dei problemi
Prima di contattare l'assistenza clienti, riview i seguenti problemi comuni e le relative soluzioni:
| Problema | Possibile causa | Soluzione |
|---|---|---|
| L'unità non si accende. | No power; tripped circuit breaker; faulty plug/outlet. | Check power cord connection. Reset circuit breaker. Ensure 230V/30A outlet is functional. |
| Unit is on but not cooling/heating effectively. | Dirty air filter; blocked air vents; room too large; temperature setting too high/low. | Clean air filter. Ensure vents are clear. Verify room size is within coverage area. Adjust temperature setting. |
| Water dripping from unit (indoors). | Improper installation (not tilted slightly outwards); clogged drain. | Ensure unit is tilted slightly outwards for proper drainage. Check and clear drain pan/hose if accessible. |
| Telecomando non funzionante. | Batterie scariche; ostruzione tra il telecomando e l'unità. | Sostituire le batterie del telecomando. Rimuovere eventuali ostruzioni. |
Specifiche
| Caratteristica | Dettaglio |
|---|---|
| Marca | Stella dura |
| Modello | Numero di modello: DRWHC232XNA1 |
| Capacità di raffreddamento | Potenza nominale: 23,200 BTU |
| Capacità di riscaldamento | 16,000 BTU (Supplemental) |
| Voltage | 230 Volt |
| Cosatage | 5060 watt |
| Tipo di spina | LCDI 6-30P (Requires 30 Amp circuito) |
| Coverage Area (Cooling) | Fino a 1,500 mq. |
| Coverage Area (Heating) | Fino a 700 mq. |
| Rimozione dell'umidità | 137 pinte/giorno |
| Velocità della ventola | 3 (Basso, Medio, Alto) |
| Modalità operative | Auto, Raffreddamento, Asciugatura, Riscaldamento, Ventilatore |
| Livello di rumore | 68 decibel |
| Dimensioni del prodotto (L x P x A) | 25.38 x 25.38 x 17.94 pollici |
| Peso dell'articolo | 121 libbre |
| Efficienza | Alta efficienza |
| VEGGENTE | 17 |
| Valutazione a stelle BEE | 4 stelle |
| Caratteristiche speciali | Remote Controlled, 24-hour Timer, 4-way Air Directional Louvers |
Garanzia e supporto
Informazioni sulla garanzia
For detailed warranty information, please refer to the warranty card included with your product or visit the official Durastar websito. Conservare la ricevuta d'acquisto come prova d'acquisto per eventuali reclami in garanzia.
Assistenza clienti
If you have questions, require technical assistance, or need to report an issue, please contact Durastar customer support. You can find contact information on the official Durastar websito o tramite il tuo rivenditore.
Visit the official Durastar Store: Durastar Store on Amazon


