Introduzione
This manual provides detailed instructions for the installation, operation, and maintenance of your GIGABYTE B860M GAMING X WIFI6E Motherboard. Please read this manual thoroughly before installing or using the product to ensure correct operation and to prevent damage.
The GIGABYTE B860M GAMING X WIFI6E Motherboard is designed to support Intel Core Ultra Series CPUs, featuring a robust power delivery system, DDR5 memory support, and advanced connectivity options including PCIe 5.0, M.2, 2.5GbE LAN, WIFI 6E, and USB 4.
Guida all'installazione
1. Disimballaggio e ispezione
Carefully remove the motherboard from its packaging. Inspect for any signs of damage during transit. Ensure all accessories listed in the package contents are present.
- GIGABYTE B860M GAMING X WIFI6E Motherboard
- Cavi SATA
- Antenna Wi-Fi
- Manuale dell'utente (questo documento)
- Driver CD/USB (if included)
2. Layout della scheda madreview
Familiarize yourself with the key components and connectors on the motherboard.
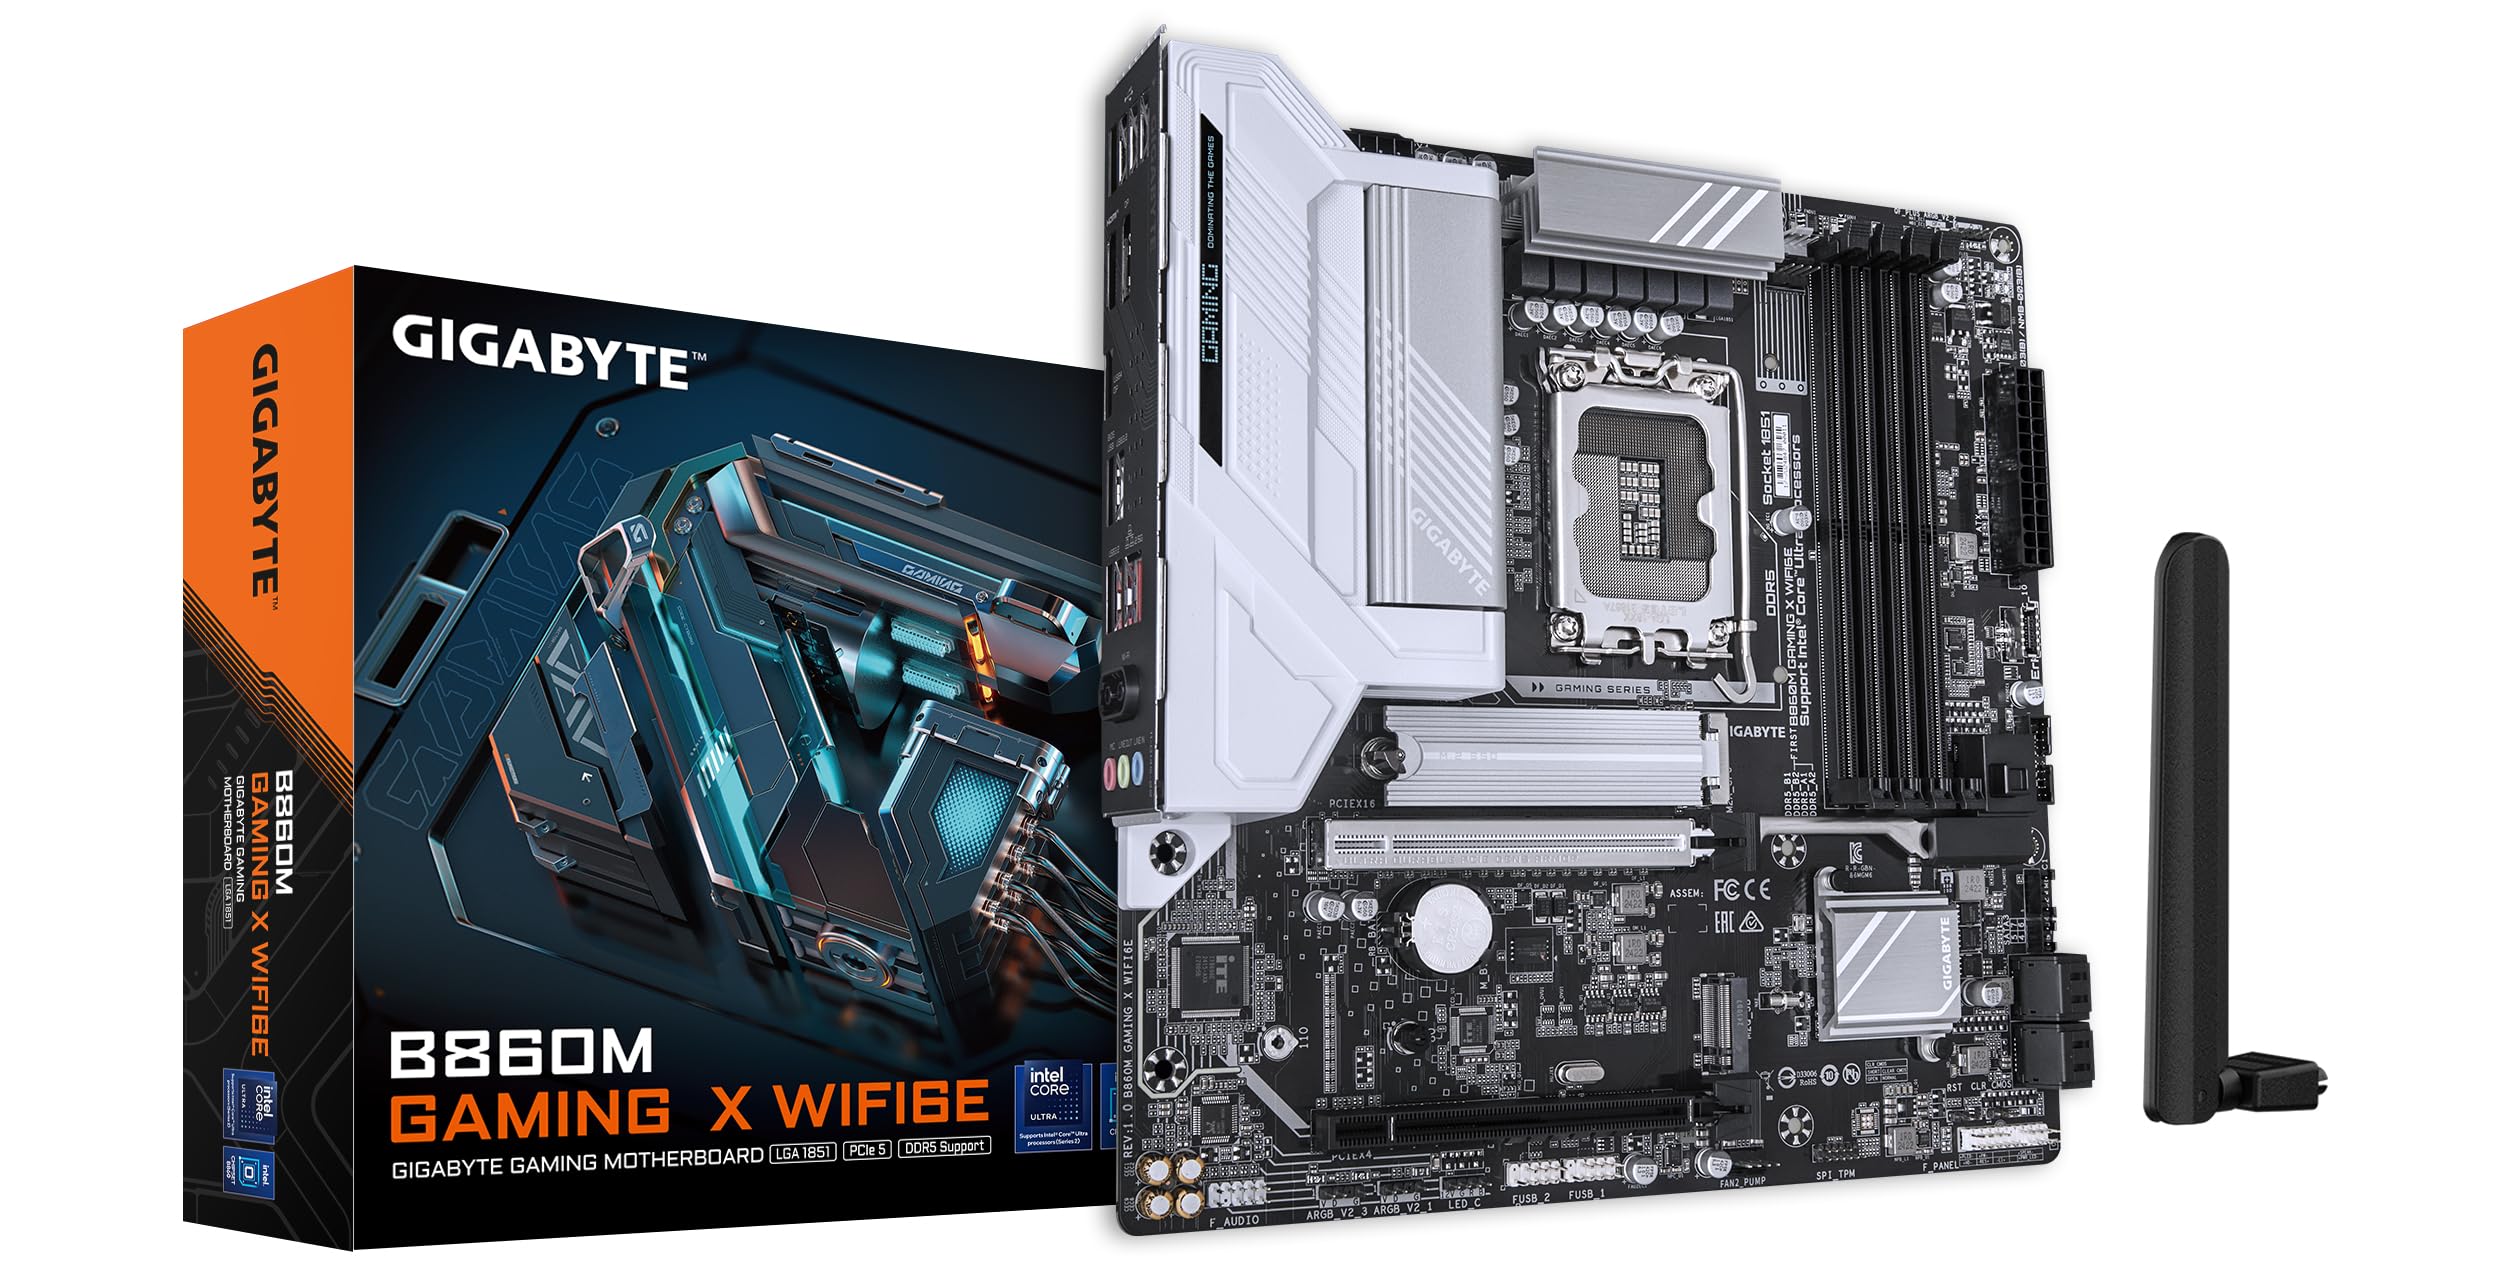
Immagine: dall'alto verso il basso view of the GIGABYTE B860M GAMING X WIFI6E Motherboard, highlighting the CPU socket, DDR5 DIMM slots, PCIe slots, and M.2 slots.

Immagine: Angolata view of the GIGABYTE B860M GAMING X WIFI6E Motherboard, showing the heatsinks and overall board design.
3. Installazione della CPU (LGA 1851)
- Aprire la leva del socket della CPU.
- Allineare la CPU con il socket, assicurandosi che il segno triangolare sulla CPU corrisponda al segno sul socket.
- Inserire delicatamente la CPU nel socket senza forzarla.
- Chiudere la leva del socket per fissare la CPU.
4. Installazione della memoria (DDR5)
- Aprire le clip su entrambe le estremità dello slot DIMM.
- Allineare il modulo di memoria allo slot, assicurandosi che la tacca sul modulo corrisponda alla chiave nello slot.
- Premere con decisione su entrambe le estremità del modulo di memoria finché le clip non scattano in posizione.
- For dual-channel operation, install modules in the recommended slots (refer to motherboard diagram for specific slots).
5. Installazione del dispositivo di archiviazione (SSD M.2)
- Individuare gli slot M.2 sulla scheda madre.
- Rimuovere il dissipatore M.2 e la vite distanziatrice.
- Inserire l'SSD M.2 nello slot tenendolo inclinato.
- Spingere verso il basso l'SSD e fissarlo con la vite distanziatrice.
- Reattach the M.2 heatsink for thermal protection.
6. Graphics Card (PCIe 5.0) Installation
- Aprire il fermo sullo slot PCIe 5.0 x16.
- Align your graphics card with the slot and press down firmly until it is fully seated and the latch closes.
- Fissare la scheda grafica al case del PC con le viti.
7. Collegamento di periferiche e alimentazione
Connect the 24-pin ATX power connector and the 8-pin CPU power connector from your power supply to the motherboard. Connect front panel headers (power button, reset, USB, audio) according to the motherboard manual diagram. Install the Wi-Fi antenna to the rear I/O panel.

Image: Rear I/O panel of the GIGABYTE B860M GAMING X WIFI6E Motherboard, showing USB ports, HDMI, DisplayPort, 2.5GbE LAN, Wi-Fi antenna connectors, and audio jacks.
Istruzioni per l'uso
1. Primo avvio e configurazione del BIOS
Dopo aver assemblato il sistema, accenderlo. Premere il tasto DEL tasto durante l'avvio per accedere all'utilità di configurazione BIOS/UEFI. Qui è possibile configurare l'ordine di avvio, l'ora di sistema e altre impostazioni avanzate.
2. Installazione del driver
Once the operating system is installed, install the necessary drivers for the motherboard components (chipset, LAN, Wi-Fi, audio, etc.). These can be found on the included driver disk/USB or downloaded from the official GIGABYTE websito.
3. Wi-Fi 6E Connectivity
Ensure the Wi-Fi antenna is securely connected. In your operating system's network settings, select the appropriate Wi-Fi 6E network and enter the password to connect.
4. Q-Flash Plus
The Q-Flash Plus feature allows you to update the BIOS without installing a CPU, memory, or graphics card. Download the latest BIOS file dal GIGABYTE website, rename it as instructed, and save it to a USB flash drive. Insert the USB drive into the designated Q-Flash Plus USB port on the rear I/O panel and press the Q-Flash Plus button.
Manutenzione
1. Aggiornamenti del BIOS
Controllare regolarmente il GIGABYTE website for the latest BIOS updates. BIOS updates can improve system stability, performance, and add support for new hardware. Follow the instructions provided by GIGABYTE carefully when performing a BIOS update.
2. Aggiornamenti dei driver
Keep your motherboard drivers updated to ensure optimal performance and compatibility. Download drivers only from the official GIGABYTE support page.
3. Pulizia
Pulire periodicamente la scheda madre e i componenti dalla polvere utilizzando aria compressa. Assicurarsi che il sistema sia spento e scollegato prima di pulire. Evitare l'uso di liquidi o materiali abrasivi.
Risoluzione dei problemi
1. Il sistema non si accende
- Verificare che tutti i collegamenti di alimentazione (ATX a 24 pin, CPU a 8 pin) siano saldamente inseriti.
- Verificare che l'alimentatore funzioni correttamente.
- Ensure the front panel power button header is correctly connected.
2. Nessuna uscita di visualizzazione
- Confirm the graphics card is properly seated in the PCIe slot and connected to the power supply (if required).
- Check that the monitor cable is securely connected to both the graphics card and the monitor.
- If using integrated graphics, ensure the monitor is connected to the motherboard's video output (HDMI/DisplayPort).
3. Instabilità o arresti anomali del sistema
- Verify that all components (CPU, RAM, GPU) are correctly installed.
- Check for overheating issues; ensure CPU cooler and case fans are working.
- Aggiornare il BIOS e tutti i driver alle versioni più recenti.
- Test memory modules individually if you suspect RAM issues.
4. Problemi di connettività Wi-Fi
- Ensure the Wi-Fi antenna is securely attached to the rear I/O panel.
- Check if Wi-Fi drivers are installed correctly.
- Verify that the Wi-Fi module is enabled in the BIOS.
Specifiche
| Caratteristica | Dettaglio |
|---|---|
| Nome del modello | B860M GAMING X WIFI6E |
| Presa CPU | LGA1851 |
| Processori compatibili | Intel Core Ultra Series CPUs |
| Chipset | Intel B860M |
| Tecnologia della memoria RAM | DDR5, Dual Channel (4 x DIMMs) |
| Max Memory Clock Speed | Fino a 6400 MHz (OC) |
| Slot PCIe | 1x PCIe 5.0 x16, 1x PCIe 4.0 |
| Slot M.2 | Multiple M.2 slots with Thermal Protection |
| Rete locale | LAN da 2.5 GbE |
| Connettività wireless | Realtek 2x2 Wi-Fi 6E |
| Porte USB | USB 4.0 Type-C, USB 3.2 Gen 2 Type-C, various USB 3.2/2.0 |
| VRM | Hybrid Digital 8+1+2+2 Phase 60A DrMOS |
| Dimensioni | 9.61 x 9.61 x 1.38 pollici |
| Peso dell'articolo | 2.65 libbre |
Garanzia e supporto
GIGABYTE motherboards come with a limited warranty. Please refer to the official GIGABYTE websul sito o sulla confezione del prodotto per conoscere i termini e le condizioni di garanzia specifici applicabili alla tua regione.
Per supporto tecnico, download di driver, aggiornamenti del BIOS e ulteriori informazioni sul prodotto, visitare il sito ufficiale di supporto GIGABYTE websito:
https://www.gigabyte.com/support
When contacting support, please have your motherboard model name (B860M GAMING X WIFI6E) and serial number ready.


